The Change lists block belongs to Action blocks. The block’s functionality is the same for Triggered and Bulk scenarios.
The Change lists block allows you to automatically add or remove contacts from lists depending on their actions in a scenario. For example, if a subscriber opens an email or clicks a button, you can add them to a list related to their interests and tailor your communication with them. If they remain inactive, you can remove them from the list to avoid sending unnecessary messages.
To add the Change lists block, go to the Omnichannel automation scenarios page → Based on your goal, choose the Triggered or Bulk scenario tab → Click the “New campaign” button → The scenario builder will open.
Add the Change lists block to the workspace from the toolbar menu below or by right-clicking the workspace.
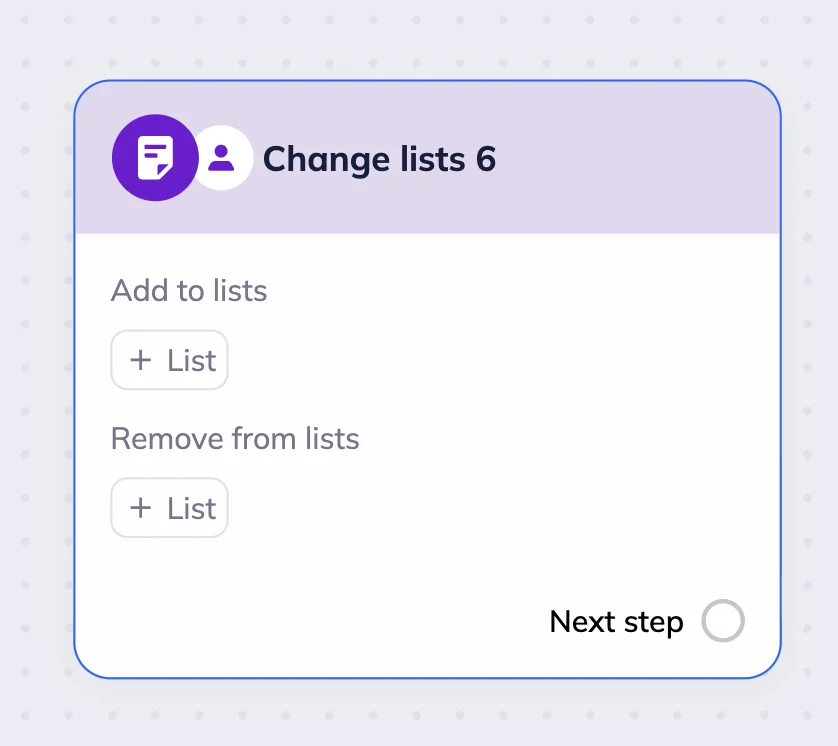
Click the +List button and select a list from the dropdown menu that you want to add contacts to or remove from.
If you want to create a new list, click Manage lists in the list selection dropdown menu. You will be redirected to the Lists page in a new browser tab. After you create a new list, it will automatically appear in the list selection dropdown menu.
💡 You can add or remove contacts from lists independently, or set up the block to add them to one list while removing them from another at the same time.
Example 1: Re-engagement campaign (Bulk scenario)
Let’s say we want to create a re-engagement campaign for an online beauty store. Clients that were inactive for the last six months are in the “Inactive” list and have the “Inactive” tag in their contact cards. We decided to send them an email with a discount to re-activate them.
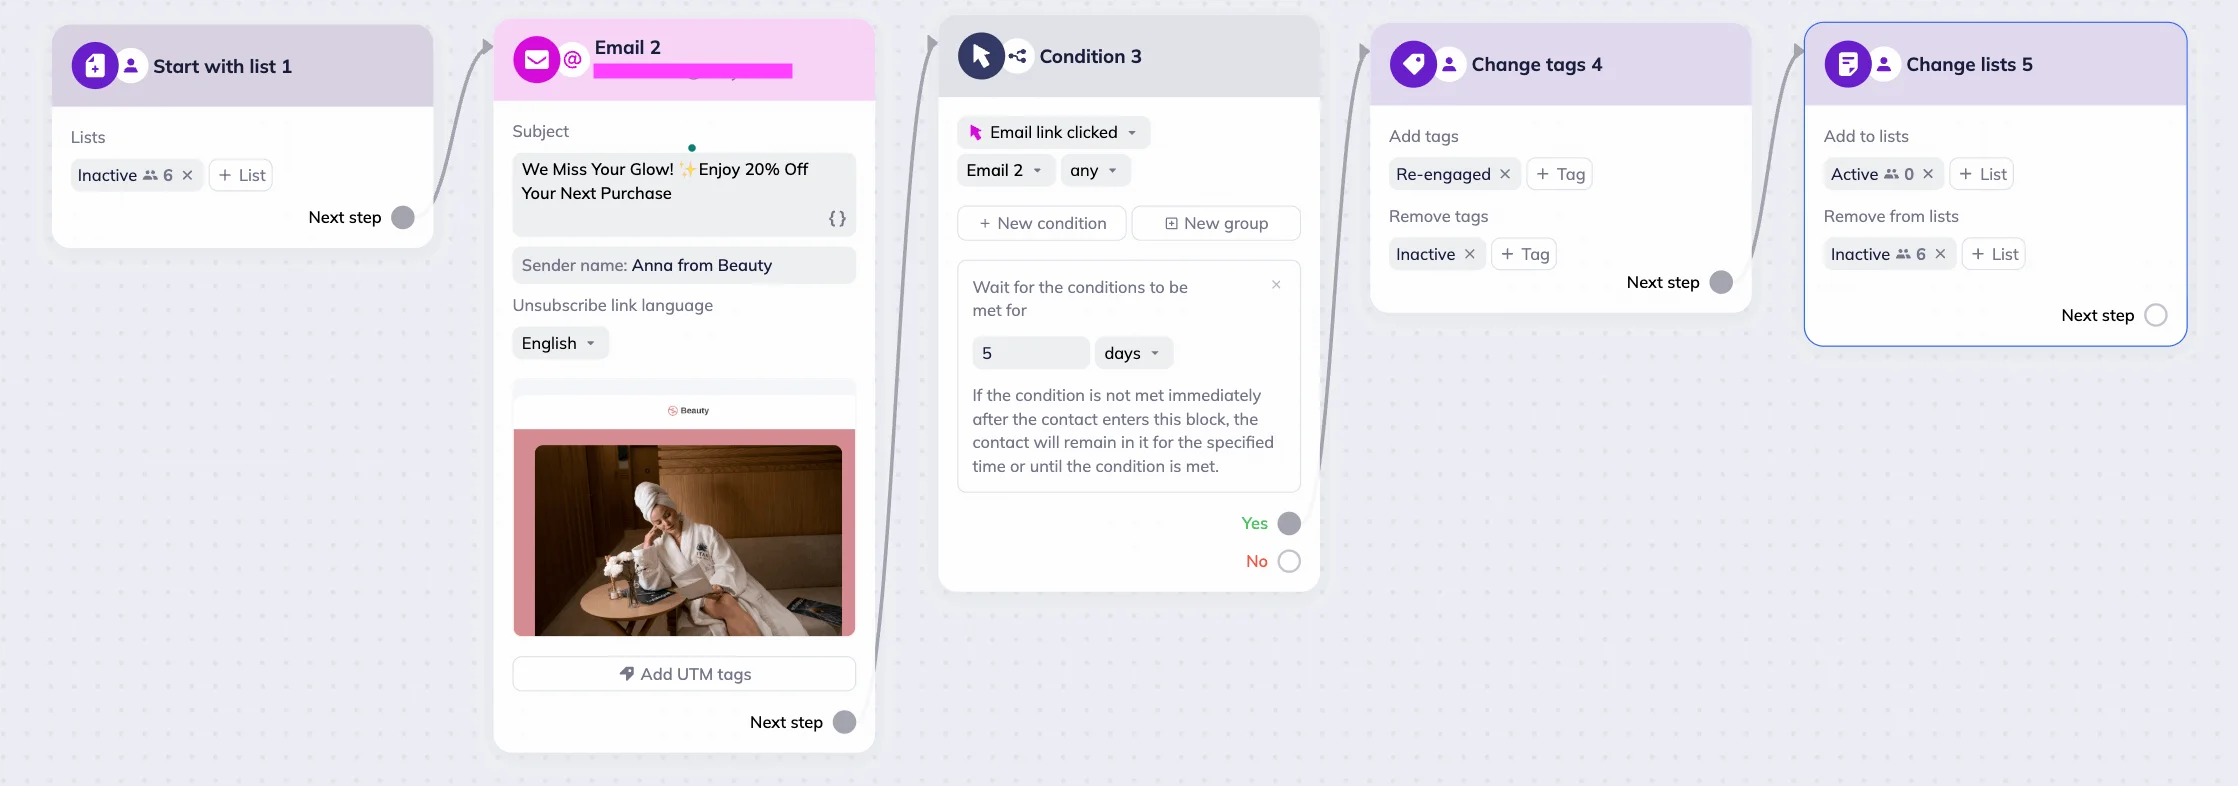
To do this, we created a Bulk scenario (note that contacts for a Bulk scenario must be in a list before the launch) with the Start with the list trigger and selected the “Inactive” list. All subscribers in this list receive a re-engagement email titled “We Miss Your Glow! ✨ Enjoy 20% Off Your Next Purchase.”
Next, we add a Condition block: if subscribers click the link in the email within five days, the system automatically removes the “Inactive” tag from their contact card and assigns the “Re-engaged” tag instead, using the Change tags block.
Then, with the Change lists block, we move these contacts from the “Inactive” list to the “Active” list — so future campaigns target them as active customers.
This way, tagging helps us track the subscriber’s status, while list management ensures they receive only relevant campaigns in the future.
Example 2: Webinar registration (Triggered scenario)
Let’s say we want to automate communication with everyone who signs up for a sketching webinar through the form on our website. We also want to differentiate between those who only registered and those who participated.
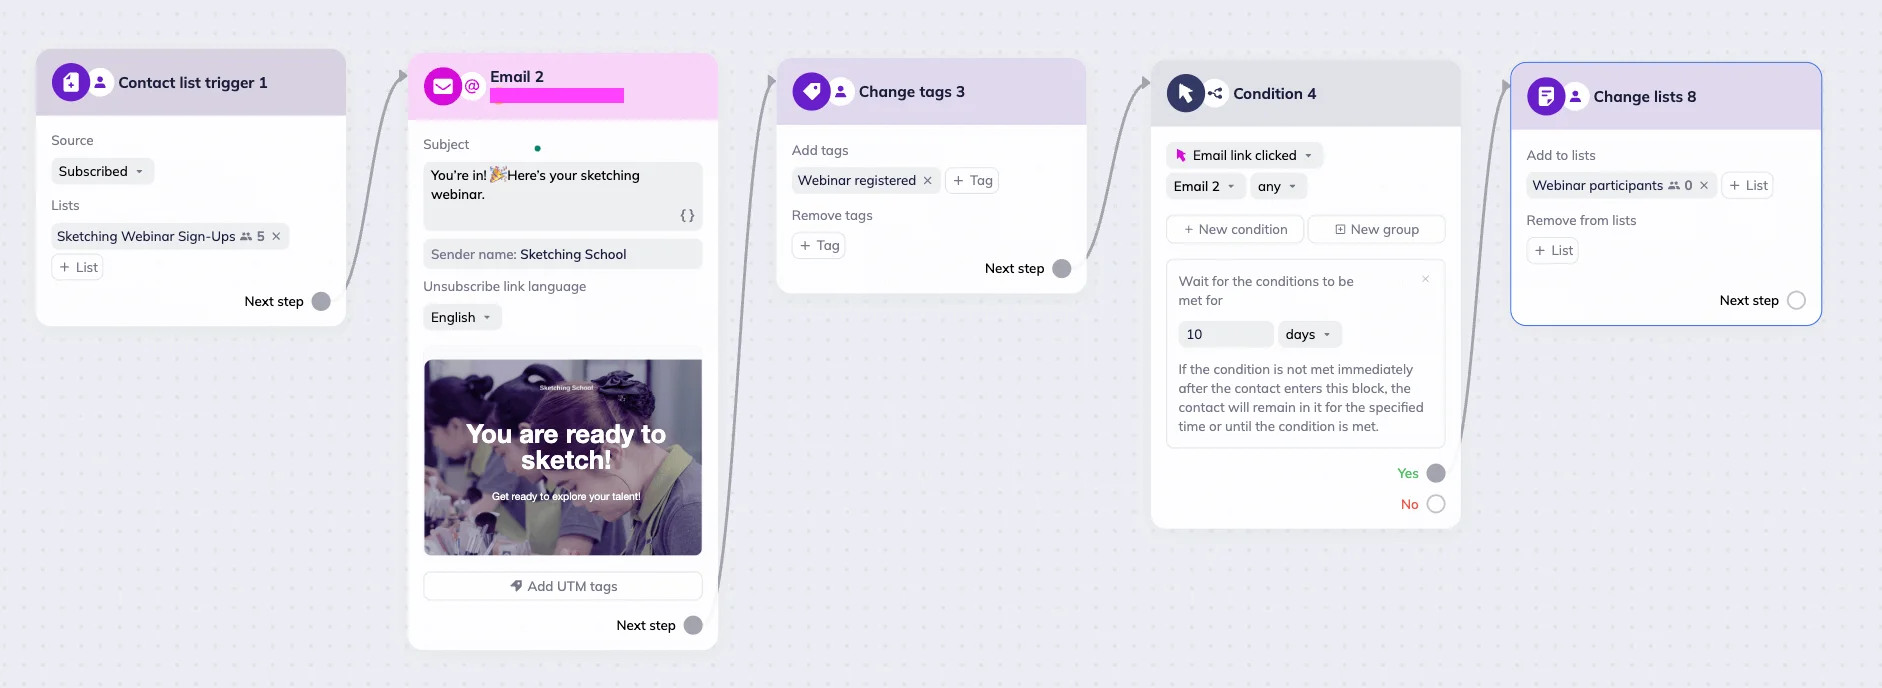
We created a Triggered scenario with the Contact list trigger and selected the “Sketching Webinar Sign-Ups” list. All new sign-ups are automatically added to that list. As soon as a contact is added, the system sends a confirmation email titled “You’re in! 🎉 See you at our sketching webinar.” The email confirms registration and shares the link to access the webinar.
Next, the Change tags block assigns the “Webinar registered” tag to these contacts, so we can track everyone who signed up.
Then, we added a Condition block that checks whether the subscriber clicked the webinar access link in the confirmation email within ten days. If they do, the Change lists block adds them to a dedicated list – “Webinar Participants”.
This way, the automation separates those who only registered from those who participated by clicking the webinar access link.


