When building Selzy omnichannel automation scenarios, you can add, connect, rename, duplicate, save, or delete blocks. You can also use frames to operate with one or multiple sections of any scenario at once.
Add a block to a scenario
Add a block to the workspace from the toolbox at the bottom of the screen or by right-clicking the workspace.
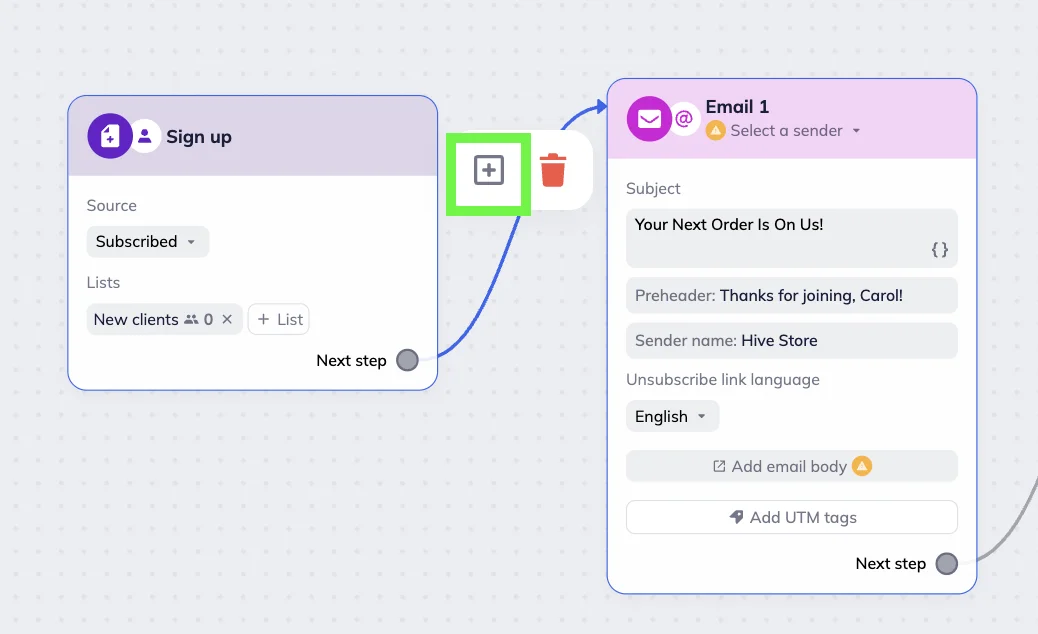
To add a block between connected blocks, hover over the connection and click the “Add block” icon.
If you make a mistake, you can undo the last action or redo an undone action by clicking the corresponding arrow in the top-right corner of the scenario editor.
Connect blocks
To connect blocks, click the “Next step” circle in a block → Drag the connection to the target block.
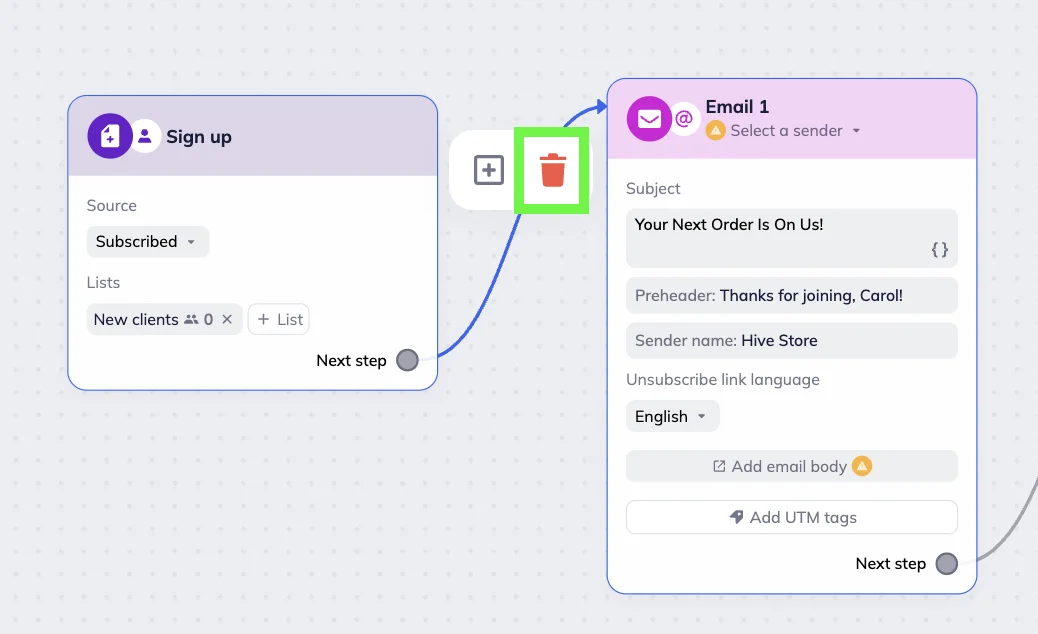
To detach a block, hover over the connection between the blocks and click the trash bin icon.
Save, duplicate, or delete a block
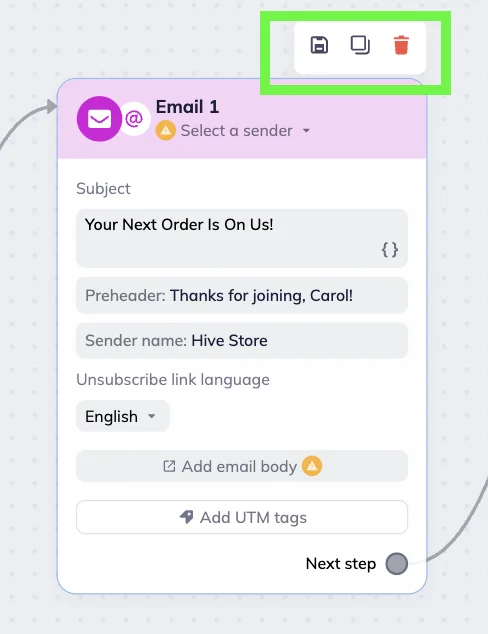
In the scenario editor, you can:
- Save a block with its settings and content to reuse it in other scenarios. The block will be added to the Saved tab in the toolbox. To use the block or blocks again, click on the saved element you need or drag it to the workspace. Alternatively, right-click in the workspace to add saved blocks from the “Add next block” pop-up menu.
- Duplicate a block to create a copy with the same settings and content.
- Delete a block from the scenario.
To perform an action, hover over the block and click the corresponding icon in the action bar.
Rename a block
If needed, you can rename a block to make it easier to navigate content-heavy scenarios and scenarios that cover multiple stages of customer journey. Click the current block name and enter a new one.
If you change the block name manually, it is automatically updated everywhere it’s used — including the Condition block.
💡Note that blocks are automatically assigned numbers based on their position in the scenario. This helps you navigate complex scenarios, so consider keeping them.
The only exception is the Email block — its name is automatically replaced when you select an email. In this case, the subject line, date, and timestamp are used as the block name.
Bulk actions on blocks with frame
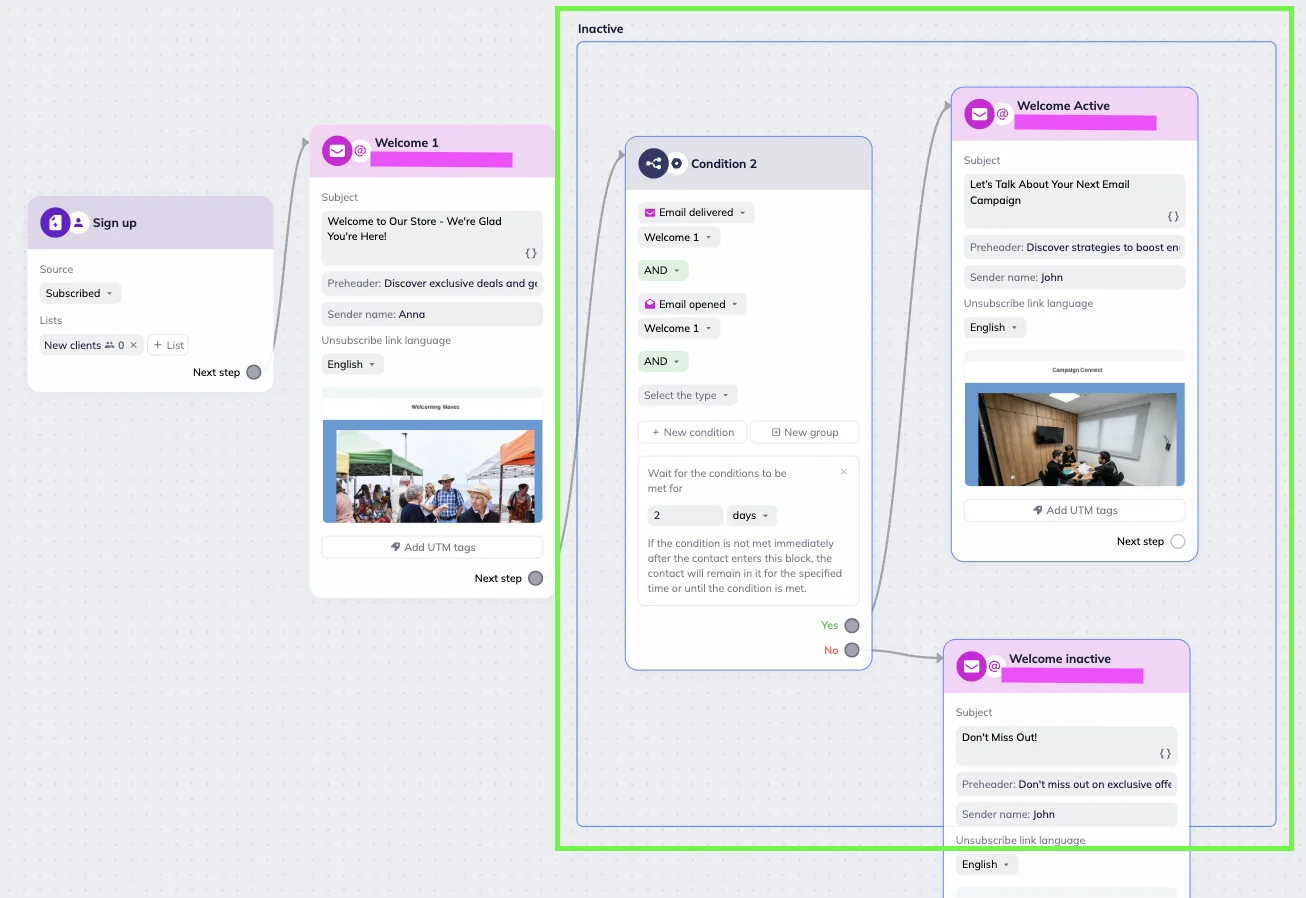
Frame is a tool for selecting a specific area of a scenario you want to work with.
In complex scenarios, frames help you:
- Visually separate content in the workspace
- Simplify navigation
- Perform bulk actions on blocks
Add a frame
In the toolbox, click the frame icon.

A frame will appear in the workspace. Drag the borders to resize the frame and add the blocks you need.
Save blocks with the frame
Put blocks in the frame, click on it, and then on the Save icon. They will immediately appear in the “Saved” tab of the toolbox. To use them again, click on the saved element you need or drag it to the workspace. Alternatively, right-click in the workspace to add saved blocks from the “Add next block” pop-up menu.

Rename a frame
You can rename frames. To do it, click the current title and enter a new name.
Delete a frame
To remove a frame, hover over it and click the trash can icon.


