Selzy email builder allows you to create beautiful emails without any design and coding skills.
To make a newsletter in the builder, you just need to know what you want it to look like. Then you structure your email using rows, add the desired blocks with content — and your email is ready-to-go. You can place blocks and rows as you like by dragging them to any part of the layout.
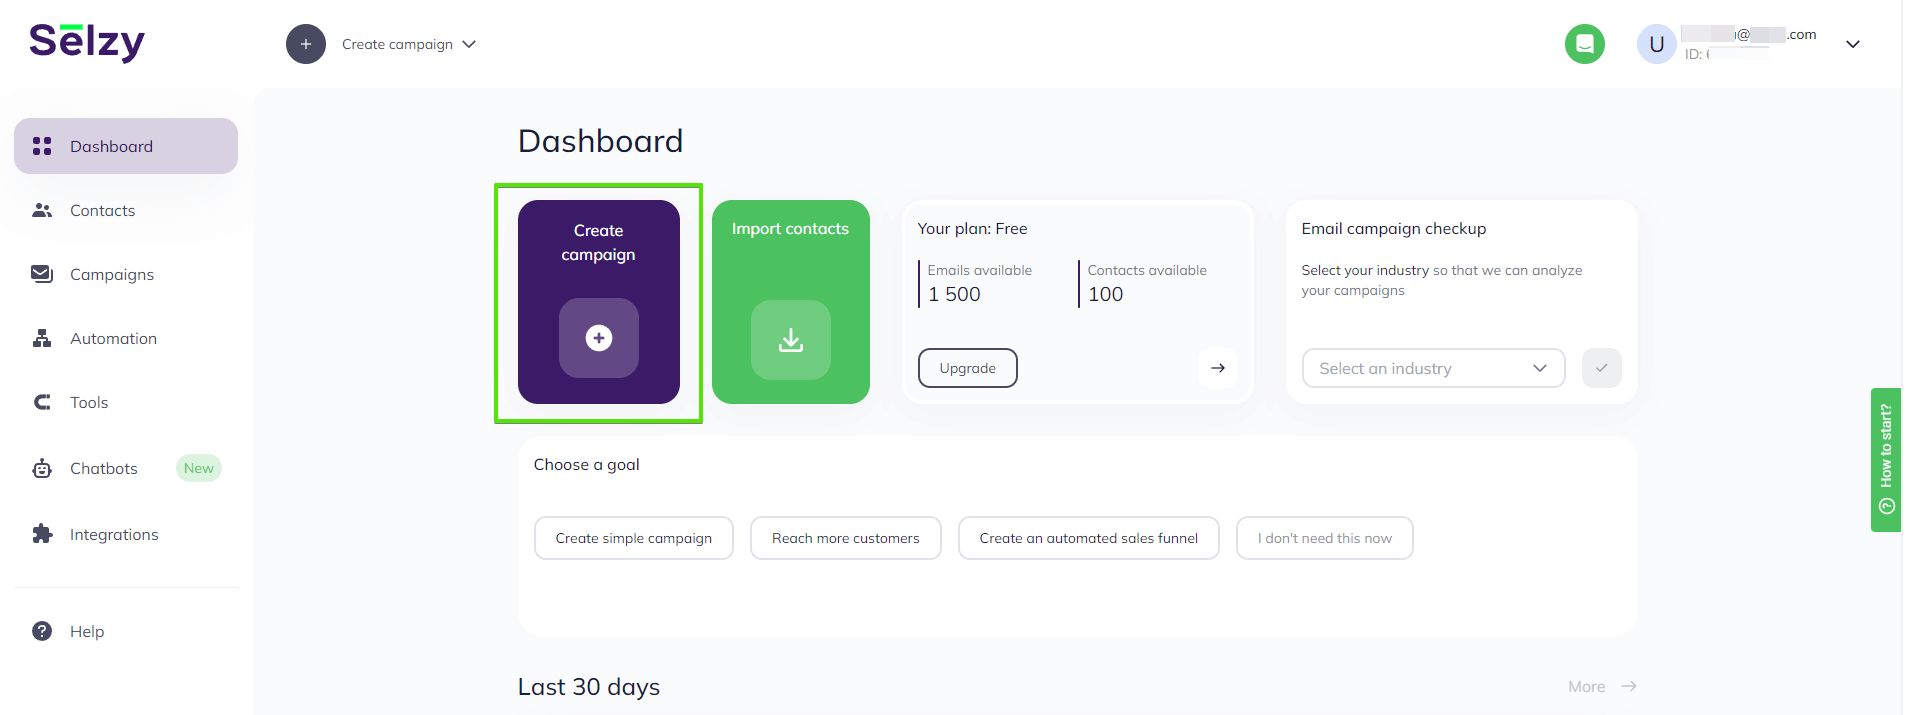
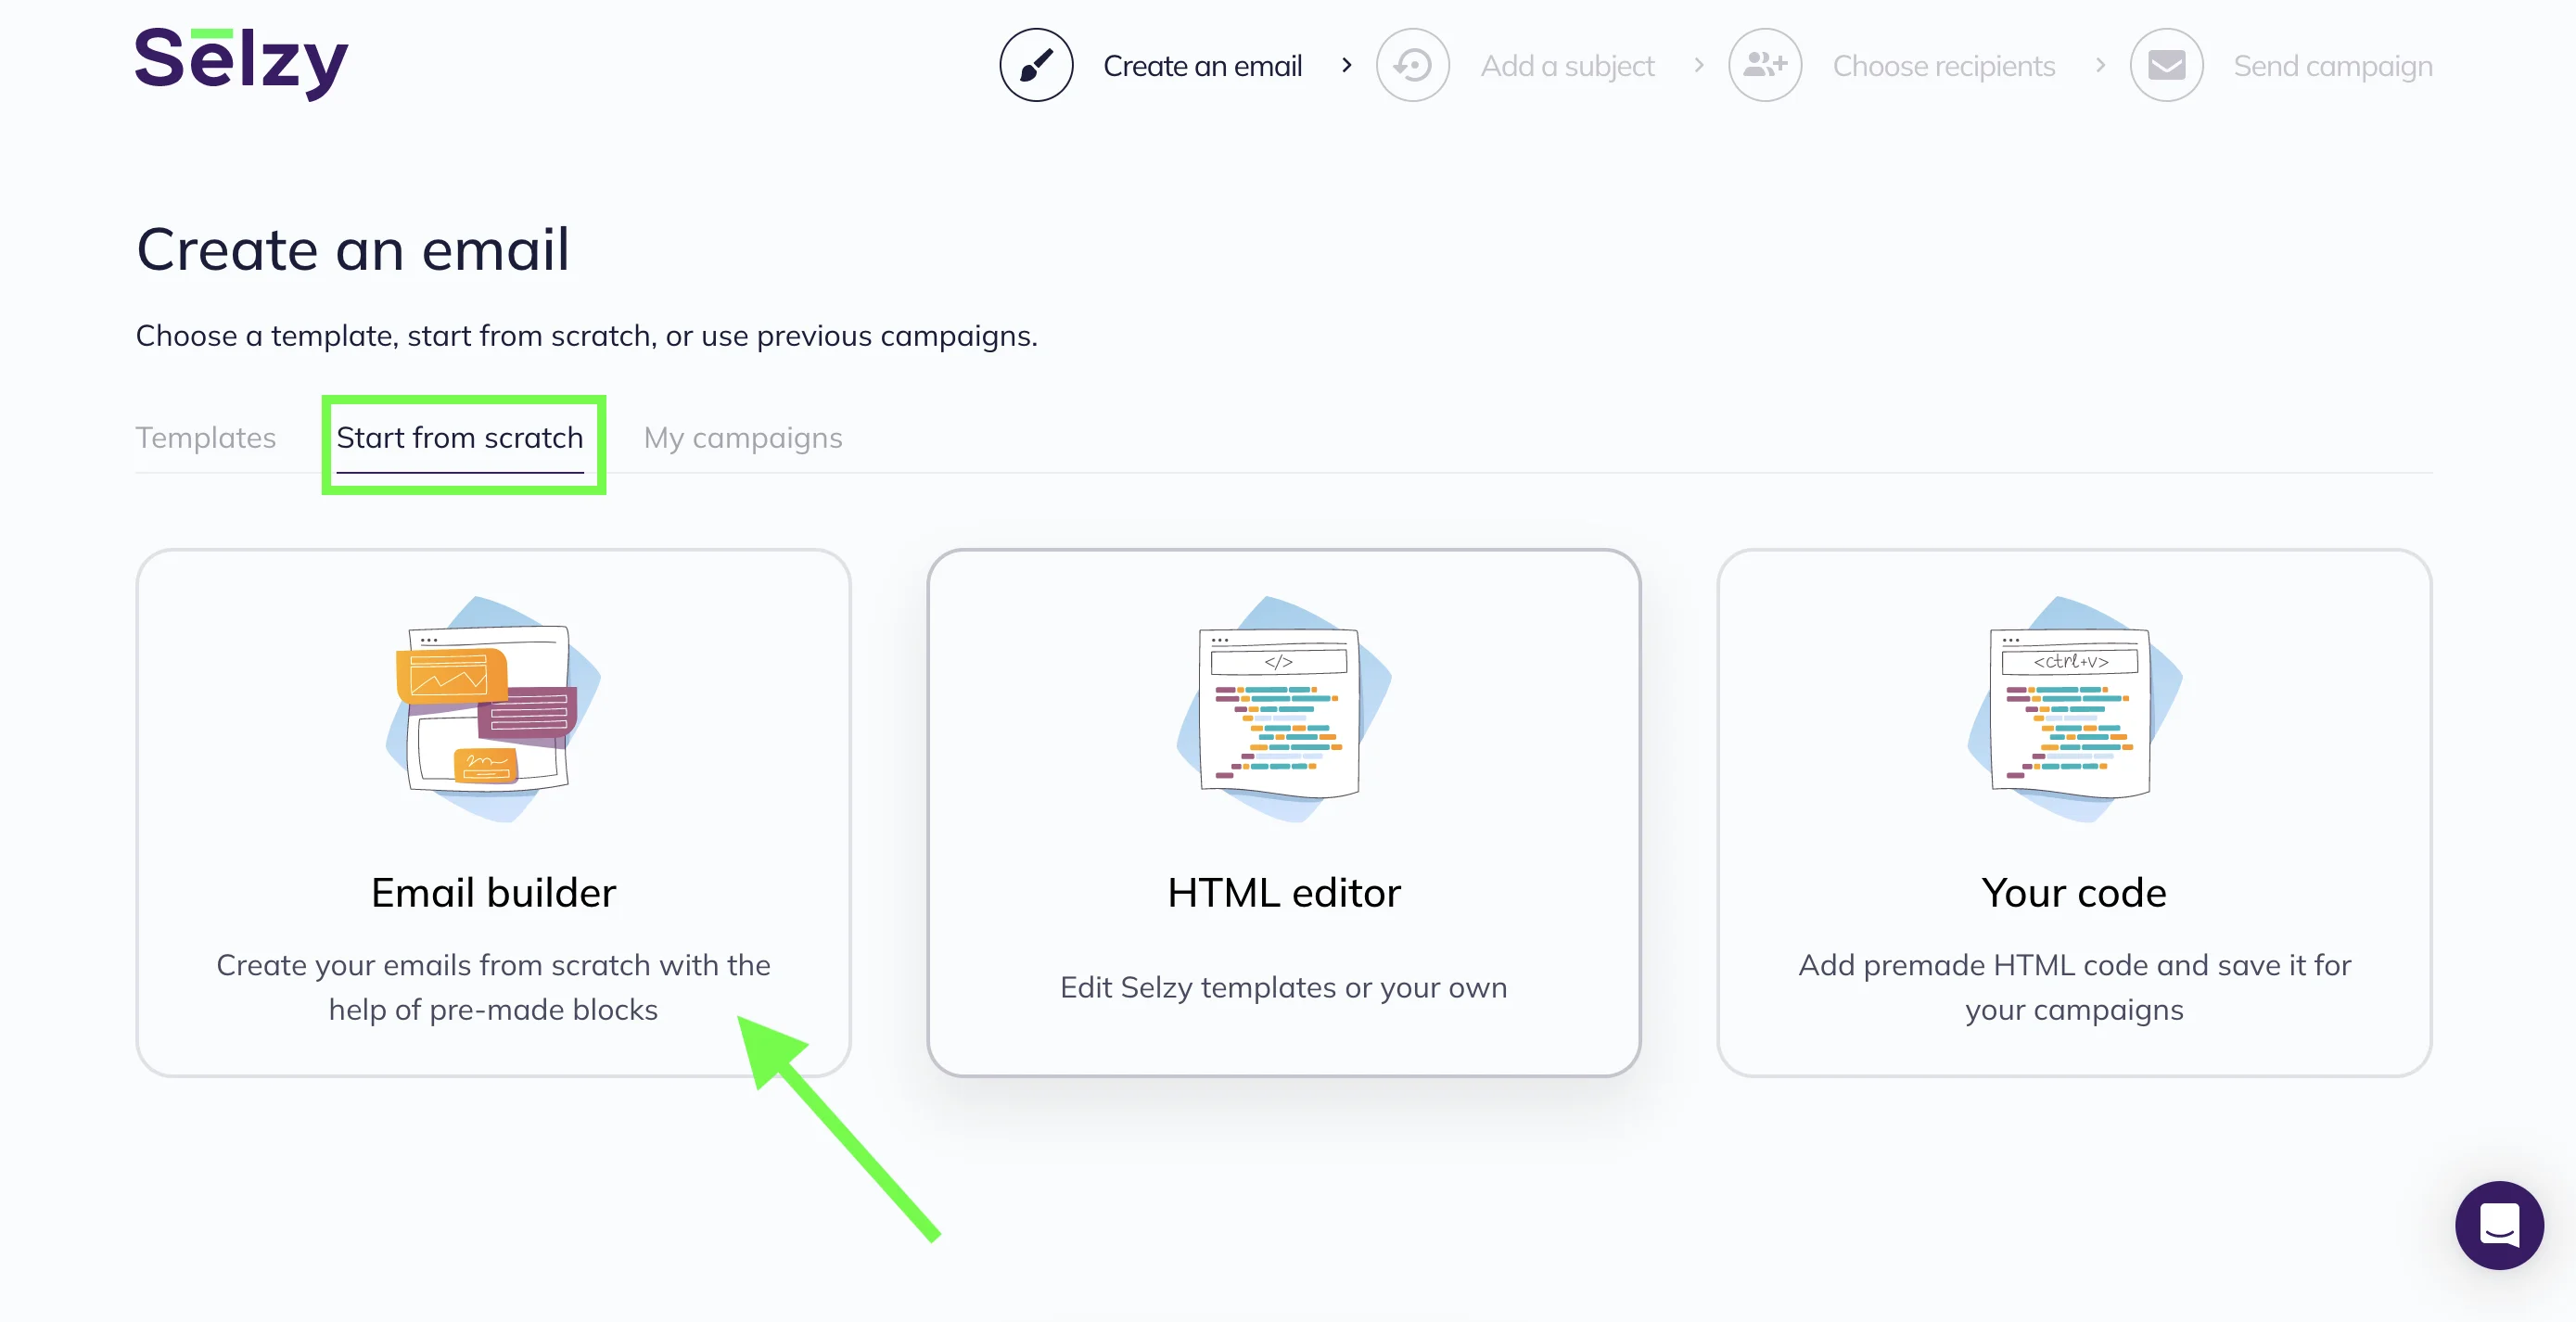
To access Selzy builder, sign in to your Personal Account. On the main page, select "Create а campaign". Then click on "Start from scratch" and select "Email builder".
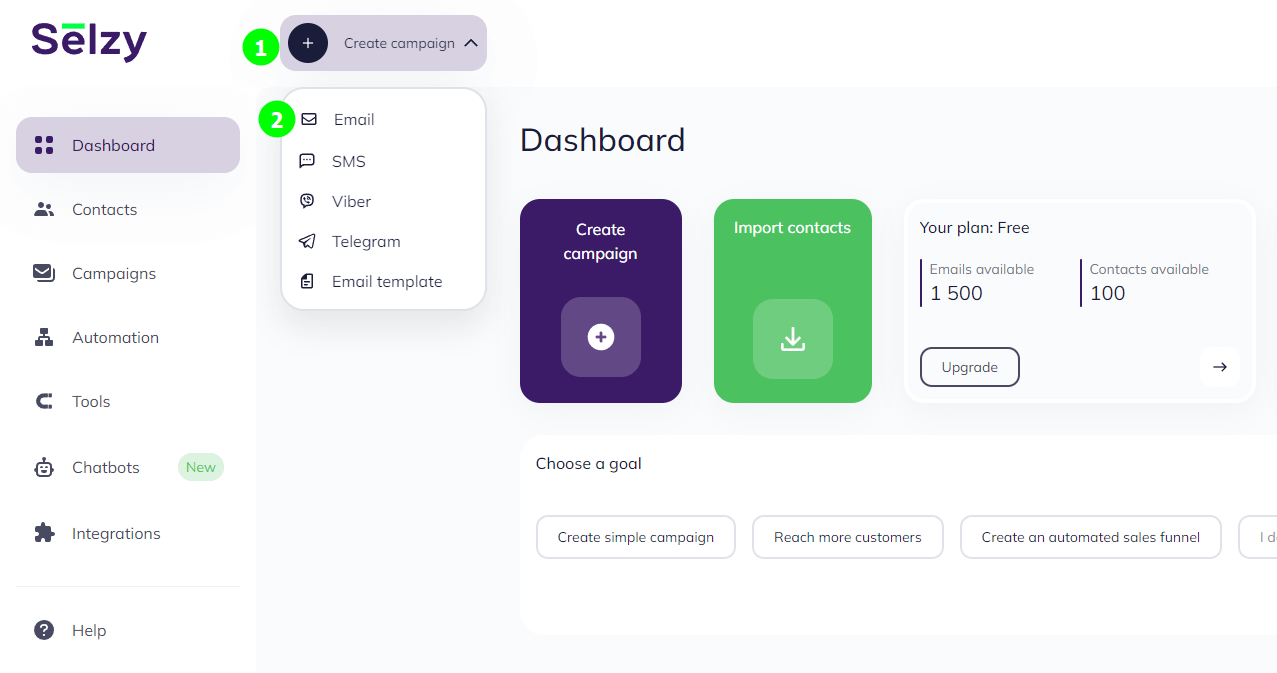
 Another way to access Selzy builder is to select "Create a campaign" and then select "Email".
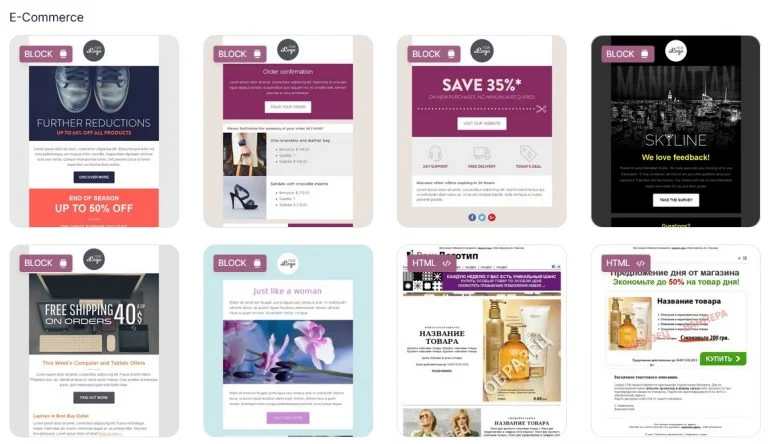
But you do not have to create an email from scratch. You can choose and edit a ready-made template. To do this, click on the Templates tab on the email creation page. Here you will find email layouts tailored to various business areas and newsworthy events. Choose any layout marked BLOCK.
Create a structure (the Row tab)
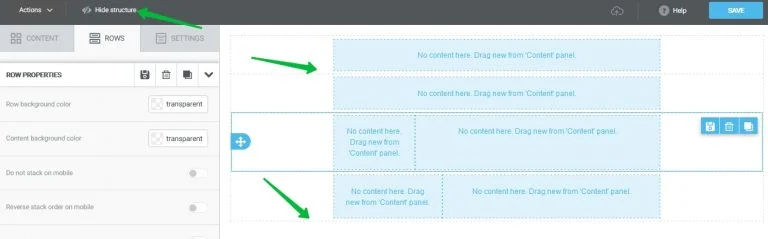
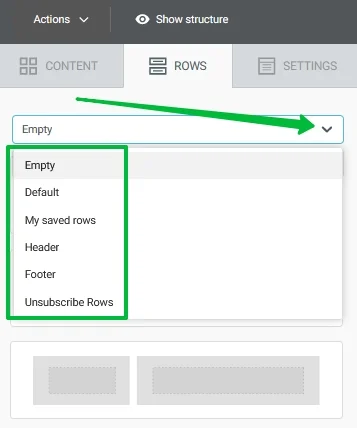
An email in the block builder consists of horizontal rows. To structure a newsletter layout, drag and drop the desired row options from the menu block on the left.

In the builder, you can view the email structure in the form of a dash-dotted line. To do this, click on the Show Structure eye icon .
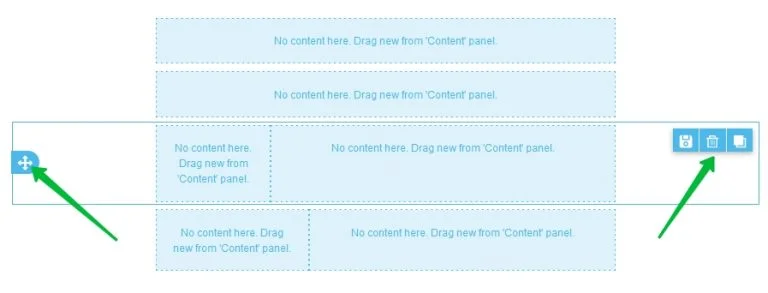
To move, copy, or delete a row, click on it, and then click on the icon that corresponds to a particular action.
The emails created in the builder are automatically adjusted for mobile devices. You can disable this function for each row. To do this, click on the needed row and move the slider in the properties on the left-hand side to the right.
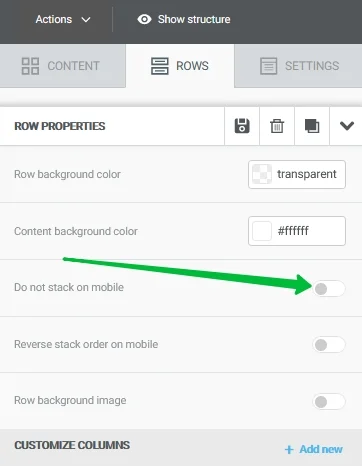
If you leave the default settings, blocks in the row will adapt proportionally to the screen size. As a rule, this means building blocks will be placed under each other.
Adapt an Email for Mobile Devices
You can also change the background color for a row in its properties, add borders and padding, hide the row on mobile devices or desktops. Learn more about available row settings in Build a Layout Using Rows.
Fill it in with content (the Content tab)
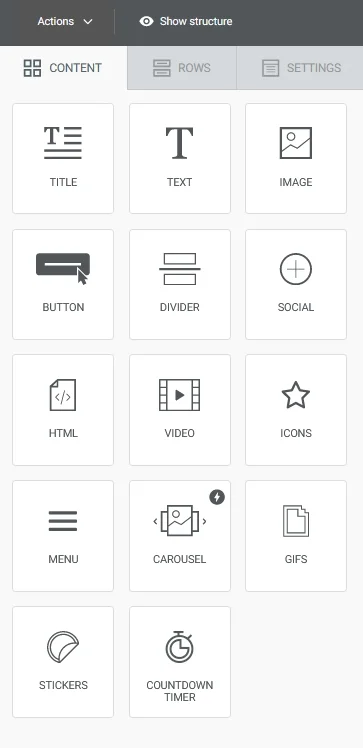
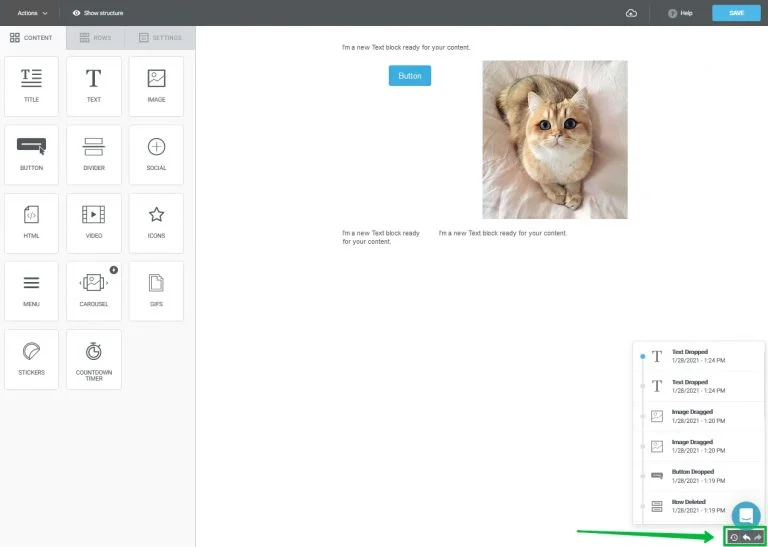
When the email design is prepared, you only have to fill it with content. To do this, add the desired blocks from the Content tab to the layout. You can add text, a picture, a button, a menu, or even a carousel into the block.
To add a block inside a row, drag it there while holding down the right mouse button.
A block within a row can be deleted, moved, or copied. To copy or delete a block, click on the block, and then on the relevant icon.
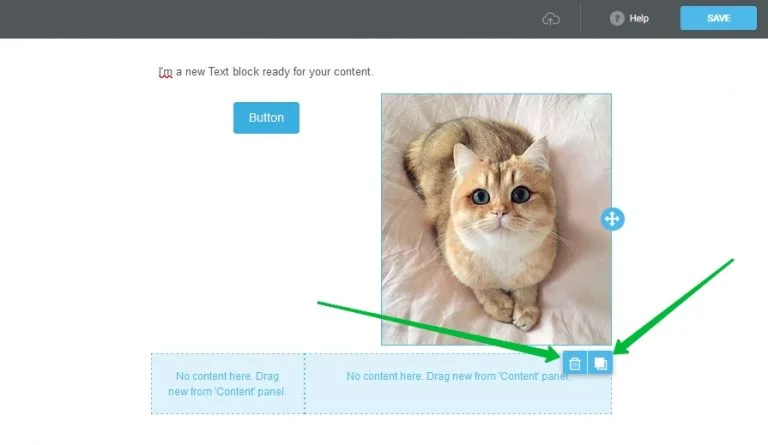
If you want to move the content block, just drag it to a new location. When you drag the content, it moves together with the block.
The builder saves automatically the layout every 5 minutes. If you want to cancel the last action, click on the Back arrow under the chat icon. To see the revision history in the current session, click on the timer icon.
The created row with content inside can be saved in the My saved rows tab and then added to other emails.
The row with content can be saved in any of these sections, except for the Pre-designed and Empty sections.
Configure the layout (the Settings tab)
You can set up a background, a font, or a color for all the links in your email in the Settings tab. Let’s have a closer look at how they can change the layout of your email.
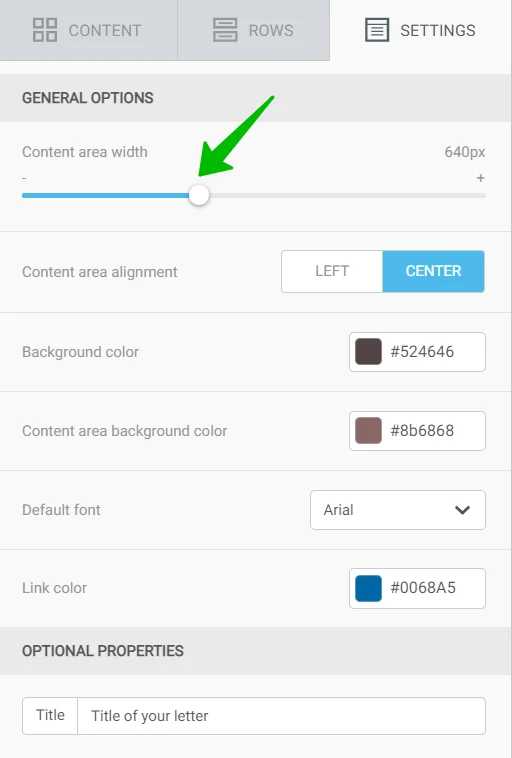
Content area width. By default, it is 600 pixels because it’s the optimal width of an email. With a wider email, in some email service providers, there will be a horizontal scroll bar, whereas mobile devices may experience issues with adaptability.
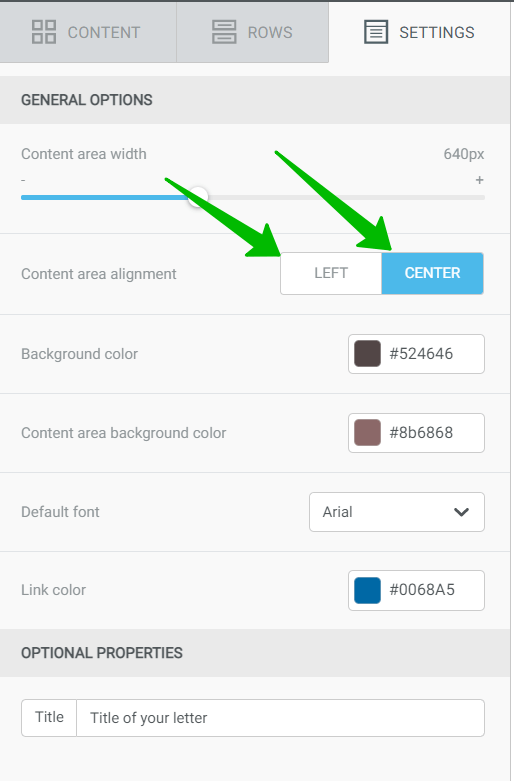
Content area alignment. This function allows you to move the body of your email to the left or to leave it in the center.
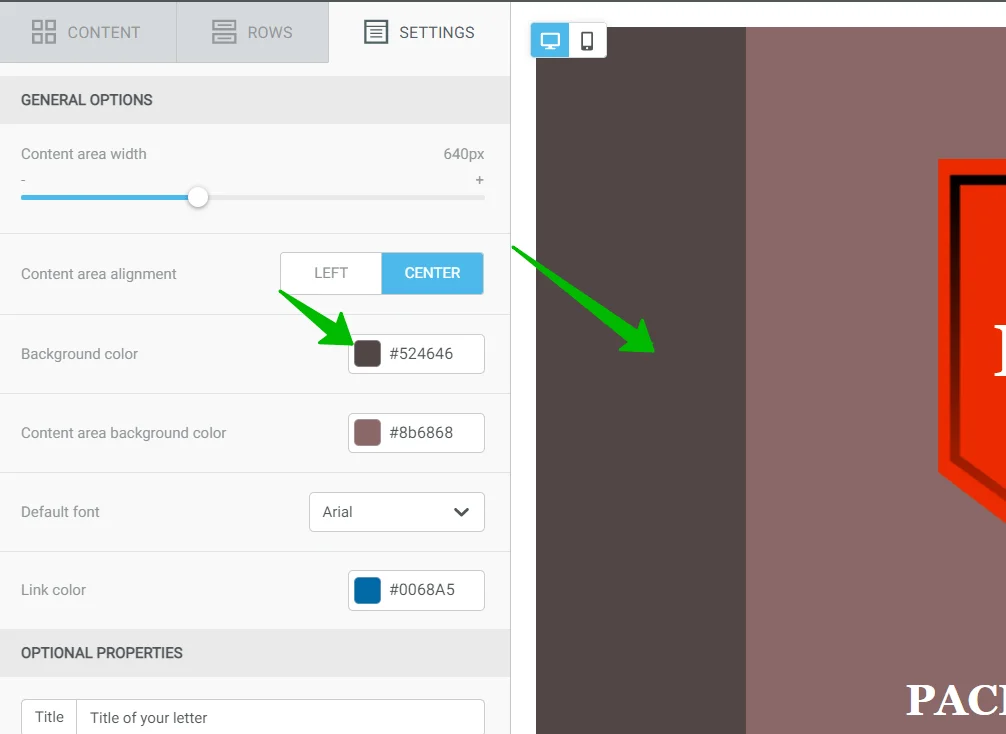
The Background color is set up for the whole email. When you add new rows, their background will be the same as in the given parameter. You can change the background color for each particular row in their properties.
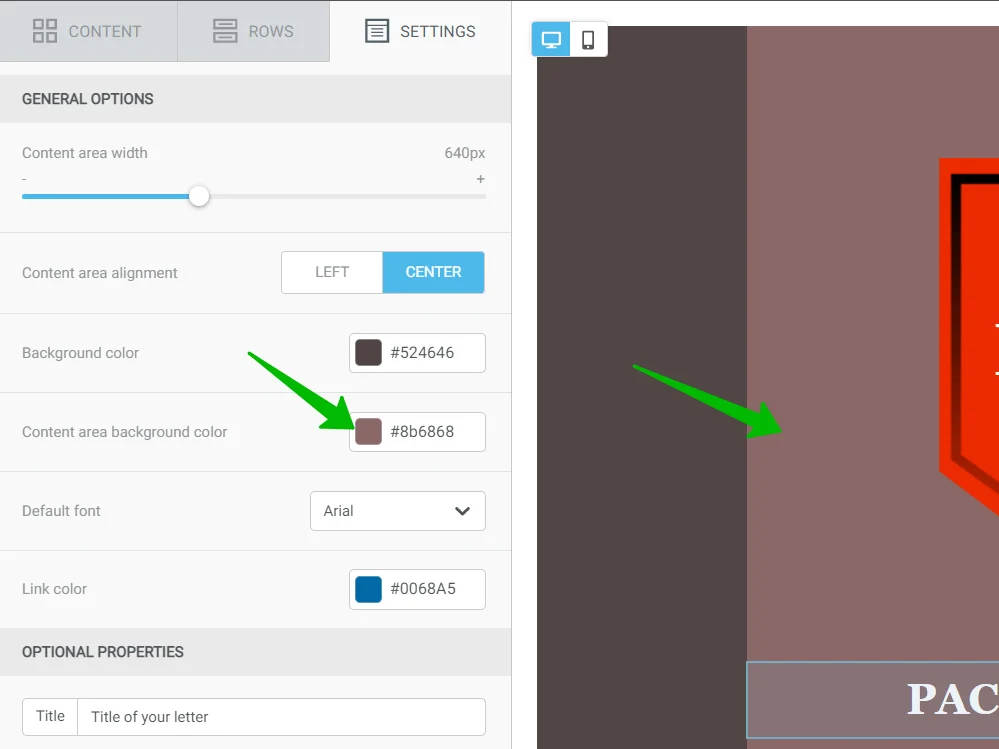
Content area background color. Similar to the background color, you can choose the color for the whole email. However, when you choose a different color for the content area in the row properties, the latter will be prioritized.
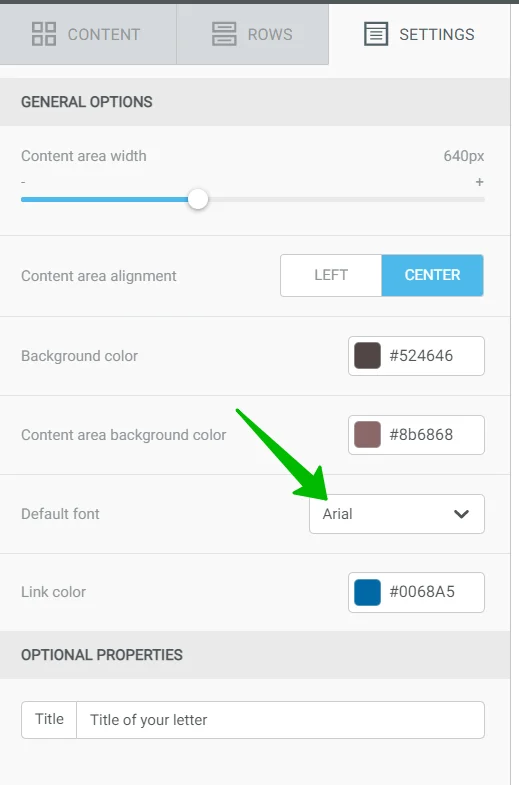
The Font is set up for the whole email. You can change it in the settings for a particular block if you need to highlight some text.
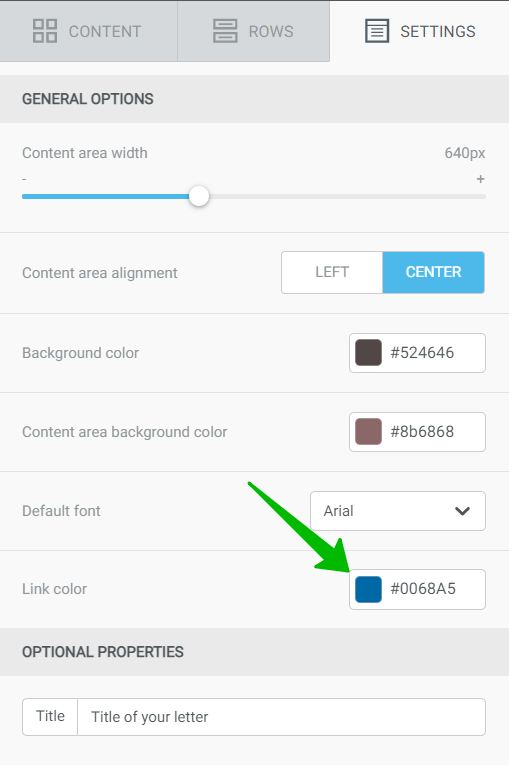
The Link color is set up depending on the layout of your email. The link doesn’t need to be blue (like it is by default), you can choose any color.
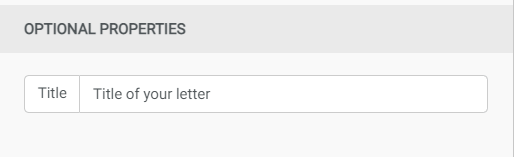
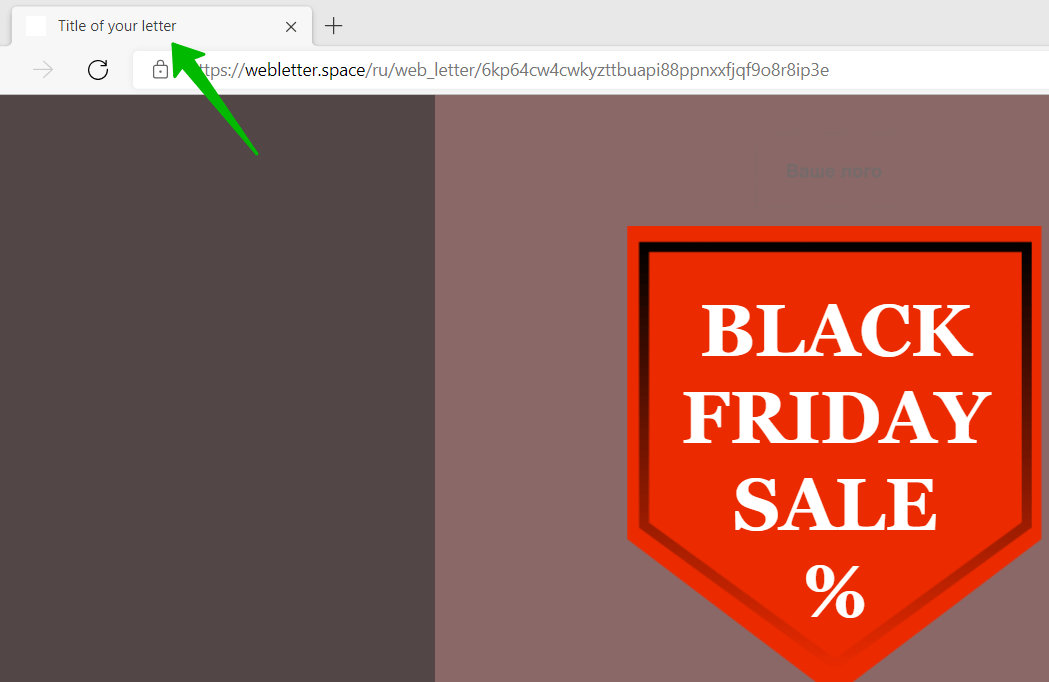
Optional properties. Title (you don’t have to fill it in). Now you can add a meta-tag Title (or Headline) to your email. It’s an important element for an optimized SEO webpage because it influences its ranking on search engines. If your email can be opened as a web version, this text will be given as a title for the web browser page used to open the email.
Check the email and send a test
Before sending the newsletter, be sure to check how the email looks on your PC and on your mobile device. To do this, click on "Action" — "Preview" in the upper-left corner and switch between DESKTOP and MOBILE modes. To close the preview, click on the X in the upper-right corner of the screen.
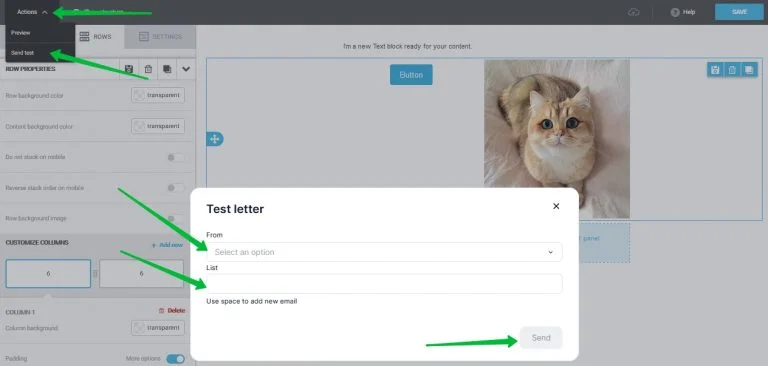
The preview mode only simulates the screen size. If you want to see how your email looks in your mailbox, send a test email directly from the builder. To do this, click on the "Action" — "Send test" in the upper-left corner drop-down menu. In the window that opens, select which address to send the newsletter from, and then enter the addresses where you want to send it.
Useful links:
Customize Fonts and Colors in Your Email
Build a Layout Using Rows
Add and Edit Text, Insert Link
Insert an Image
Add a Button
Add Links to Social Media Websites
Embed a Video
Embed a Gif Image
Add a Preheader
Preview Emails Before Sending
Adapt an Email for Mobile Devices


