The basis of the Selzy Builder is rows which you can use to build up your email template. These are a kind of blocks that are later filled with various content: text, images, and buttons.
To start composing your email, just select the suggested rows in the panel and drag them to the workspace in the center.
Now let's fill up the empty structure with content. To do this, switch to the Content block and drag the elements you need (text, images, videos, icons, stickers, buttons, etc.) to the desired columns in the row.
To edit a row, click on the area to the left or right of the columns. After that, the edit panel will appear on the left.
The number of columns in a row can be from 1 to 6.
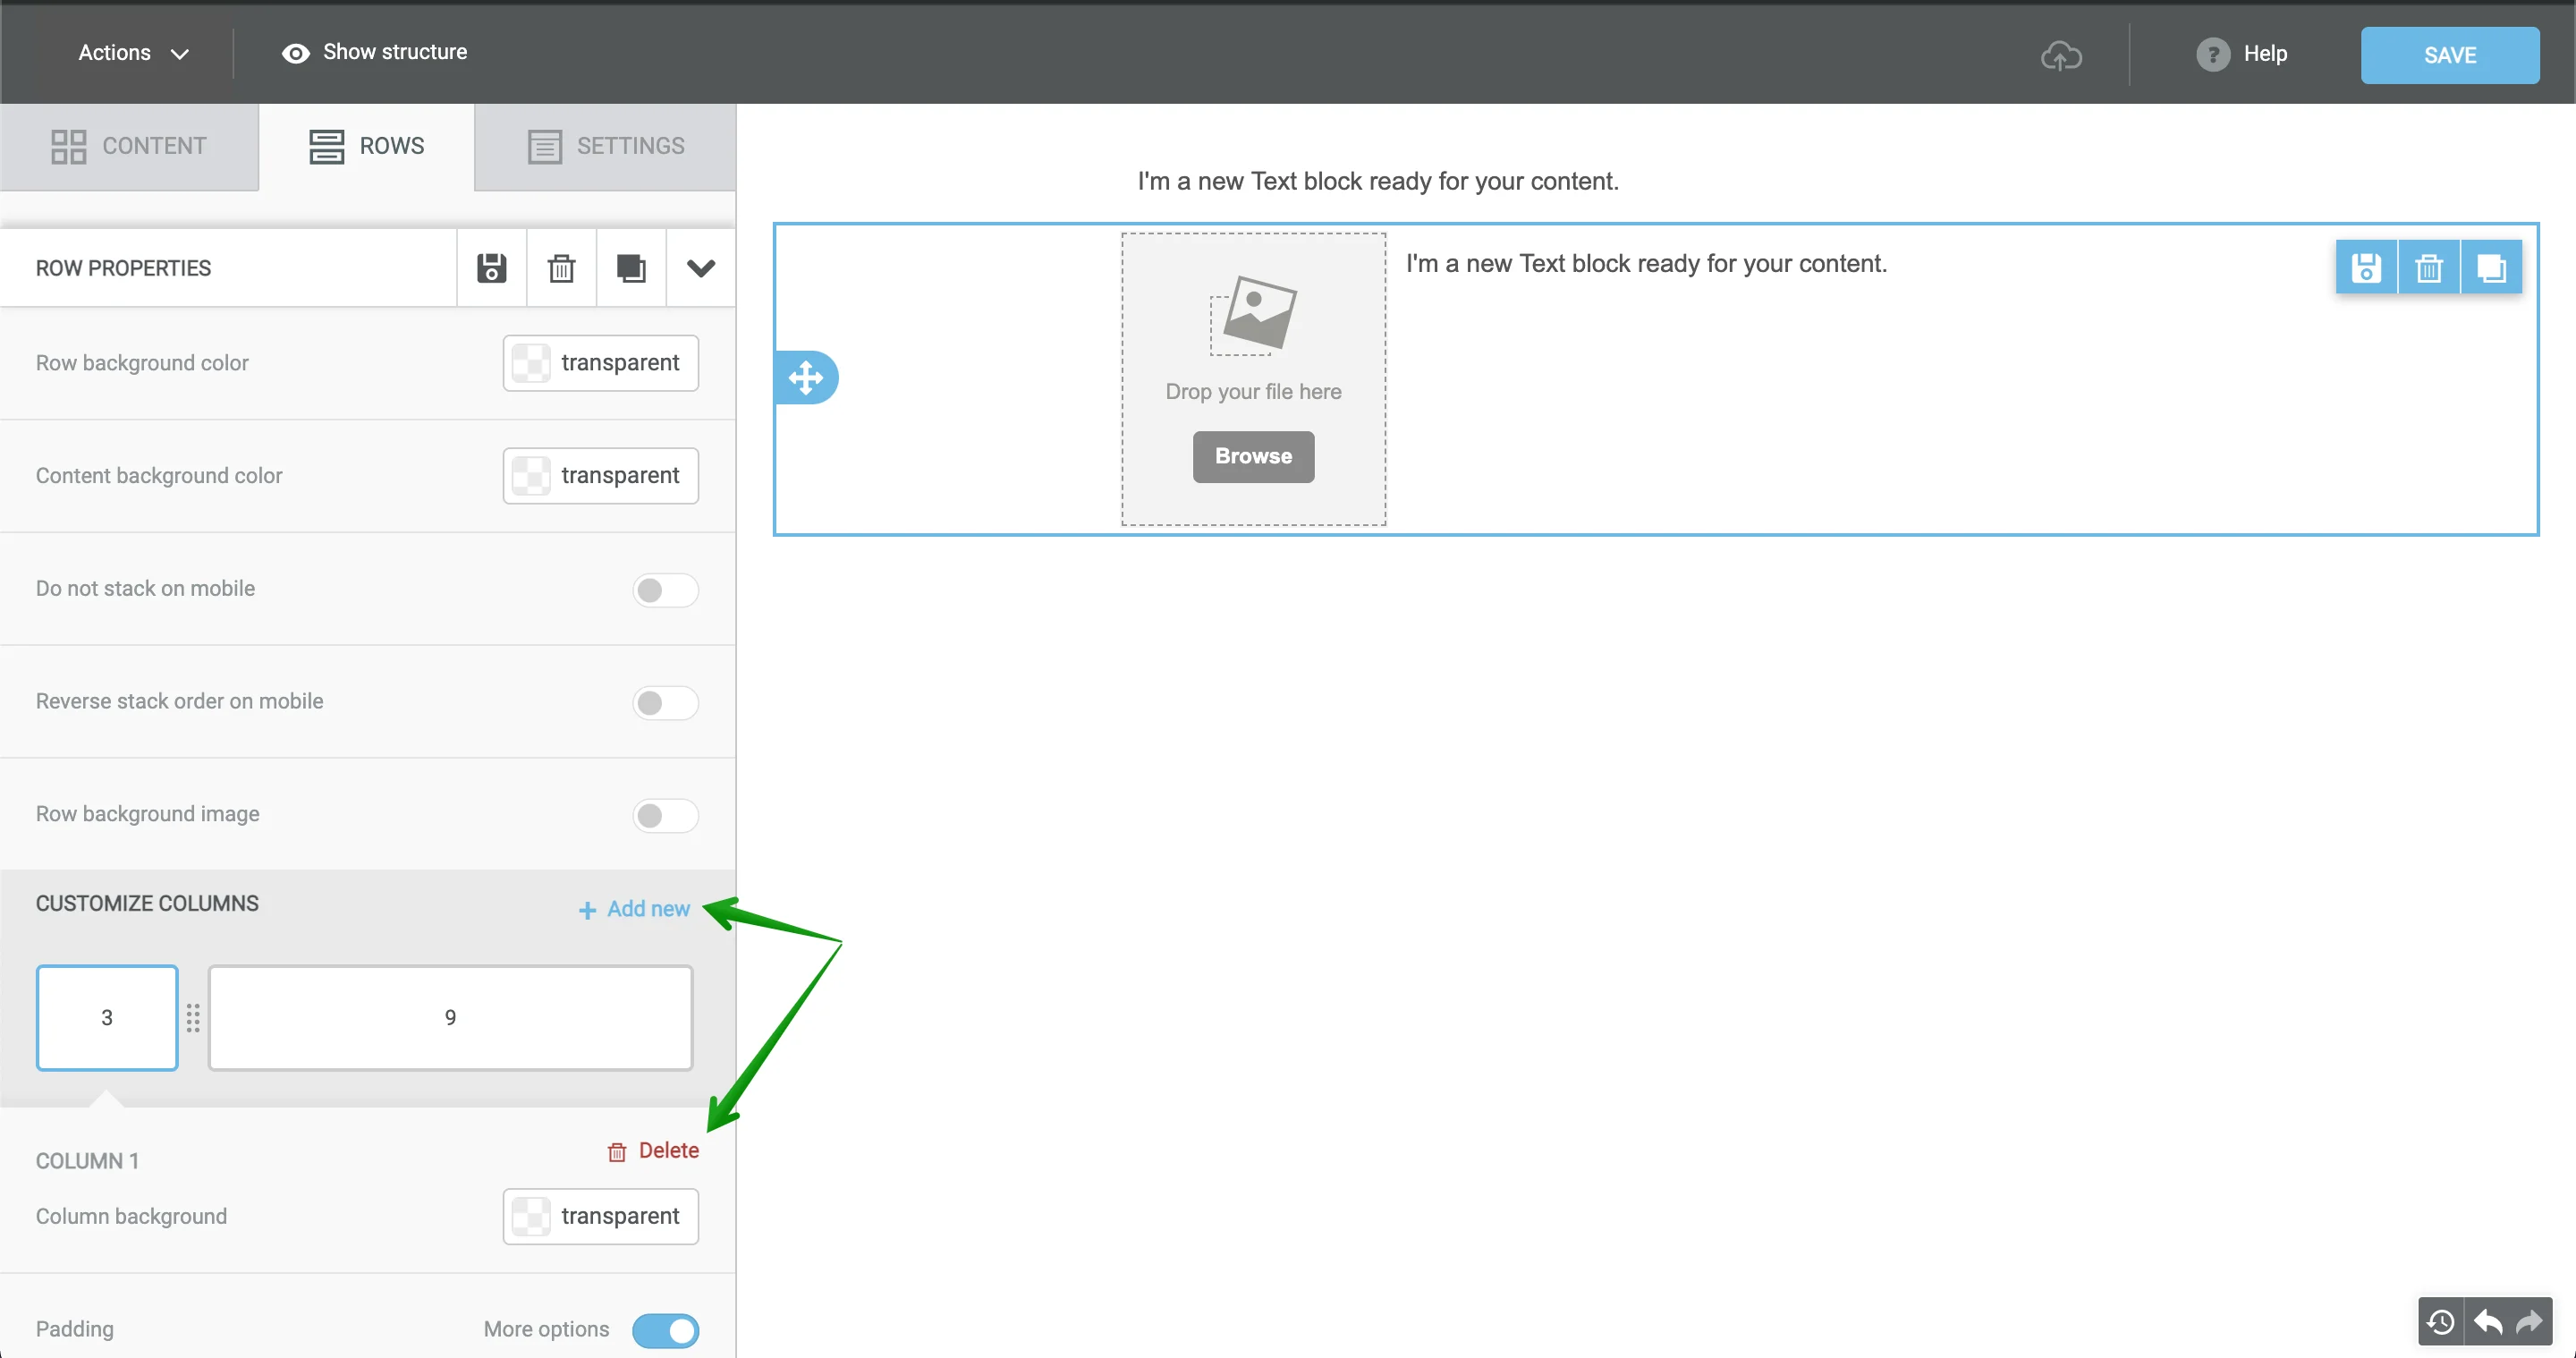
To add a column to the row, click Add new button in the settings panel, and to delete a column you don't need, click the Delete button.
The row height will be changing depending on the length of the contents of the cell in the column. The column width is adjusted manually.
You can also drag and drop content from one column to another.
Row Properties
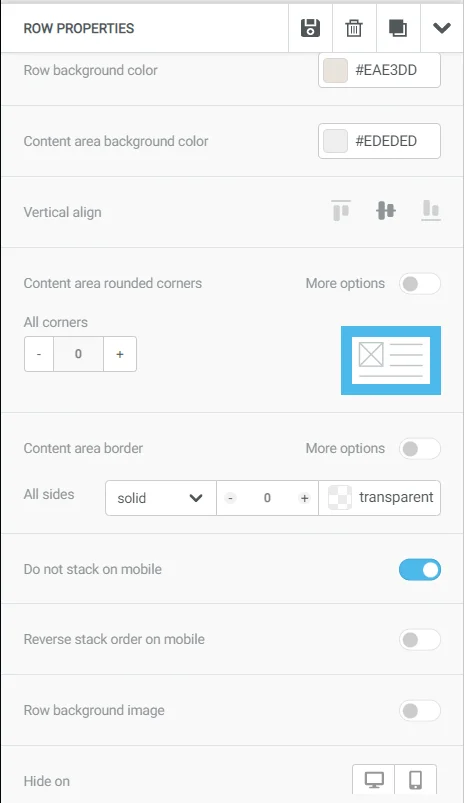
Row background color. The setting allows you to choose the background for the whole row.
Content area background color. The setting refers to the background color for the content in the row.
Vertical alignment. It allows you to vertically align content in rows.

In the screenshot, the text and image are center-aligned. You can also choose to align them to the top or the bottom
Content area rounded corners. It allows you to create rows with rounded corners. You can choose a different degree of padding for each angle or the same degree for all of them.
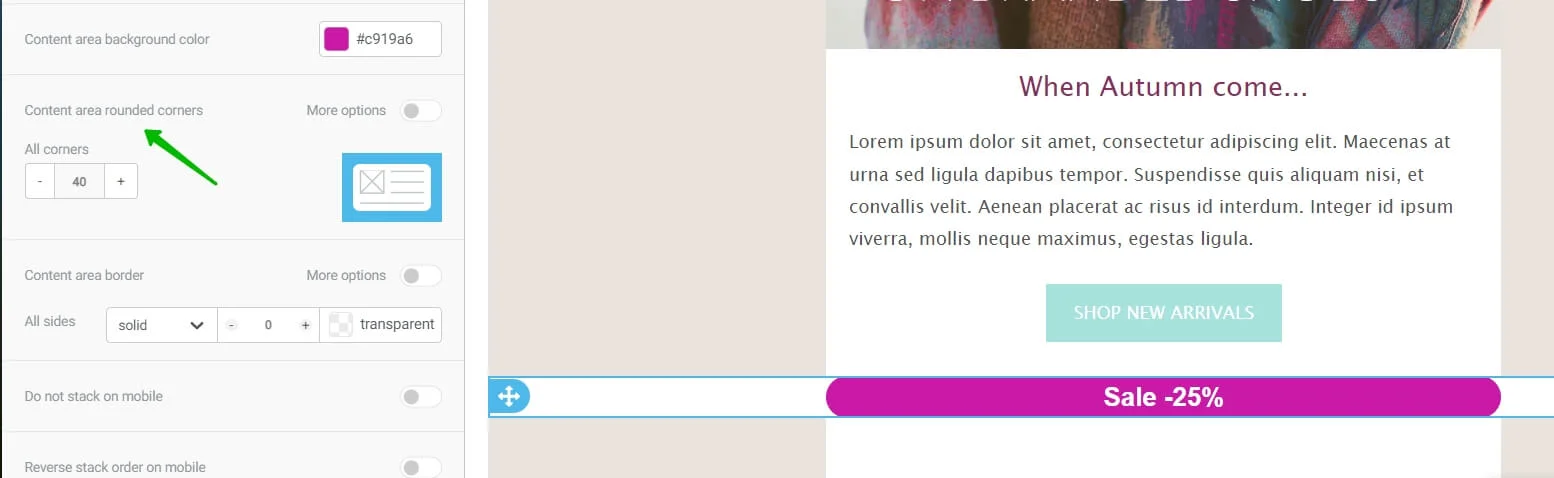
Rounded corners will be visible only if the content area background color differs from the background color, or if there is a border added to the content area
Content area border. Here you can add a border to the content of the row.
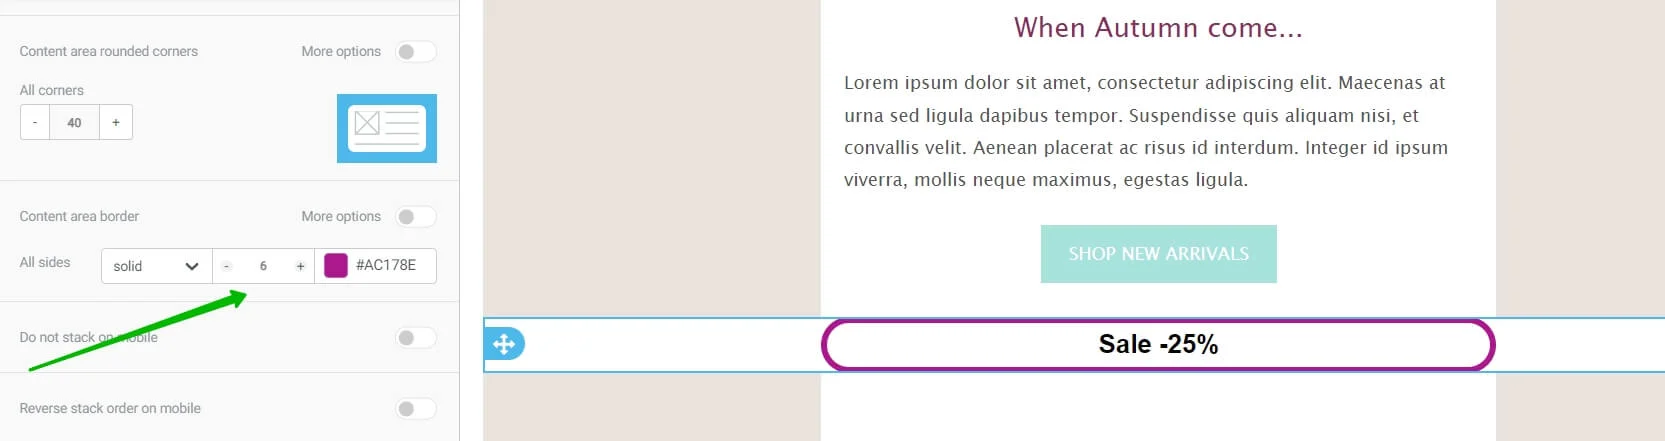
In the settings, you can choose the color and the width of the border
Row background image. This setting allows you to choose an image for a particular row. At that, you can apply the image both to the content area and to the surrounding background. Besides, you can choose how to use the image:
- Fit to background (the image will stretch to the whole area).
- Repeat (if the image is smaller than the row area, it will be repeated).
- Center (the image will be placed in the center).
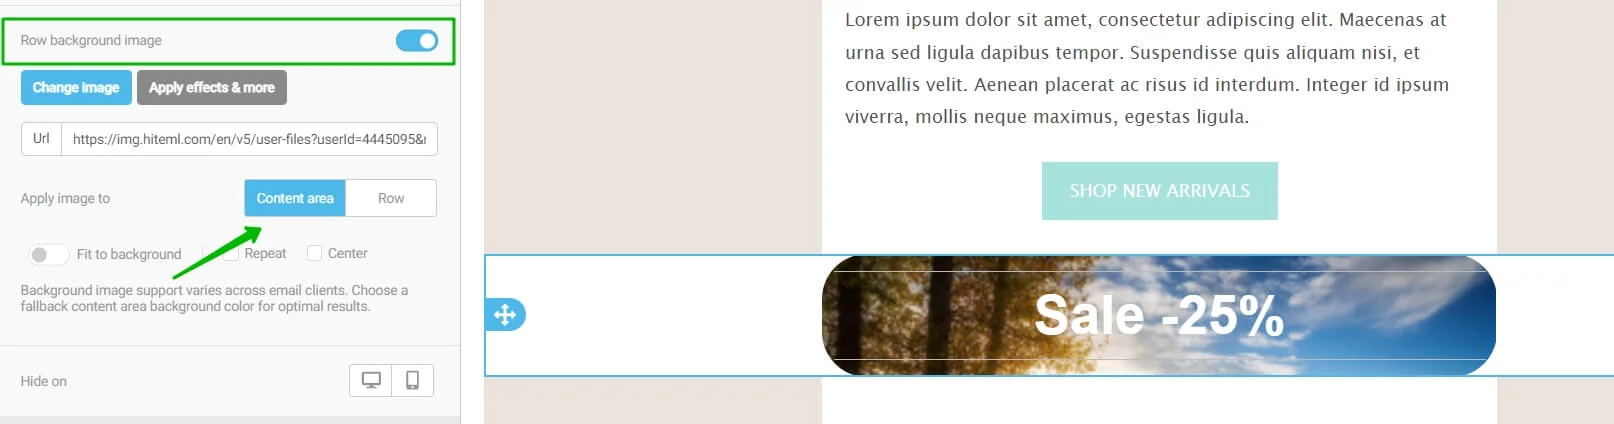
This image is applied to the content area. To change its size, click on Graphic effects to open the editor
Settings that help optimize the layout for mobile devices. For each row, you can turn off automatic adaptivity (blocks that are next to each other on a desktop automatically go under one another on mobile devices), or turn on reverse stack order, as well as hide a row while opened on mobile or desktop devices.
How to optimize your email for mobile devices
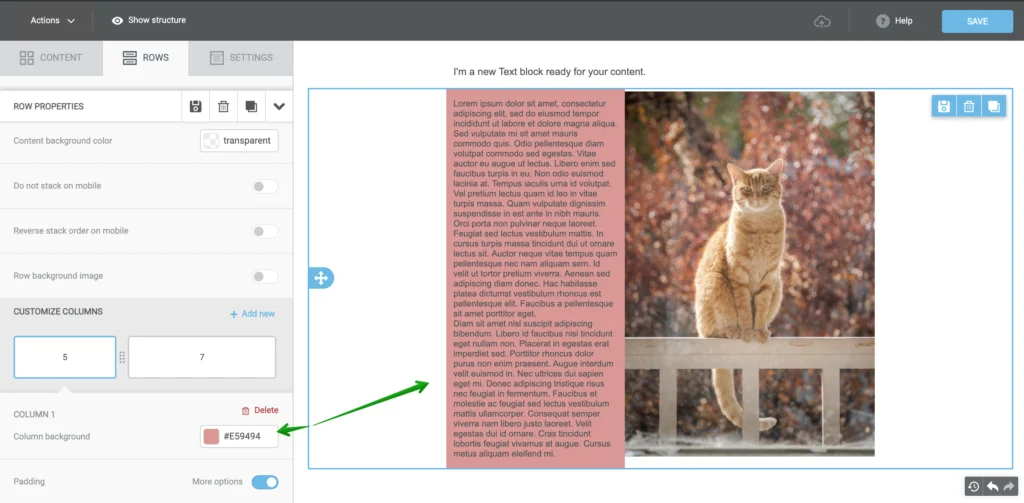
In the settings of the row, you can as well choose a background, a padding, and borders for each particular column.
In the background feature of the settings panel you can select to apply a uniform fill to the column. This is useful if the background of the entire template is an image on which it is not convenient to read the text or the Click button is not visible.
Using the margins, you can align the elements in the column more precisely.
Borders will serve as a visual separation between the blocks. You can use solid line, dotted line, or just dots as a border.

Useful links:
Adapt an Email for Mobile Devices
Save and Reuse Email Elements
Build a Layout Using Rows


