Email marketers often add tables to their commercial offers or emails with information about in-stock items or changes in price.
To quickly and easily create a table in Selzy builder, we recommend that you choose a ready-to-use HTML/Tables block.

Creating a table
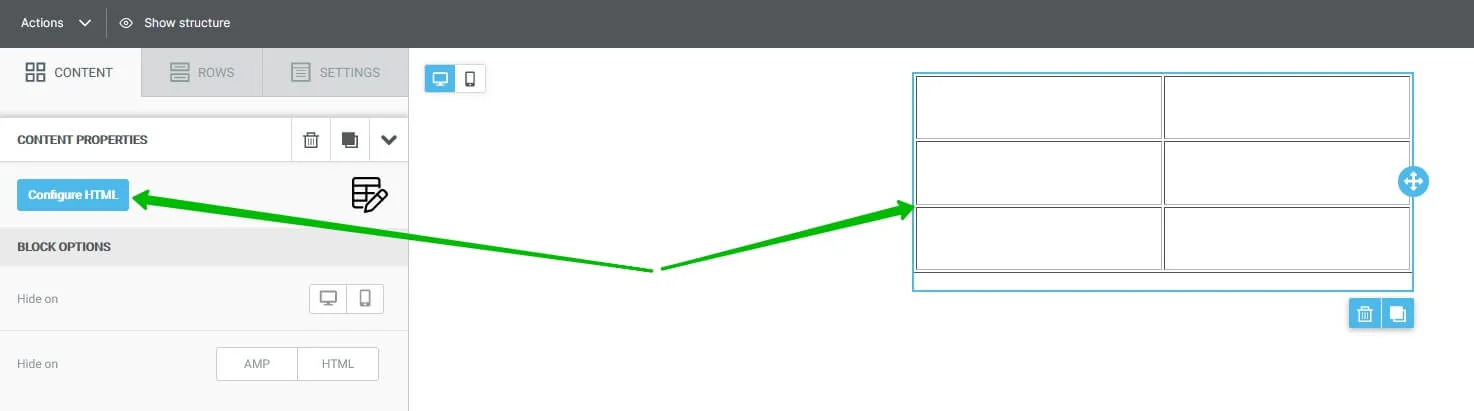
To add a table using the block builder, drag the HTML/Tables block to the message body.
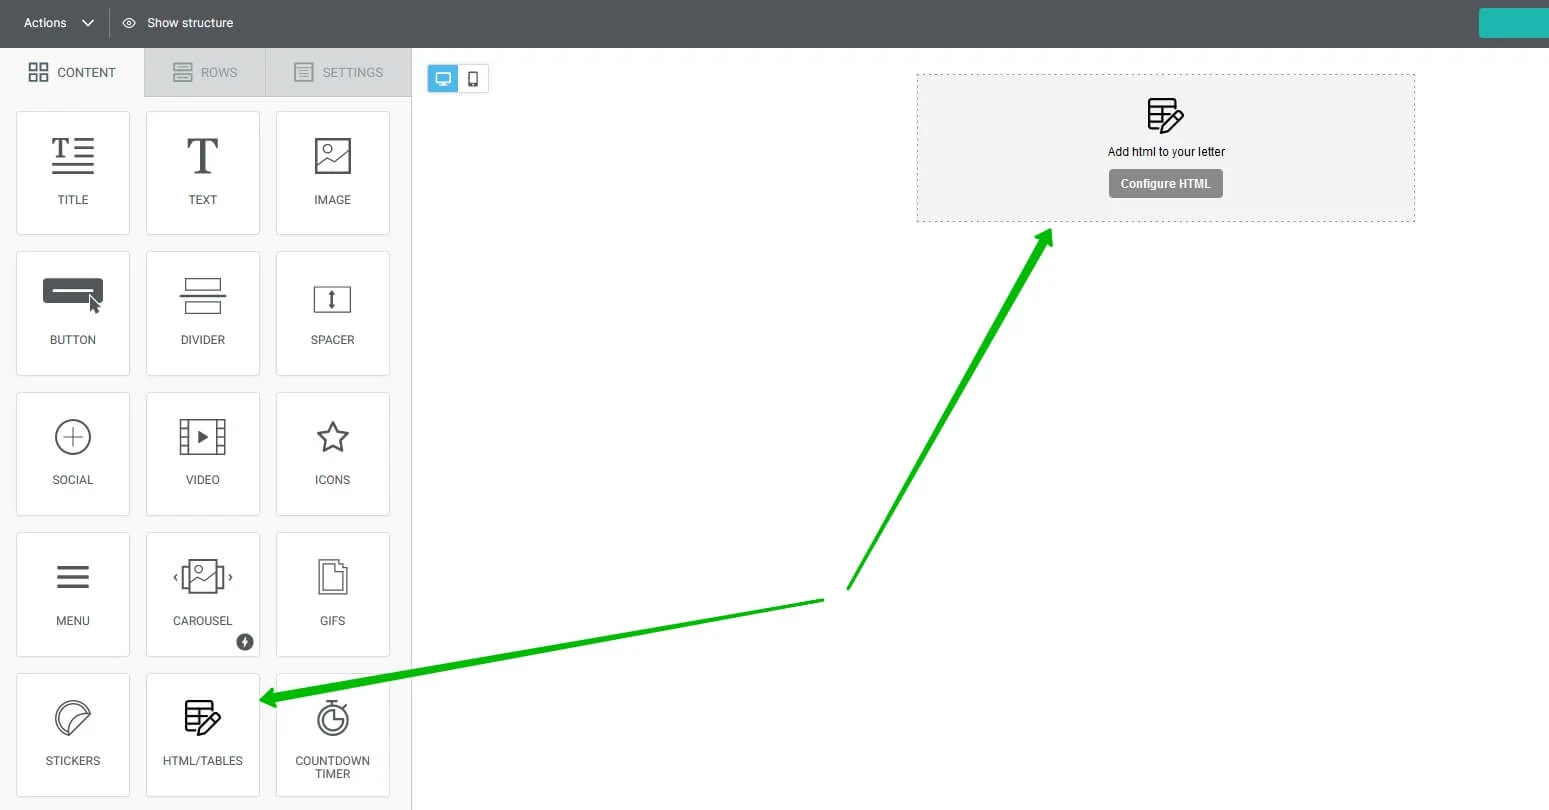
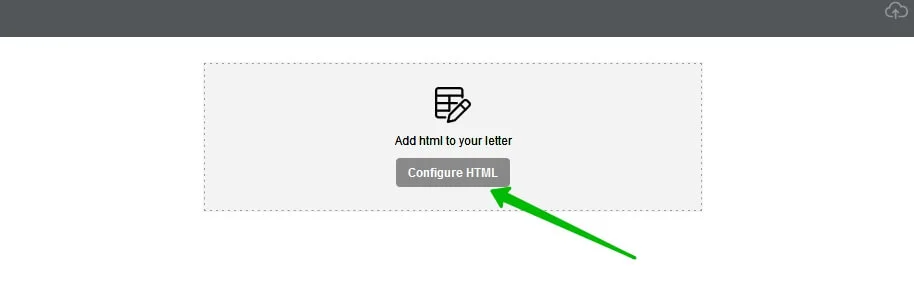
Then click on the Configure HTML button to open the editing mode.
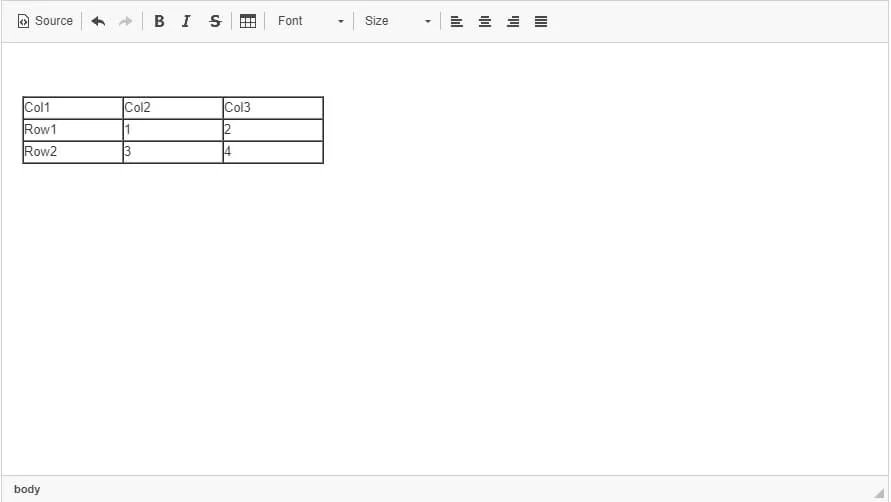
To create a new table, click on the Table button of the top menu.

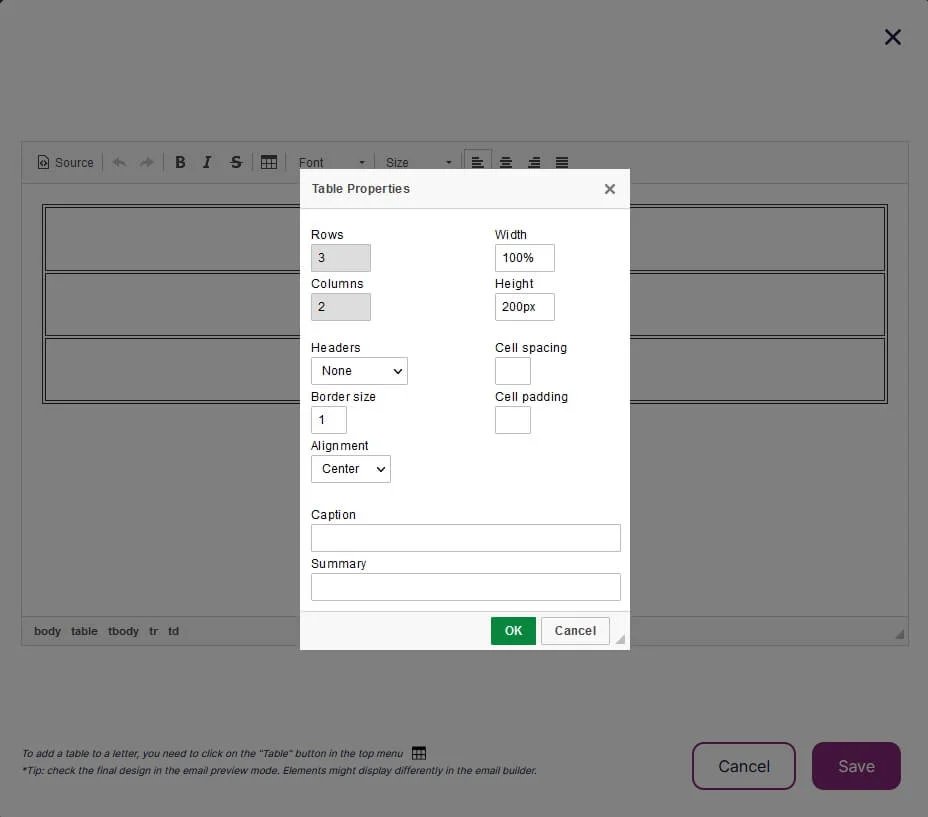
In the opened properties window choose:
- the number of rows and columns;
- the alignment (center, left, right);
- the width and height of the table (we recommend that you choose the percents or pixels; for example, the height of 100% means that the table will take up 100% of the block, whereas 50% means that the table will take up a half of the block / work area).
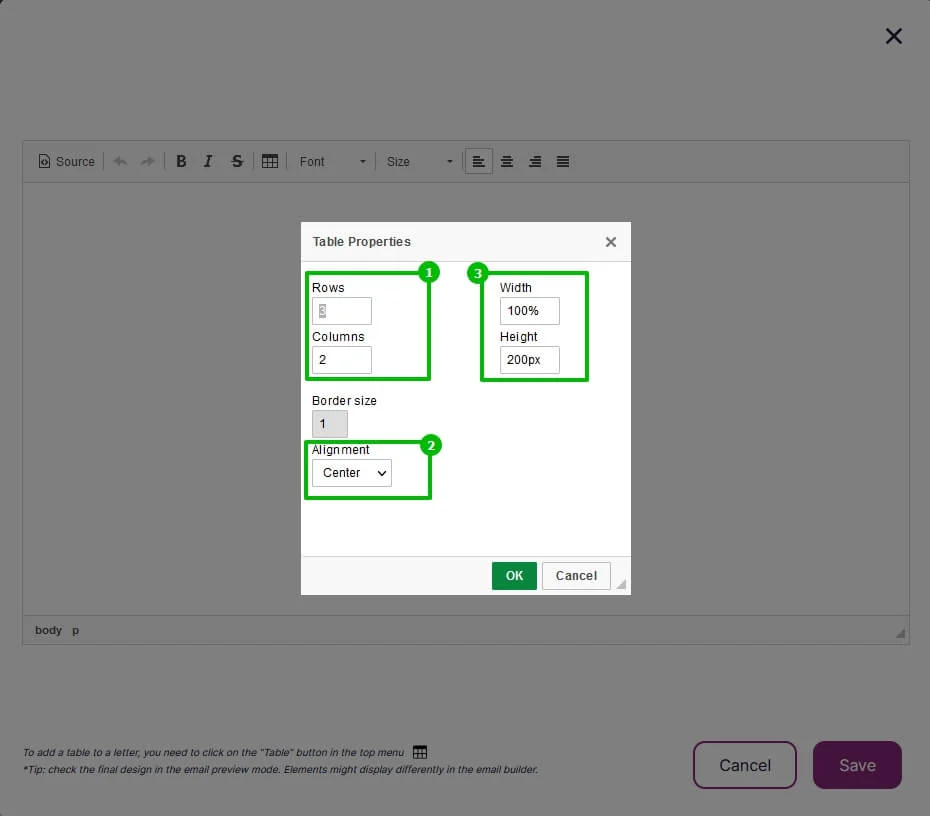
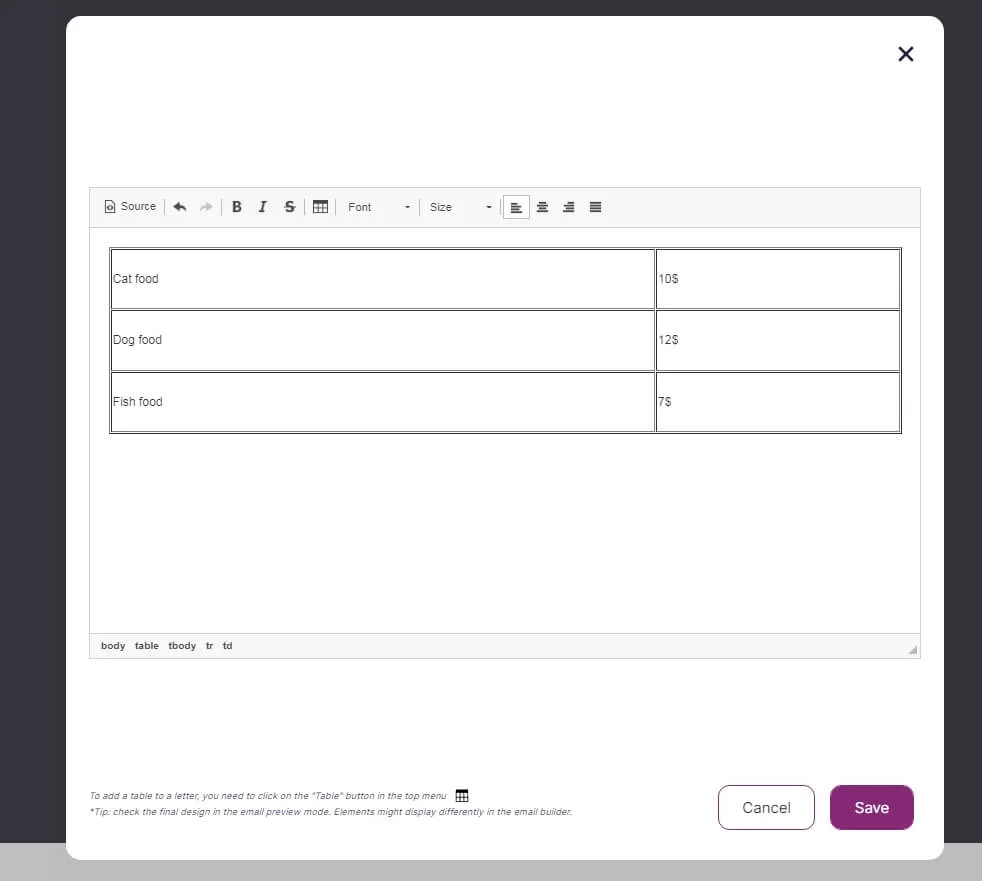
When you click on the ОК button, you will see the table with the chosen sizes. Fill in the table and click on the Save button to add it to your email.
We recommend that you check up display correctness using the preview function (click on the Actions button in the top left corner of the menu) because the layout might look differently in the builder.
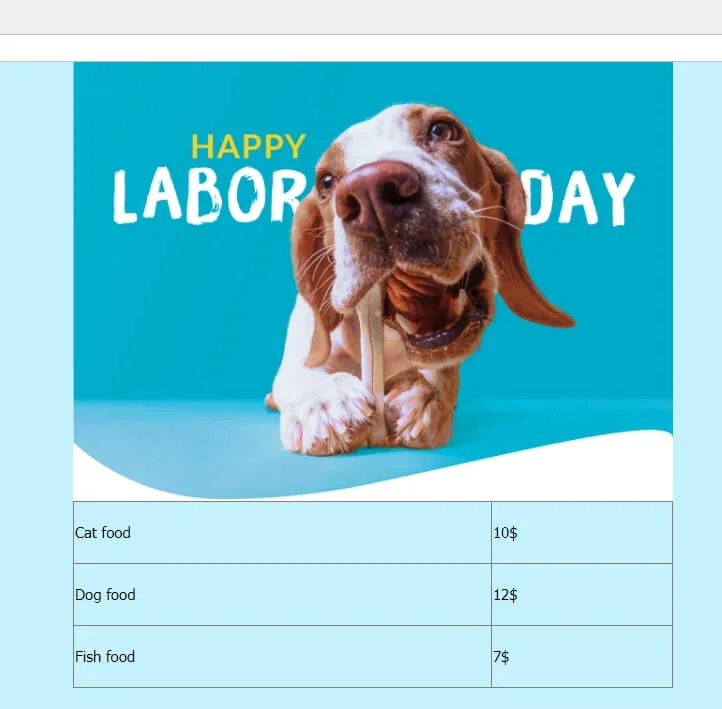
An example of the email with a table created in the builder, in preview mode
Editing a table
To edit a table you have created, click on the Table block of the email and choose Configure HTML from the left-hand side of the menu.
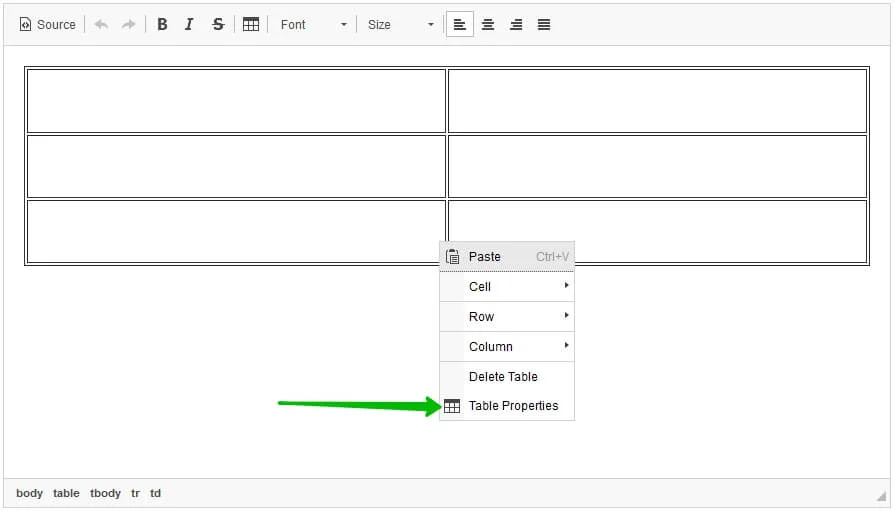
Then, click on the table with your right mouse button to choose Table Properties.
Editing possibilities:
- Rows and Columns — unavailable to edit in the already created table; can be used for new tables only.
- Headers (this option is currently unavailable).
- Border size — the thickness of the table outer borders in pixels.
- Alignment — center, left, right.
- Width and Height — we recommend that you state it in percents or pixels.
- Cell spacing — the space between the table border and the cell border, in pixels.
- Cell padding — the space between the cell border and its content (text), in pixels.
- Caption — the text placed right above the table. Instead of this one, we recommend that you add your caption using the Caption option in the builder.
- Summary (this option is currently unavailable).
To edit a column or a row (for example, in order to change its color), select all the cells in the row/column, click on the selected part of the table with the right mouse button and choose Cell — Cell Properties.
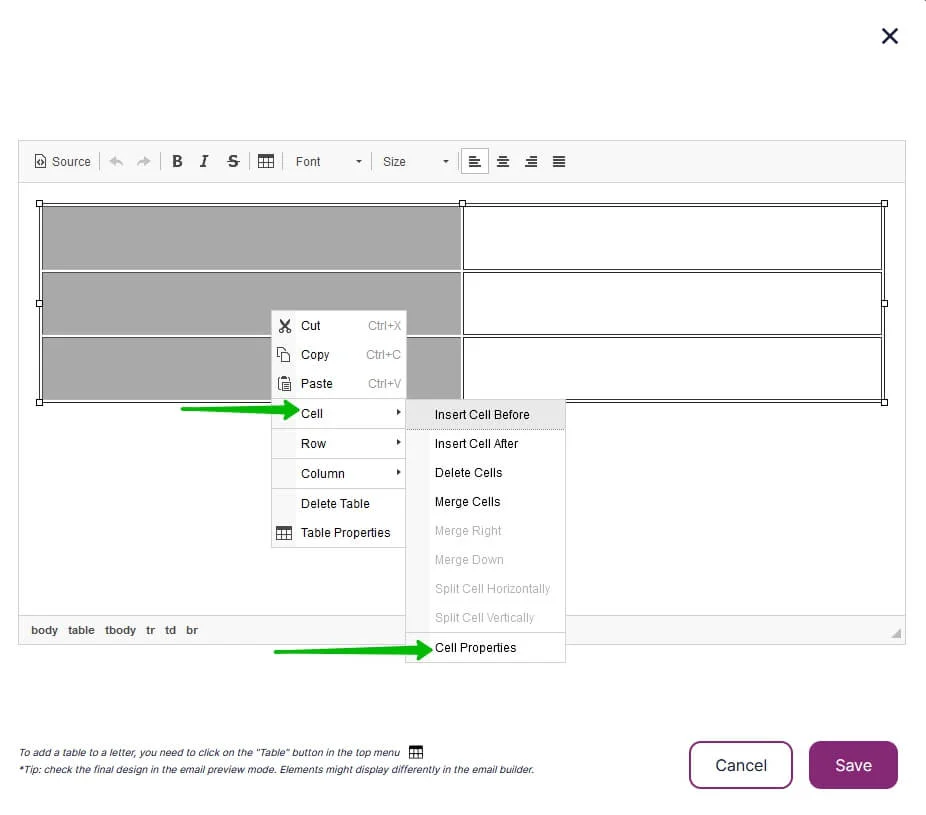
Editing possibilities for the selected cells:
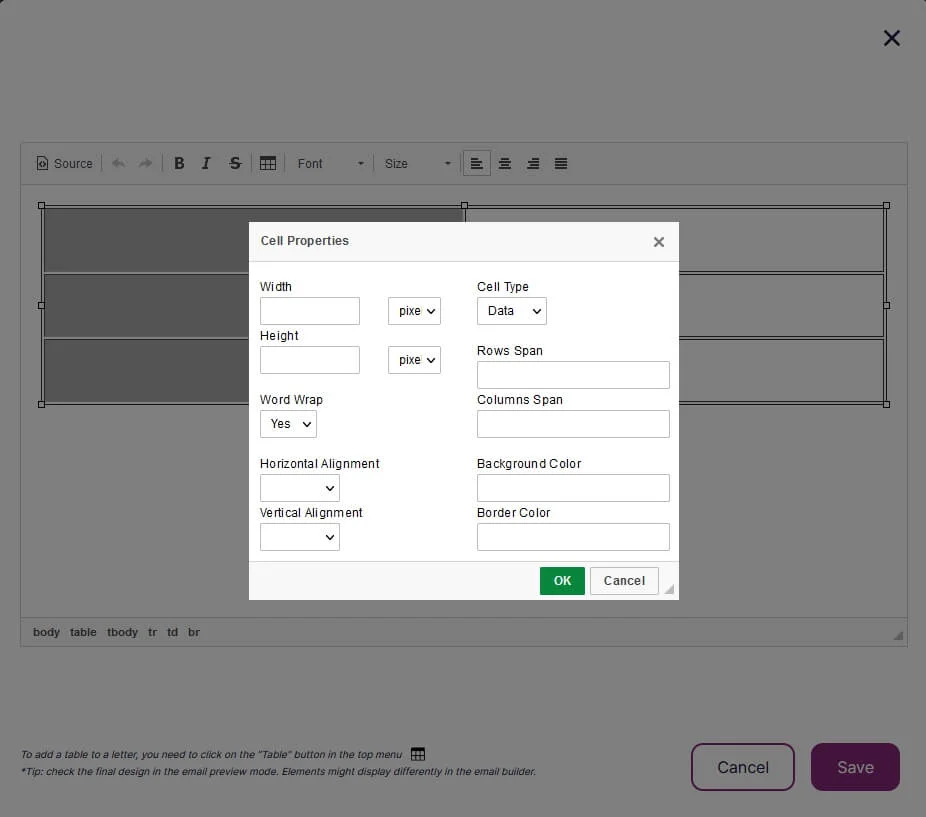
- Width and Height of the cells — we recommend that you state it in percents or pixels.
- Word Wrap — configure word wraparound.
- Horizontal Alignment — center, left, right.
- Vertical Alignment — top, middle, bottom, baseline.
- Cell Type — header (content is bold-typed and centrally aligned) or data.
- Background Color and Border Color — given in Hex (for example, #fabcd1) or RGB (for example, rgb(10,25,90)).
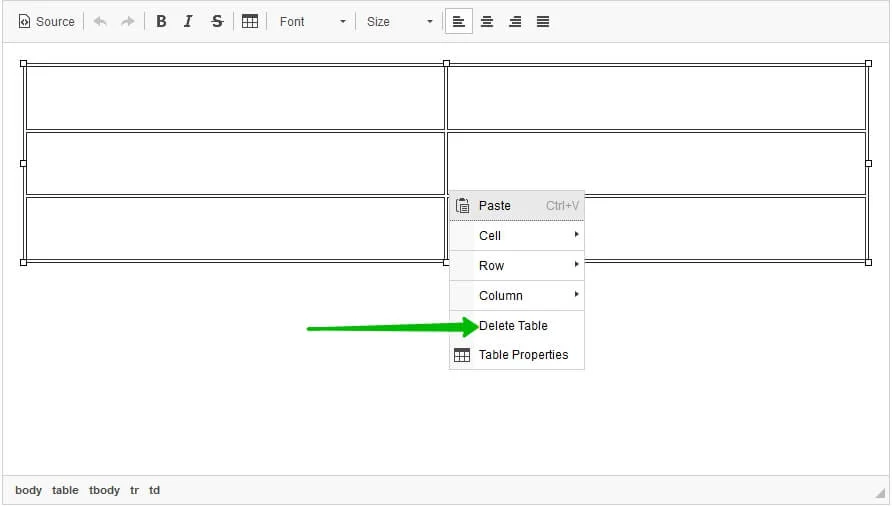
To delete a table, click on the table with your right mouse button and choose Delete Table.
Adding an already created table to your email
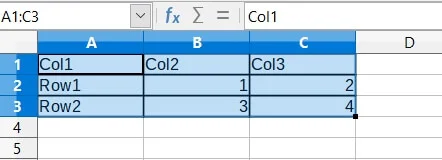
Copy the right table from the file of Google Tables.
Drag the HTML/Tables block to the email and click on the Configure HTML button.
Without creating a new table, paste the copied data into the right field.
To add your table into the email using this option, please use Google Chrome. It may not work out in other browsers, or the table may be considered a not-editable picture rather than a table.