Selzy offers many ready-made email templates for you to use in the drag-and-drop editor. Just choose the template you want and edit it the way you like.
Choose a template
To see all the available templates for the drag-and-drop editor, click Create а campaign → Email.
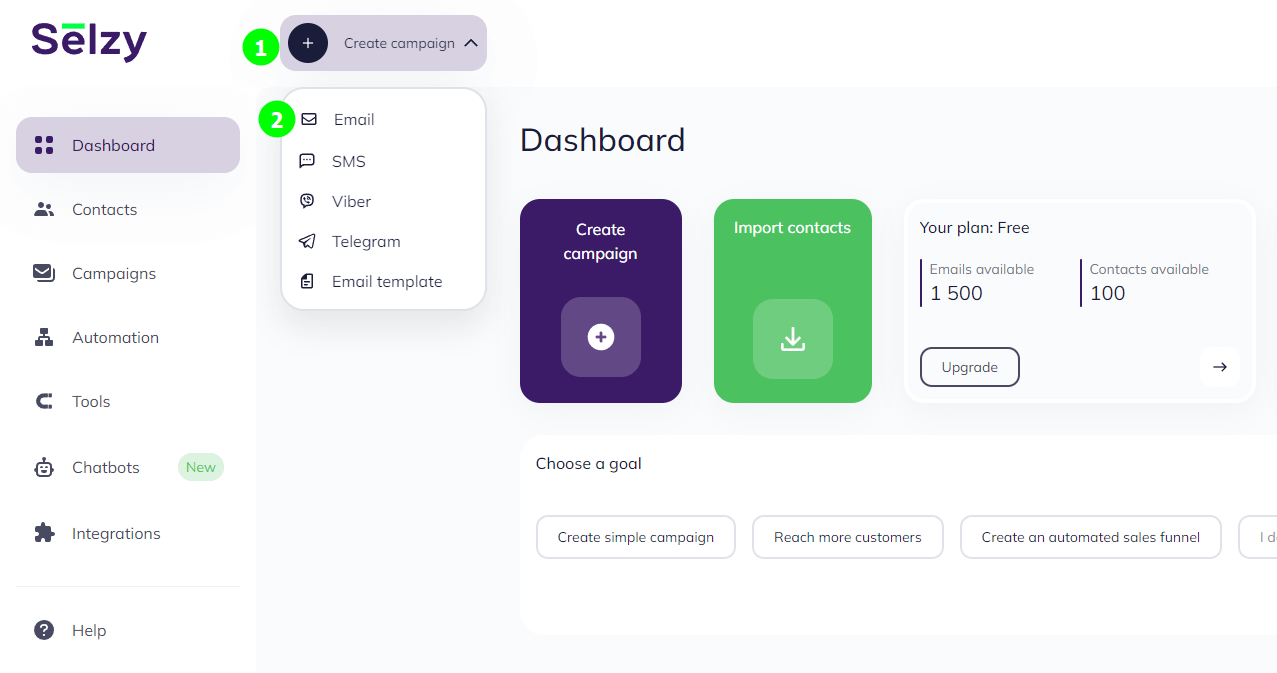
Next, pick a template you want to use and click the Choose button.
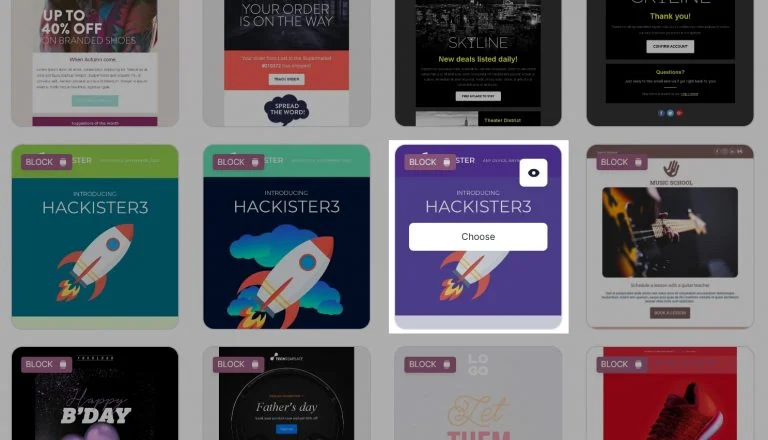
The template will appear in the builder window.
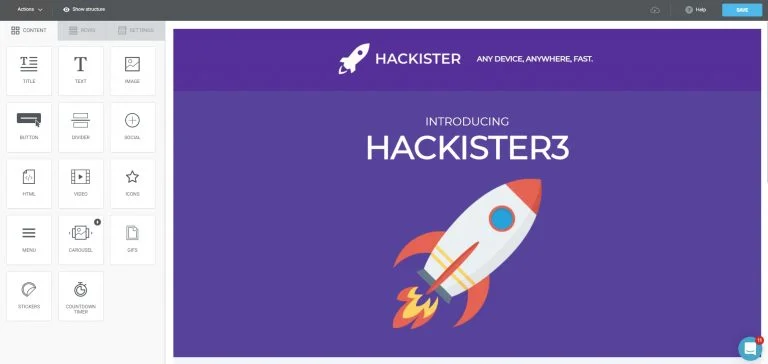
First, let's replace the image.
Edit an image
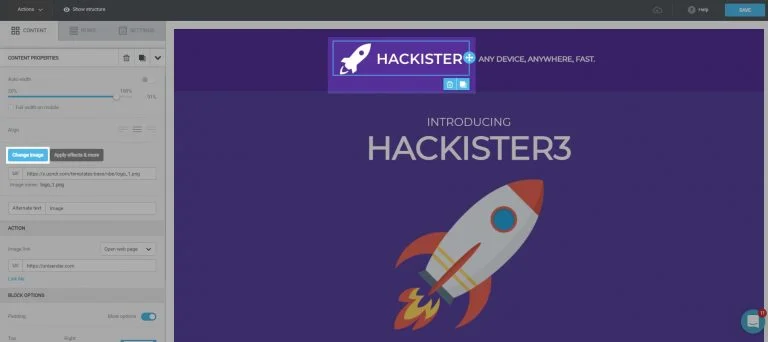
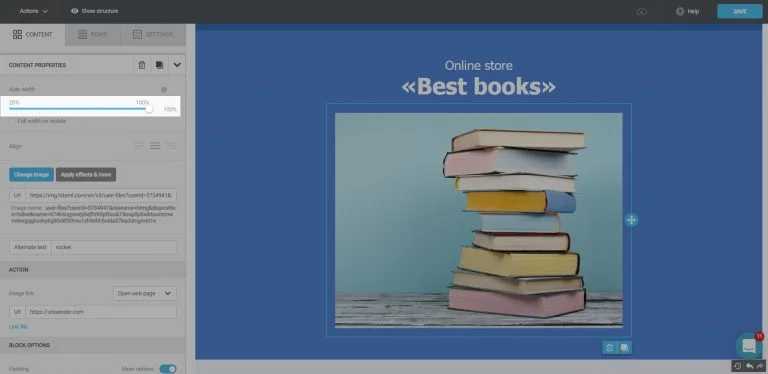
Click on the image you want to replace. On the left pane, click Change image.
Next, click Upload on the top pane in the file manager menu, and choose an image on your device.
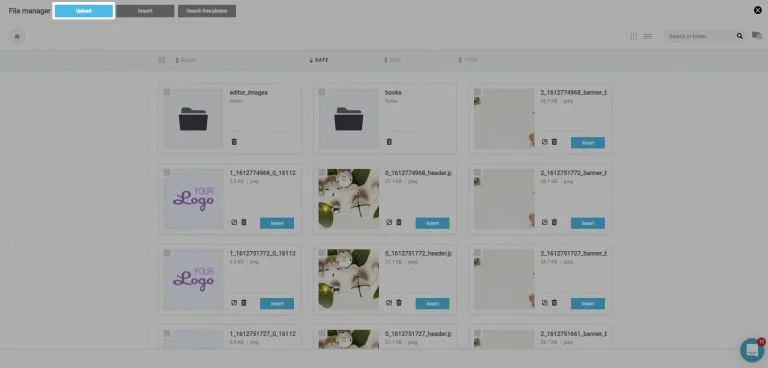
The image will be uploaded to the file manager. Click Insert.

The image will be added to your email design.
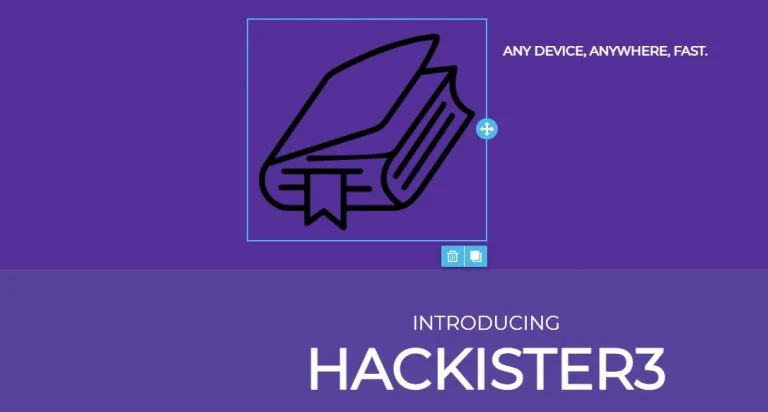
In our example, the image appears to be too large. Let's make it smaller. To do this, click the image within the email and use the slider on the left pane to reduce its width.
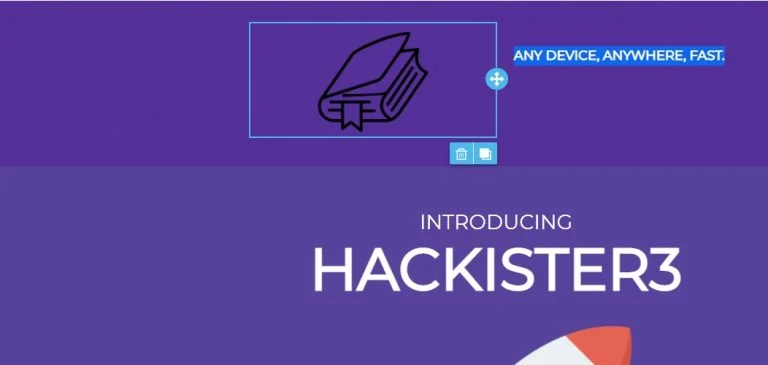
This is what the smaller image will look like.
Next, let's edit some text.
Edit text
In the Text block, put the cursor in the text field to edit it.
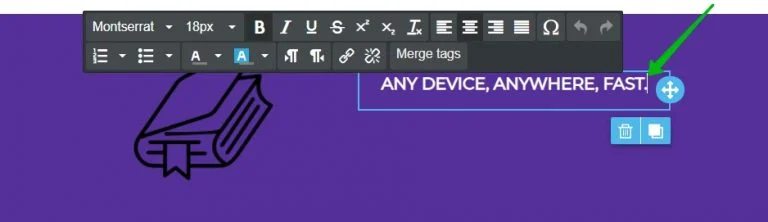
Delete the template text and enter your own one.
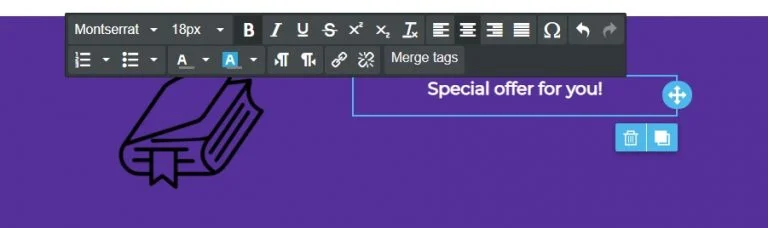
Next, let's format the text.
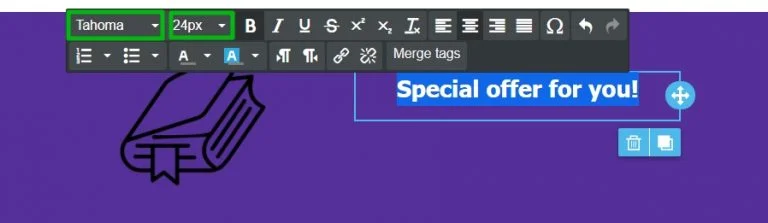
Select the text you want to format, and set the font and size you want to use. You can also adjust font color, background color, style, alignment, and other settings.
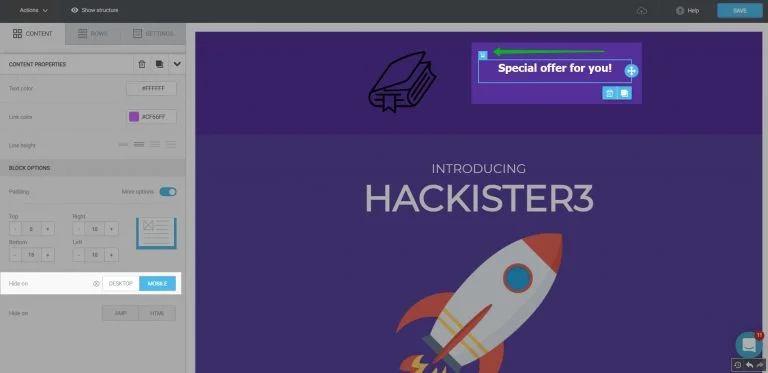
Please note that this particular content block is set to be hidden on mobile, so it will only be displayed on desktop screens. This option can be configured at the bottom of the left pane. In our case, the block is set to not display on mobile devices, so the Mobile button is active. If you hover over the block itself, you’ll also see a crossed-out phone icon at the top left of the block.
Let's leave the settings as they are; the content block will not display on mobile devices.
This is what the content row with the updated image and the text will look like.

Next, let's proceed to editing content rows.
Adjust content row properties
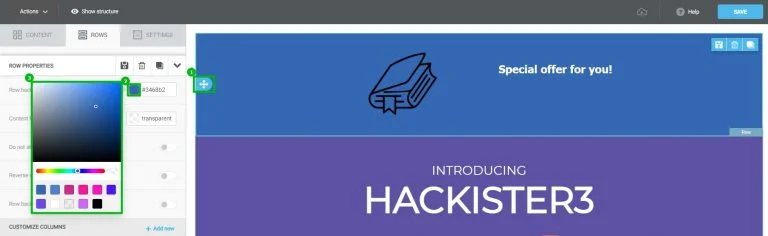
First, let's change the background color of a content row. To do this, click on the content row in the email builder and set a different color in the Row background color field on the left panel.
Take the same steps to adjust the properties of the bottom content row.

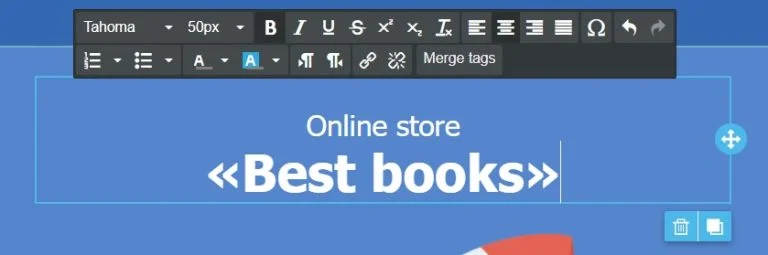
Next, let’s edit another text block in the same way you did with the first content block.
Enter the text and adjust its font and size.
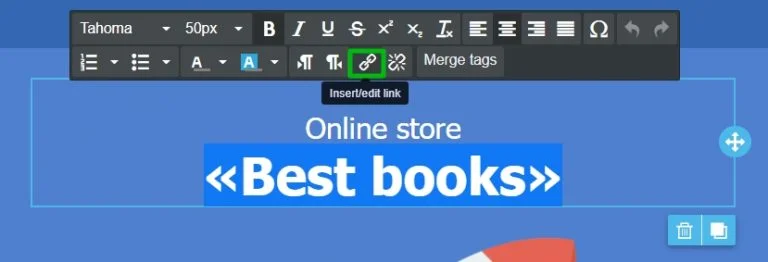
Let’s add a link to the company’s name.
Add a link
Select the text that you want to add the link to. On the toolbar modal, click the Insert / edit link button.
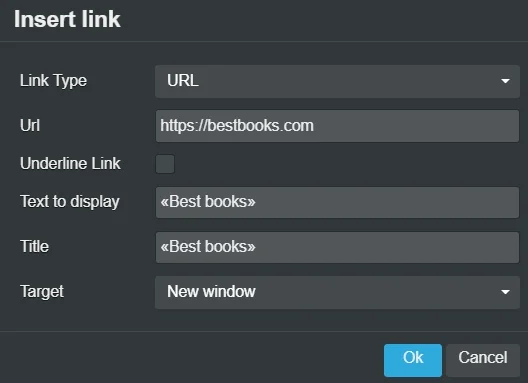
In the Insert link popup modal, fill in the following fields:
- Link type — the type of the link. Just leave URL here.
- Url — insert the link.
- Underline link — link underline. Uncheck the box to remove the underline.
- Text to display — link text. It’s already there; don’t change anything.
- Title — the text displayed when a user hovers over the link. Enter the same text as in the field above.
- Target — the target attribute specifying where to open the URL. Leave New window selected.
The link will now look like this.
The color has changed to pink because that color is pre-set in the block properties. Let’s set it to white.
To do this, click on the text block and set Text color to white under Content Properties on the left pane.
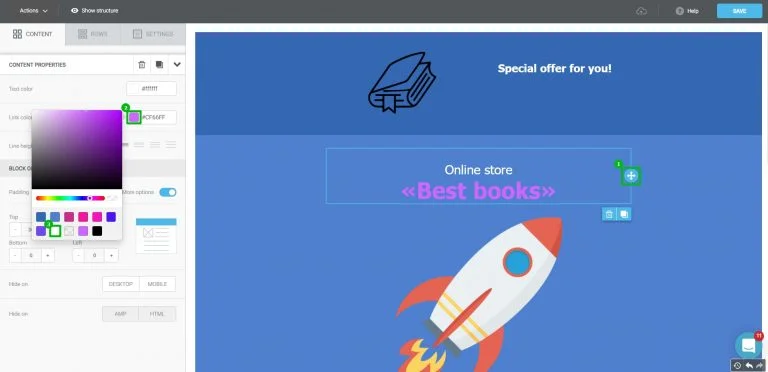
The link color should have changed to white.
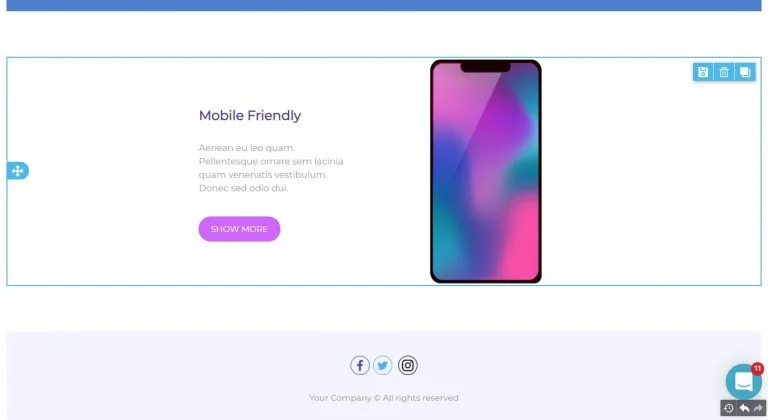
Edit the image below in the same way you did the previous one.
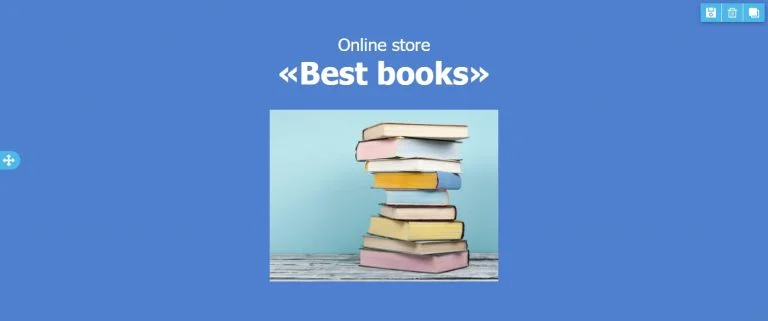
This image is too small, so let's make it bigger. Click on the image and use the slider on the left pane to set the width up to 100%.
The image should now look somewhat like this:
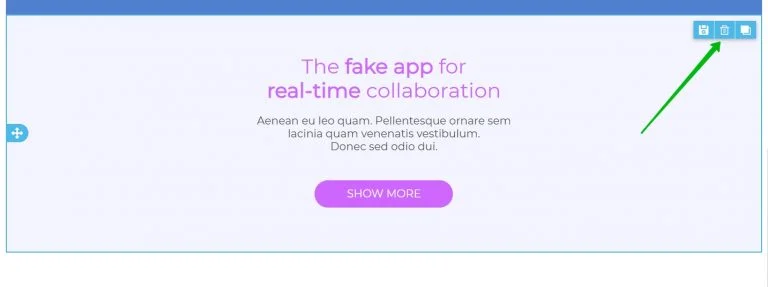
Next, let's delete the content row below the image.
Delete a content row
Click on the content row in the email. At the top right of the row, click on the trash bin icon.
The row will be deleted.
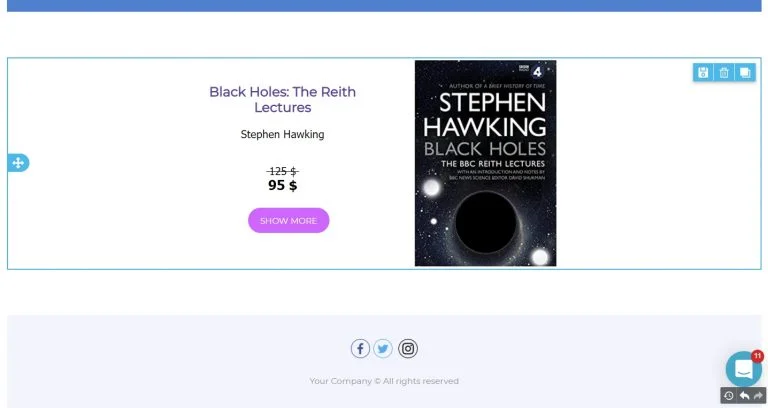
Now, in the next block, change the text and the image with the same steps as you did earlier.
The result will look somewhat like this:
Finally, let’s edit the button within the block.
Edit a button
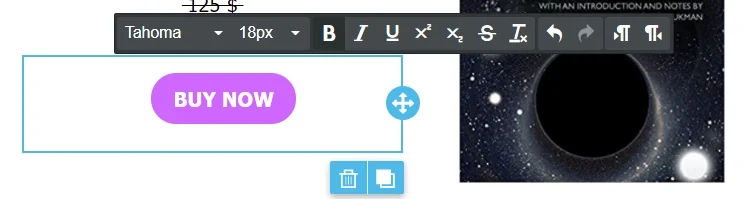
First, let's edit the text of the button. Click on the block with the button, select the text and enter your own.
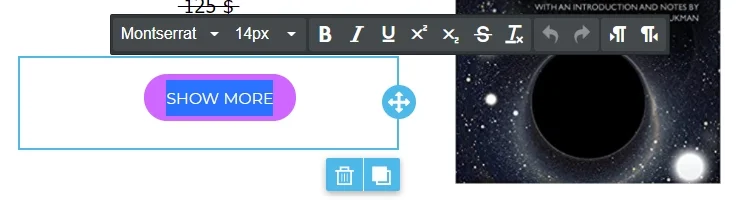
You can also change the font and size of the text the same way you would do with the text block.
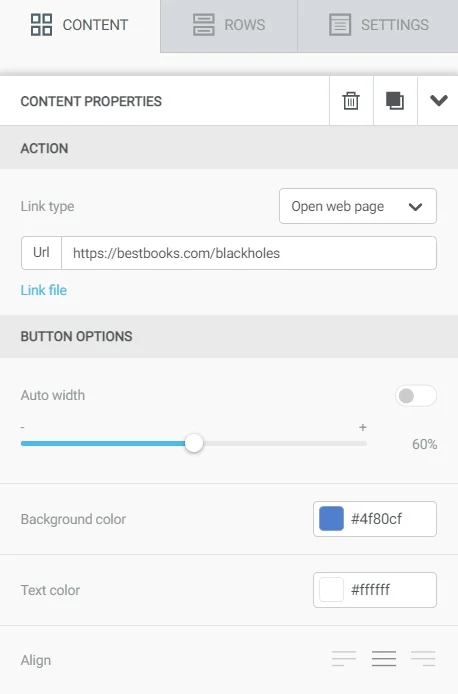
Now, click to select the button in the email, and set its properties on the left pane:
- Paste the link into the URL field.
- Disable auto width and use the slider to increase the width of the button.
- Change the background color.
- Set the alignment to Center.
As for the text color, let's keep the original white.
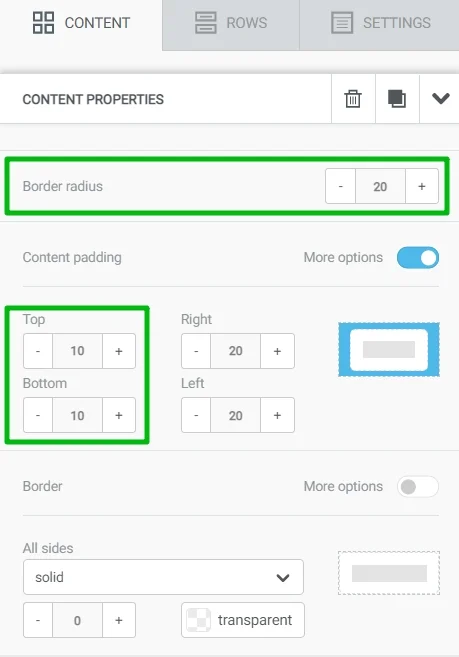
Scroll down the properties and change the following settings:
- Decrease the Border radius to reduce the radius of the rounded corners.
- Increase the Top and Bottom paddings under Content padding.
You can also play around and adjust other paddings or add borders to your buttons, among other settings, but we’ll keep the default settings for now.
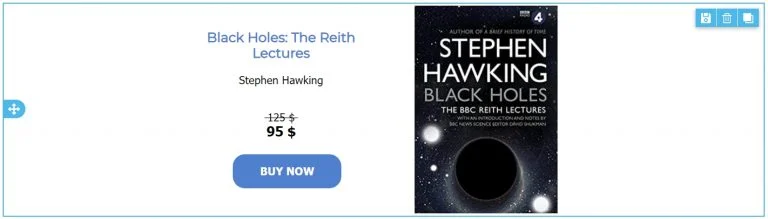
Now, the content row should look like this.
Let's create a few more content rows to fill them with other content. To do this, you do not have to create a new row from scratch. Just create a copy of an existing one.
Copy a row
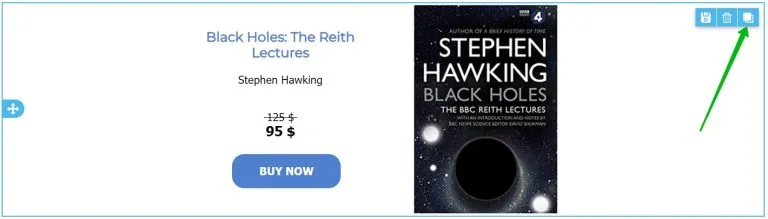
Click on the row you want to create a copy of. Next, click on the Copy icon in the top right corner of the selected row.
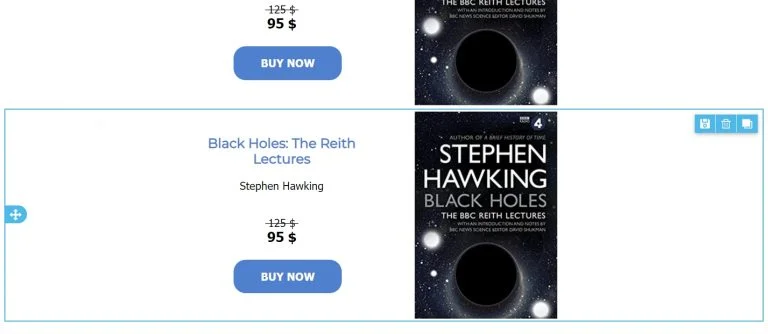
The duplicate of the row will appear under the original one.
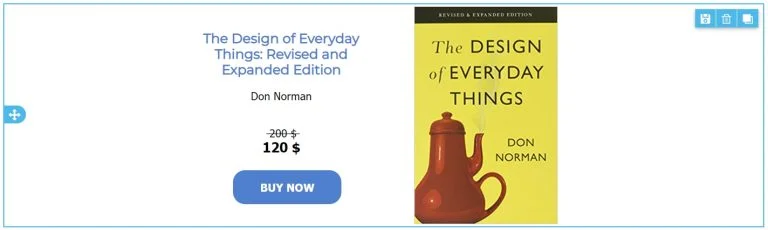
Edit the text, the image and the link on the button.
Create another copy of the row and edit its content one more time.
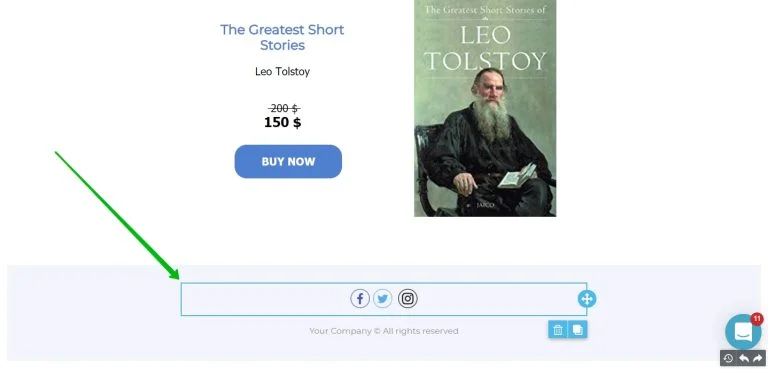
Next, let's move on to the social media block.
Edit the Social Media block
Click to select the block.
The block settings are available in the left pane.
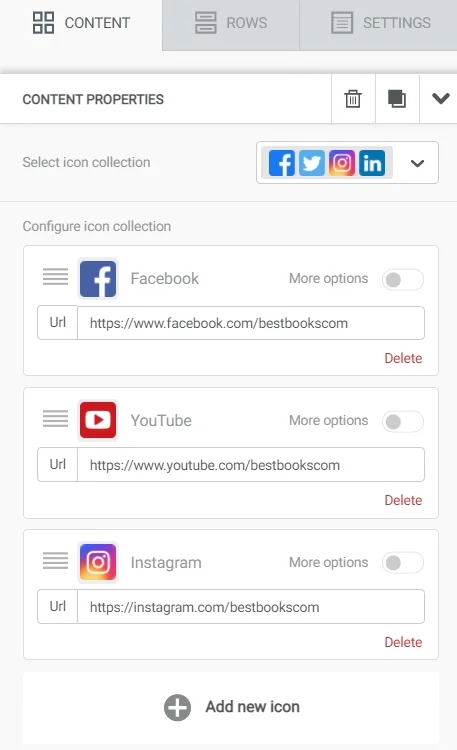
First, let's adjust the set of icons.
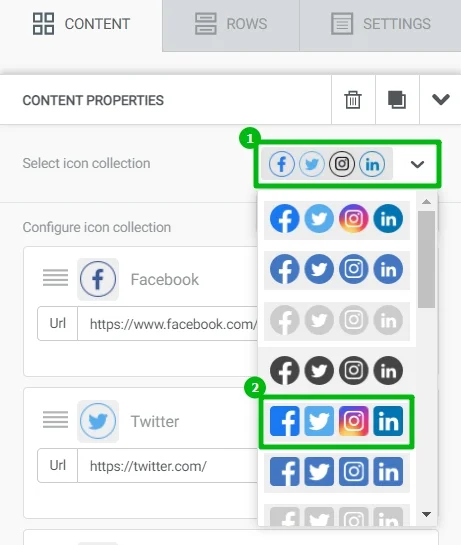
In our example, we will replace the Twitter icon with a YouTube one. To do this, click Delete next to the Twitter icon. Next, click "Add new icon" and choose YouTube.
Drag the YouTube icon to where you want to place it.
In the URL fields, add the links to your social media platforms.
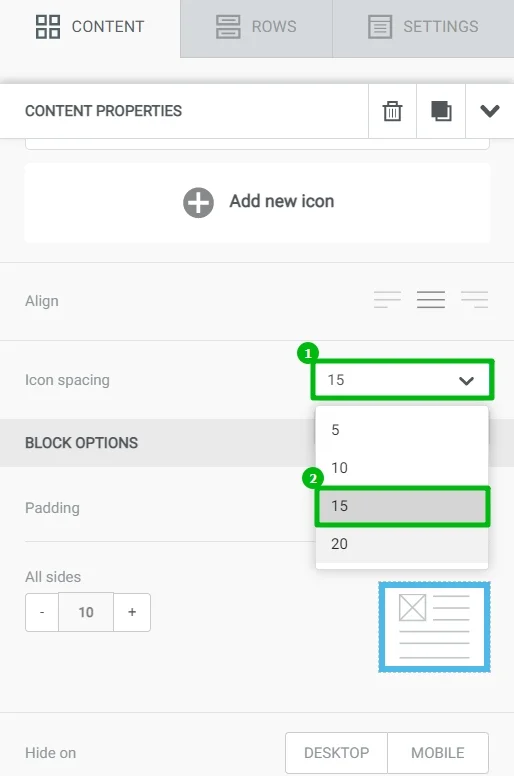
Next, let's change the icon spacing.
Here, you can also adjust the alignments and paddings, but we will the default settings as they are.
Here’s what the social media block should look like after the adjustments.

Now, all that's left is to edit the text under the social media block. Put the cursor into the text block, delete the text and enter your own.

That’s it. Let's look at our final result.
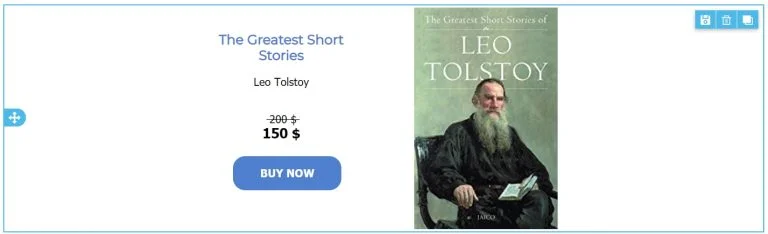
Here's the template we started with:
And here's what the template looks like after the edits.

Useful links:
Key Features of the Selzy Builder
Customize Fonts and Colors in Your Email
Build a Layout Using Rows
Add and Edit Text, Insert Link
Insert an Image
Add Links to Social Media Websites
Embed a Video
Embed a Gif Image
Add a Preheader
Preview Emails Before Sending


