You have created a corporate email following the previous tutorial, and now it is time to send your first email campaign to your subscribers.
If it is your first campaign, we advise you to study the Tutorial №8 Mailing List Posting Rules before you begin.
Step 1. Create an email campaign
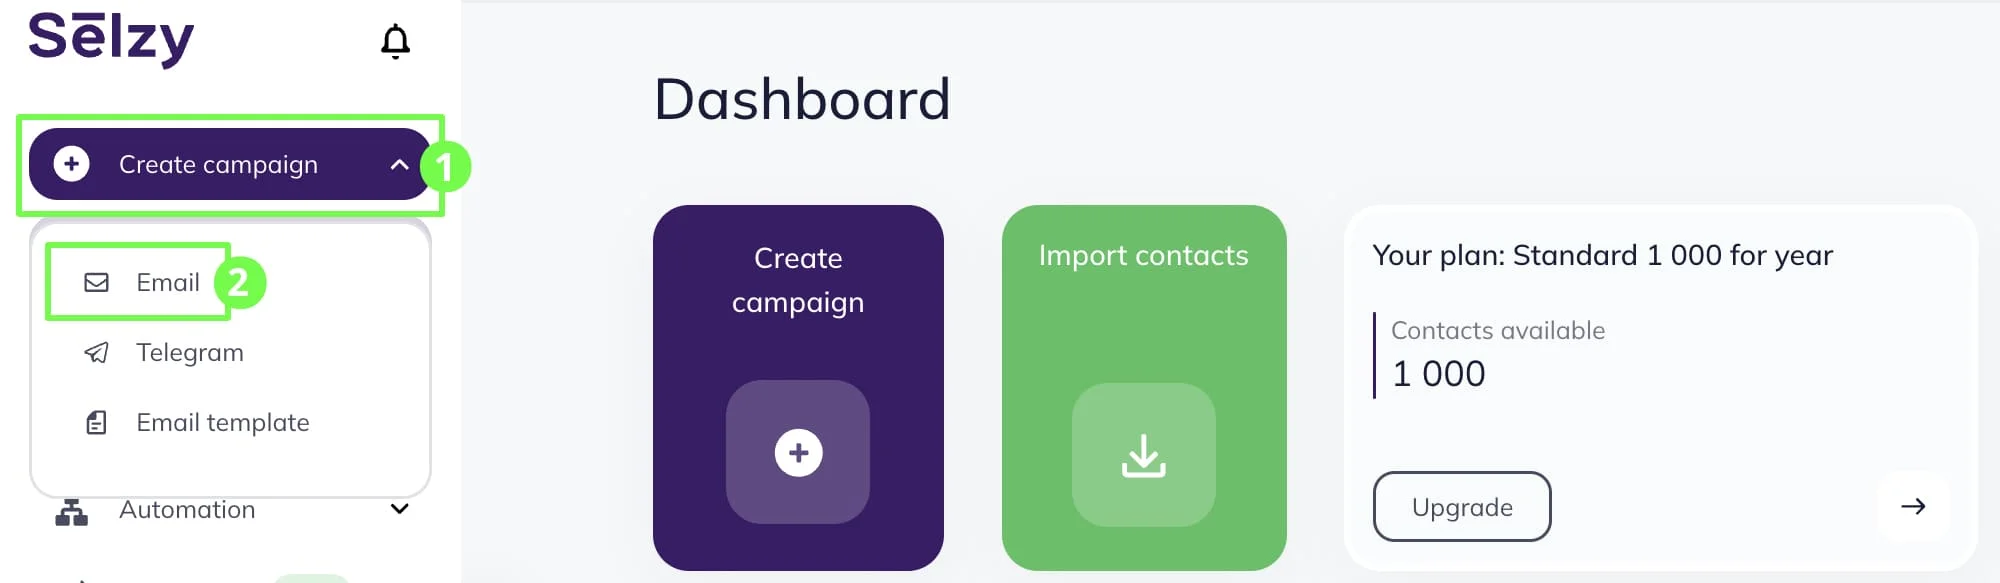
Before sending a campaign, we need to create one. Choose Create campaign and click Email in the dropdown menu.
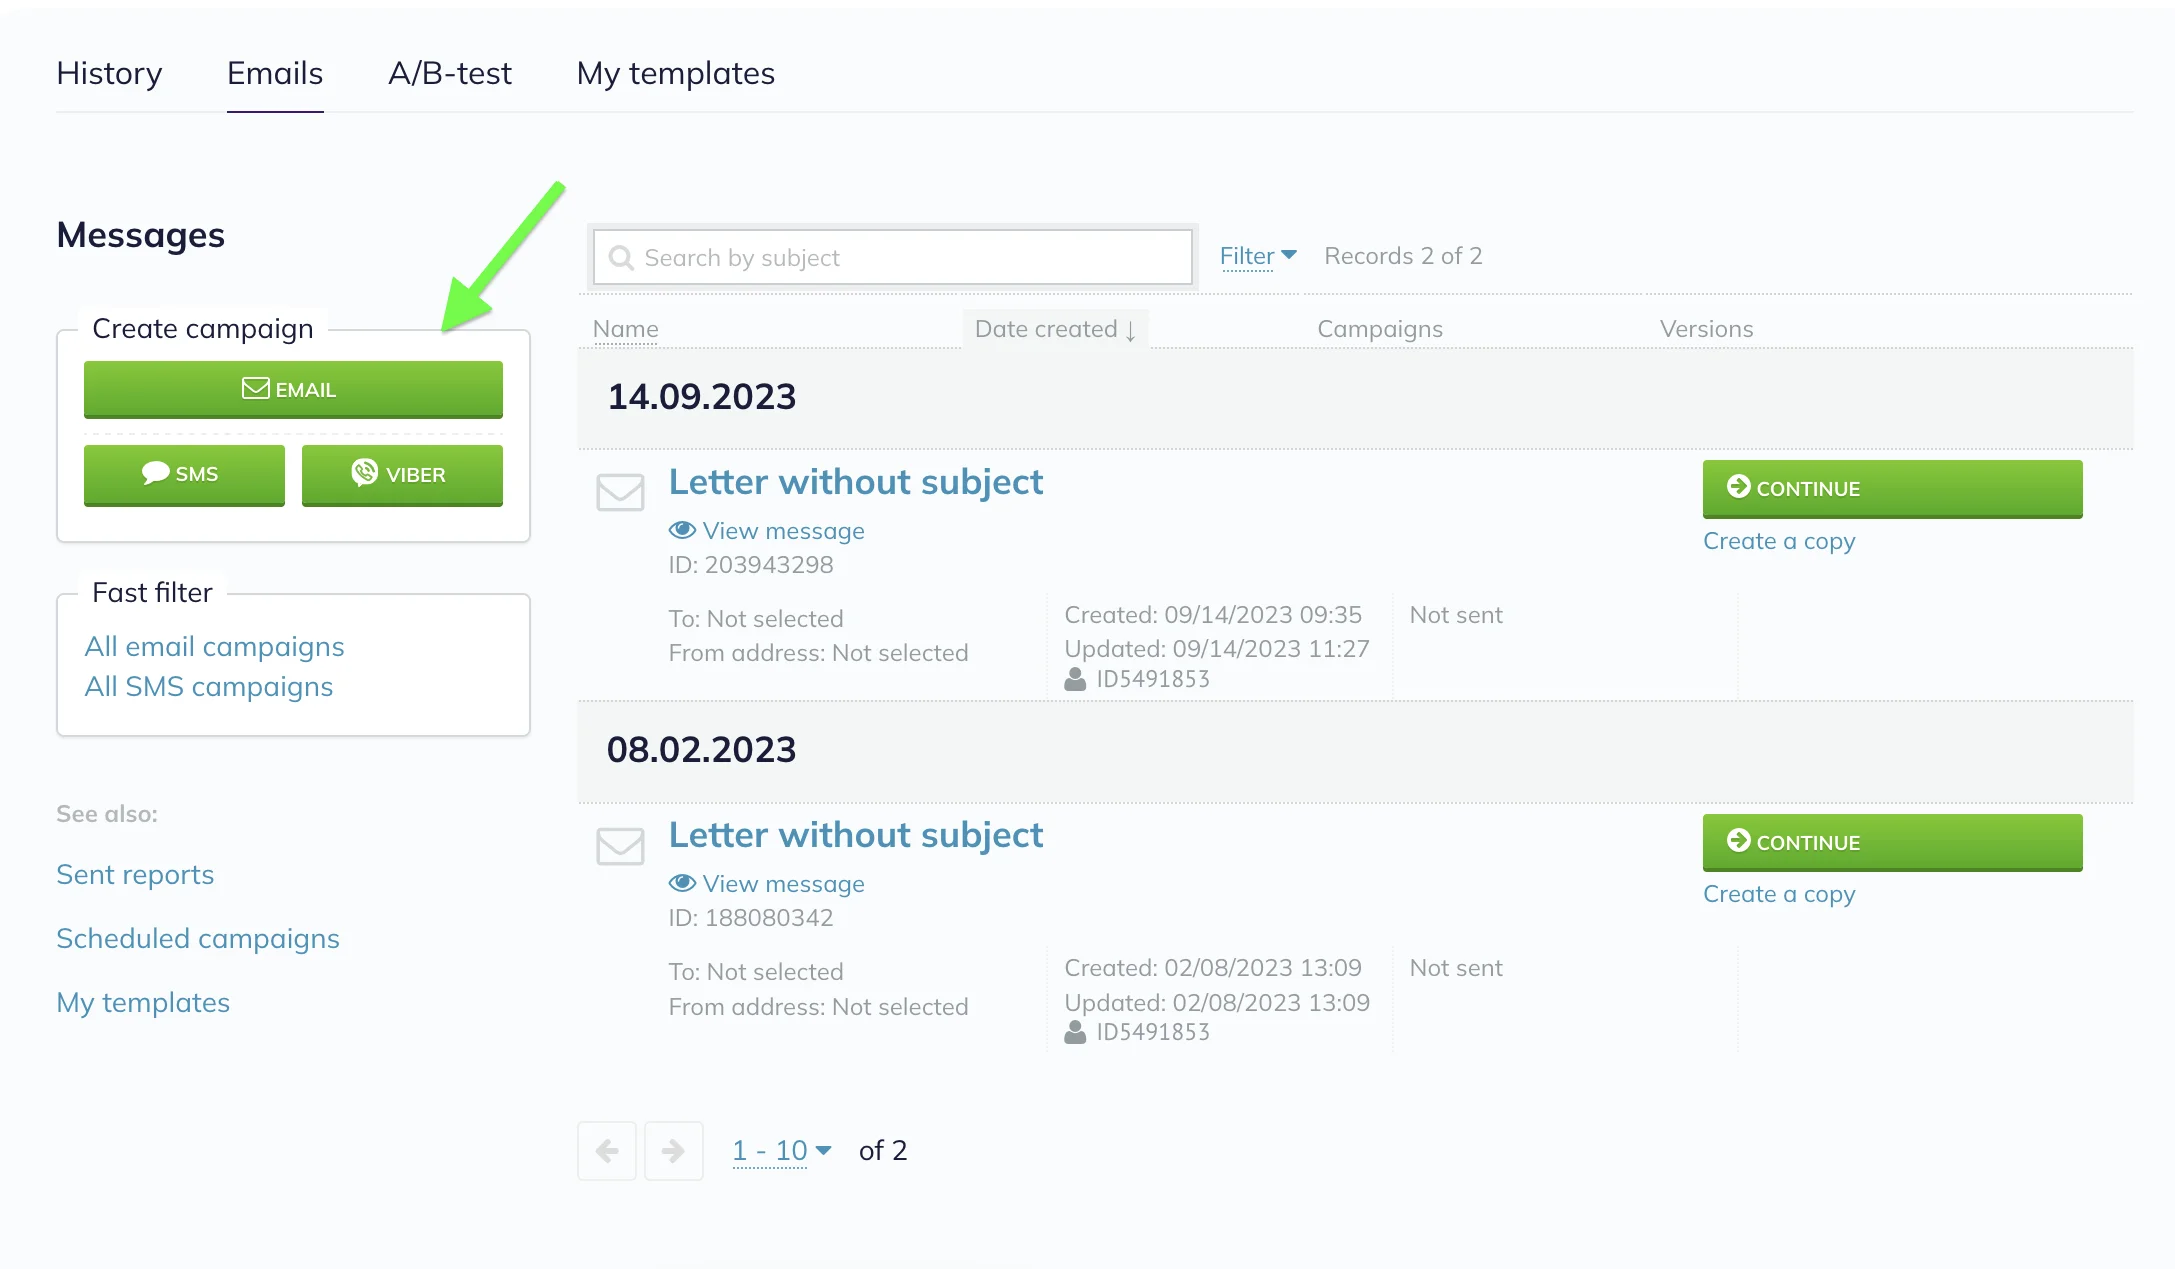
You can also create a campaign under Campaigns → Emails. Click on the Email button:
In Selzy, you can create an email:
Create an email in any of the suggested ways, and then click the Continue button in the upper right corner to proceed to the next step.
If you are not sure what to write on a button, which subject line to choose from several options, or if you want to decide on an email variant for the maximum conversion, take your time! Create several drafts and launch A/B testing.
Create an email with a template
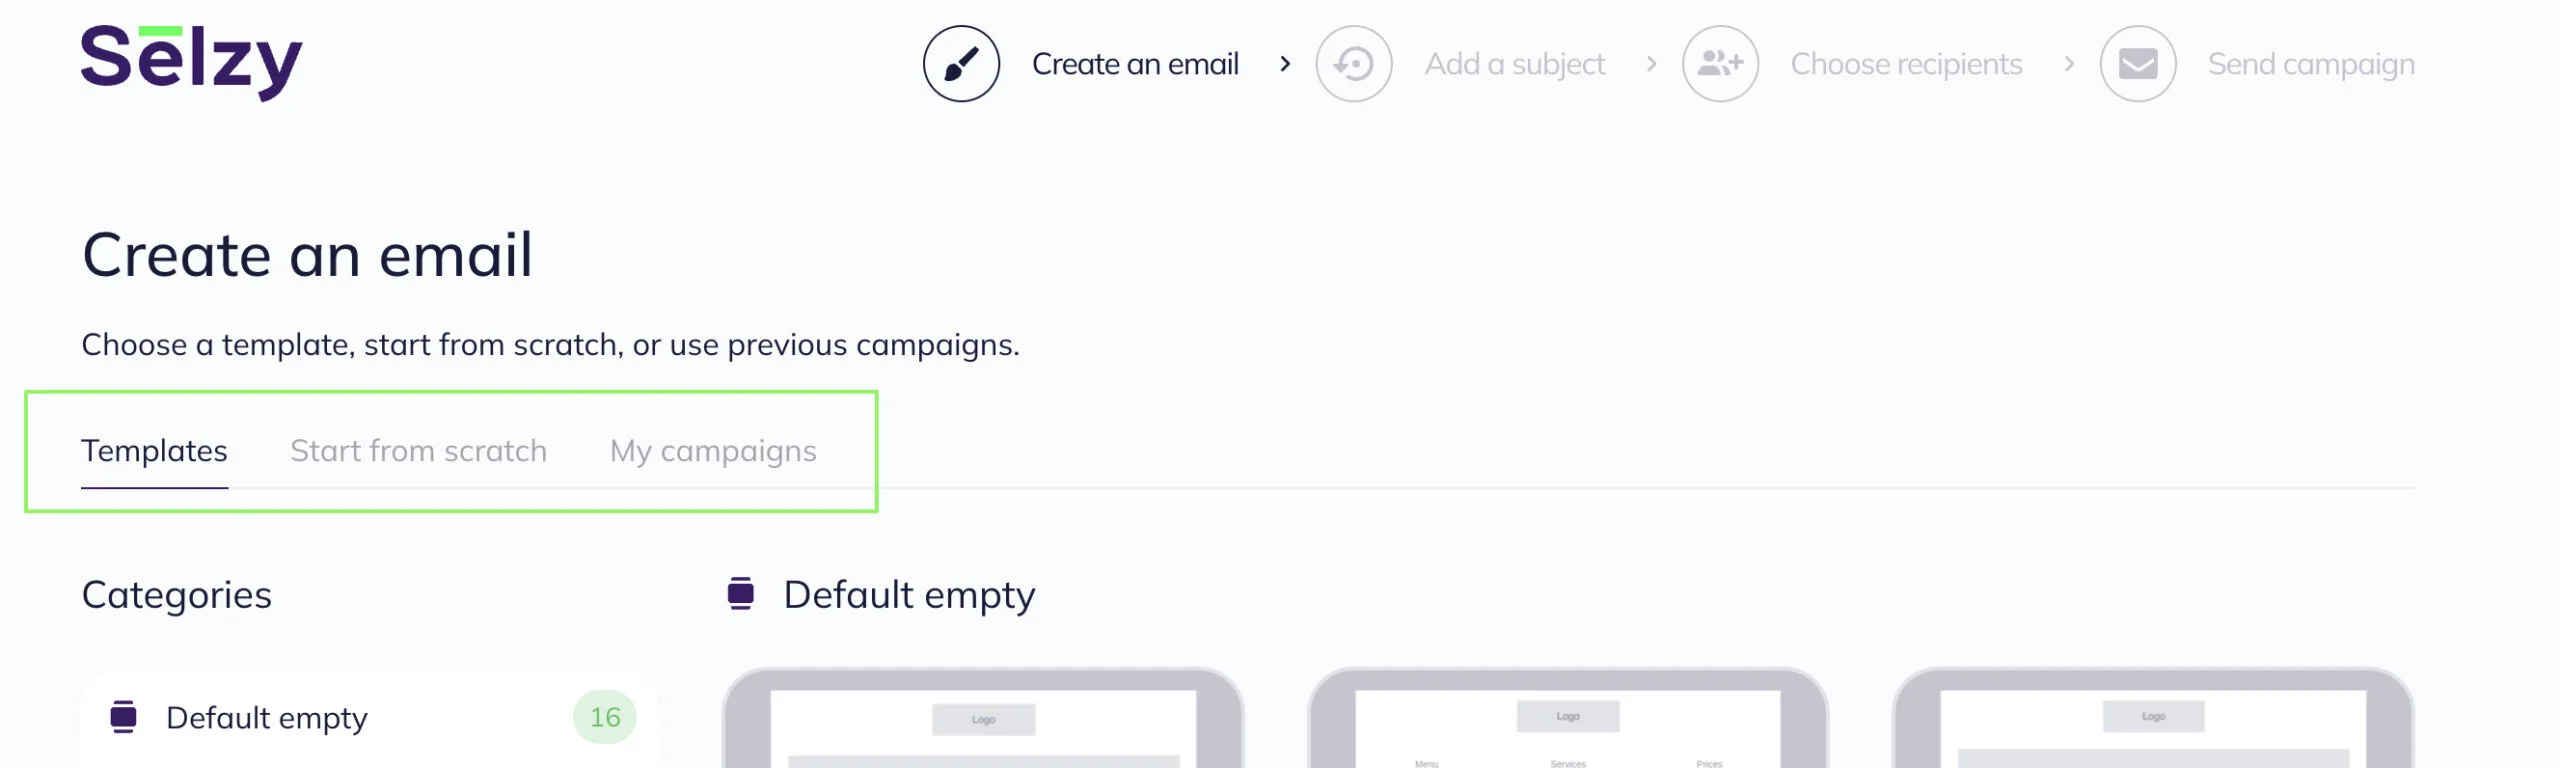
On the Templates tab, you can create an email based on a pre-made Selzy template or use your own template.
Follow these instructions for a walk-through:
Create a campaign with a template in email builder
Save an email design as a custom template
All Selzy templates are grouped by categories based on the business niche or sending occasion.

Create an email from scratch
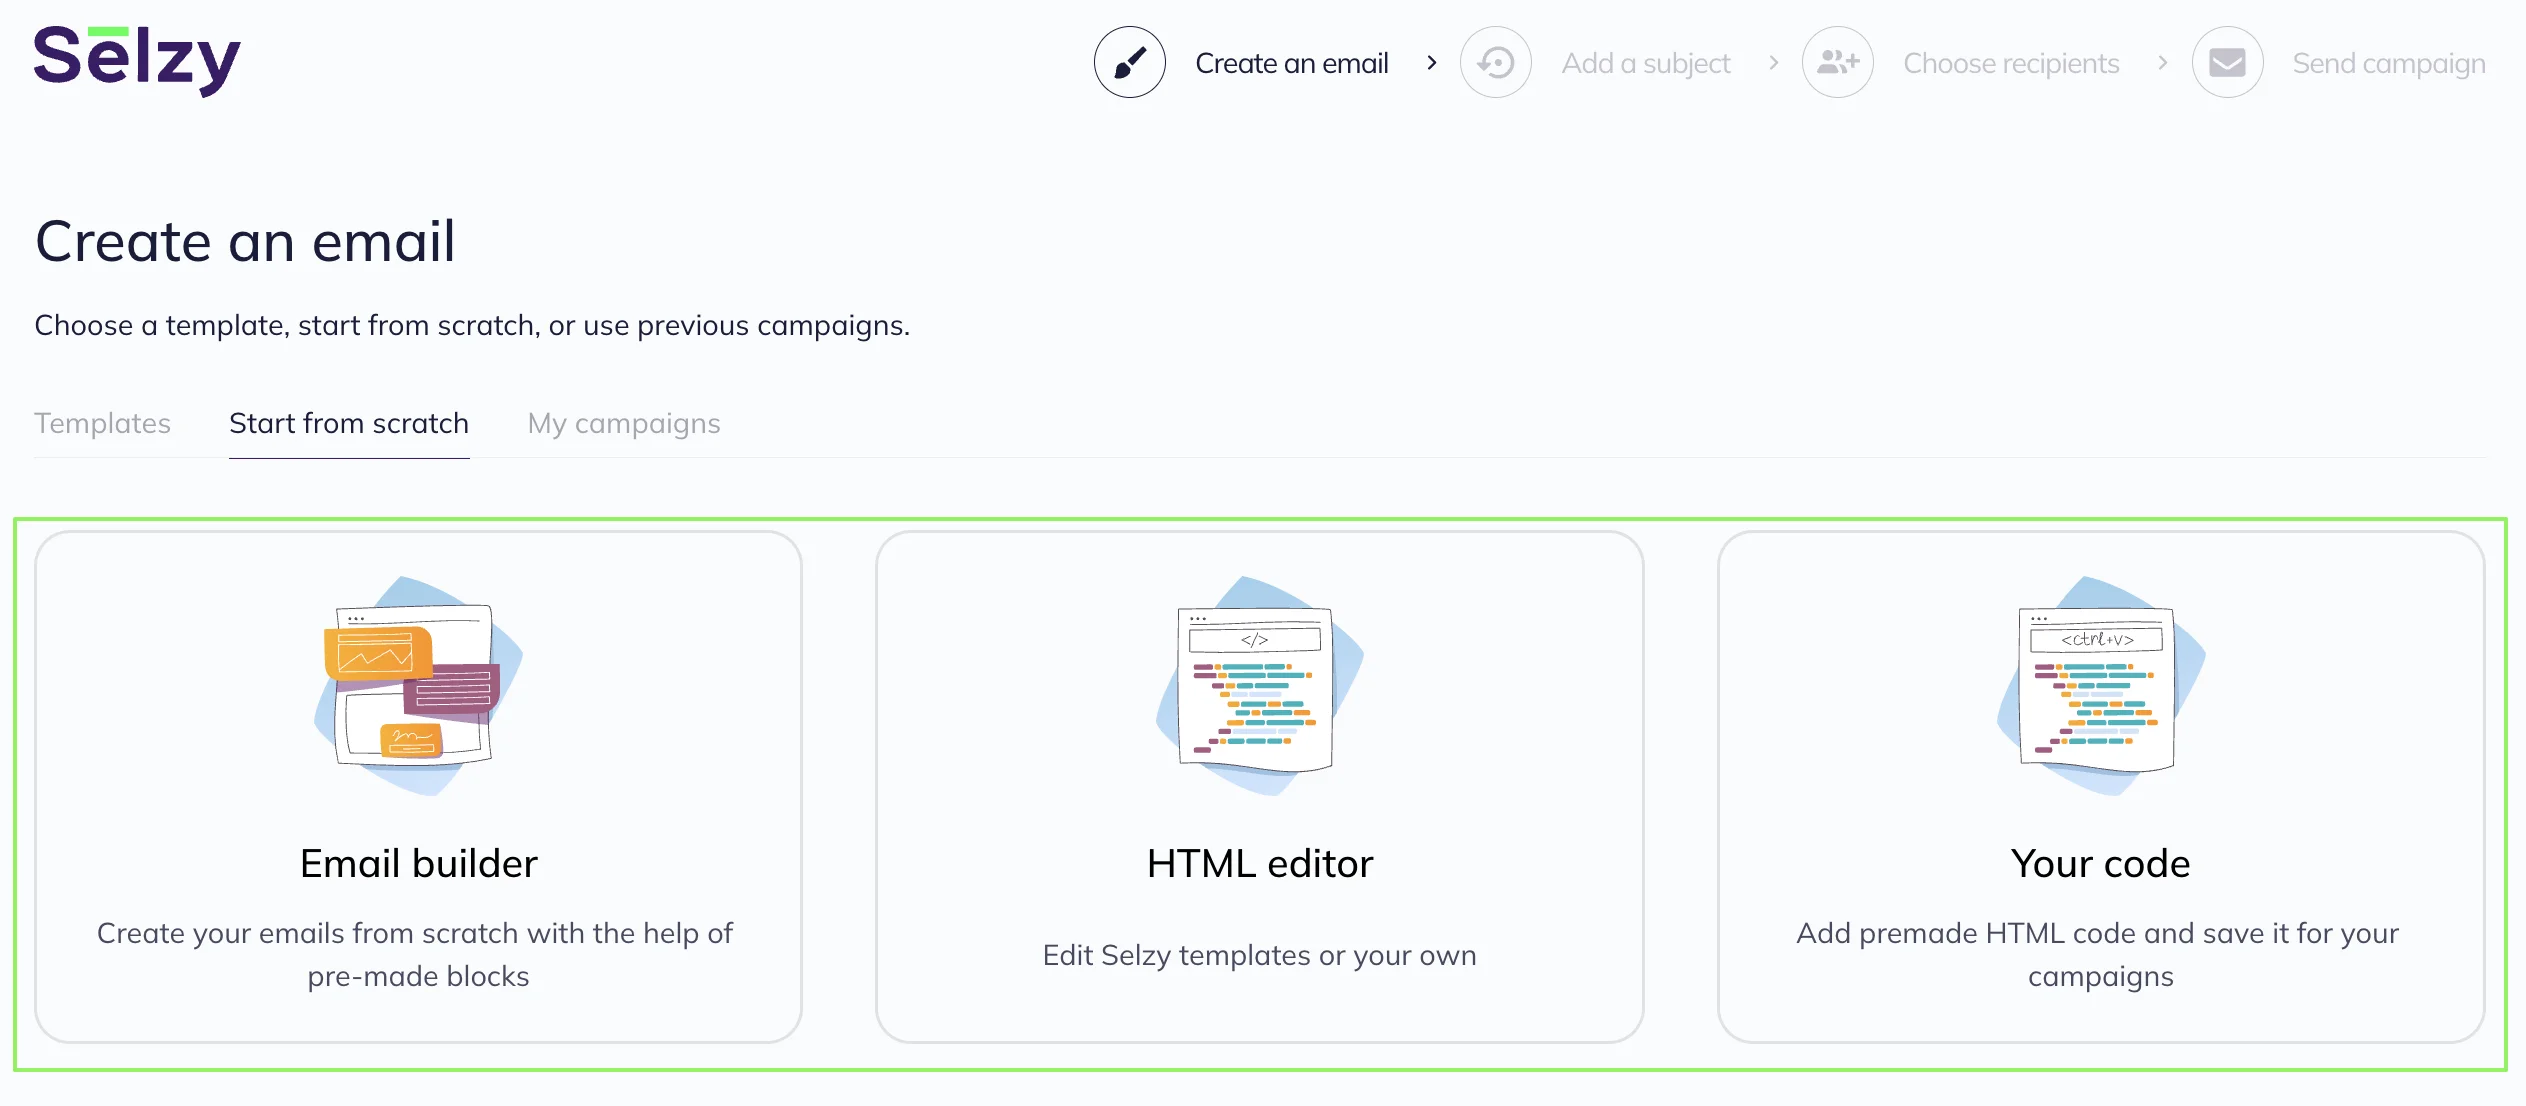
On the Start from scratch tab, you can create a campaign from scratch in the Email Builder or HTML editor.
Follow these instructions for more details:
Key features of the Selzy builder
Create an email from your HTML template
If you prefer to use your own HTML code without changing it, select Your HTML option.
Follow the instructions on inserting your HTML code.
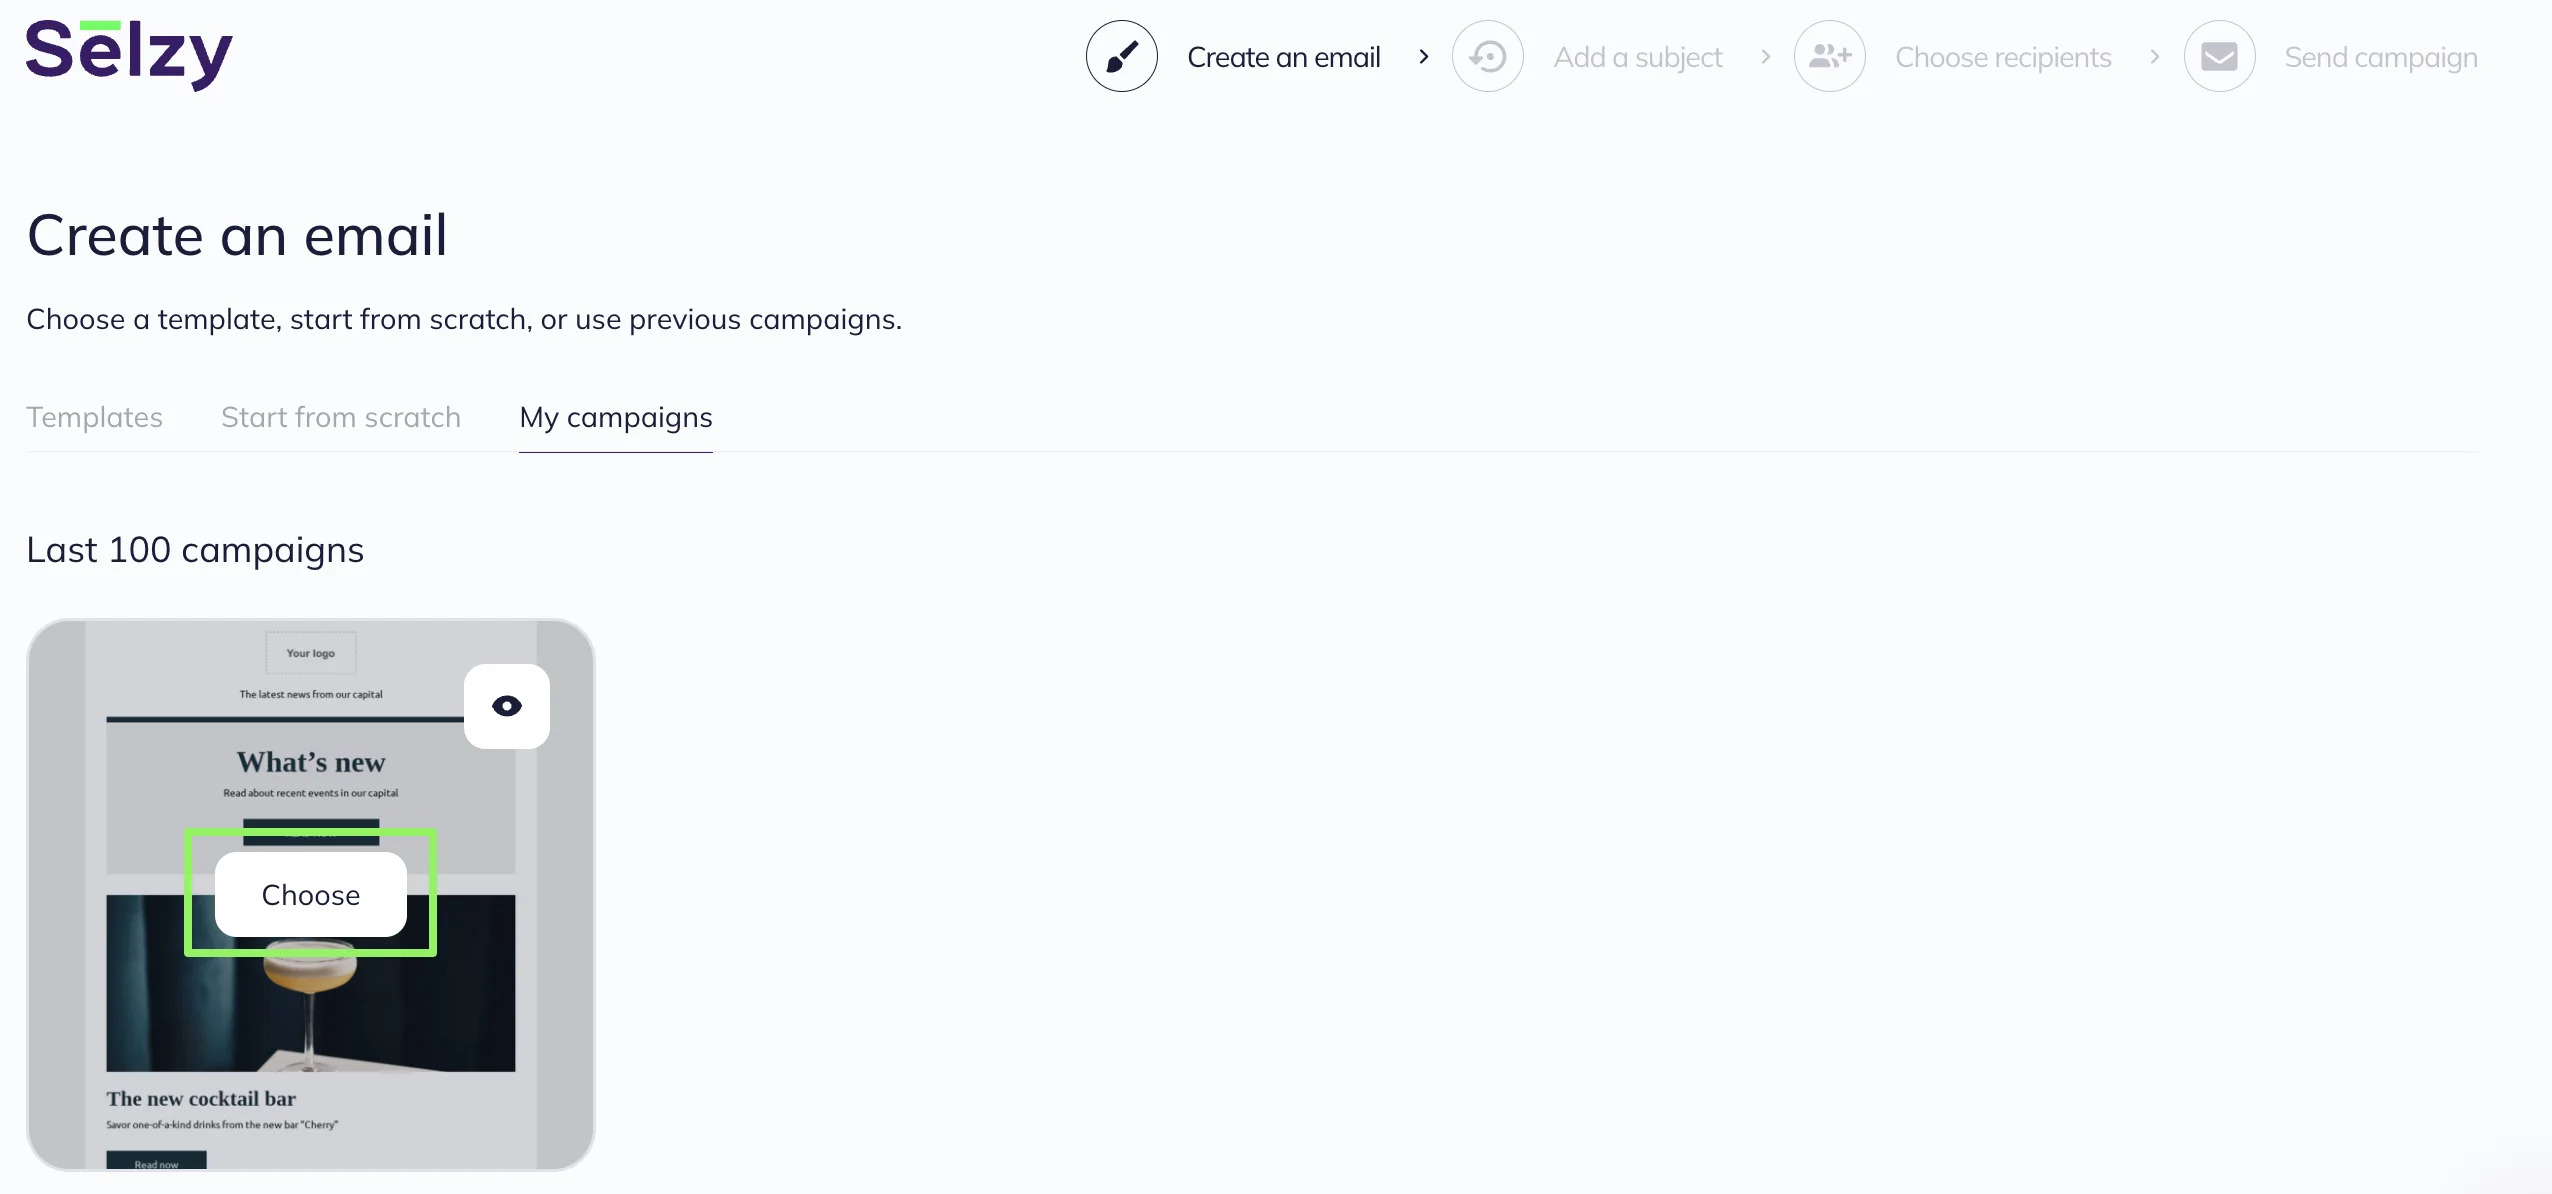
Create an email using previous campaigns
On the My campaigns tab, you can use a previously sent campaign to create a new one. To do this, hover over the desired campaign and click the Choose button.
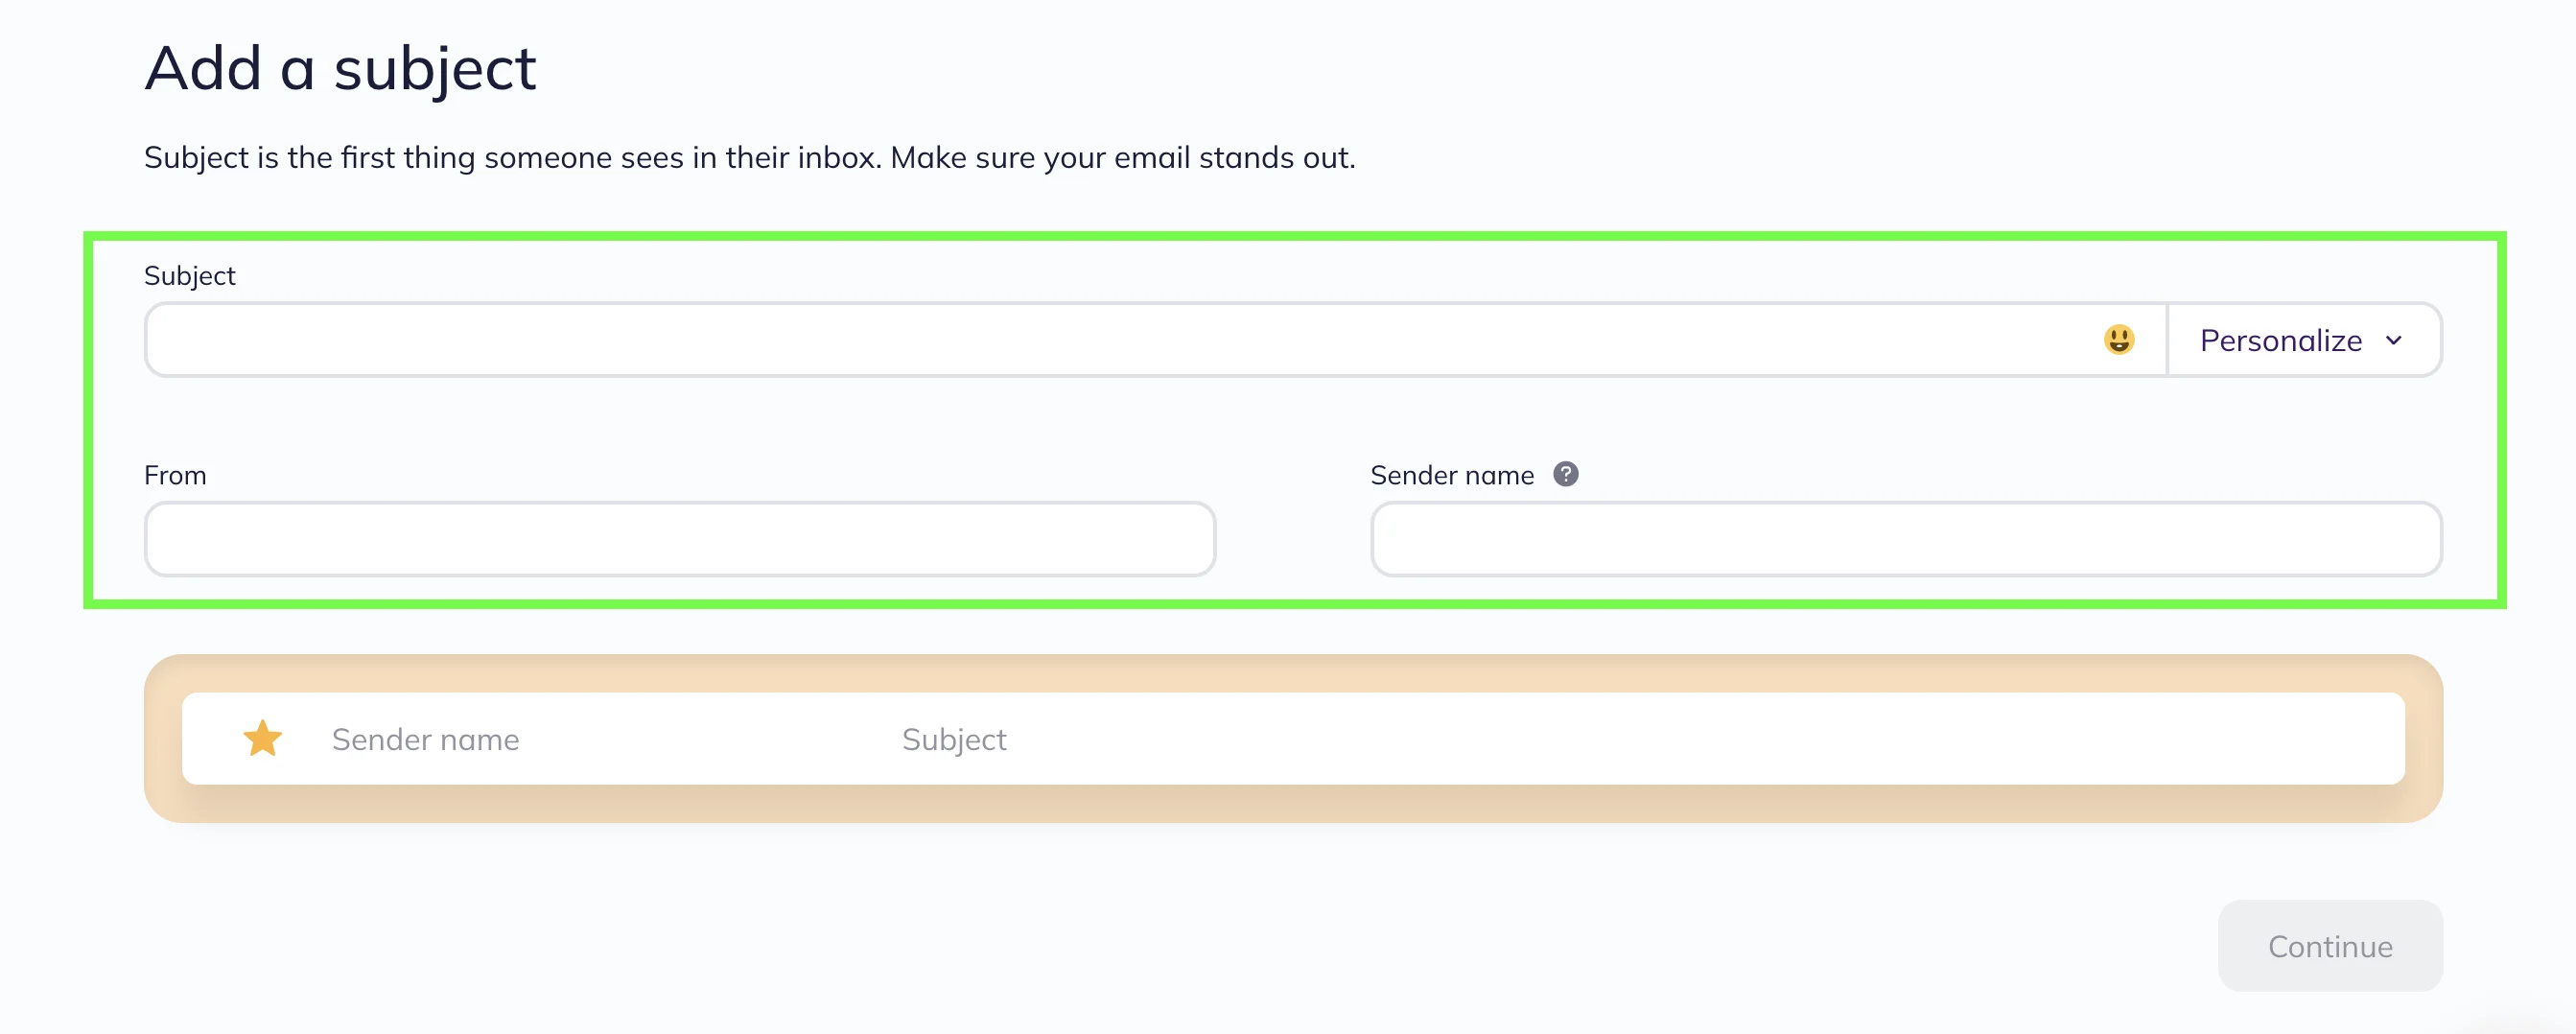
Step 2. Add a subject and the sender information
Next, fill in the required fields:
- From (sender’s address)
- Sender name
- Subject
You can use emojis in the subject line, as well as variables to add custom fields to personalize the subject.
Follow the instructions to learn how to personalize email content using the merge tags.
Check out the preview to see what the subject line and sender name will look like in the recipient’s inbox.
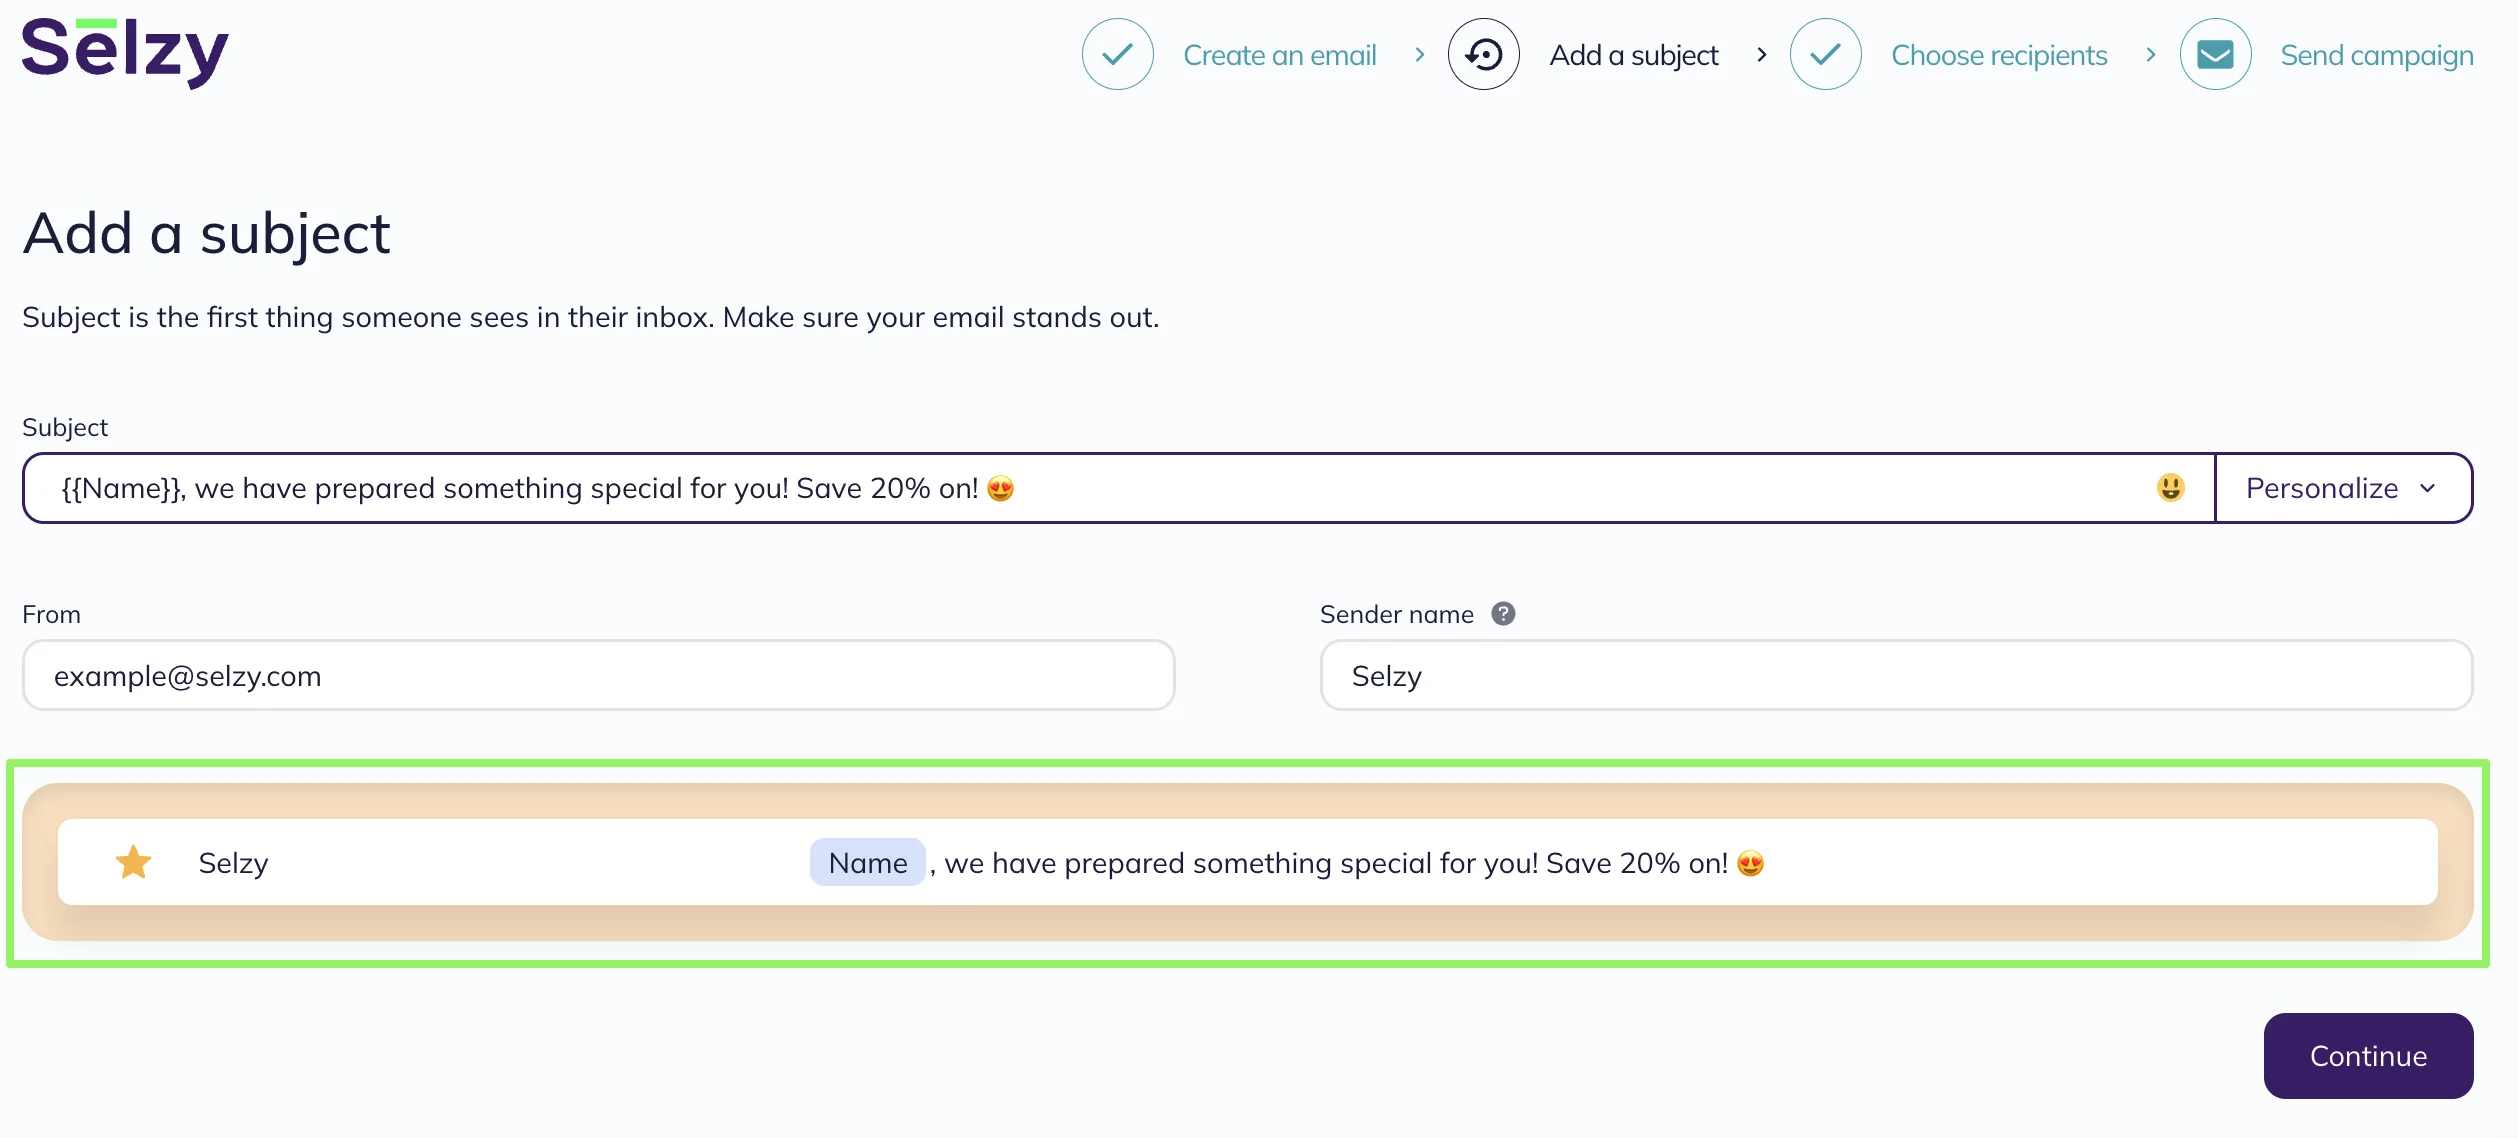
To proceed to the next step, click Continue.
Step 3. Choose recipients
Choose the list of recipients for your campaign.
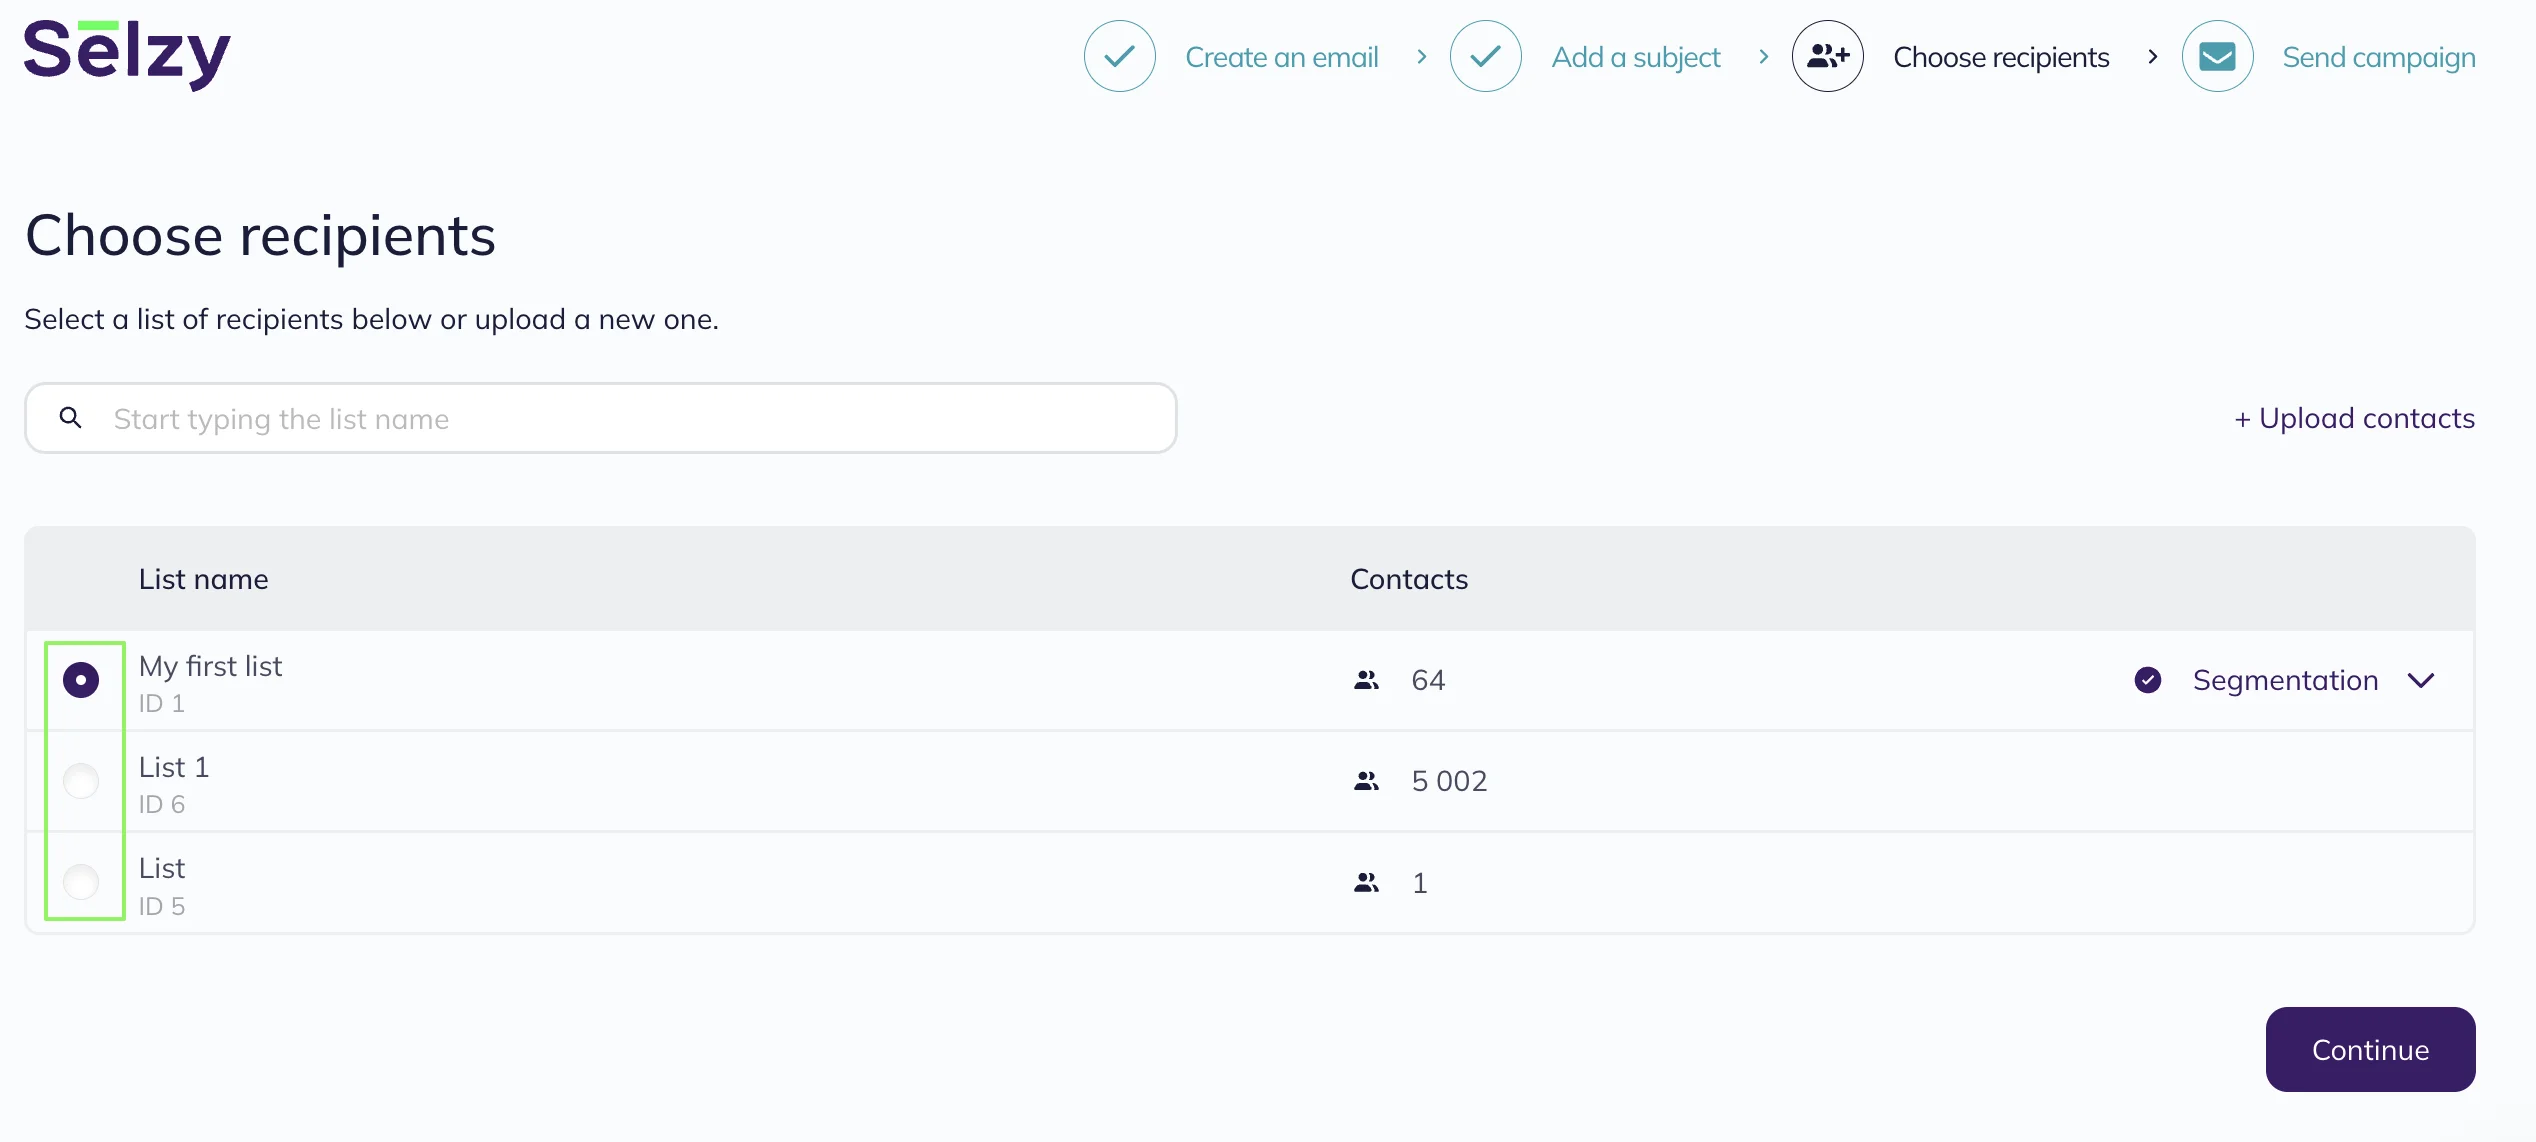
At this step, you can also import contacts or segment the list of recipients.
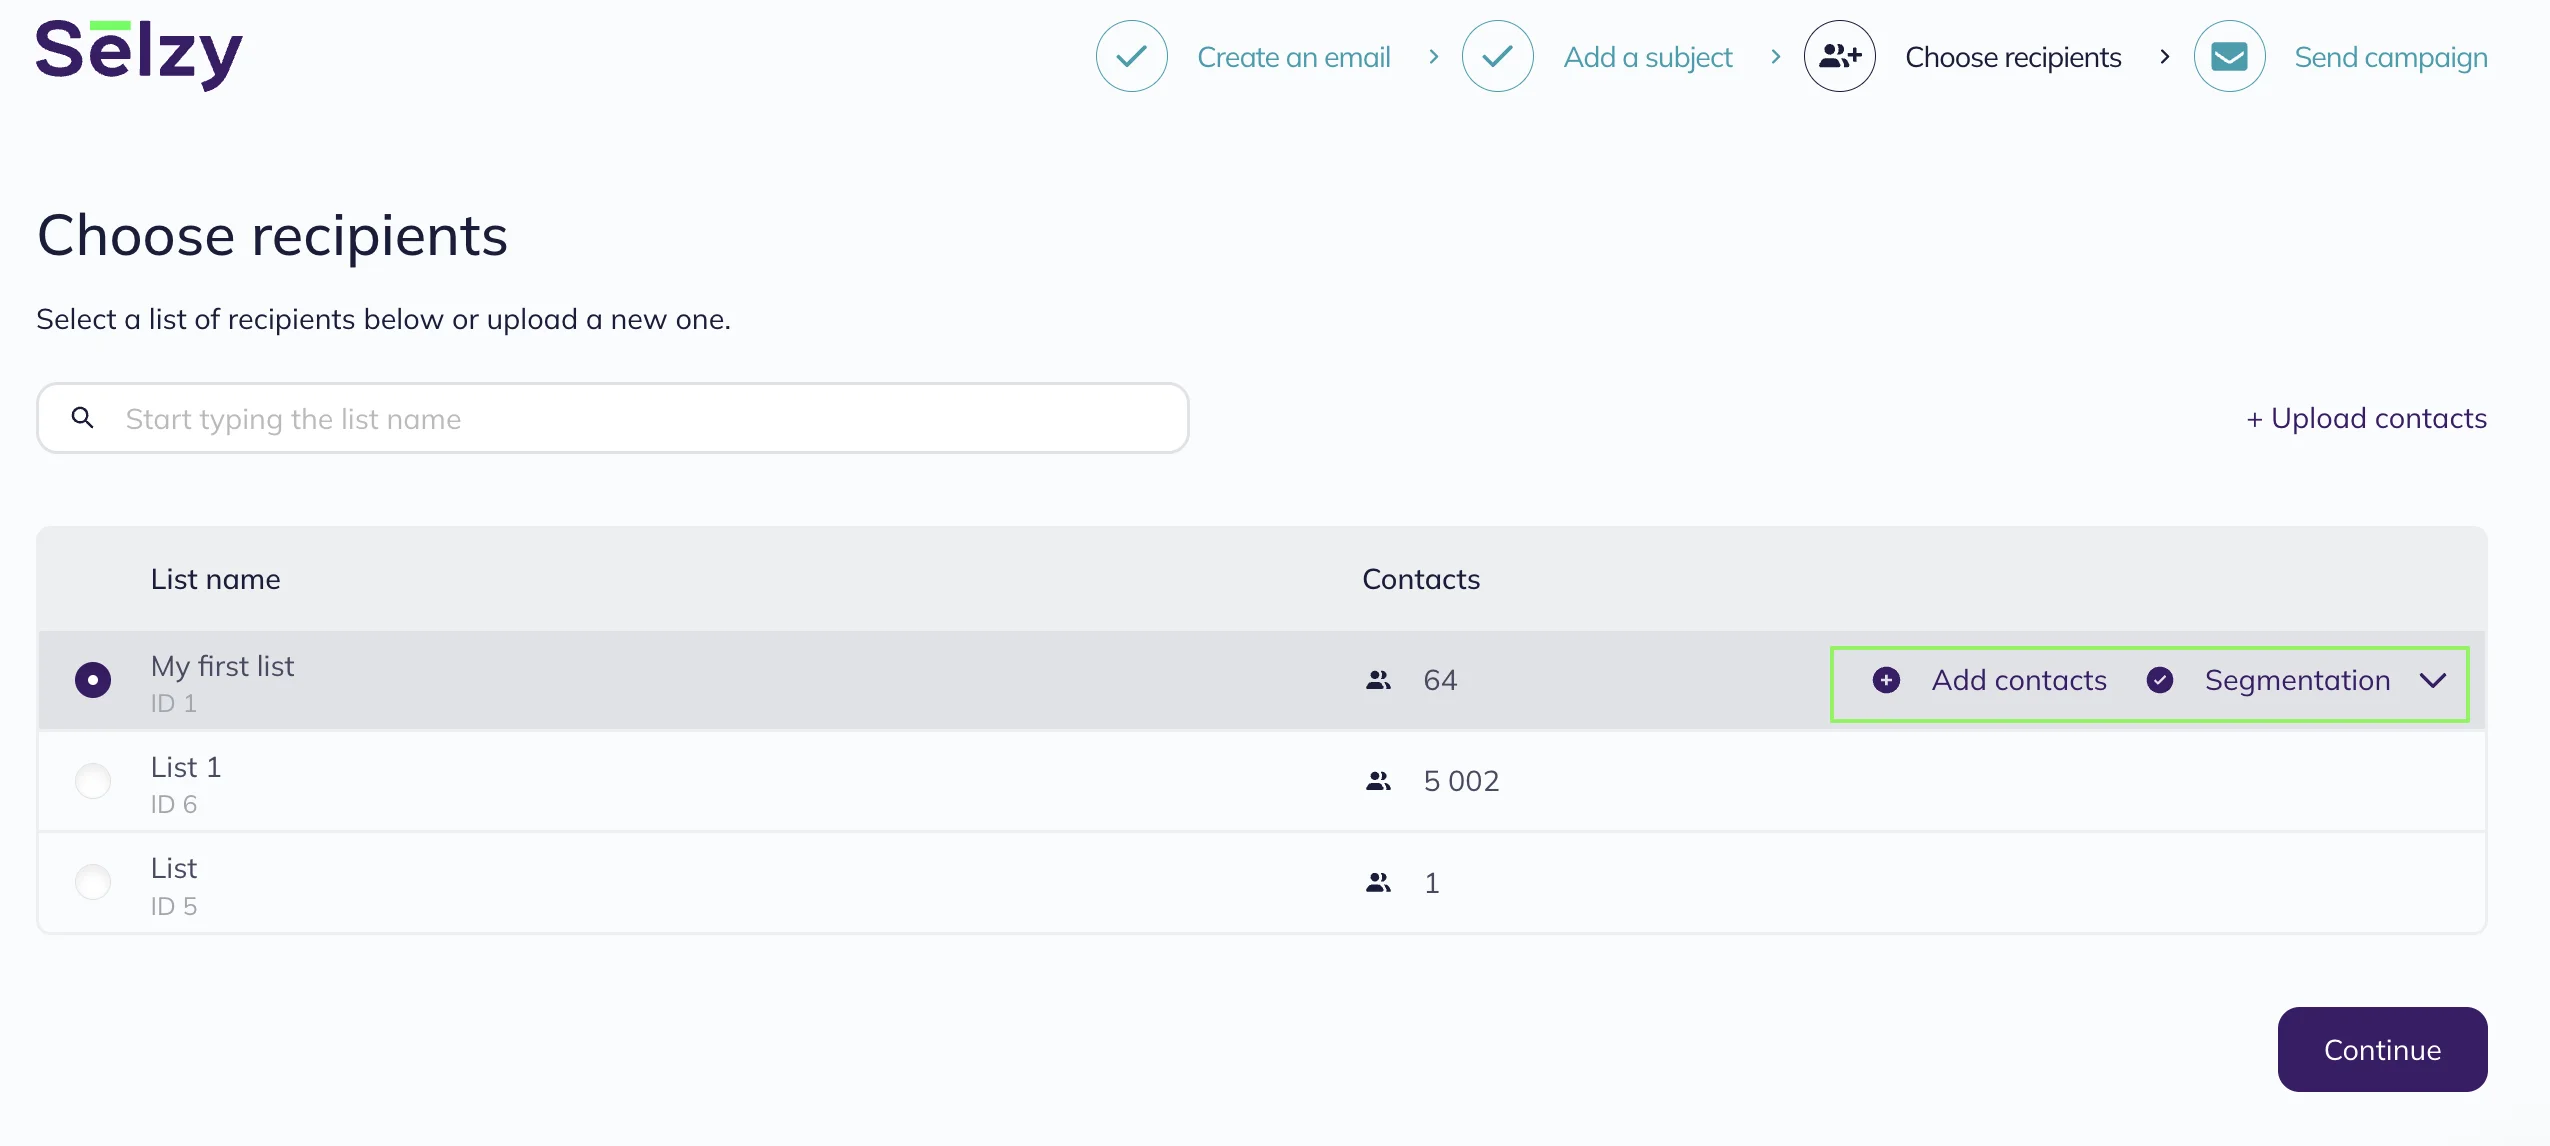
Follow the instructions to learn how to segment contacts.
Select the contacts you would like to target and click Continue.
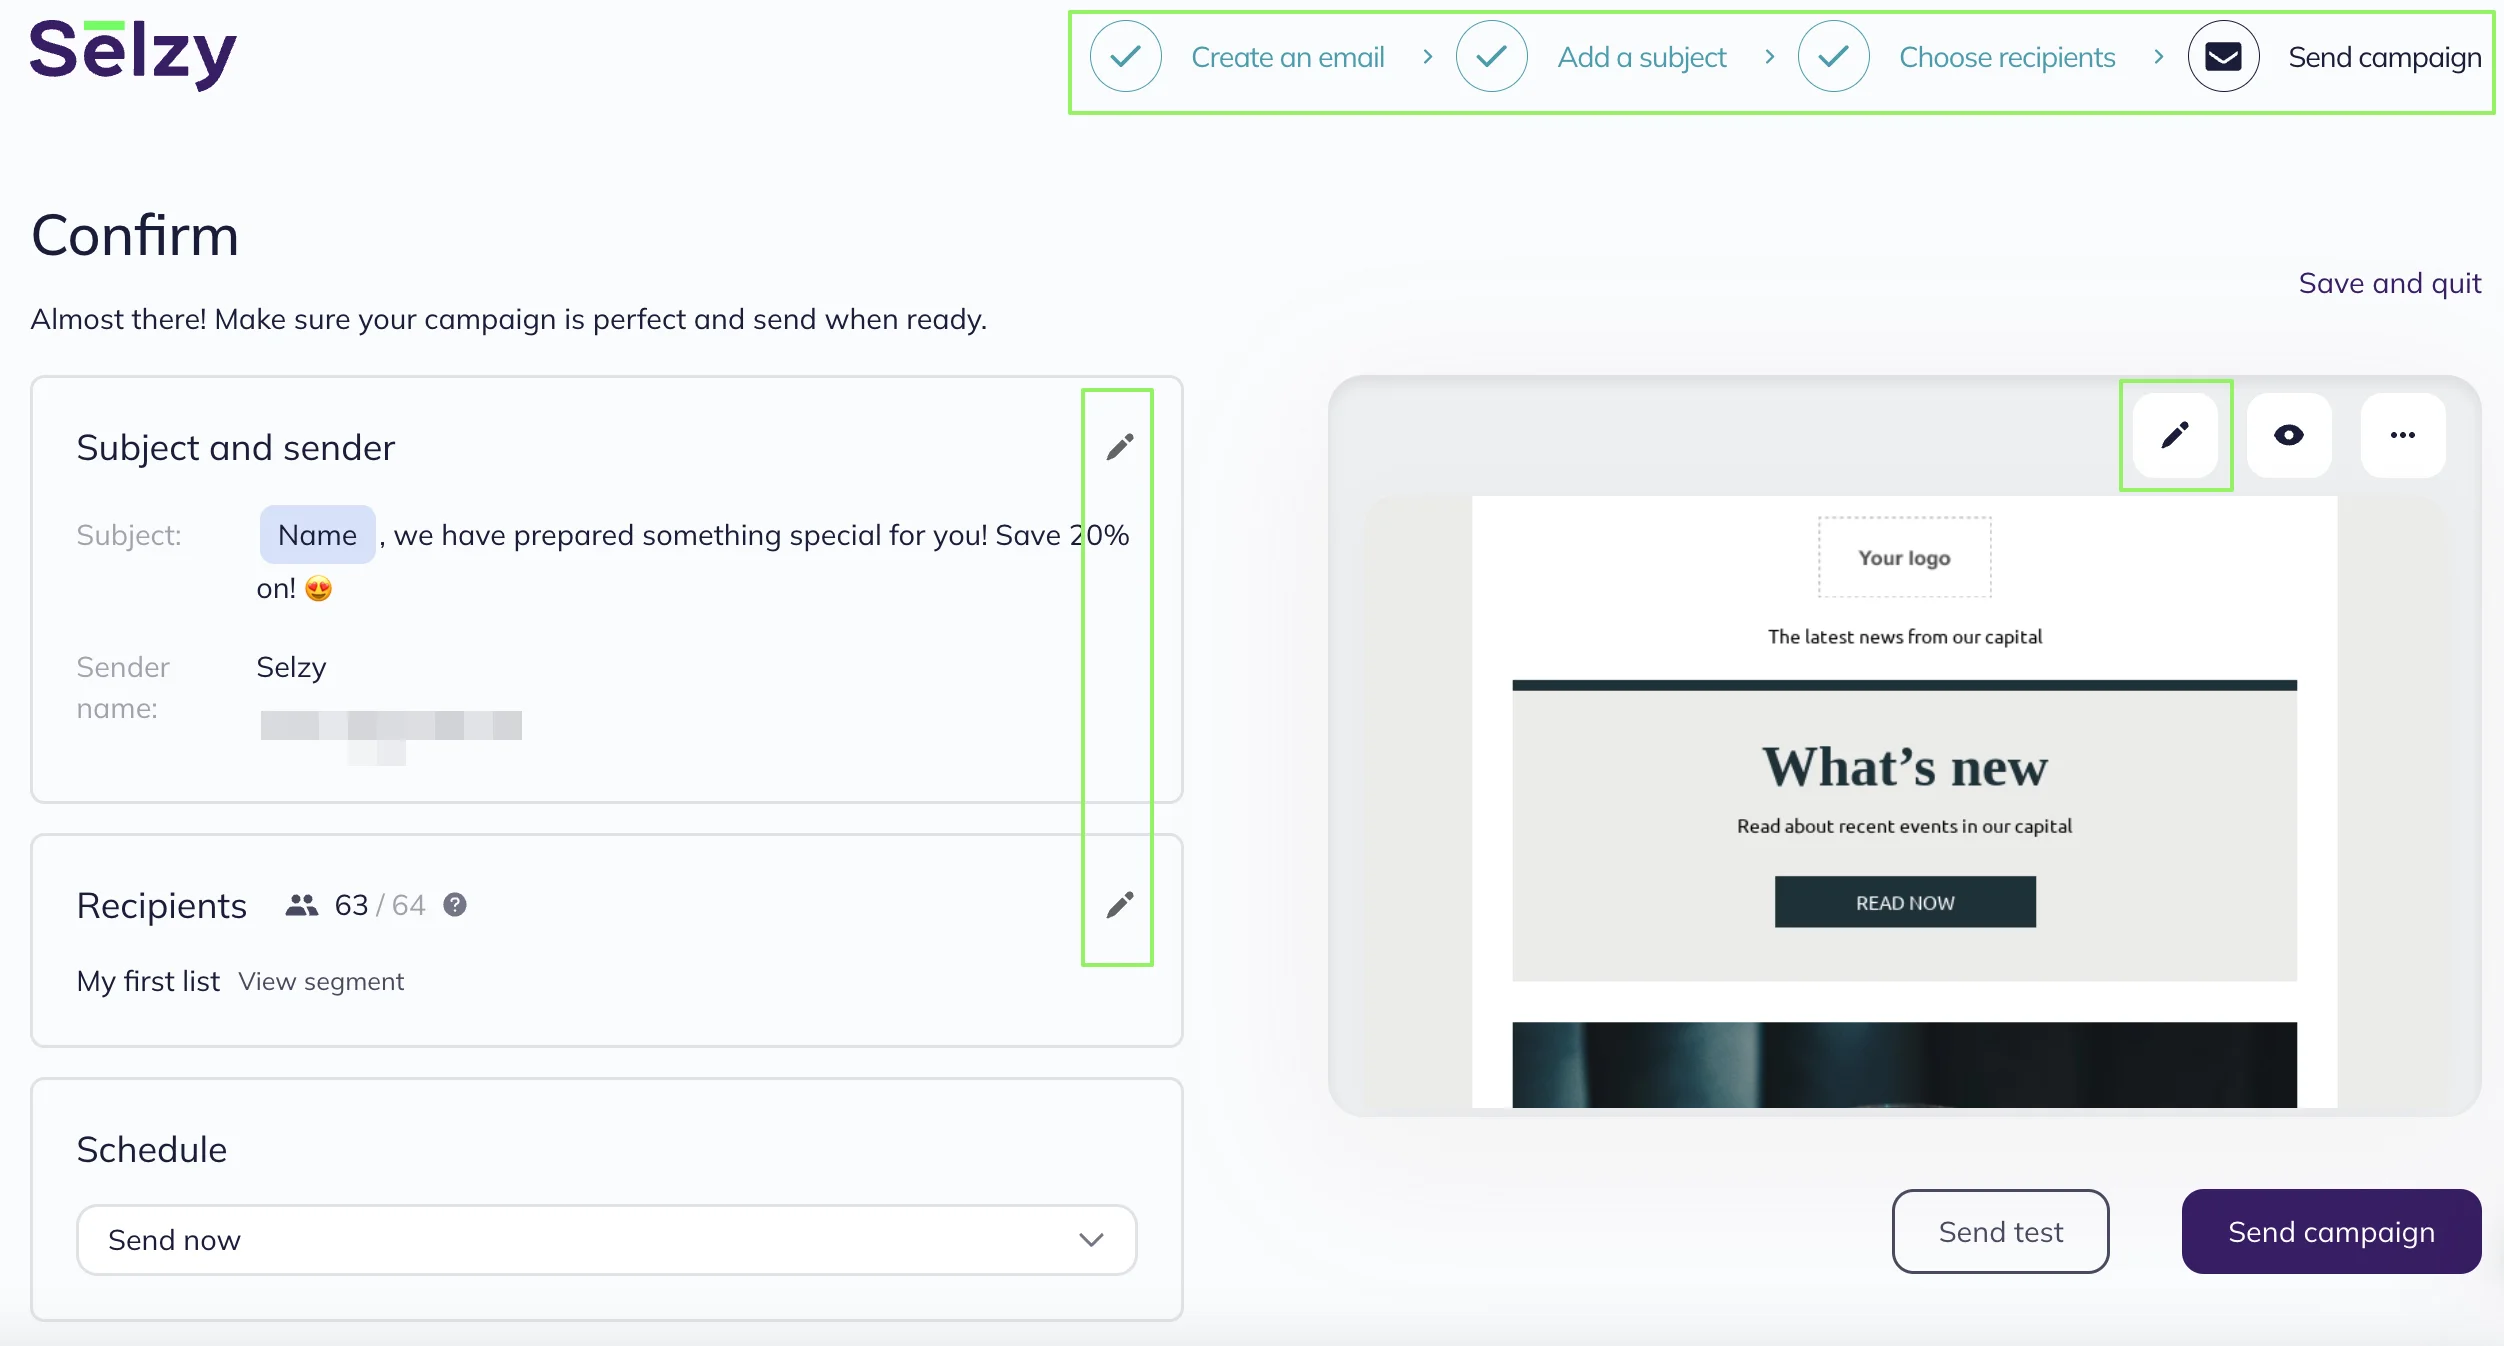
Step 4. Send the email campaign
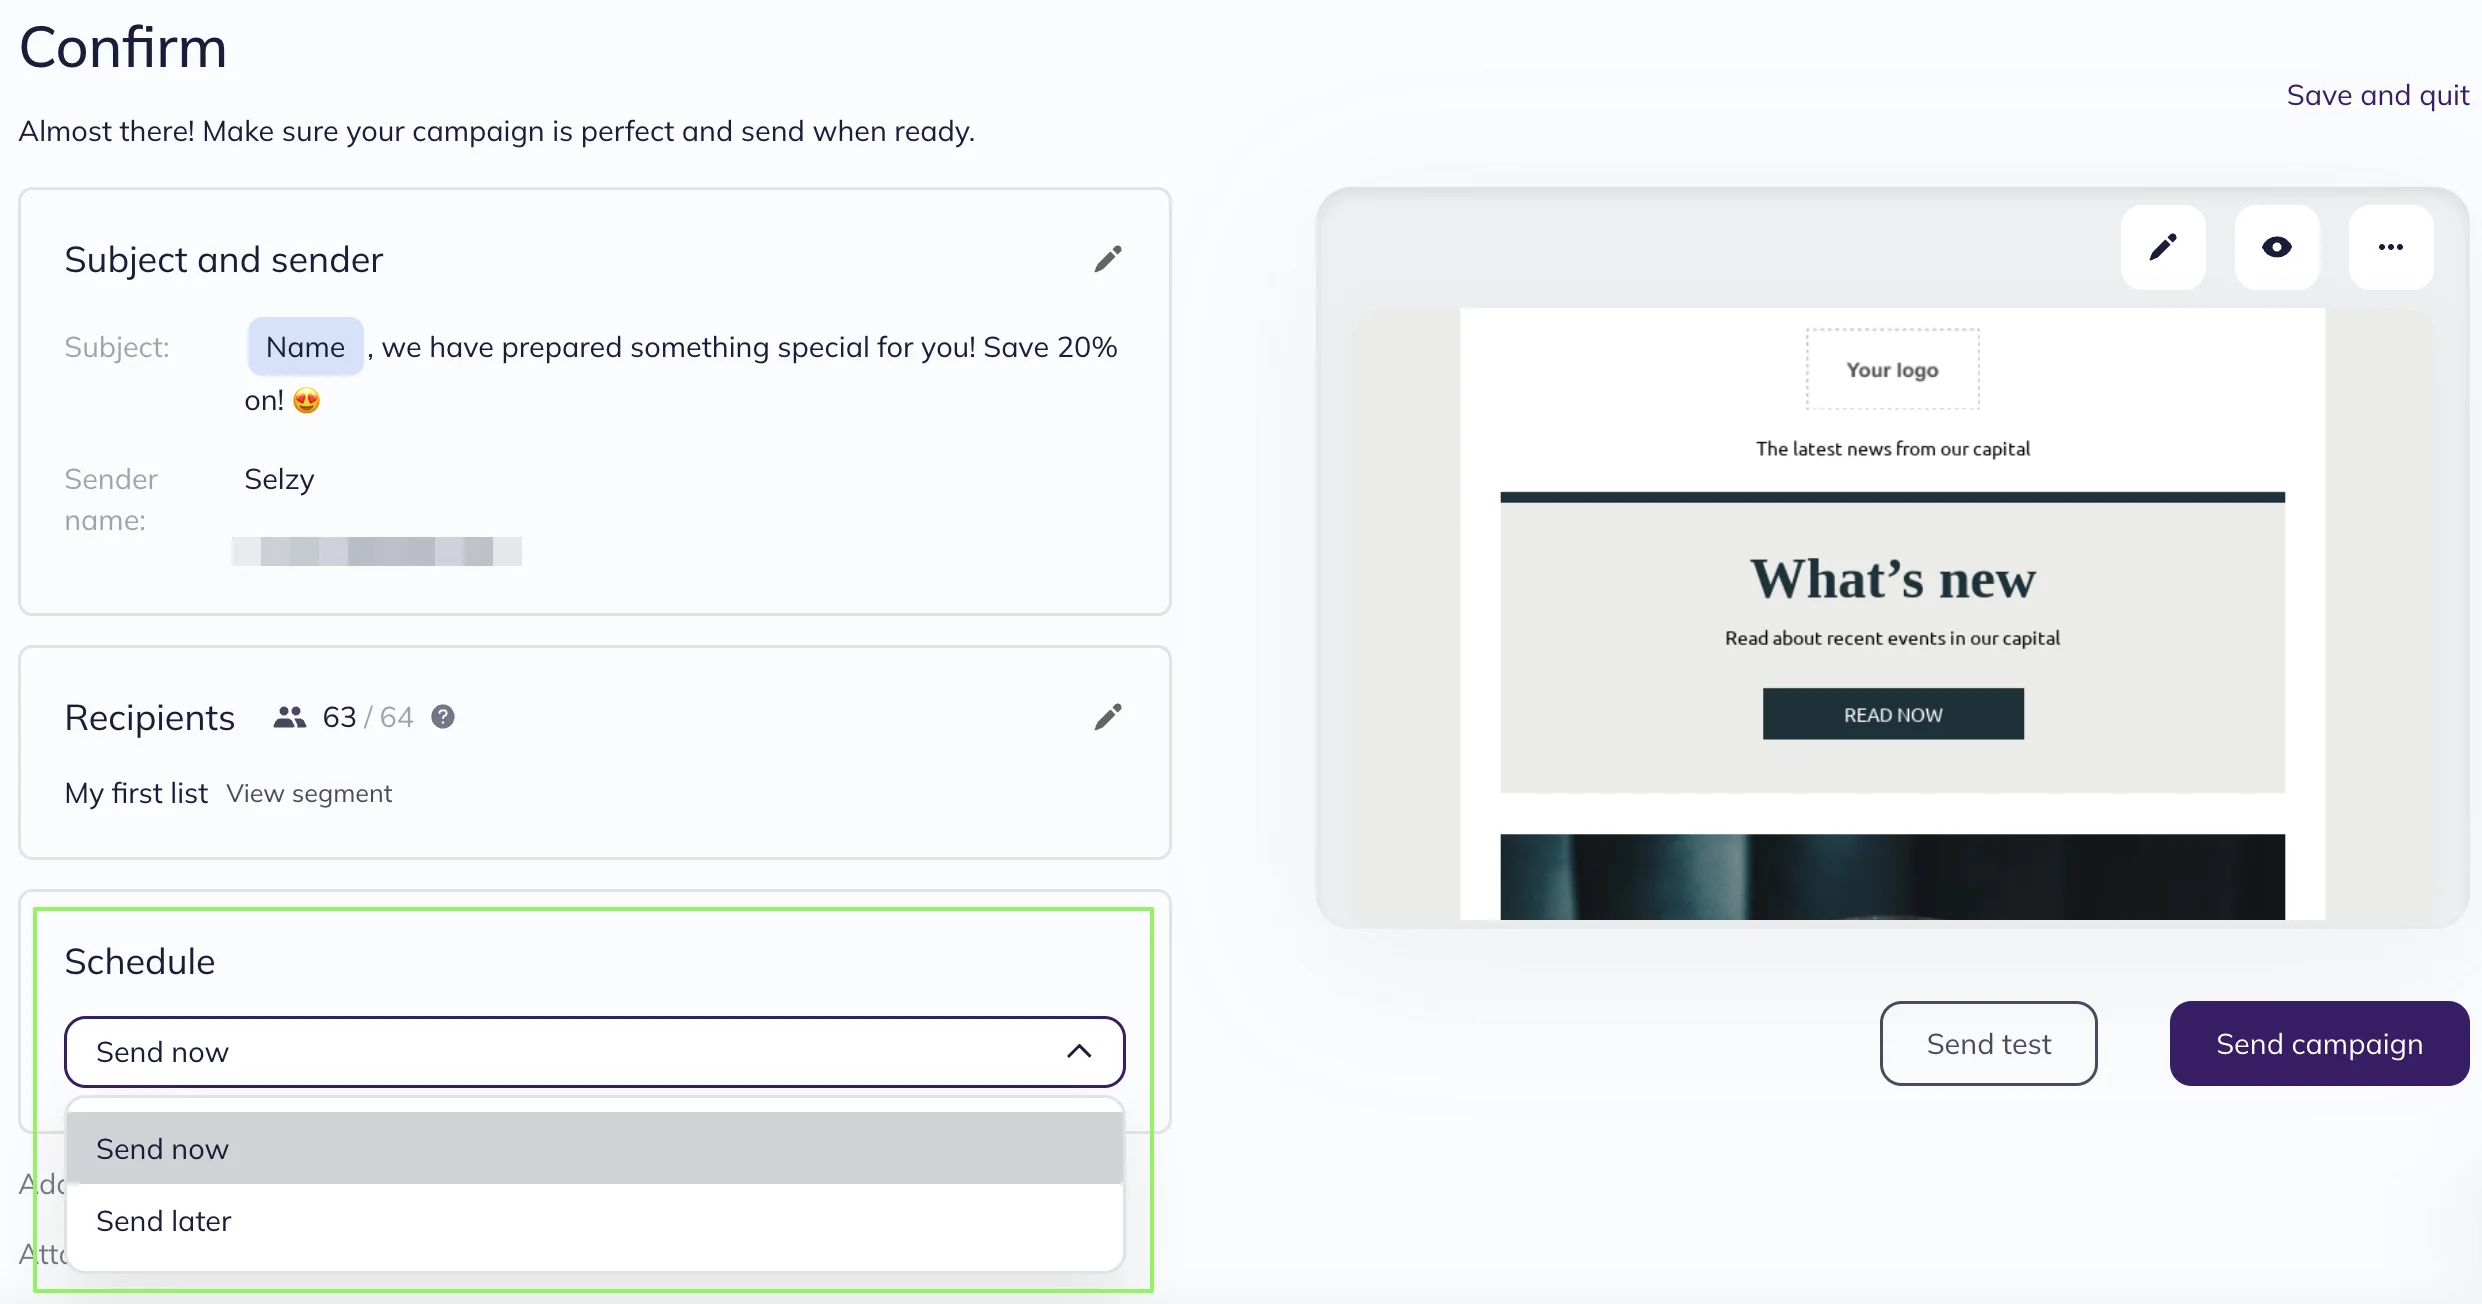
Double-check all the data. If you need to adjust anything, return to the previous step at the top of the page or click on the edit icon next to the respective box.
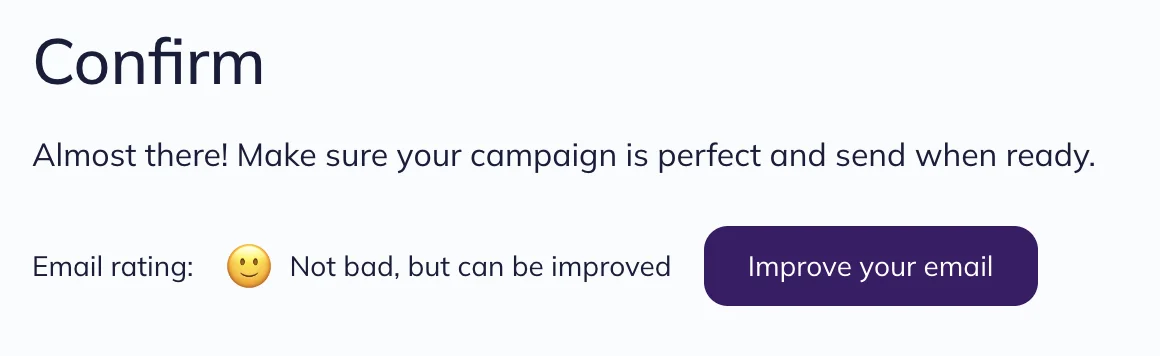
At this step, the subscribers to the Standard plan can get advice on how to boost the campaign. To take a look at the recommendations, click on the Improve your email button before sending the email.
You can now specify when exactly the campaign should be sent. By default, the campaign is sent right away.
If you need to schedule your campaign for a specific day or time, select Send later. Specify the date and time and click Schedule email.
Learn more on how to schedule an email campaign for a specific time.
In the Additional settings, you can change the unsubscribe block language so that it matches the campaign’s language. Here you can also specify the method of inserting images in the email and the address to which the recipients’ responses will be sent if they choose to reply to your campaign.
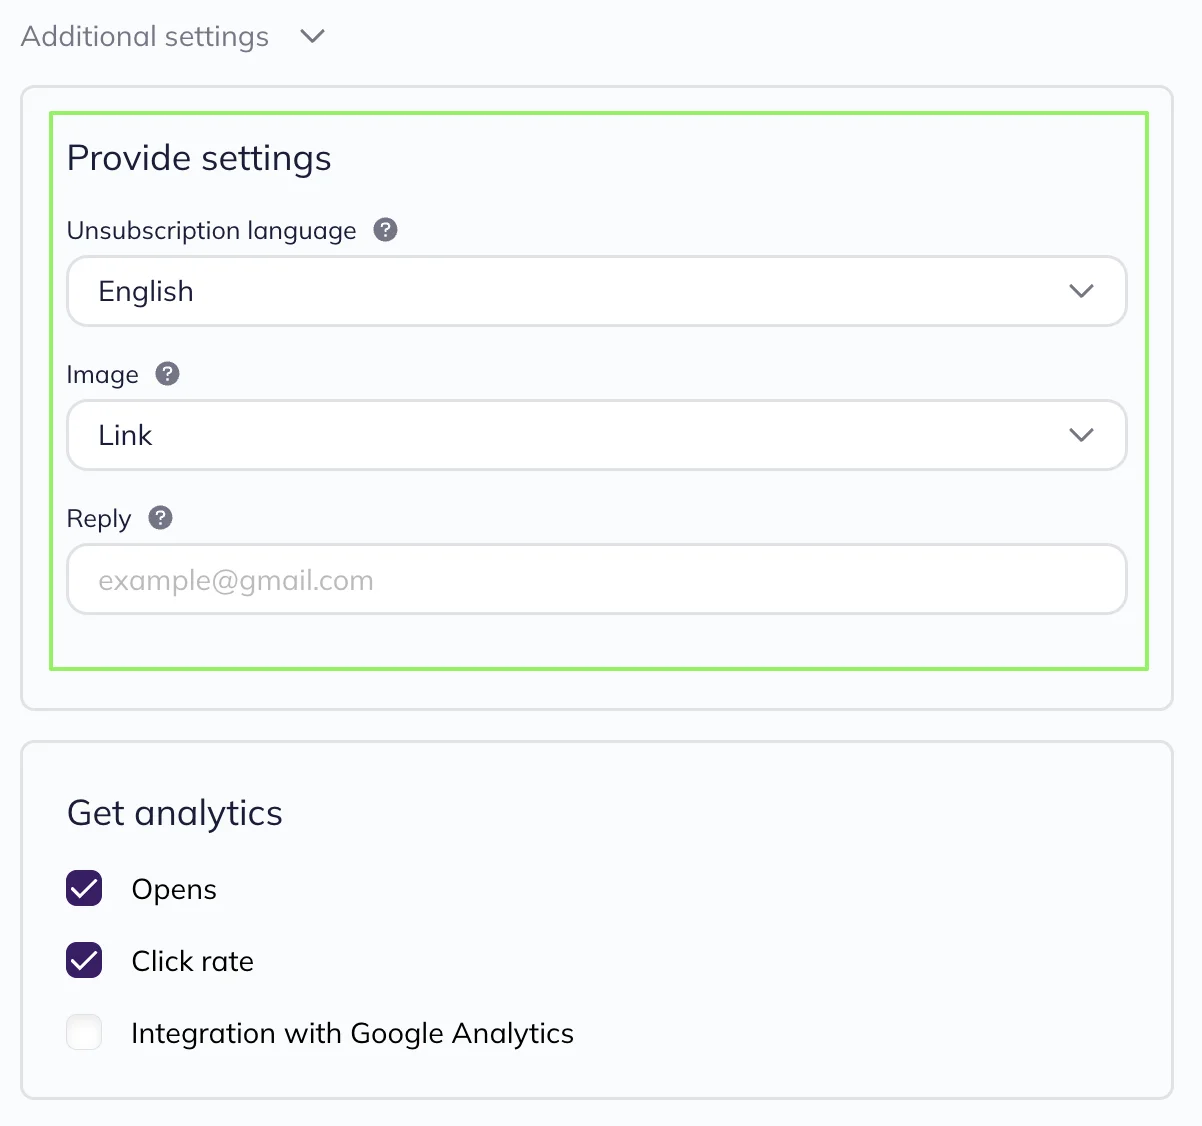
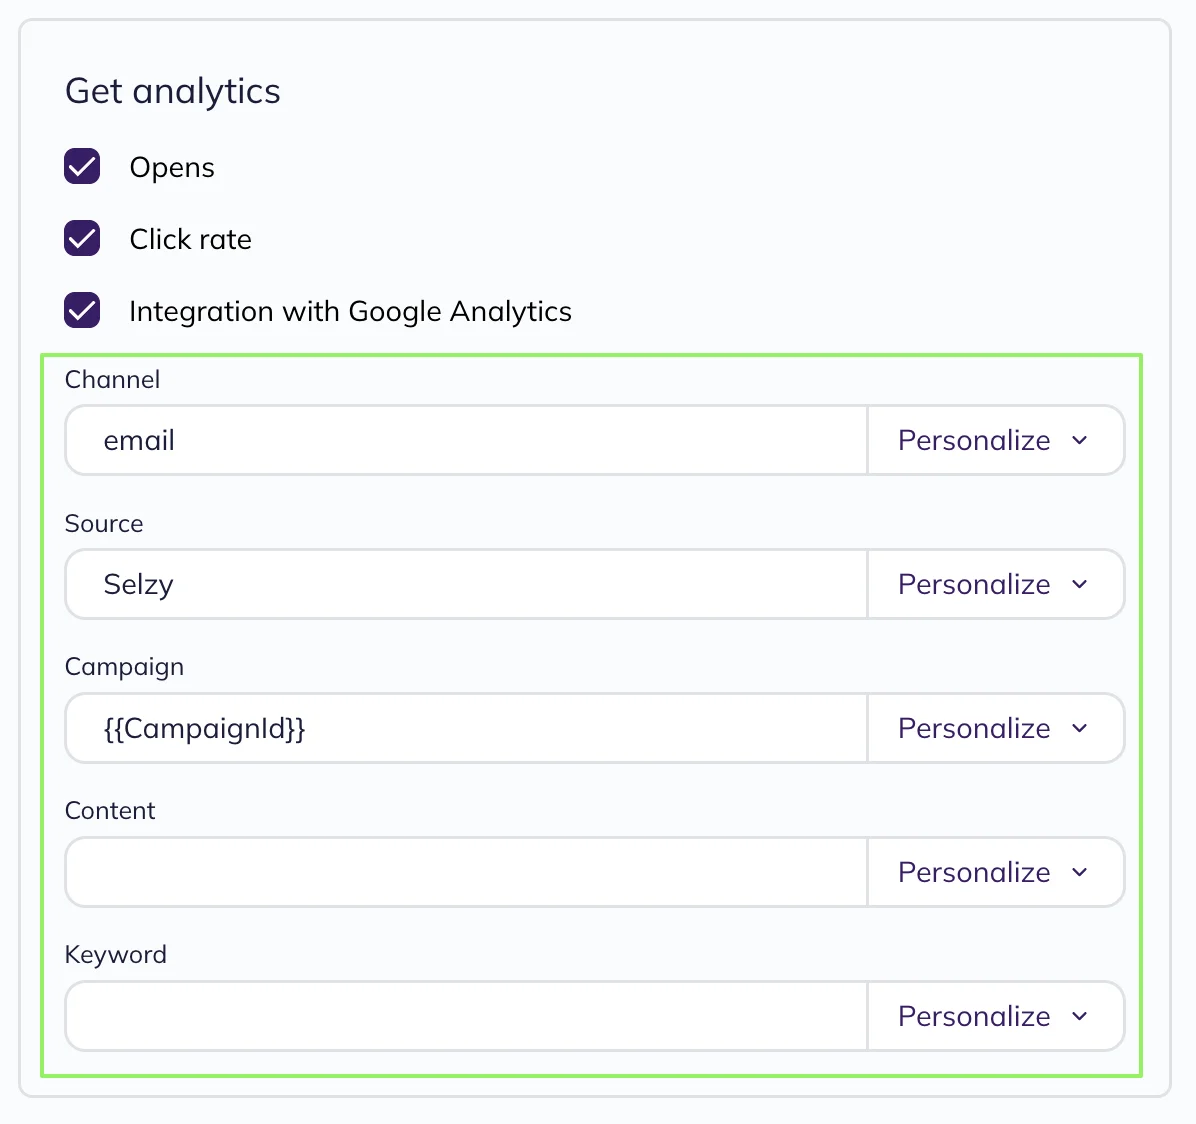
In the Additional settings, you can also configure the statistics collection. You can enable or disable the tracking of opens and clicks in Selzy and specify UTM tags for collecting statistics by Google Analytics.
Learn how to set up Google Analytics for email campaigns.
If you disable opens and clicks tracking, this data will not be shown in the campaign report.
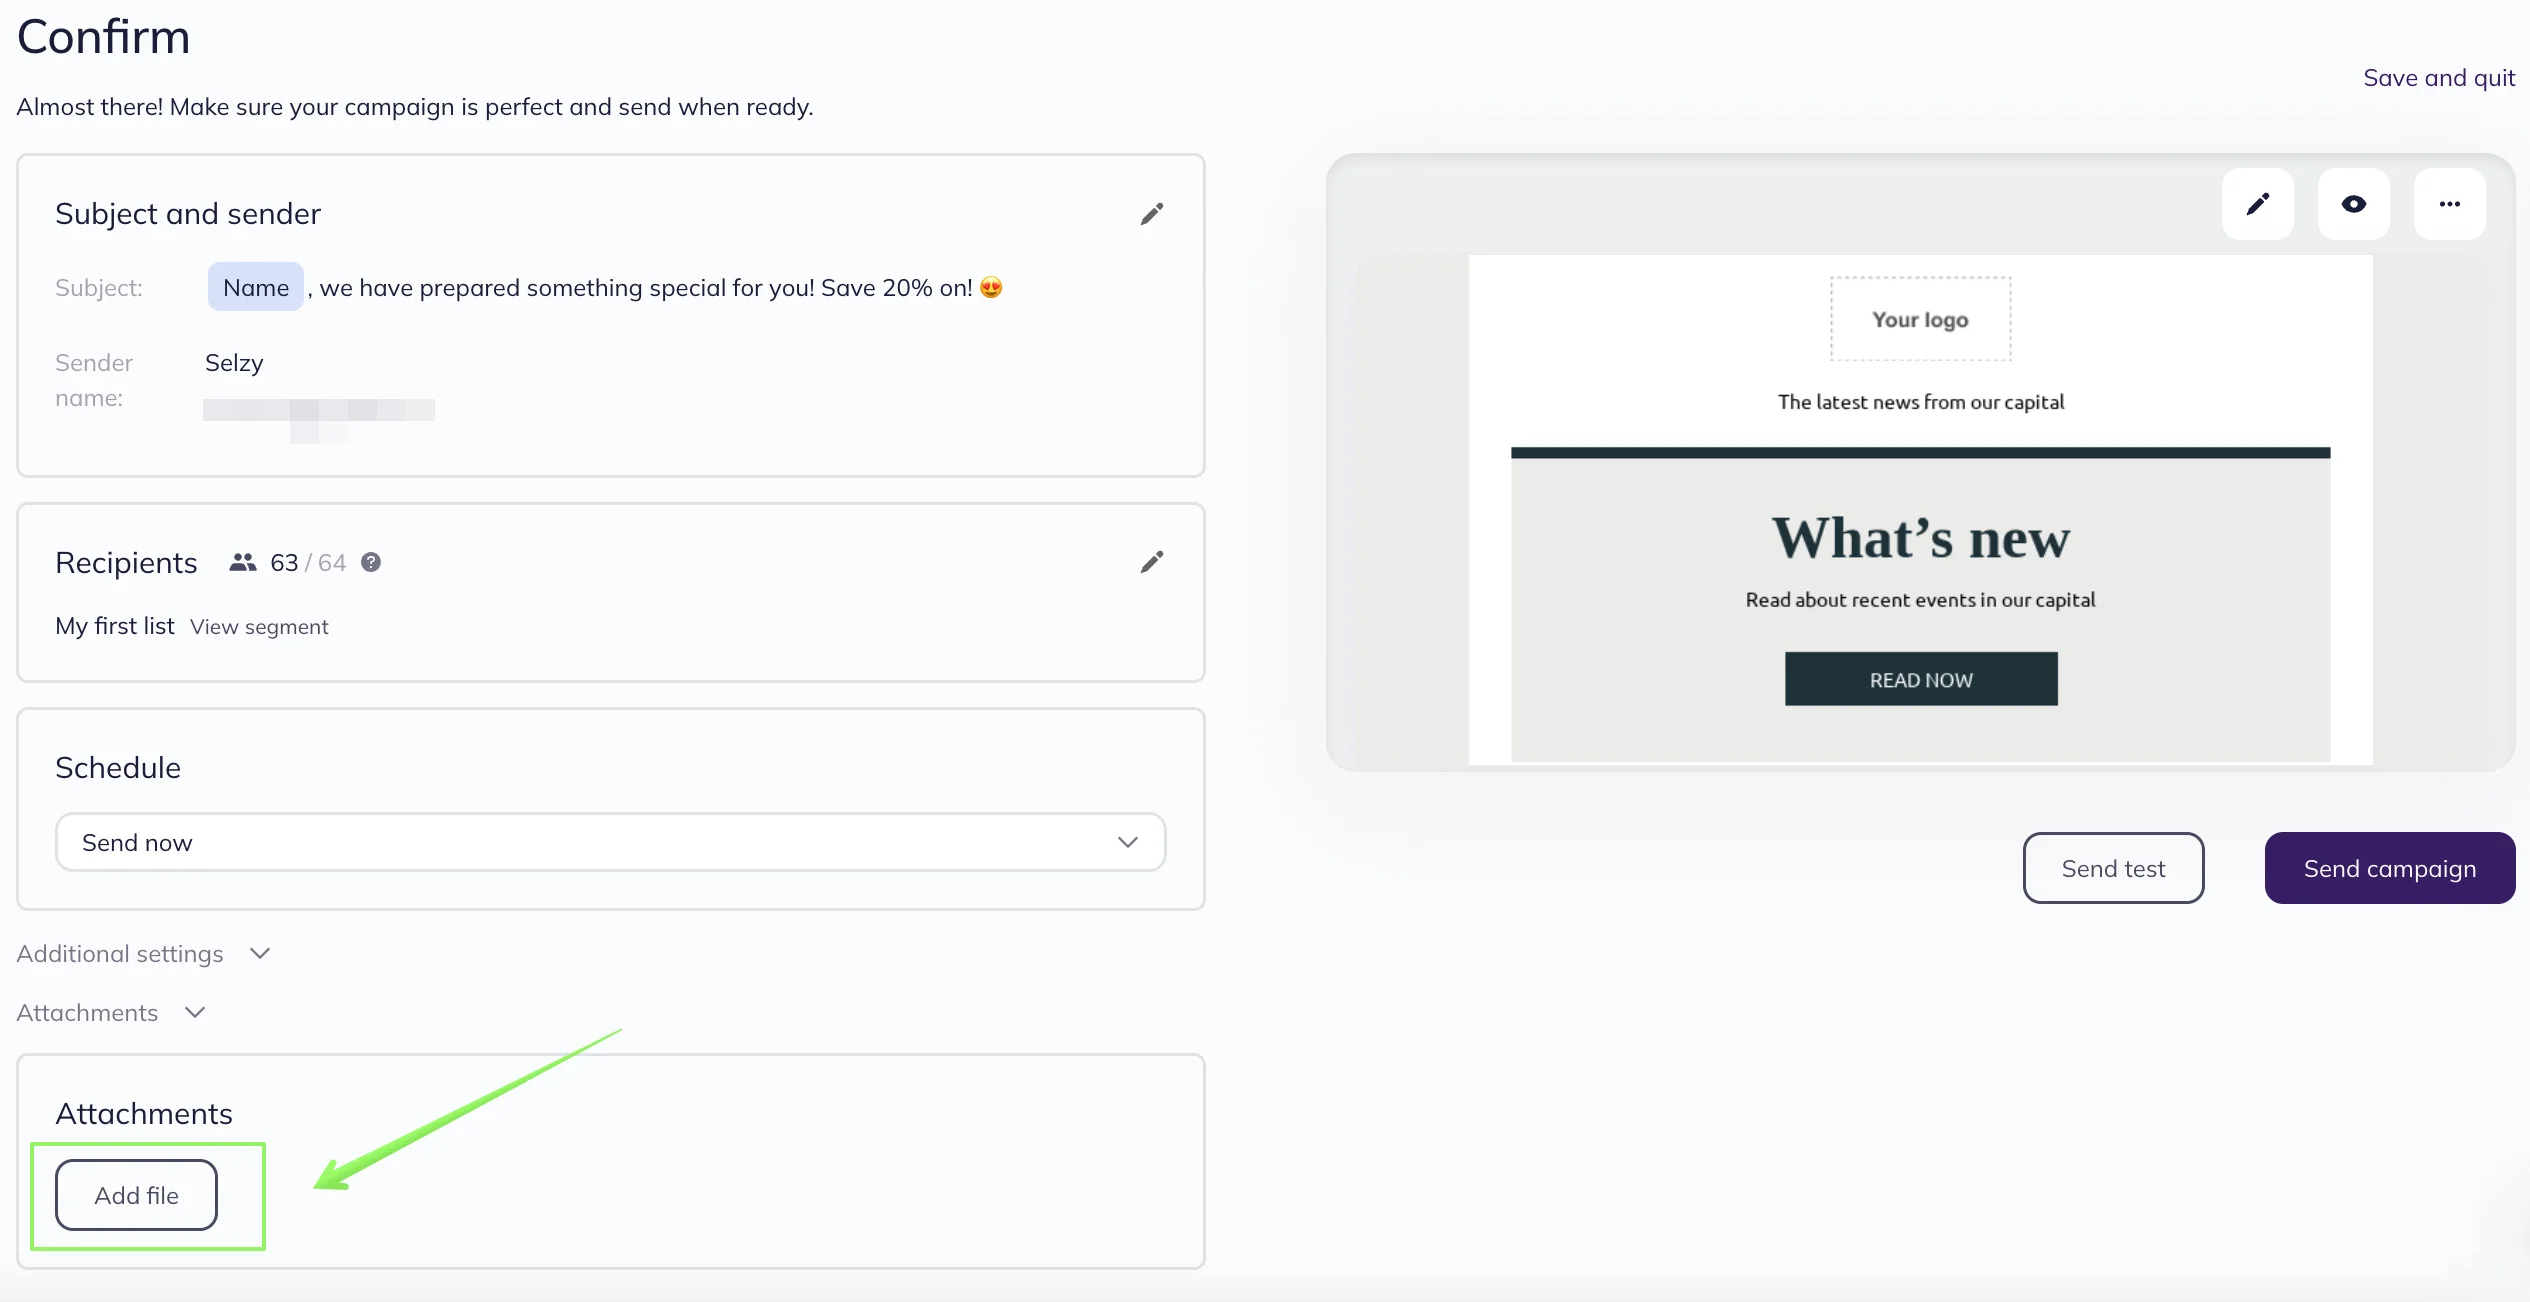
You can attach files to your campaign email if necessary. However, it is recommended to instead upload materials to the cloud storage and include the links in the email. Read more on attaching files to an email campaign.
To add files, click Add file in the Attachments section.
Before sending your campaign, make sure to check what the email looks like in the inbox and whether all buttons and links work properly.
To send a test email, click Send test, enter your email, and click Send email.
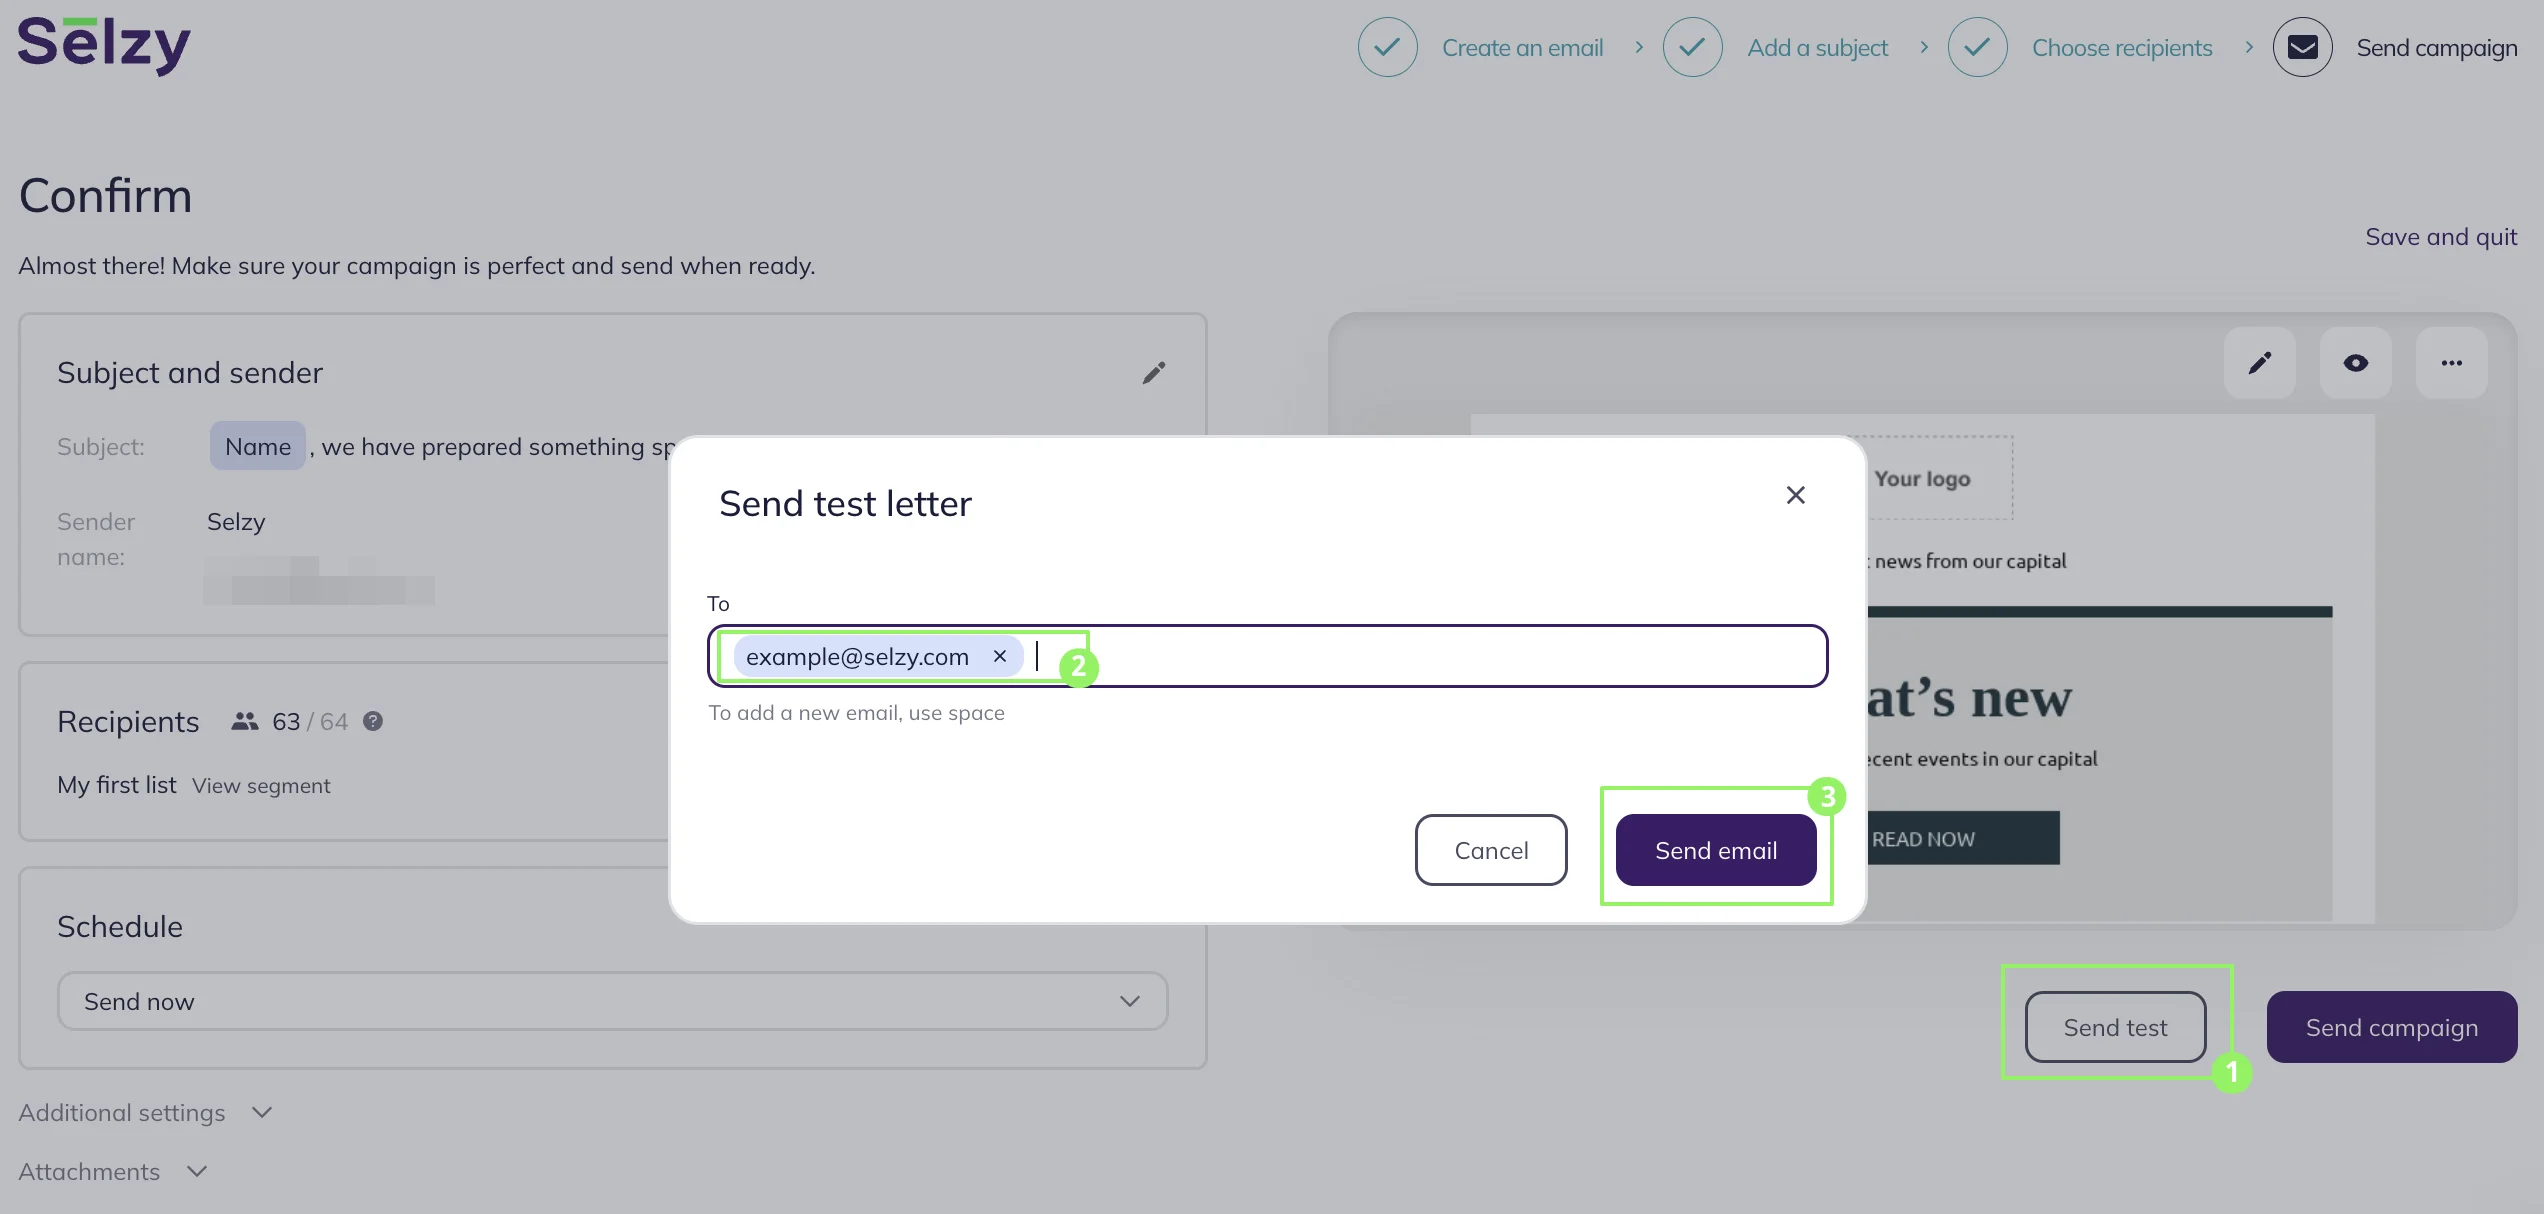
The test email function is intended for you to check the appearance of the email. It does not access the contacts list data. That is why the variables (merge tags) in the test email will be inactive.
After adjusting the settings and testing the campaign, go ahead and click Send campaign.
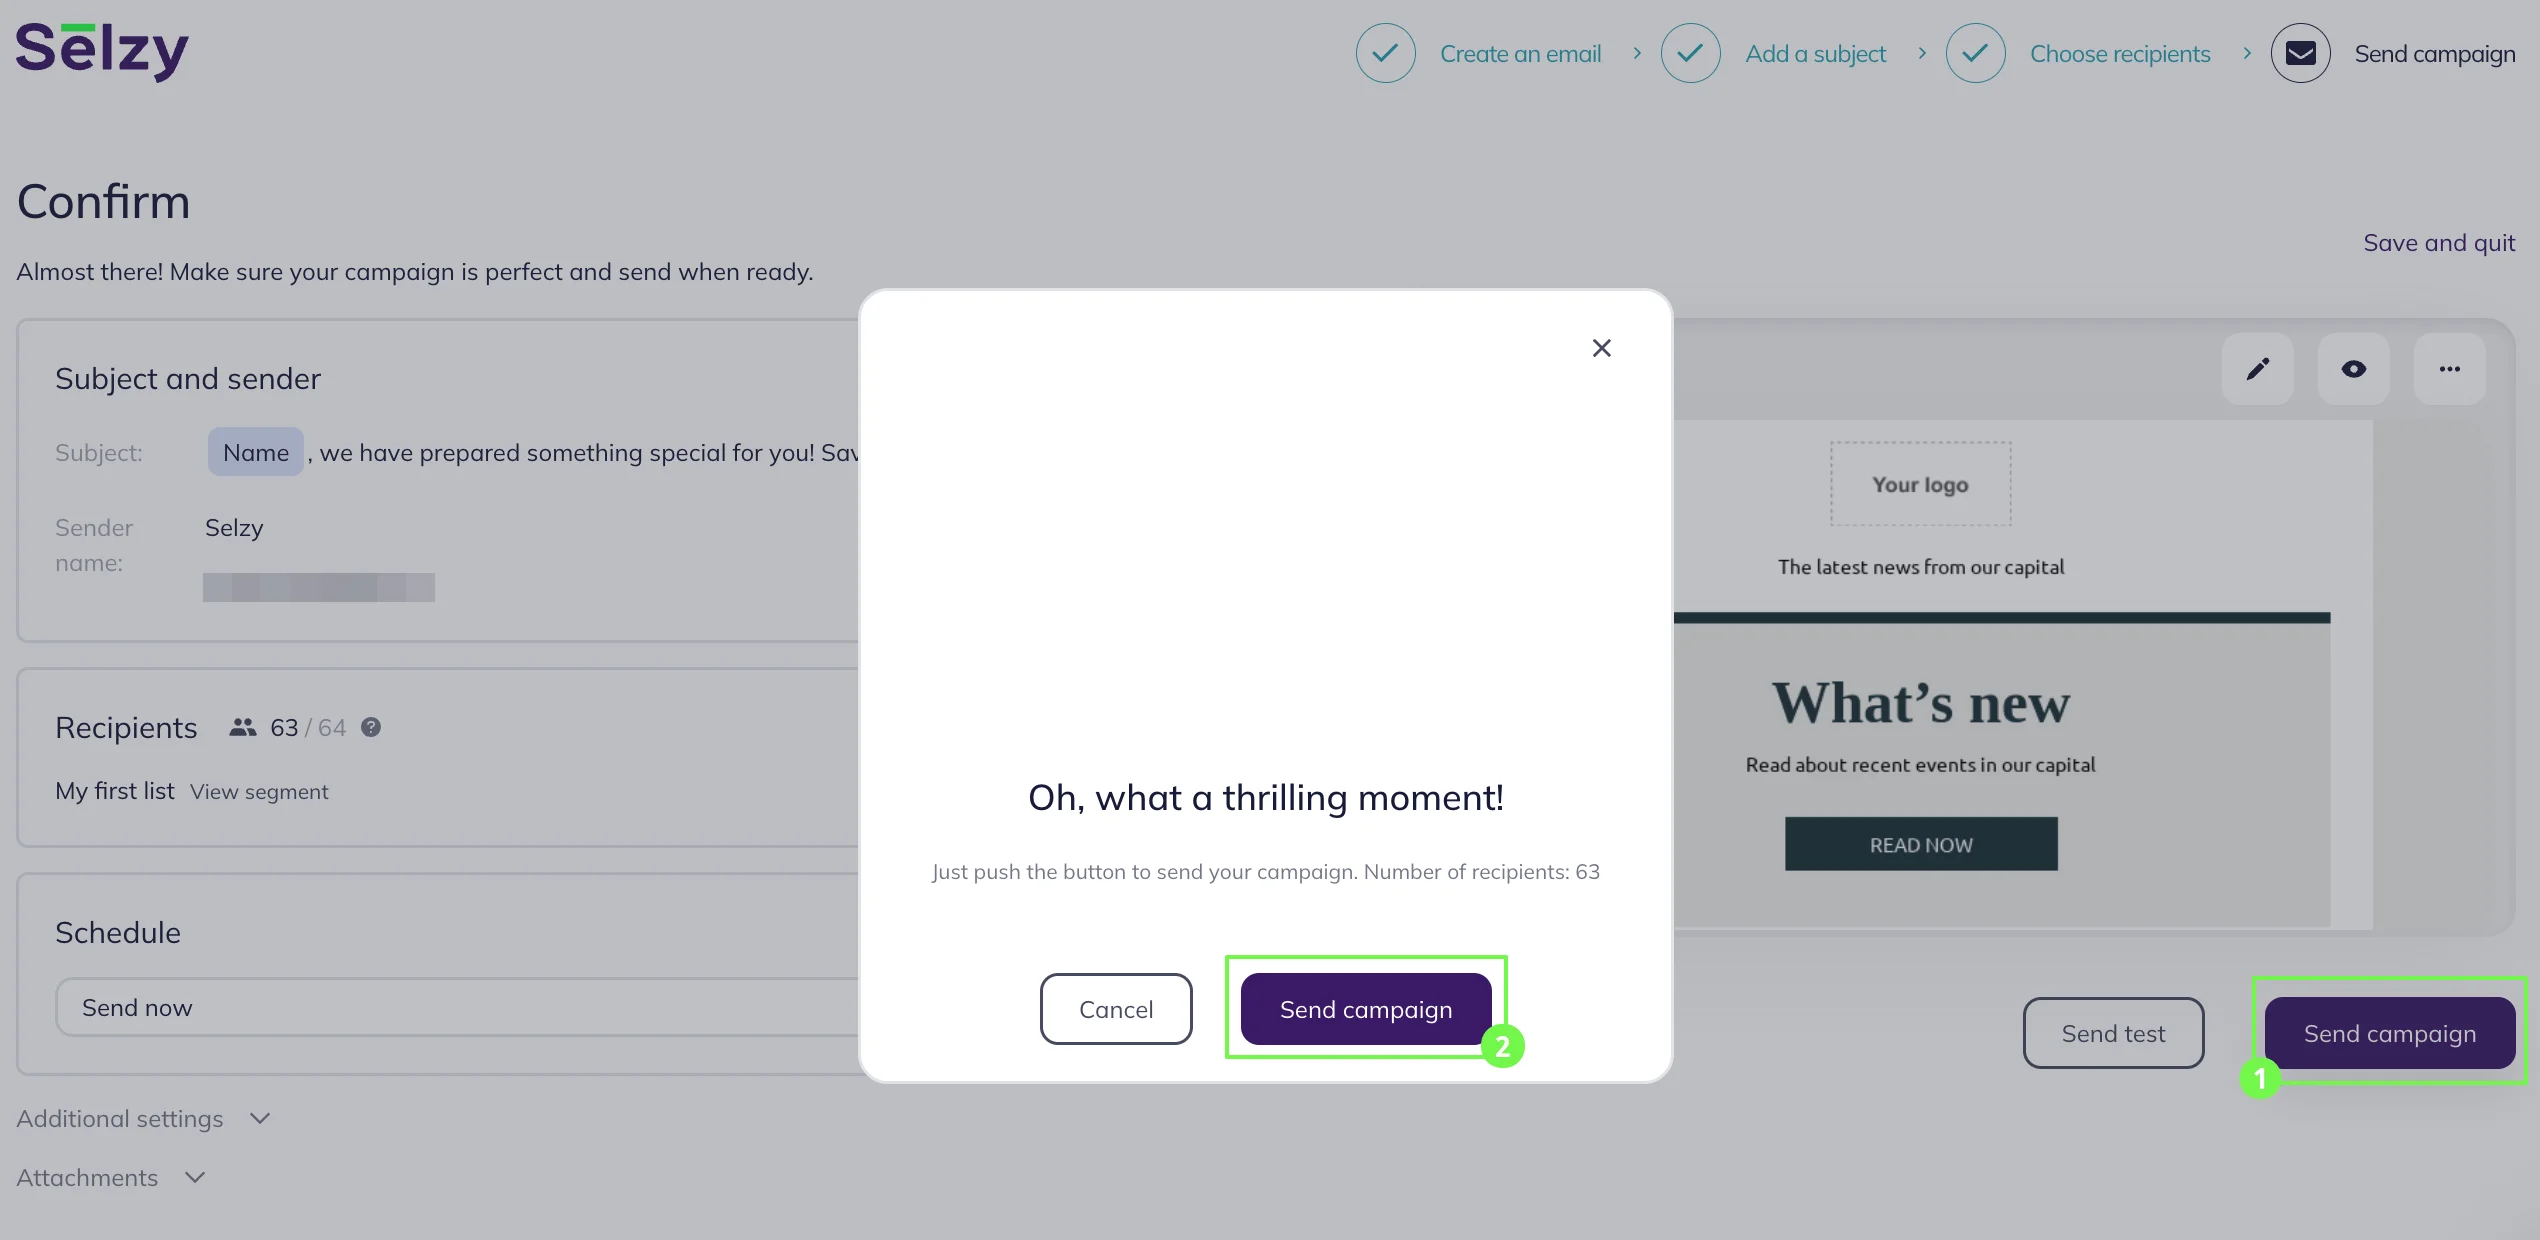
You can see the status of the campaign in the Campaigns → History.
Before being sent, all campaigns undergo moderation. Moderation lasts from a few minutes to half an hour, and in the meantime, the campaign will have the Planned status. After passing the moderation, the status is automatically updated, and the campaign is sent.
Learn how to check the campaign status.
Your subscribers will receive your campaign email, and you will be able to track the campaign performance in the Campaigns → Campaign history section.
Learn how to view a general report on recent campaigns.
Common questions
My campaigns end up in the spam folder. What should I do?
An email provider or individual spam filters of the recipients may block your campaigns.
If your campaign fails to reach only a handful of emails of a particular email service (like Gmail or Yahoo), it has to do with individual spam filters. In this case, advise your subscribers to add your email to their address book and mark the email that ended up in the spam box as “not spam”. After they have done this, the email will automatically move to the inbox.
Your campaign may also be blocked by the email provider. It can happen for different reasons: the email content, the sender’s settings, the subscribers’ reaction to the email, the quality of your mailing list.
If this has happened, first check whether your campaign corresponds to the requirements of the email service that blocked it (for example, Gmail). Nevertheless, if your campaign still meets all the requirements, please, contact the email service provider’s support.
Read more about spam and deliverability in Selzy’s blog:
- The eternal spam struggle: How to fight it and stop your emails from landing in spam folders
- How to send bulk emails and not be a spammer: Dos and don’ts
Why is my email under moderation and when will it be sent?
Your campaign may be under moderation for the following reasons:
- There are a lot of new contacts on your mailing list that haven’t been your recipients yet.
- Your mailing list is of a low quality.
- The email doesn’t meet service requirements (See Selzy’s campaign guidelines and Antispam Policy).
Usually, the moderation process lasts from several minutes to half an hour. If as a result of the moderation your campaign was rejected, you will receive a message in Selzy and an email to your account address describing the reasons for the rejection and recommendations to resolve the issue. As soon as you make the needed corrections, your email will be sent.
How soon will my campaign reach the recipients?
The speed of your campaign delivery depends on lots of factors, including the number of recipients and the size of your email. The minimal speed of delivery is 150 thousand emails per hour. This is a guaranteed speed in any circumstances.
Useful links:
Design an email from a template in the builder
Create an email from an HTML template in Selzy
Create an email from your HTML template
Personalize email content with merge tags
Schedule an email campaign for a specific time
Set up Google Analytics for email campaigns


