You can personalize your emails with custom or system field variables (merge tags). In another article, you can learn more about how variables (merge tags) work in general.
Each variable (merge tag) corresponds to the data record in Selzy. When you send a campaign, Selzy will replace each merge tag with the corresponding data associated with each individual email recipient.
Custom fields
Upload and add any data about your customer to the email. For example, name, gender, date of purchase, city of residence, product category.
System fields
- {{Email}} — recipient's email.
- {{LocalPart}} — the part of the recipient's email before the @ sign.
- {{UnsubscribeUrl}} — the unsubscribe link.
- {{SendDate}} — the scheduled date of the email sending.
- {{SocialBookmarks}} — icons of social media services.
Complex variables (conditional merge tags)
- {{Name| dear customer}} — will be substituted with the value of the Name field, and if Name is empty, the text "dear customer" will be added instead.
- {{Name|{{Email}}}} — will be substituted with the value of the Name field, and if Name is empty, the value of the Email field.
- {{Name?Dear Username}} — if the Name field is not empty and not equal to zero, the text "Dear Username" will be placed, otherwise the recipient will see an empty row.
- {{HasOrders?{{Discount}}}} — if the HasOrders field is not empty and not equal to zero, then the value "Discount" will be placed, otherwise the recipient will see an empty string.
- {{Name?, }}{{{Name}}} — If the Name field is filled in, insert a comma before it. If the Name field is not filled in, the variable will be skipped.
Example
Let's add a complex variable and an unsubscribe link to an email.
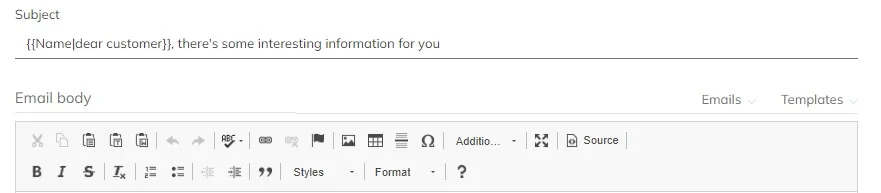
In the subject line of the email, we'll write {{Name| dear customer}}, there’s some interesting information for you. The recipient will either see their name (if it is specified in the Name field) or " dear customer” if there is no name.
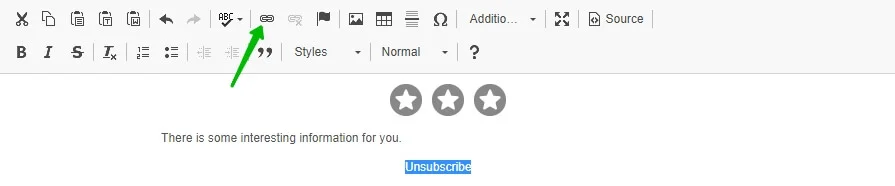
In the body of the email, we will add an unsubscribe link. To do this, first, select the word you want to add a link to and then click on the link edit symbol.
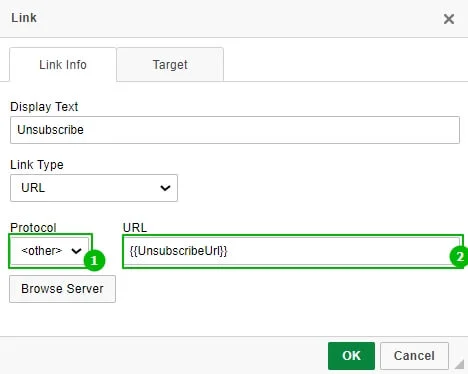
In the popped-up window, insert the variable. Be sure to change the Protocol type to <other>. In the URL field, type in the {{UnsubscribeUrl}} variable. Then click OK.
In separate instructions, you can learn more about adding an unsubscribe link and editing its text.