Step 1. Create a chain
On the Automation page, click Create chain.

You can make a chain from scratch or choose one of the pre-made templates.
Step 2. Add the chain blocks
A chain consists of blocks. Each chain must have a chain trigger block, an action or a condition, and a result.
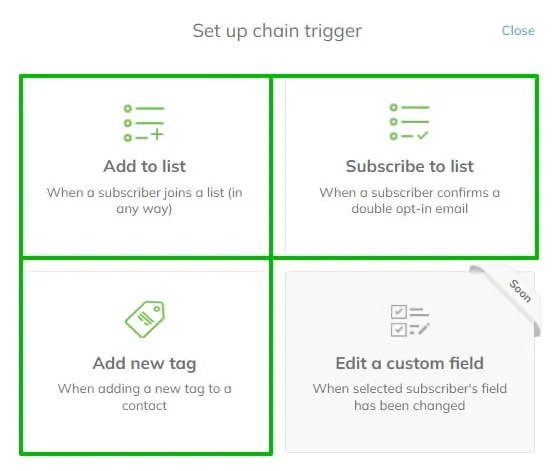
Click the "+" icon and add the blocks you need.
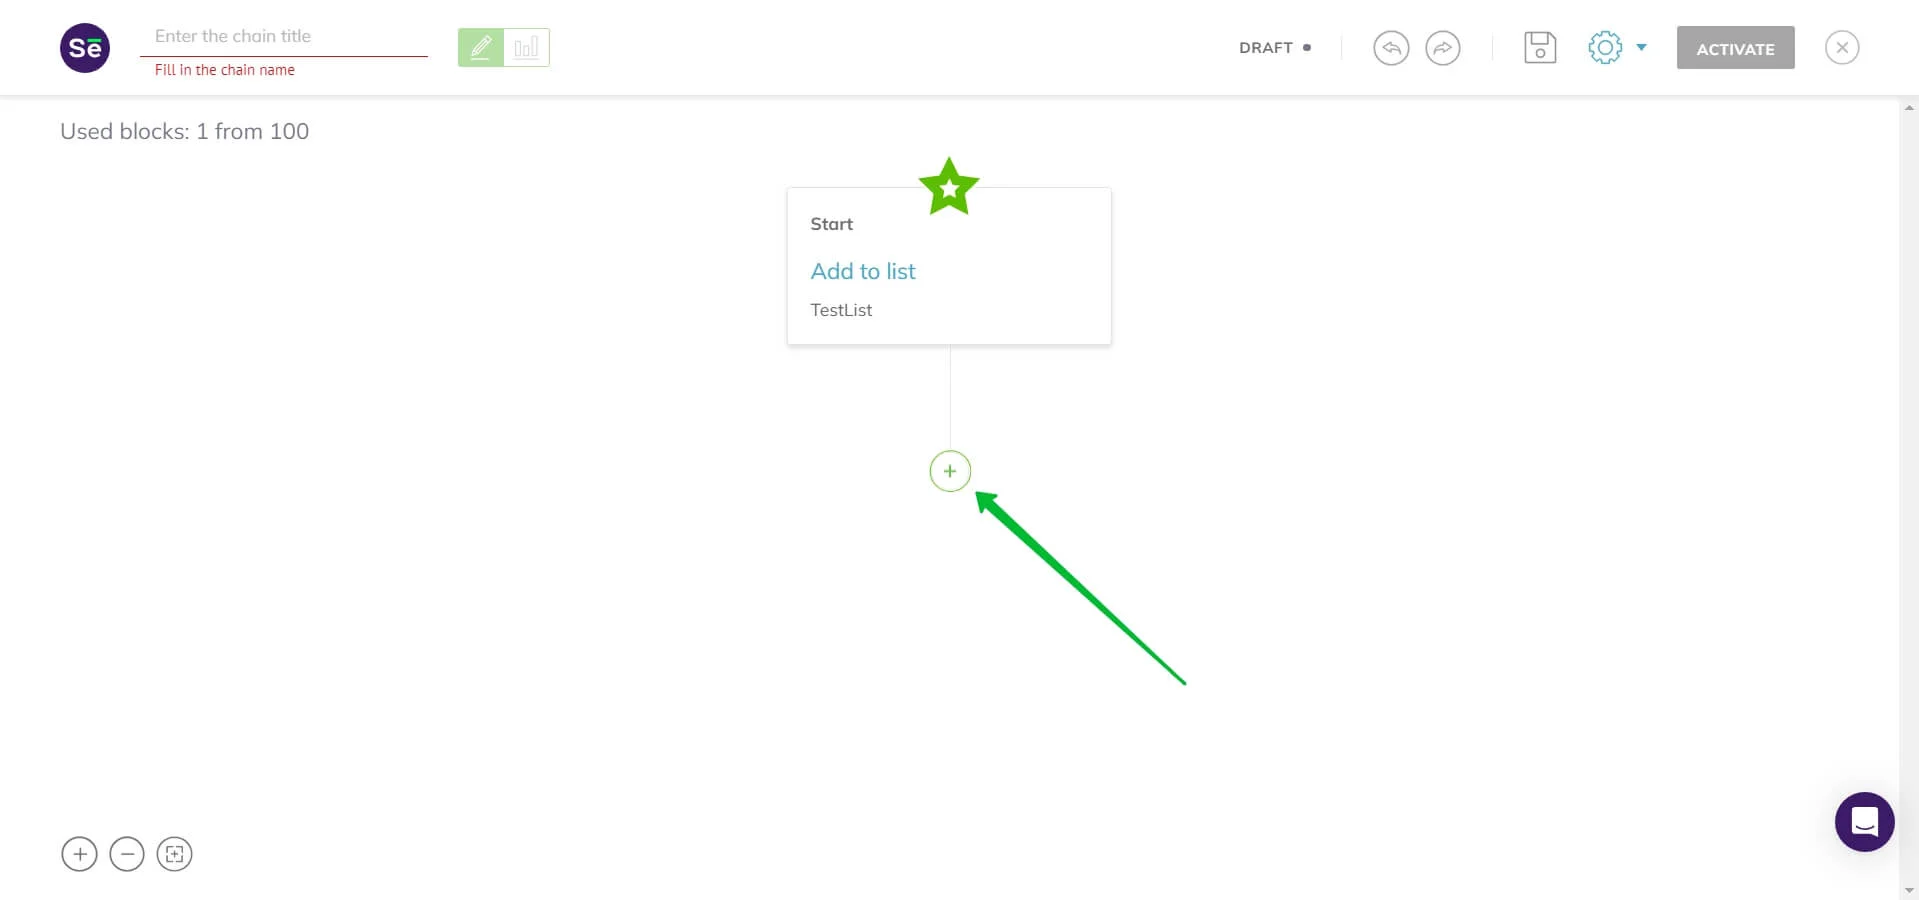
Learn more about the blocks.
Step 3. Save the chain
Specify the name of the chain and click on the save icon.
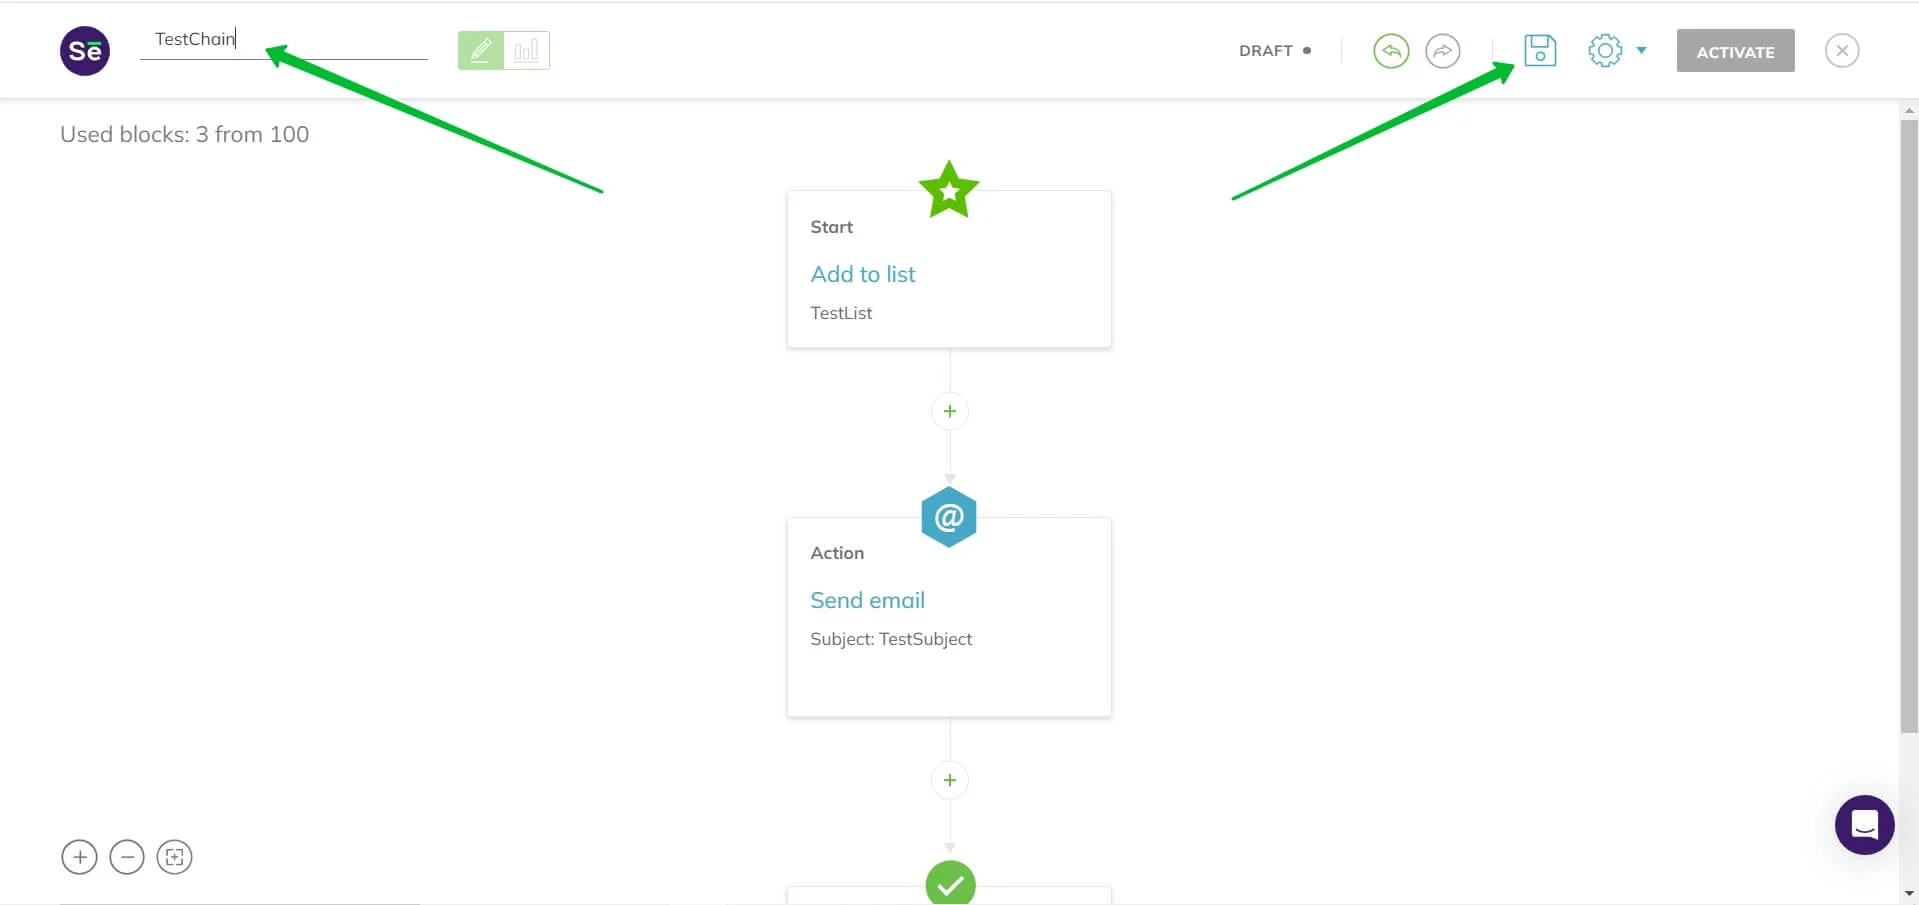
Until you activate the chain, it remains in the Draft status.
How to activate the chain
After you save the chain, you can activate it. Click on the Activate button in the top right corner, and the chain script will start.
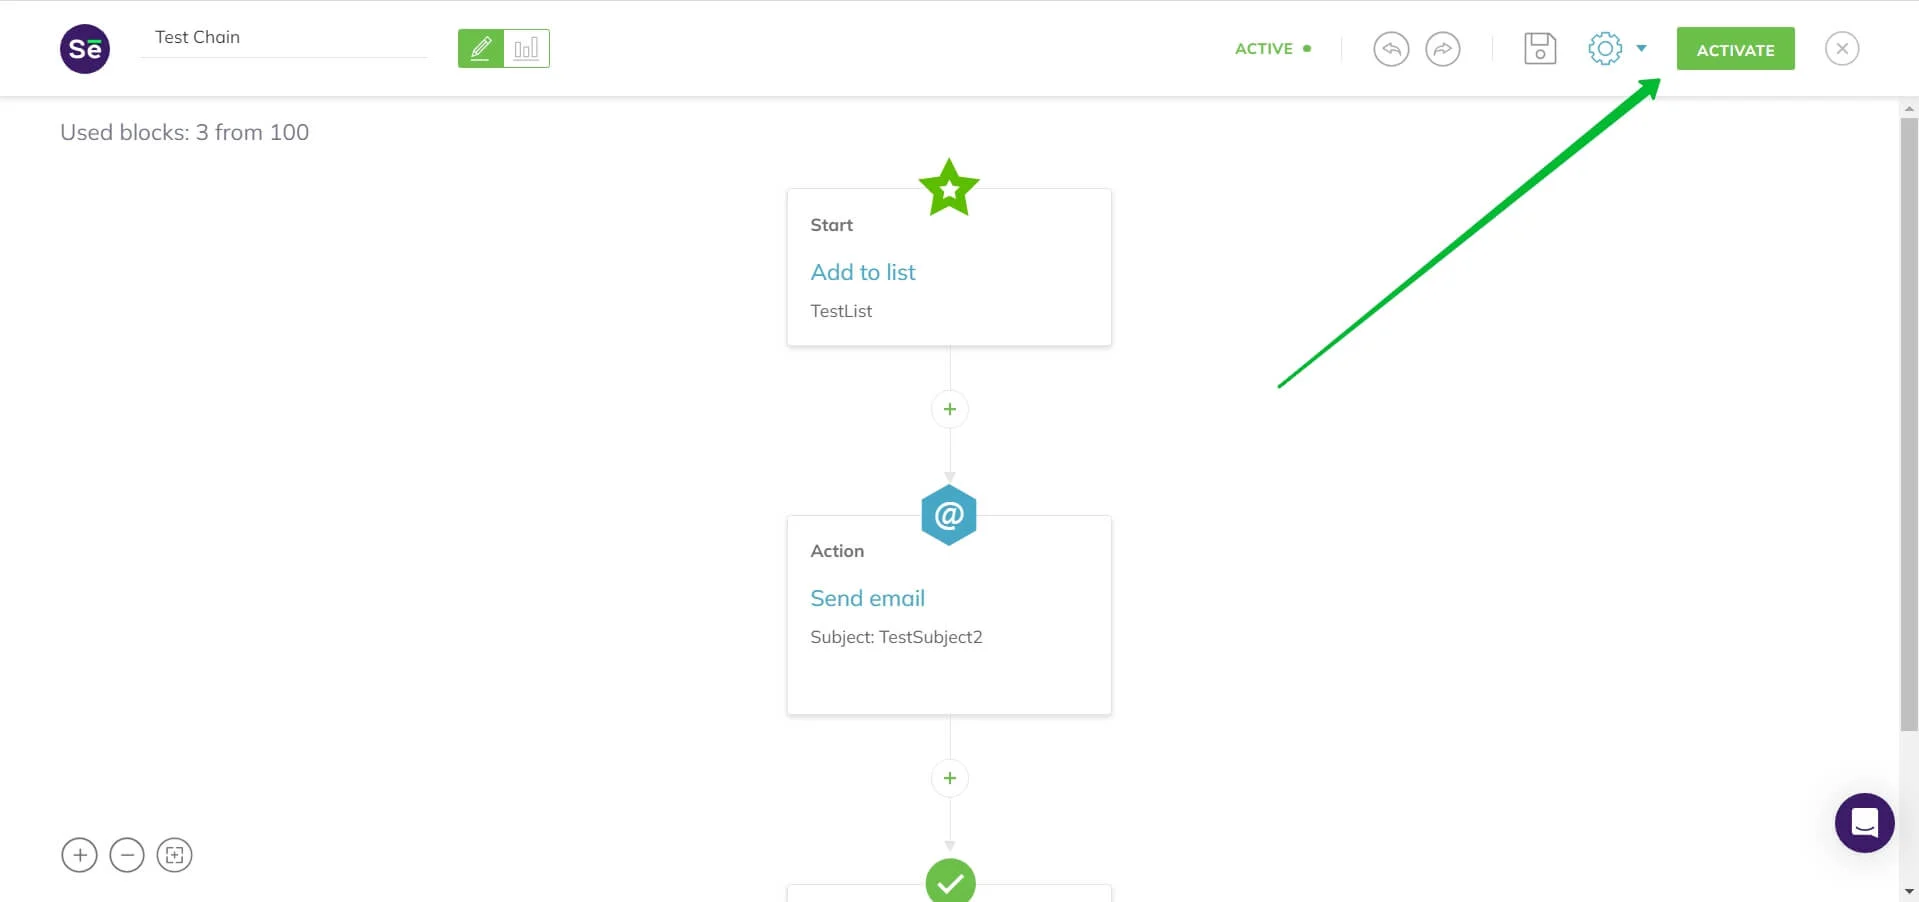
After you activate the chain, its status will change to Active.
If you have made edits to an activated (running) automation and decide to activate the edited version, this will delete the previously running version of the automation and make the edited version Actual.
Activating the newly edited automation chain irreversibly replaces the older version of it with the new one. However, some of your subscribers might still end up in the older chain. To avoid that, learn how to delete contacts from the older chain.
If the Activate button is gray (inactive):
- Save the automation.
- Make sure that all branches of the chain end with a result.
- Check the blocks with errors or blank fields (highlighted in red).
How to edit the automation sequence (chain)
After activating the automation, you can edit it: add or remove the necessary blocks, and edit them.
If you want to make dramatic changes to your automation (such as creating new branches, deleting the existing ones, etc.), we recommend you instead create a new automation chain. This will make it easier to differentiate the versions and reverse changes if you ever need to do so.
From the Actions menu by the automation you want to edit, click Edit to go to the automation editor.
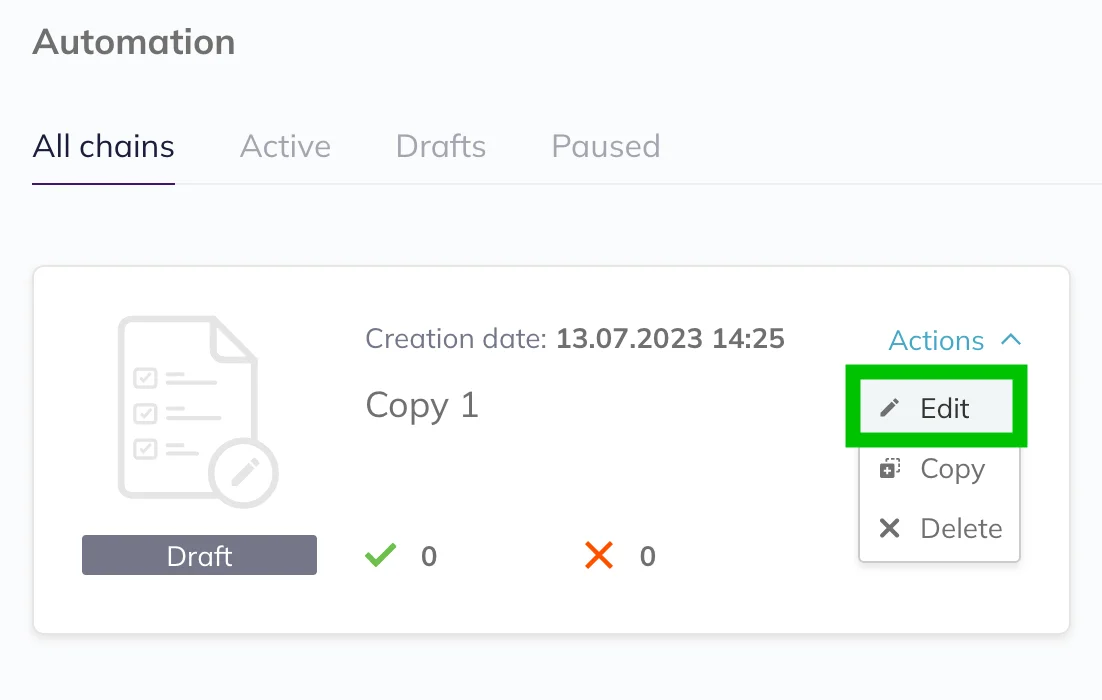
Now you can edit the automation. For example, by adding new blocks the same way as described in the Create a chain section of this article.
If you start editing an activated automation sequence, this creates two versions of one chain:
- The actual version — the chain as it were before you started making changes. If you have not stopped the automation, this version of it is still active and running on the backend.
- The version for editing — the chain as you see it in the editor, with all the changes you made. If you want this version to become the actual version (and to replace the previous one and start running), you need to save it in the editor and reactivate it. Note that you will not be able to return to the previous version once the new version is activated. The saving, however, doesn’t prevent you from doing so.
More about automation versions
When you edit an automation chain, there are essentially two scenarios:
- You are satisfied with the changes and want to use the edited version of the automation. Then you can save it in the editor and activate it. Note that after saving you still can go back to the previous version, but after activating the chain, the previous version of it gets deleted.
- You are not satisfied with the edited version and want to reverse changes. Then you can return to the actual version (the pre-edited one) following the next part of this instruction.
Return to the actual version
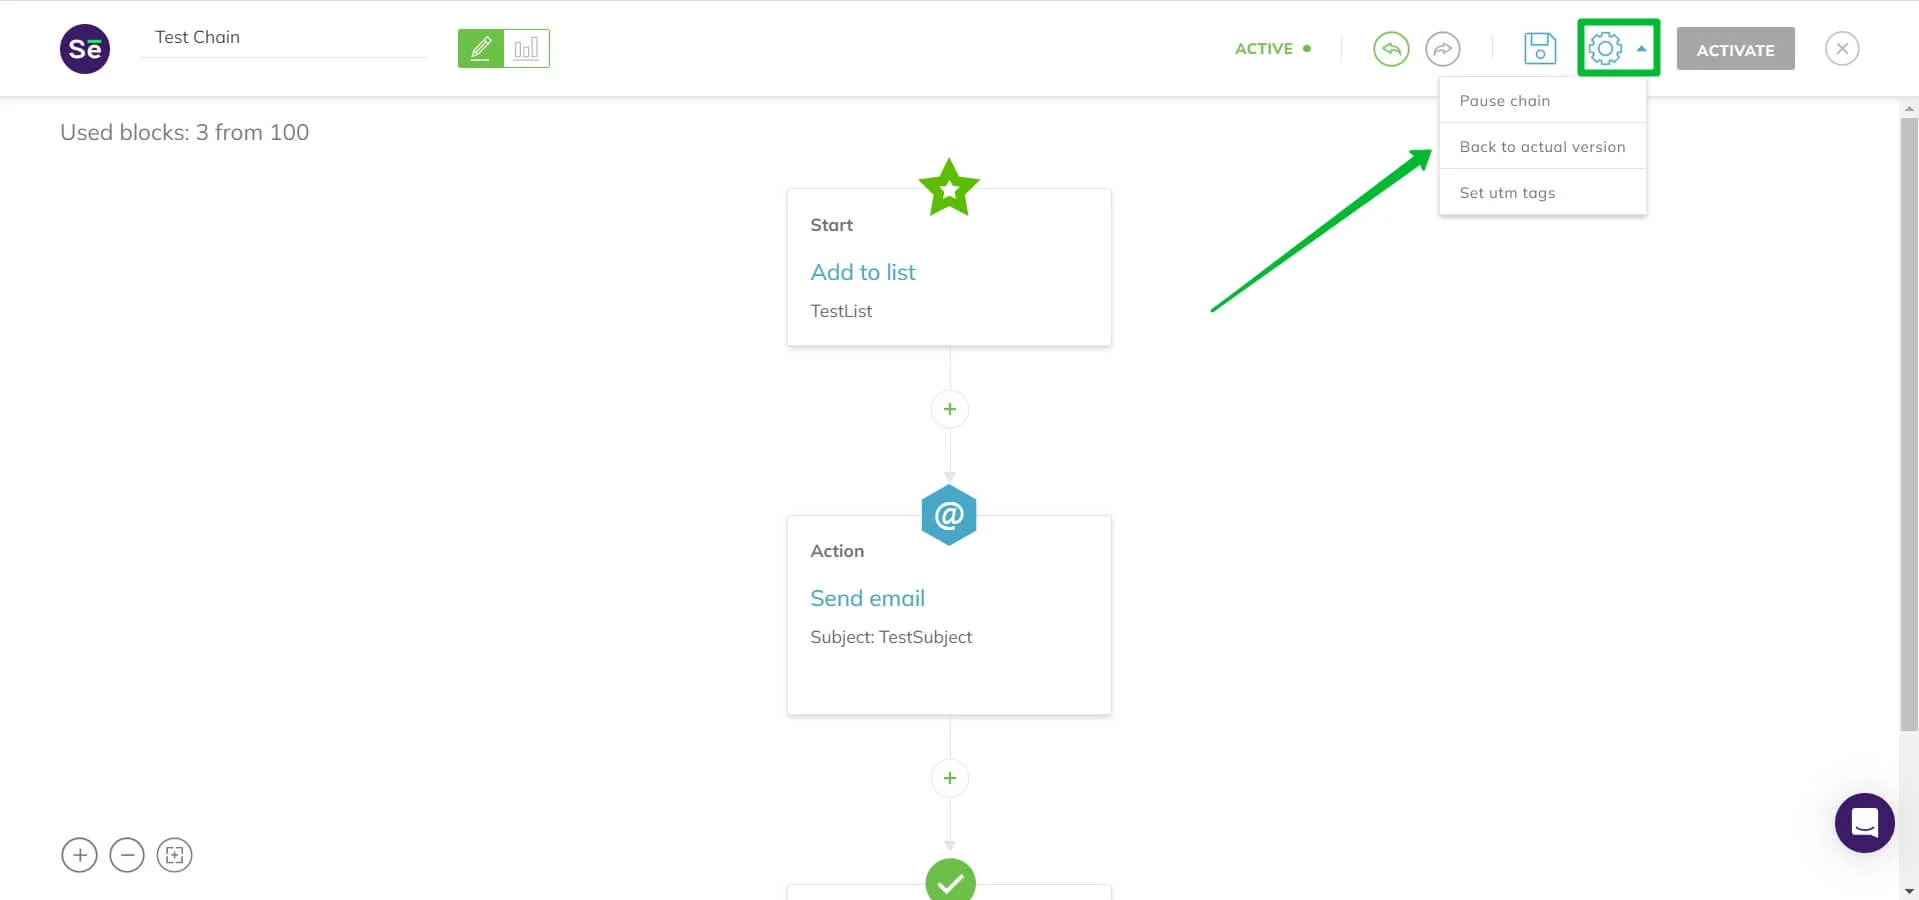
If while editing you decide that you are satisfied with the actual (activated and running) version and want to reverse the edits you made, click Back to actual version. This will return the chain to the last running version and undo any edits you made.
Activate the actual version of the automation
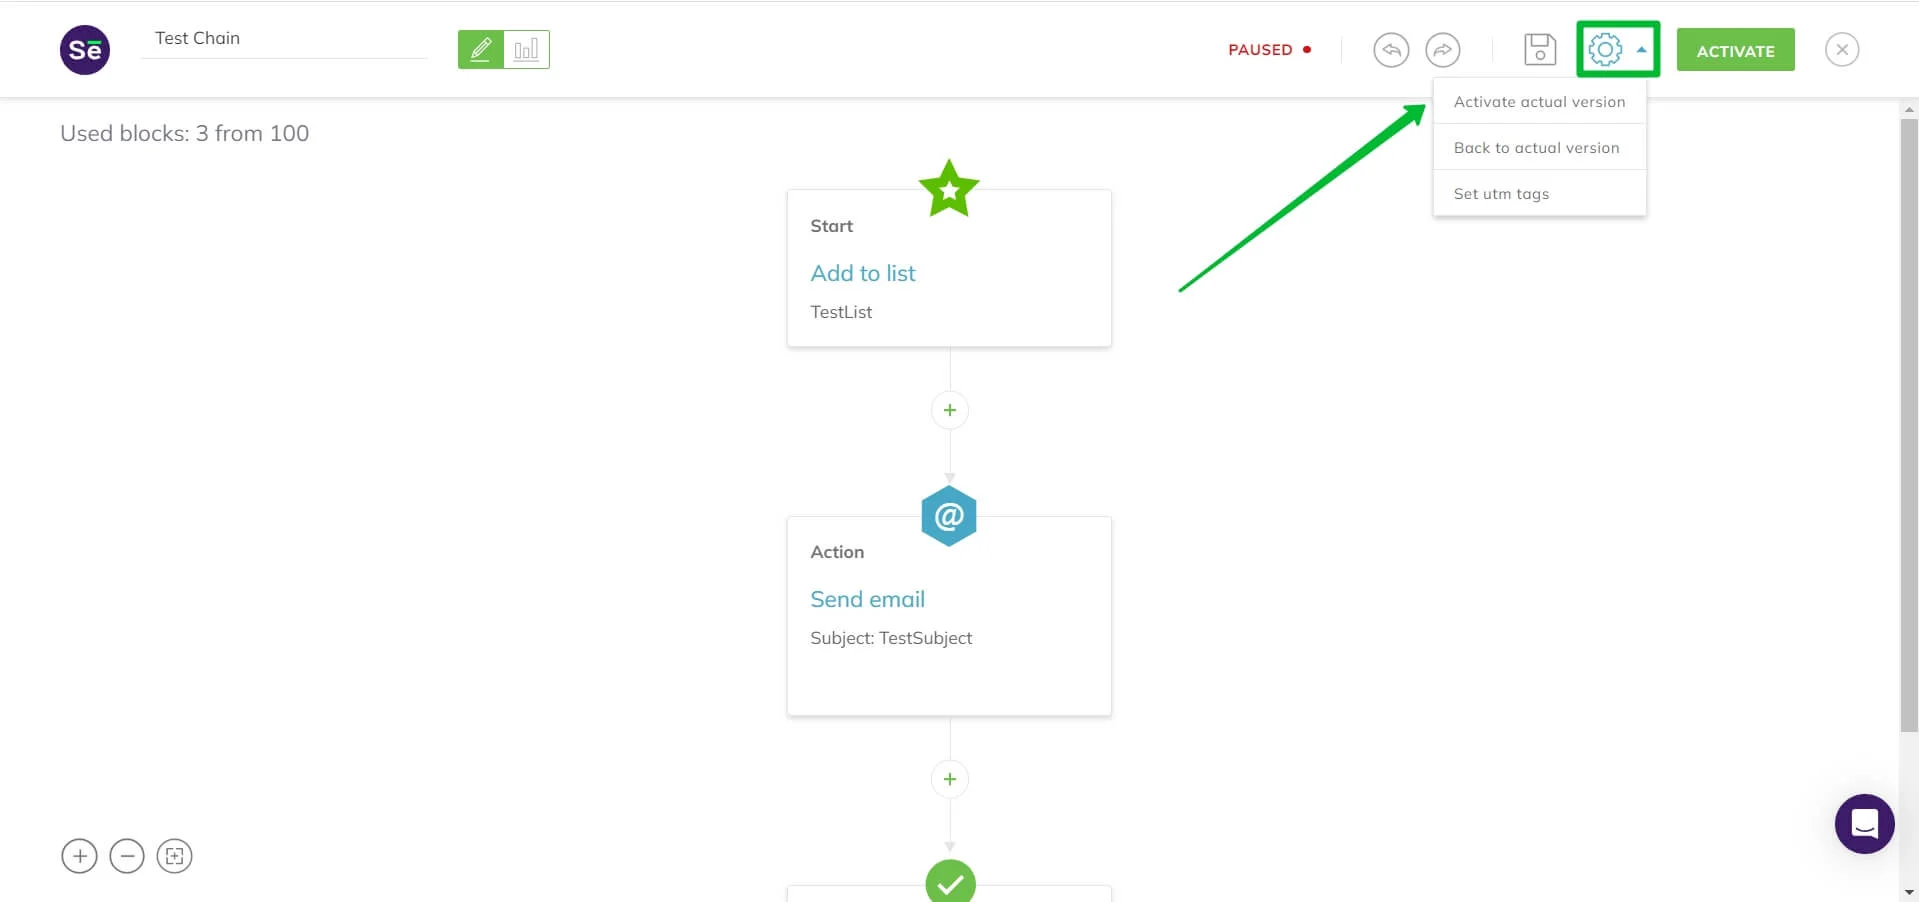
If you wanted to edit the automation and paused it, you can activate the latest working version. Click Activate actual version.
More about automation statuses
How to view automation statistics
Statistics will be available only after the first activation of an automation sequence.
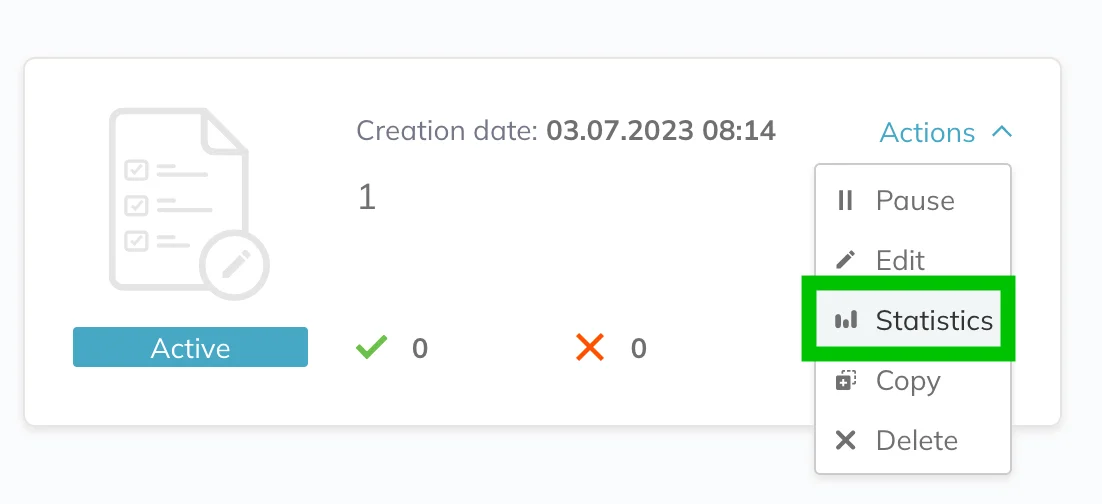
You can access the statistics from the list of your automations by clicking Actions → Statistics by the automation you want to examine.
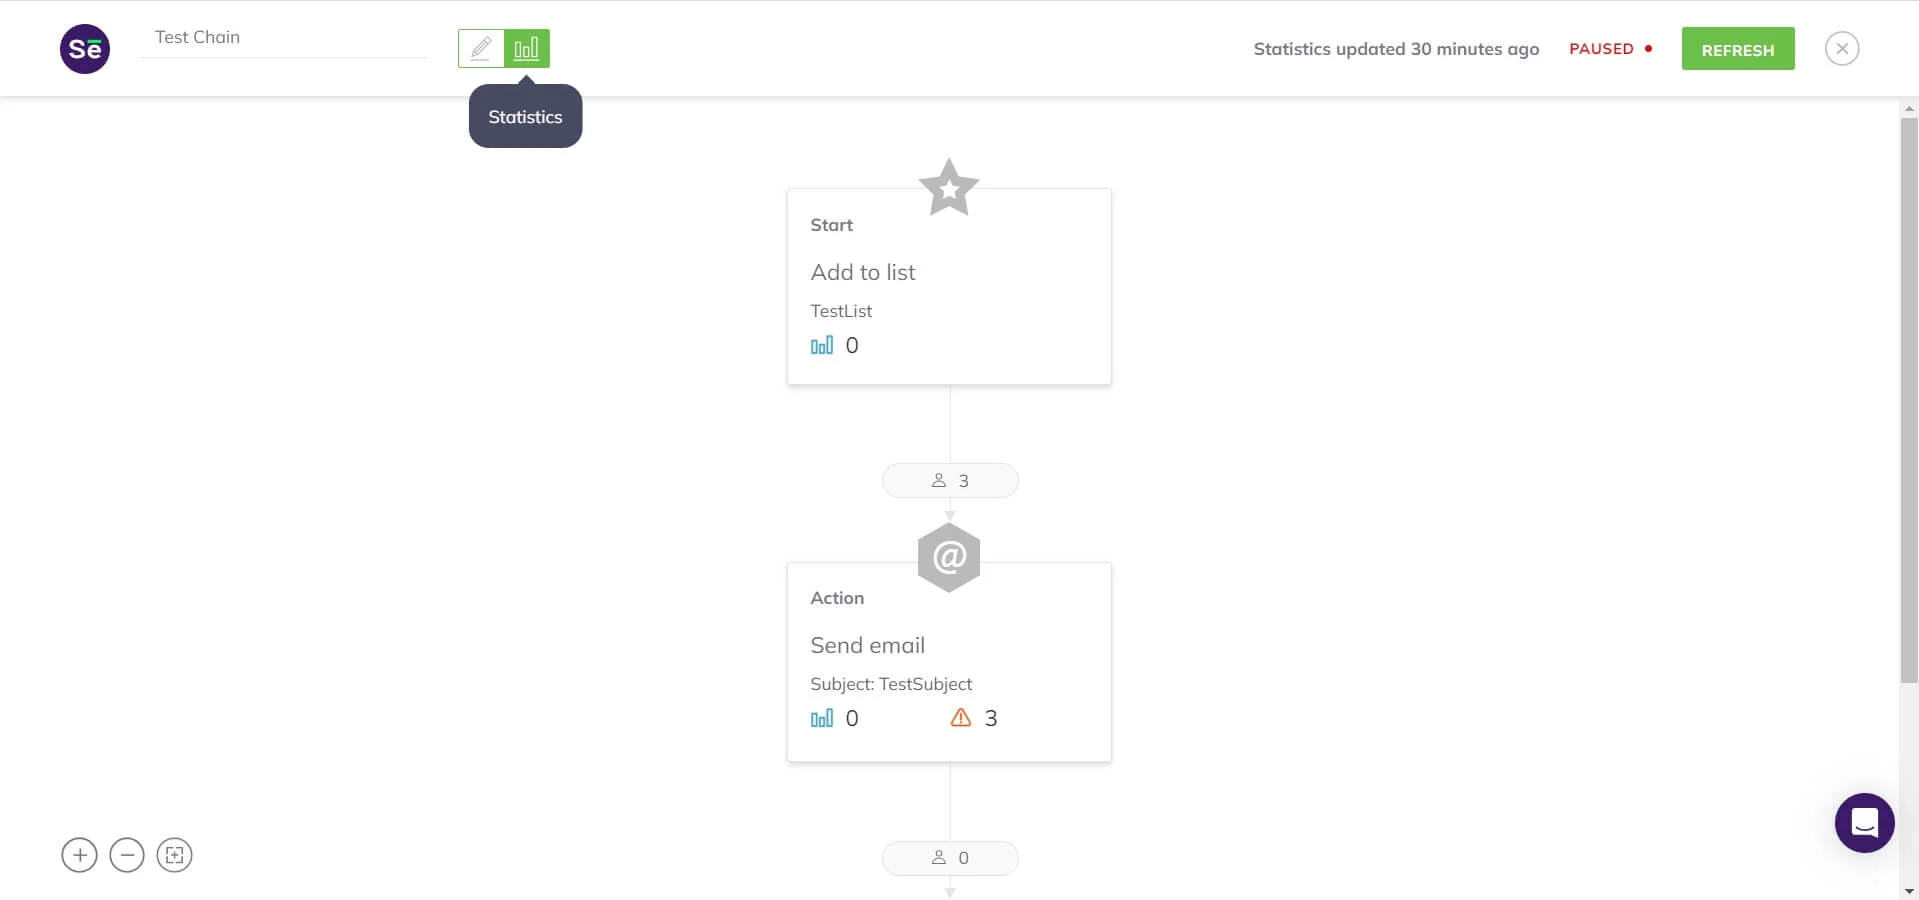
Alternatively, you can view the automation statistics directly in the editor. To do so, switch between editing and statistics modes on the top panel:
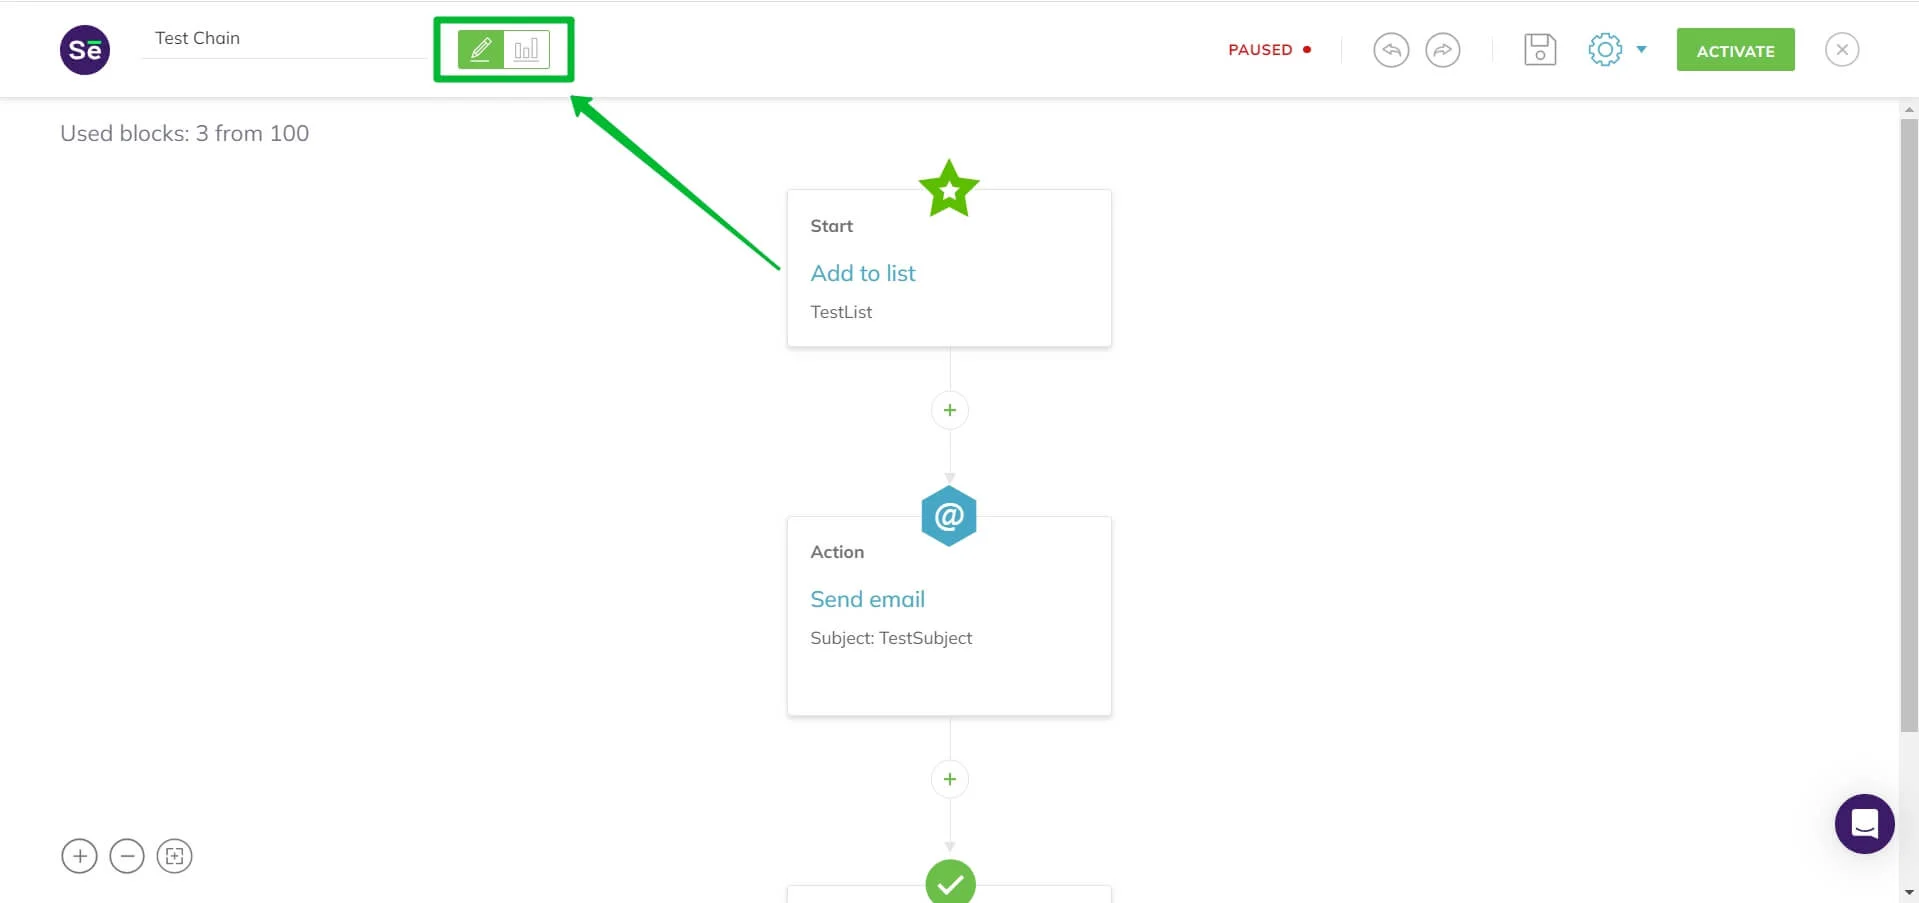
On the Statistics page, you can see how many contacts are in each block and refresh the information.
Read more about statistics
How to pause the automation
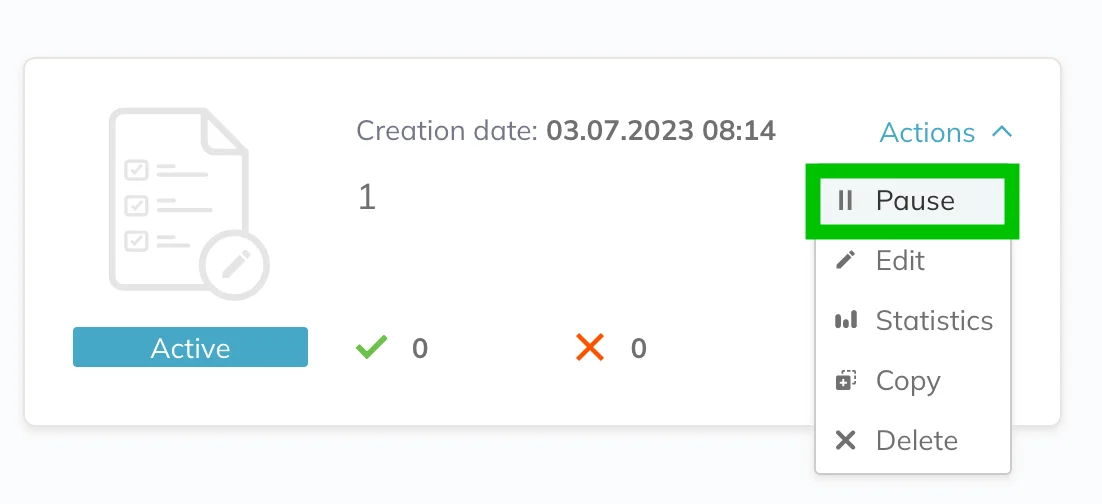
If the automation is in the Active status, you can pause it. To do so, in the list of your automations, click Actions → Pause by the automation you want to pause.
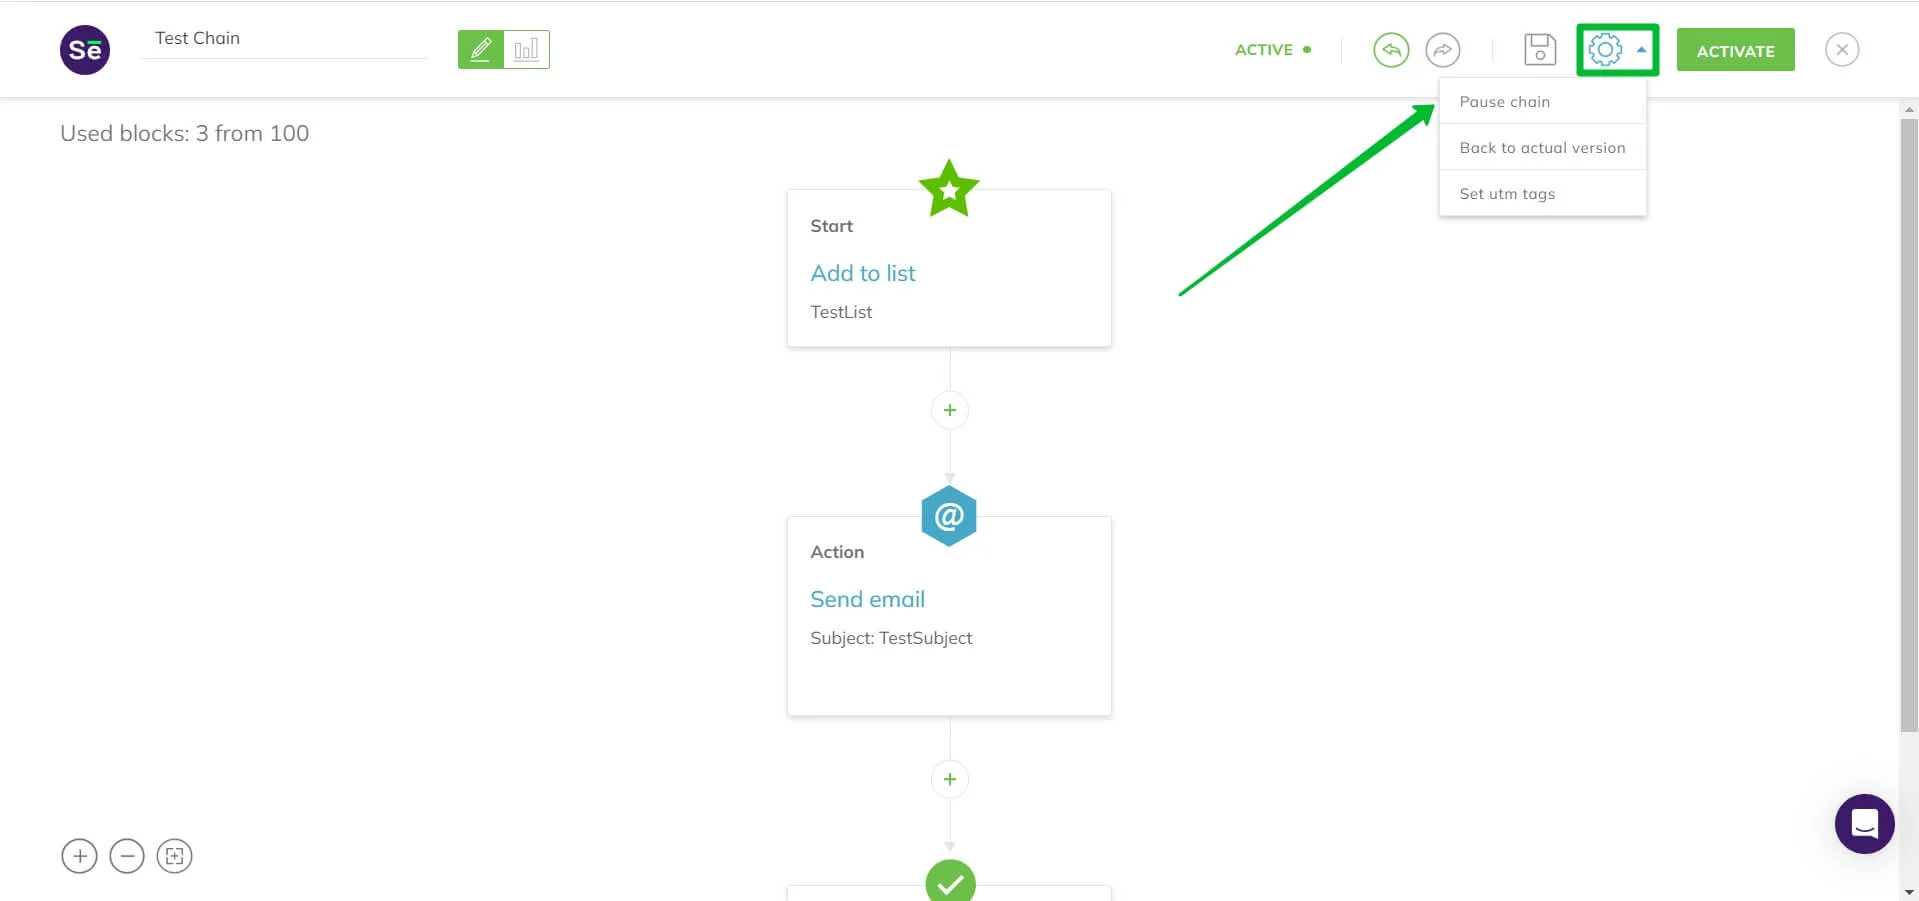
You can also pause an automation from the editor. Click on the gear icon on the top panel and select Pause chain.
The script of the automation will stop running, and its status will change to Paused. This automation can be reactivated from the editor.
How to copy an automation
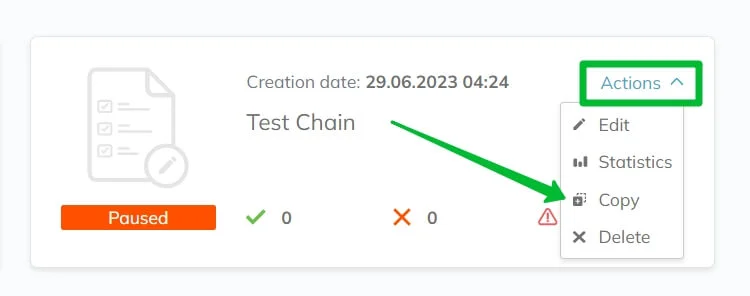
From the automations list, click on Actions → Copy by the automation you want to copy.
After that, you can specify the name of the copied automation. By default, it has the same name as the original, just with the Copy modifier.
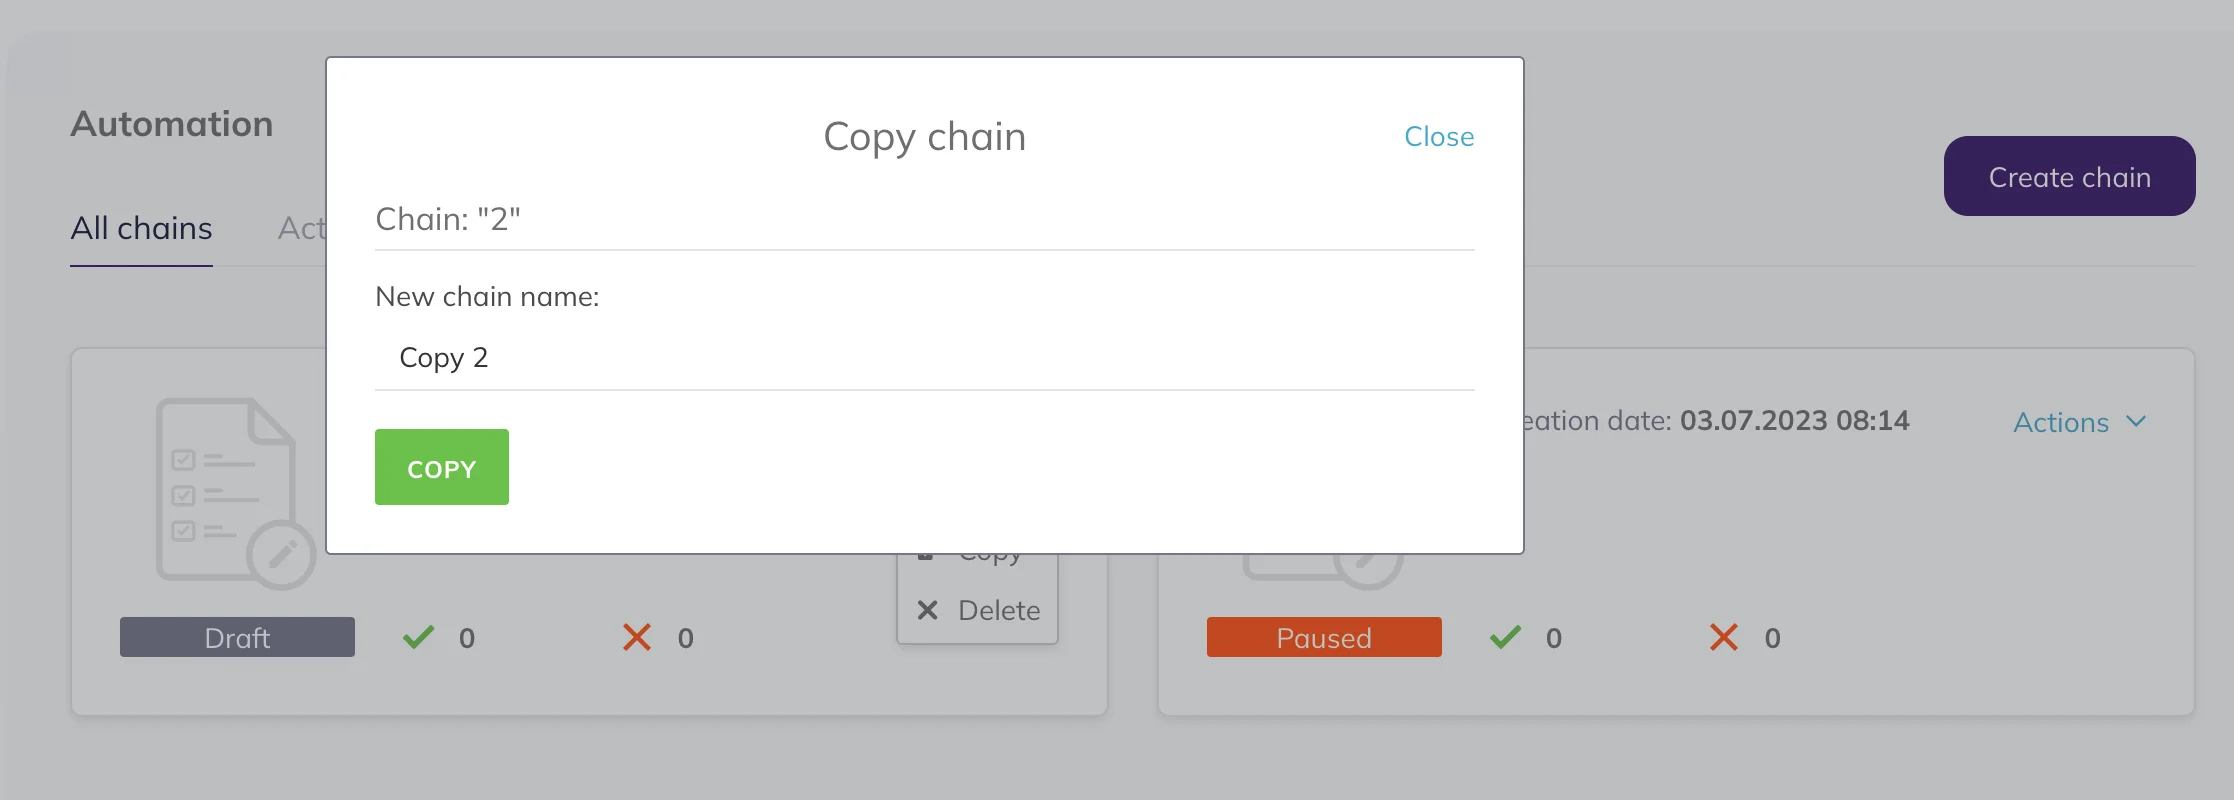
After you click Copy, a new automation will appear on the list with the Draft status.
Learn more about automation statuses
How to delete an automation
On the automation page, click on the Actions → Delete by the needed chain.
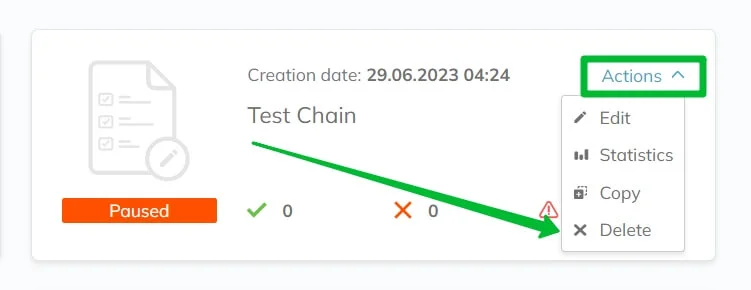
Note that you will not be able to restore the deleted automation.


