Custom fields in Selzy store additional data about your contacts such as their name, location, language, plan or loyalty program tier, or interests. Use this information to:
- Personalize your emails. Add merge tags like {{Name}} to make each email feel more personal. For example, instead of a generic “Hi” your email can say “Hi, Alex”. Selzy will replace each merge tag with the corresponding data from the contact card.
- Segment your subscribers. Single out contacts based on the data stored in their custom fields to send more relevant content. For example, you might promote your event only to subscribers from New York or offer an upgrade to contacts on the free plan.
Create custom field
In Selzy, you can create the following types of custom fields:
- Text — a long text of up to 5,000 characters. Suitable for storing survey responses or customer preferences.
- String — a short text of up to 255 characters. Useful for short inputs like city names or promo codes.
- Number — an integer or a number with a decimal point, with or without a sign. Use it to store figures like order totals, discount percentages, or the number of purchases a customer made.
- Date — a field with a date picker. Ideal for tracking birthdays, subscription start dates or deadlines.
- Yes/No — a checkbox field. It can be used to specify subscription consent or promo participation.
- Radio button — selecting a single value from a set of options. Suitable for structured data like industry, preferred mailing lists,or gender.
You can add up to 200 custom fields.
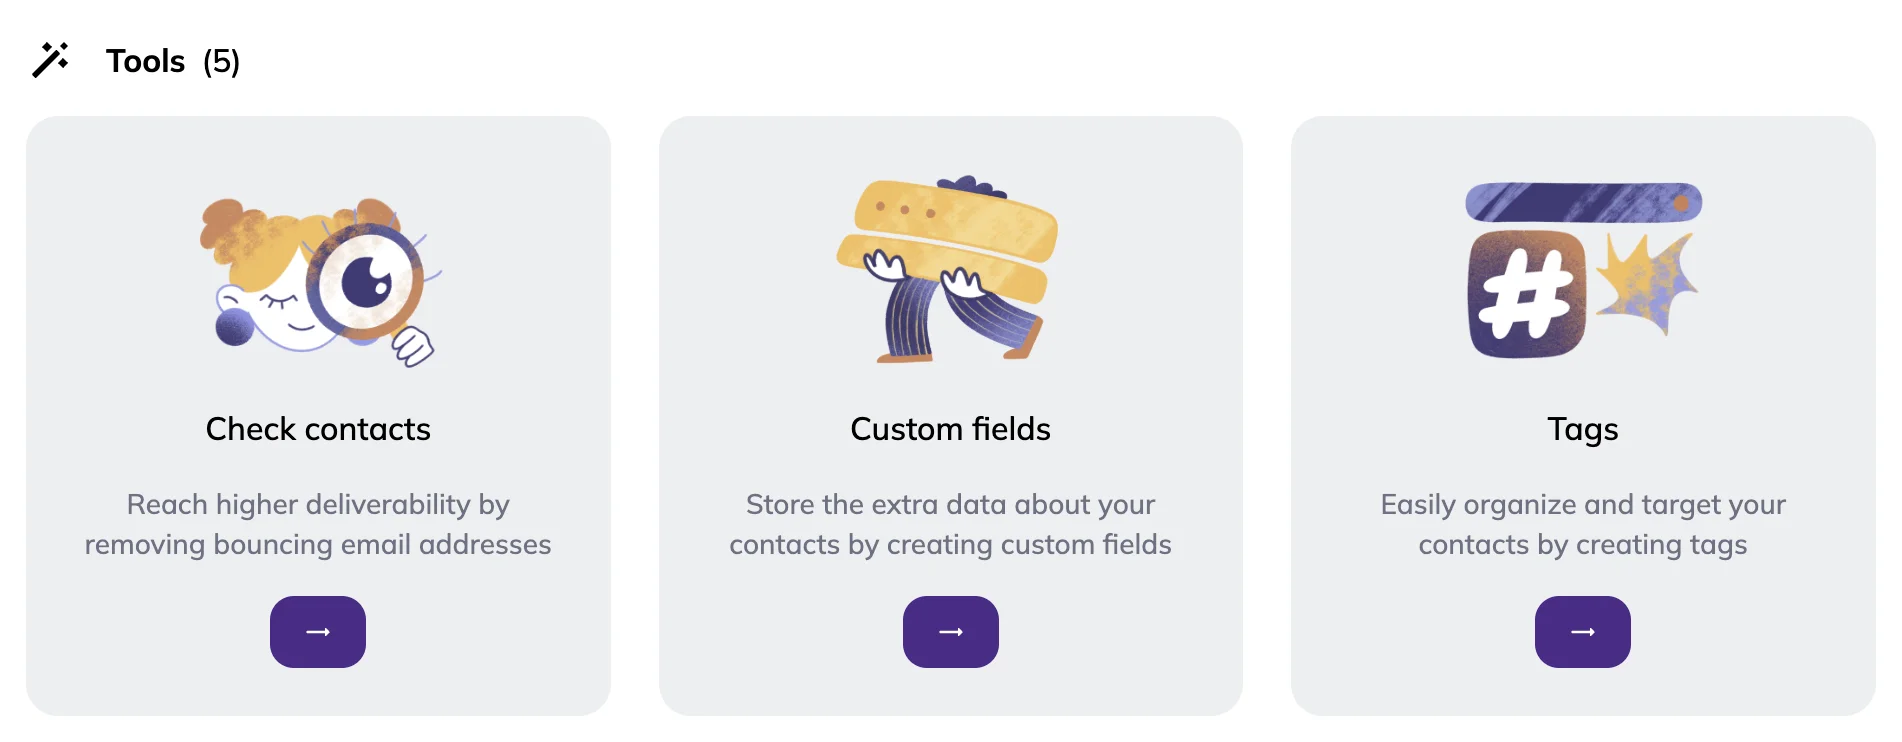
Go to your account → Contacts → Tools → Custom fields.
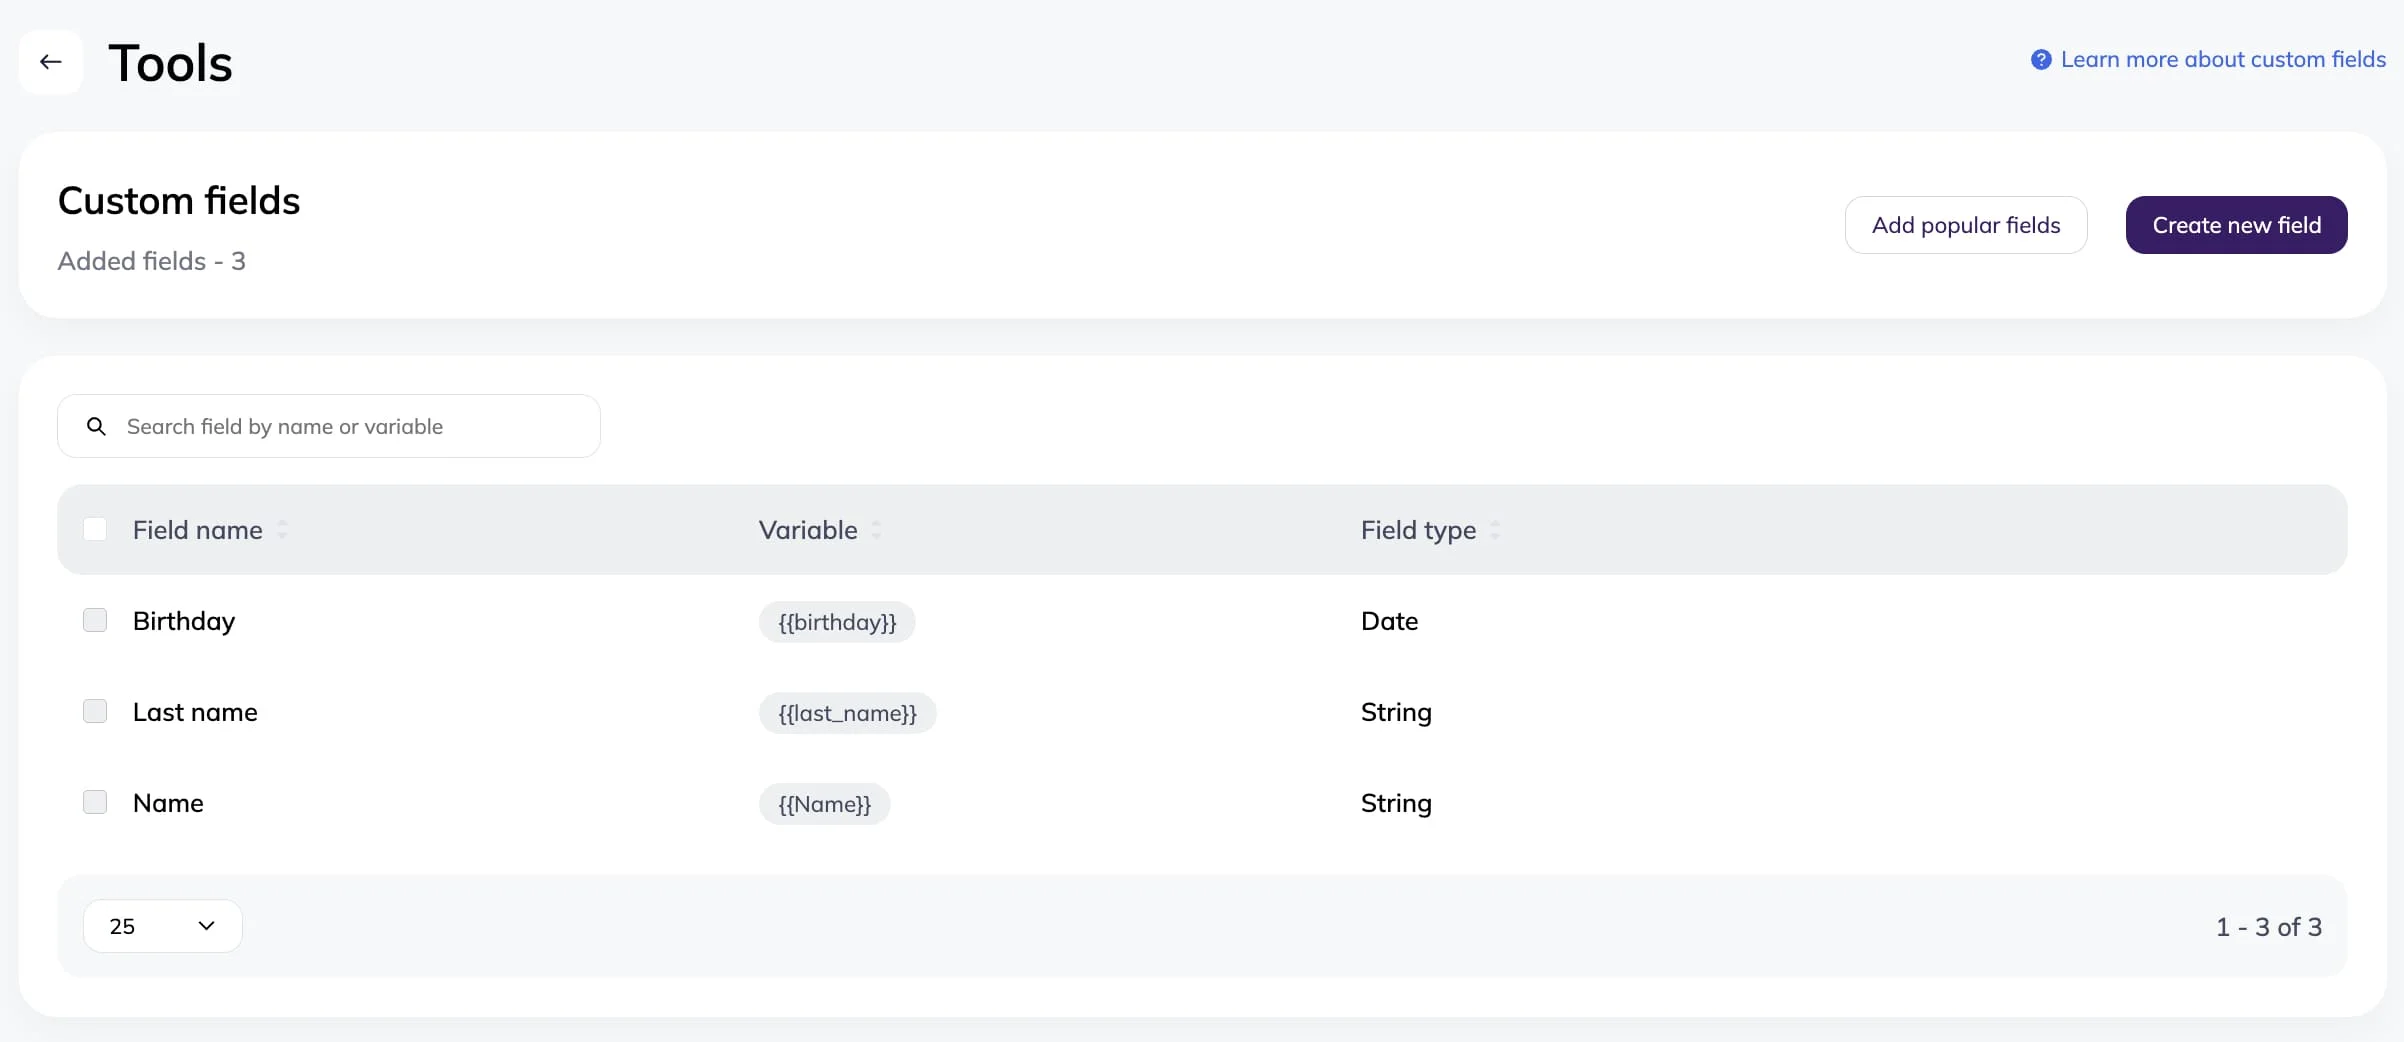
Here you can check available custom fields and add new ones using the “Create new field” button.
System fields — Name, Last name, and Birthday — cannot be deleted or edited.
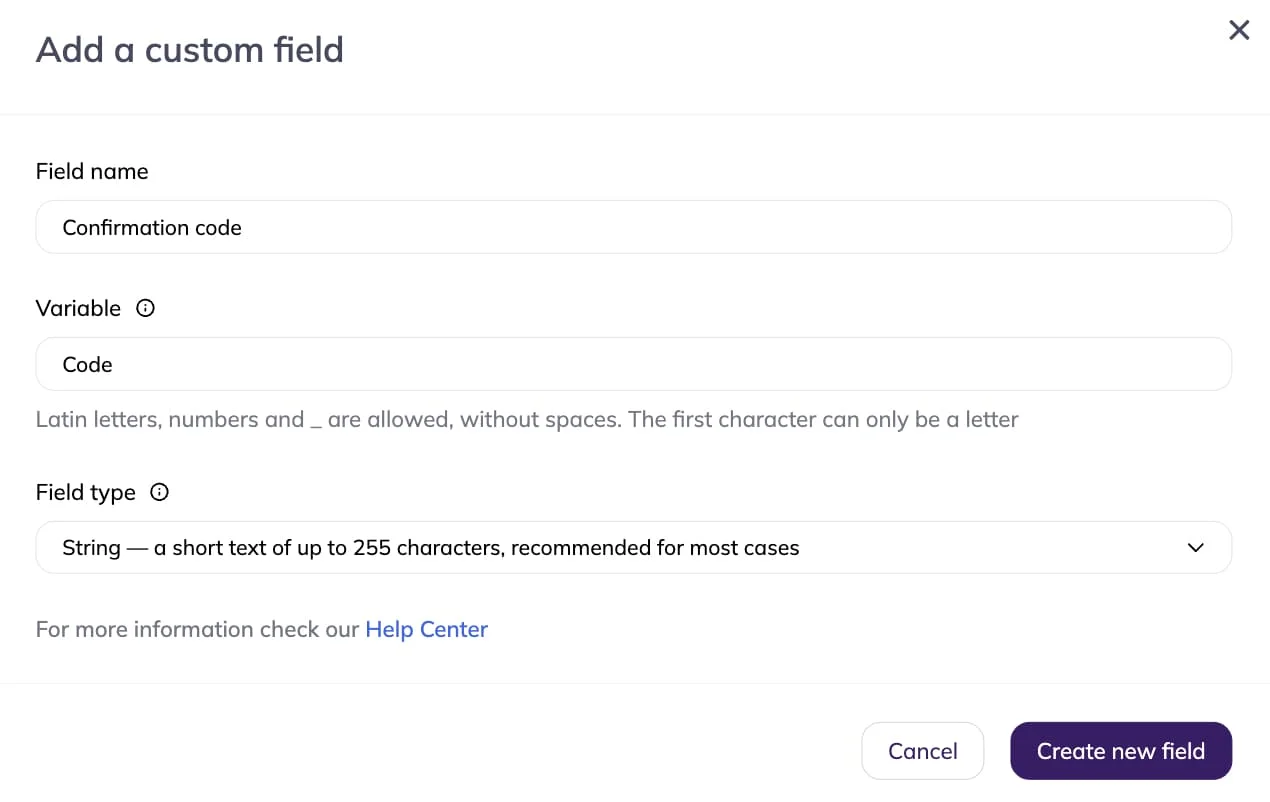
When creating a custom field, fill in three parameters:
- Field name. Shown in your contact lists and contact card.
- Variable. Used in your emails as a merge tag. You can use Latin letters, numbers, and underscores, without spaces. The first character must be a letter.. Variables are case-sensitive, so “Code” and “code” will be two different variables.
- Field type. Defines the format of data this field will store.
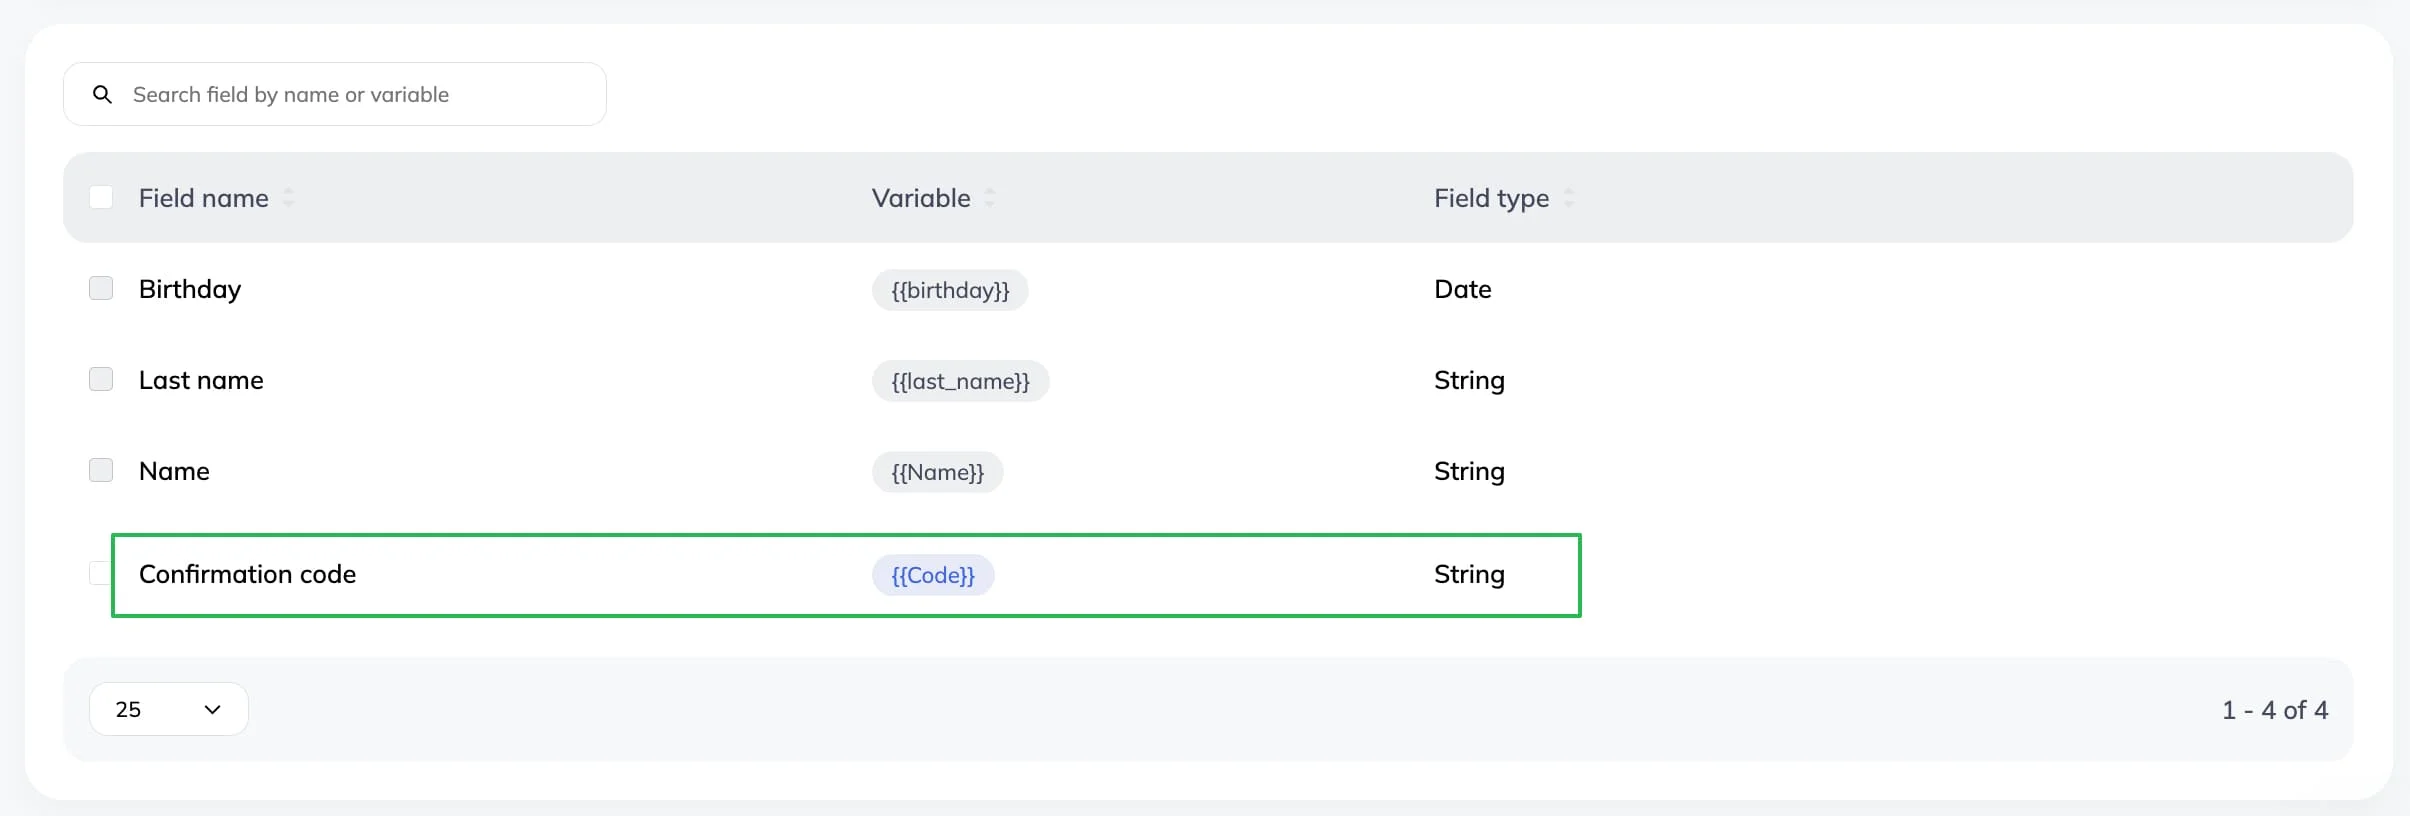
For example, to create a field for a confirmation code, enter the field name and the variable, select “String” field type, and click “Create new field.”
Your custom field is ready.
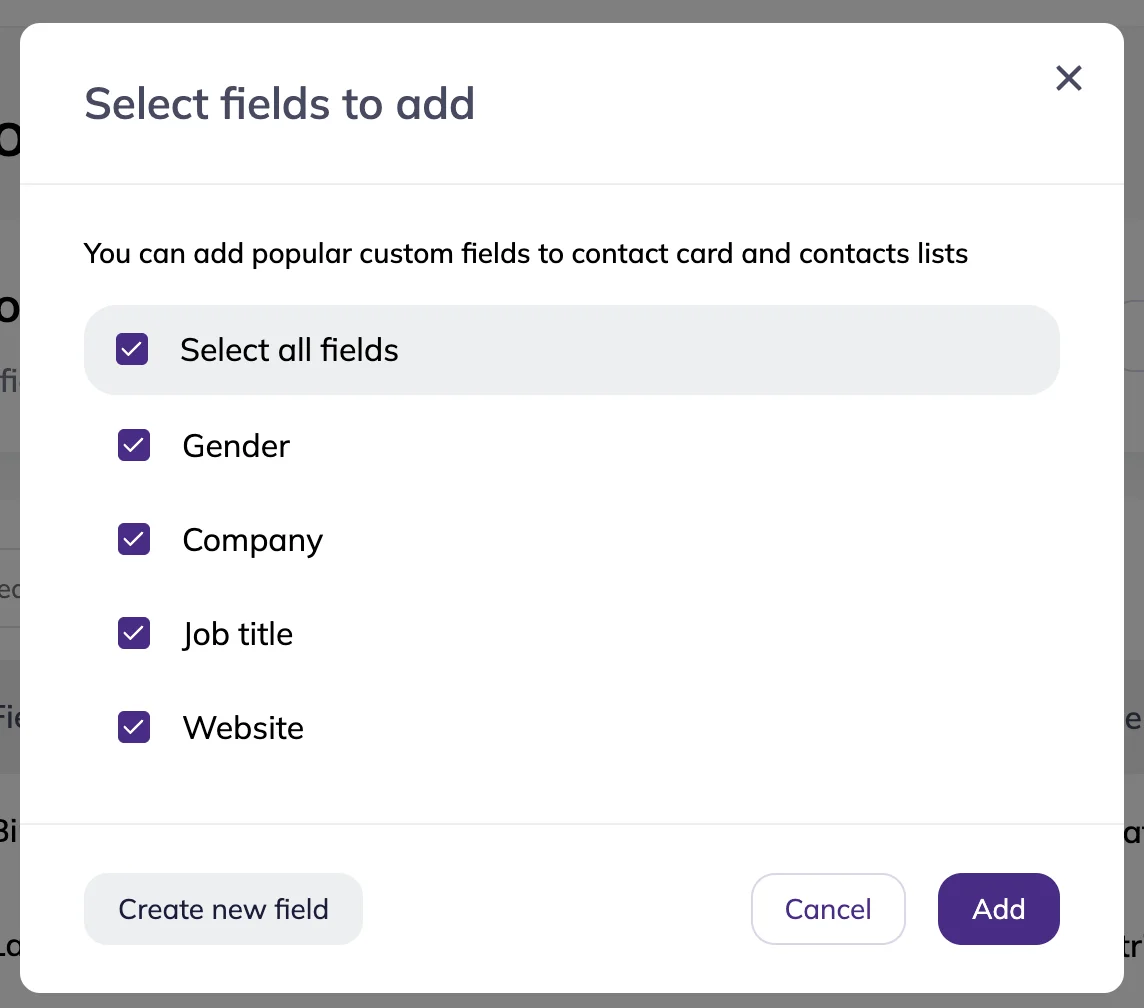
You can also quickly add popular custom fields like gender, or industry by clicking the “Add popular fields” button.

Select the fields (or click “Select all fields”) → click “Add.”
All selected fields will be created automatically.

Edit custom field
You can edit only the name and the variable of a custom field. To update a field, hover over it and click the pen icon.
💡Once a custom field is created, the field type cannot be changed.

Delete custom field
System fields — Name, Last name, and Birthday — cannot be deleted.
To delete a custom field, click the trash icon next to it and confirm the action. The field will be removed from all contact cards, along with any data stored in it.

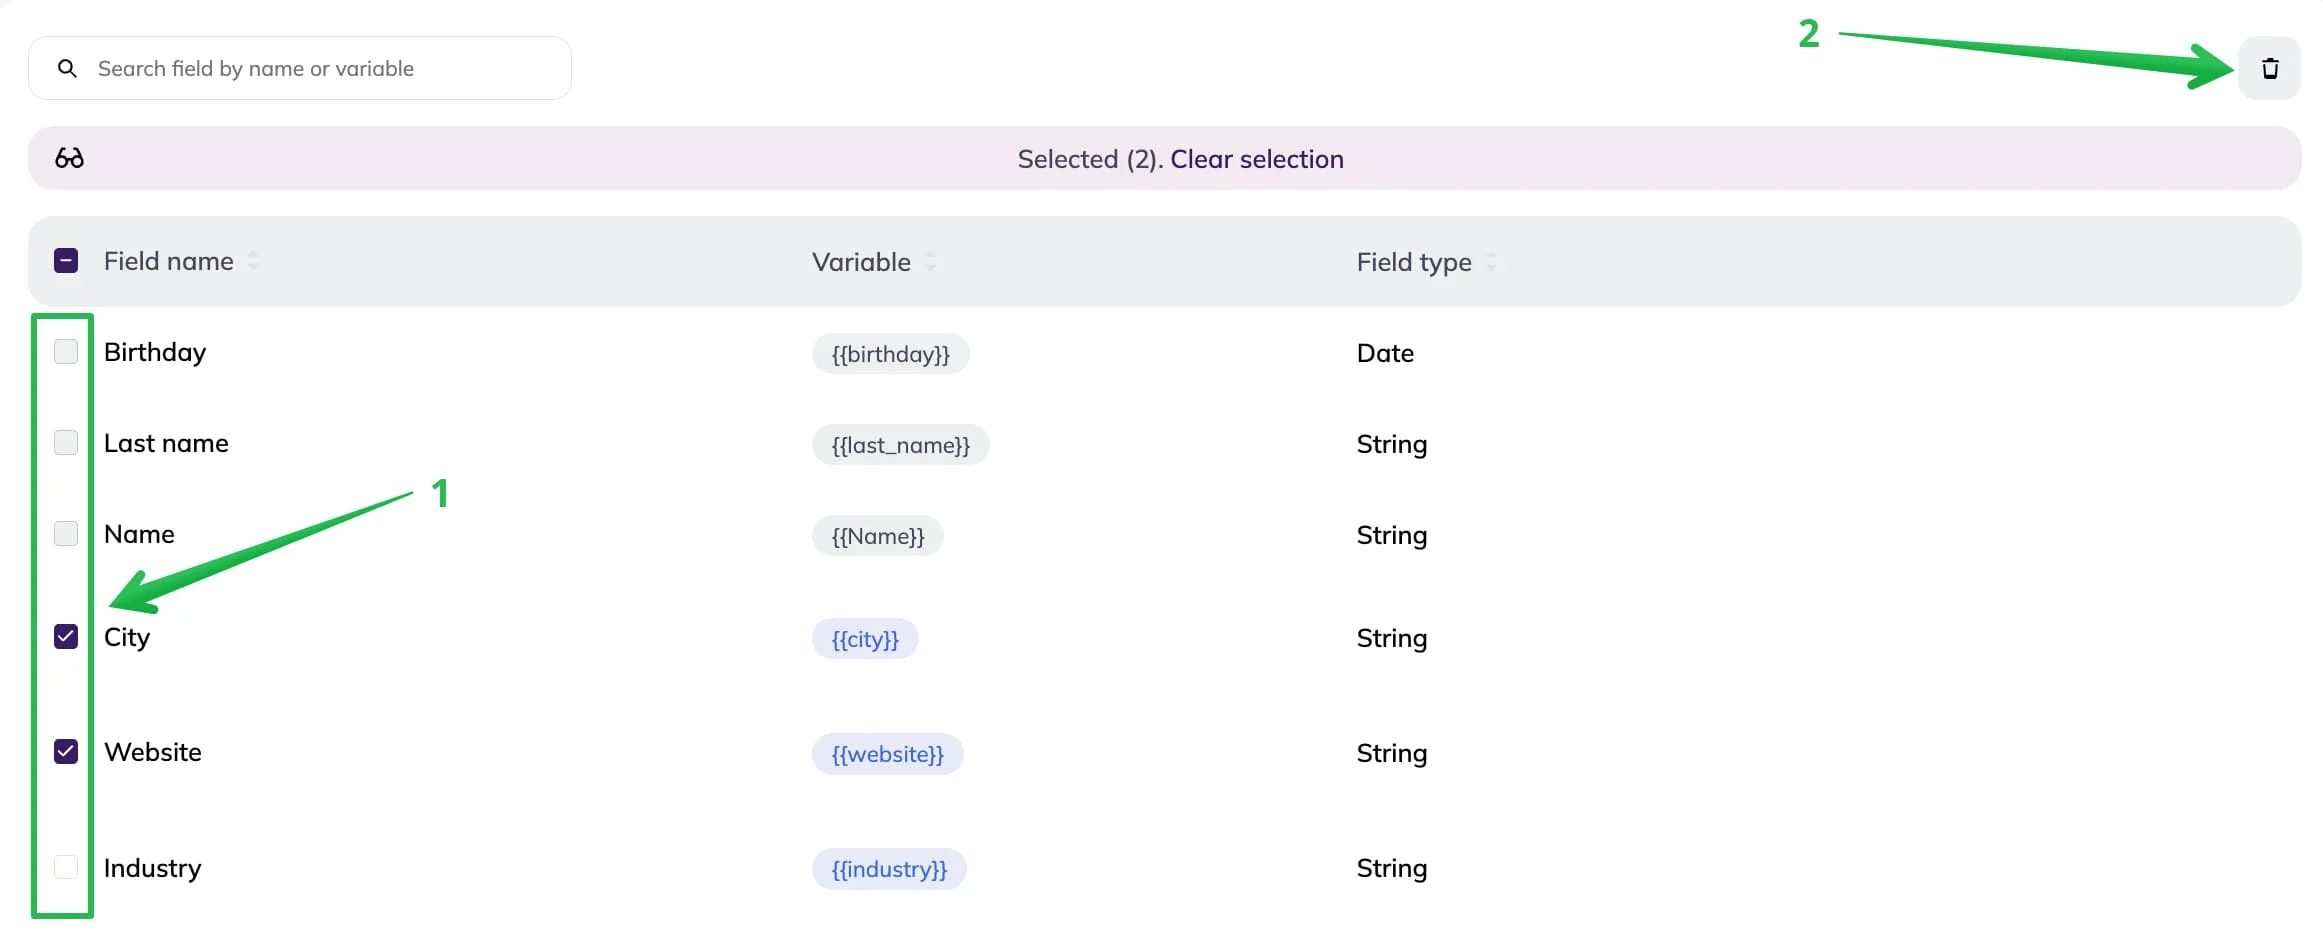
To delete several fields, select them with checkboxes, click the trash bin icon, and confirm the action.
Add data to custom fields
You can add data to custom fields when importing contacts or by editing a contact card.
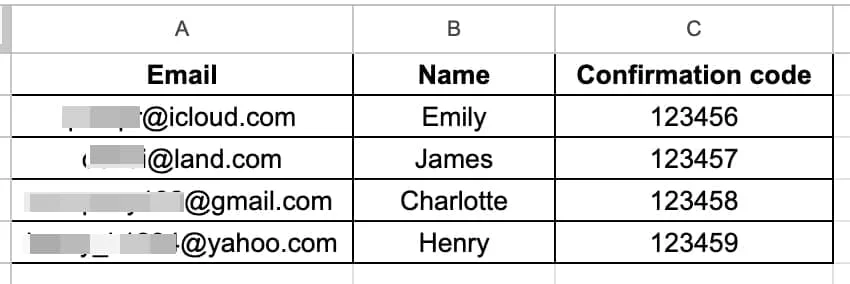
Let’s say your contact file looks like this:
For import, go to Contacts → All contacts → Click on the Add contacts button.
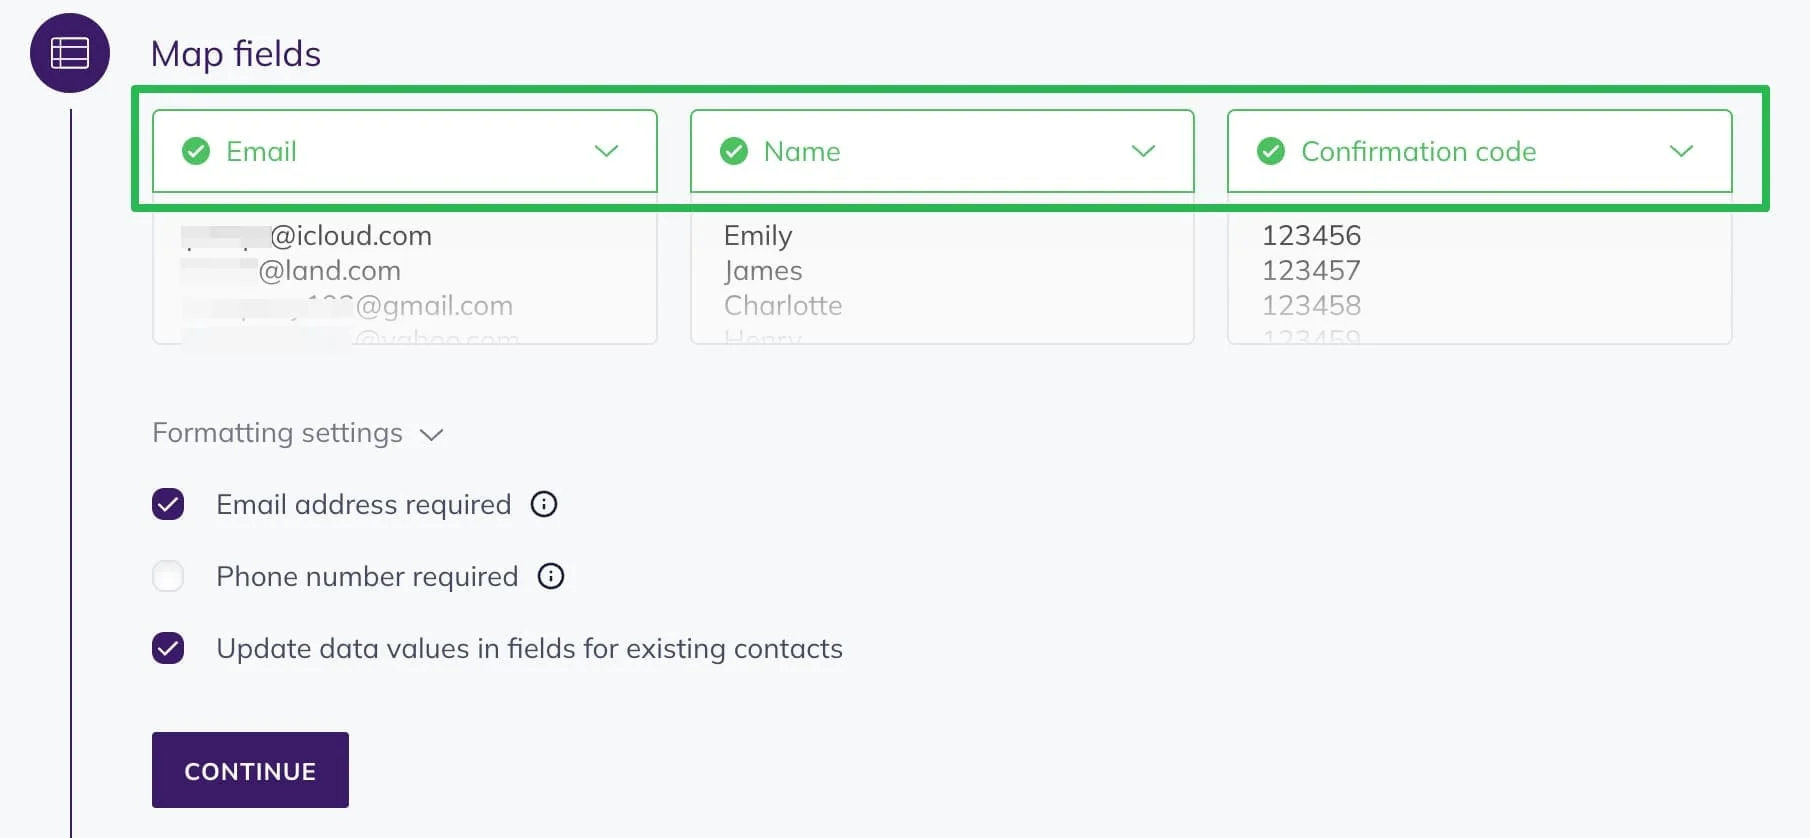
When importing contacts, map each column to an existing custom field.
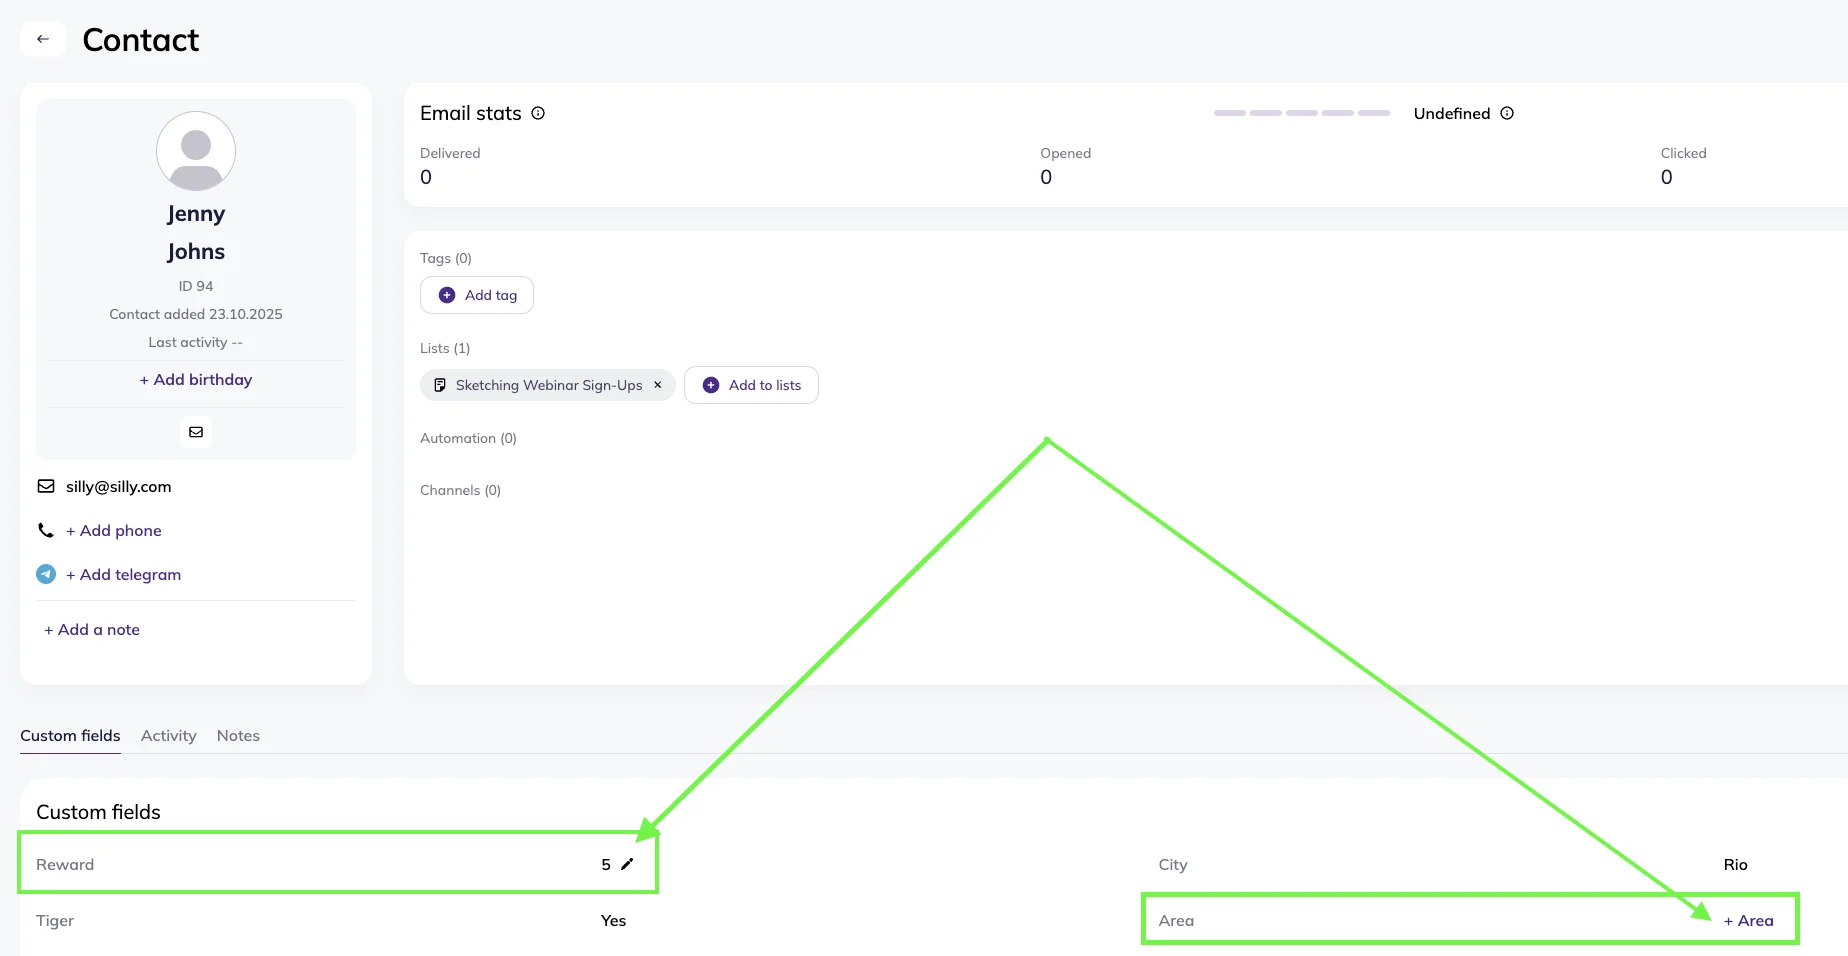
You can also update custom fields in the contact card under the Custom fields table. If the field is empty, click the corresponding name with the +. If the field already contains data, hover over it and click the pencil icon next to it.