With Selzy, you can create and publish a landing page at no additional cost, even if you’ve never built one before and have no coding skills.
🙂 The landing page feature is currently in development. If you need help or want to leave feedback, Selzy’s human support team is available 24/7 by email (support@selzy.com) or through the chat in your account.
You can see your limit indicator at the top of the Landings main page.
Use landing pages to:
- Sell products or services
- Collect contacts for email campaigns
- Showcase your portfolio or business services
- Share event information or registration forms
- Launch a simple promotional website quickly
💡 Landing page functionality is available for paid Selzy accounts:
- Standard — up to 10 published landings
- Lite and Prepaid credits— 1 published landing
- Free — no published landings. If you created and published a landing page during the feature’s demo period, you can still edit it. However, if you delete it, you won’t be able to publish a new one.
Additional users cannot publish landing pages.
Create landing page
To create a landing page, click on the Landing Pages section in the menu.
You will be redirected to the service’s main page.

Choose how you want to create your landing page:
- Use template. Select one of the ready-made templates from Selzy’s library and customize it. This option is the fastest way to launch a landing page.
- From scratch. Start from a blank page and create your landing page structure in the visual builder using ready-made content blocks.
Click the option you prefer to continue.
Use template
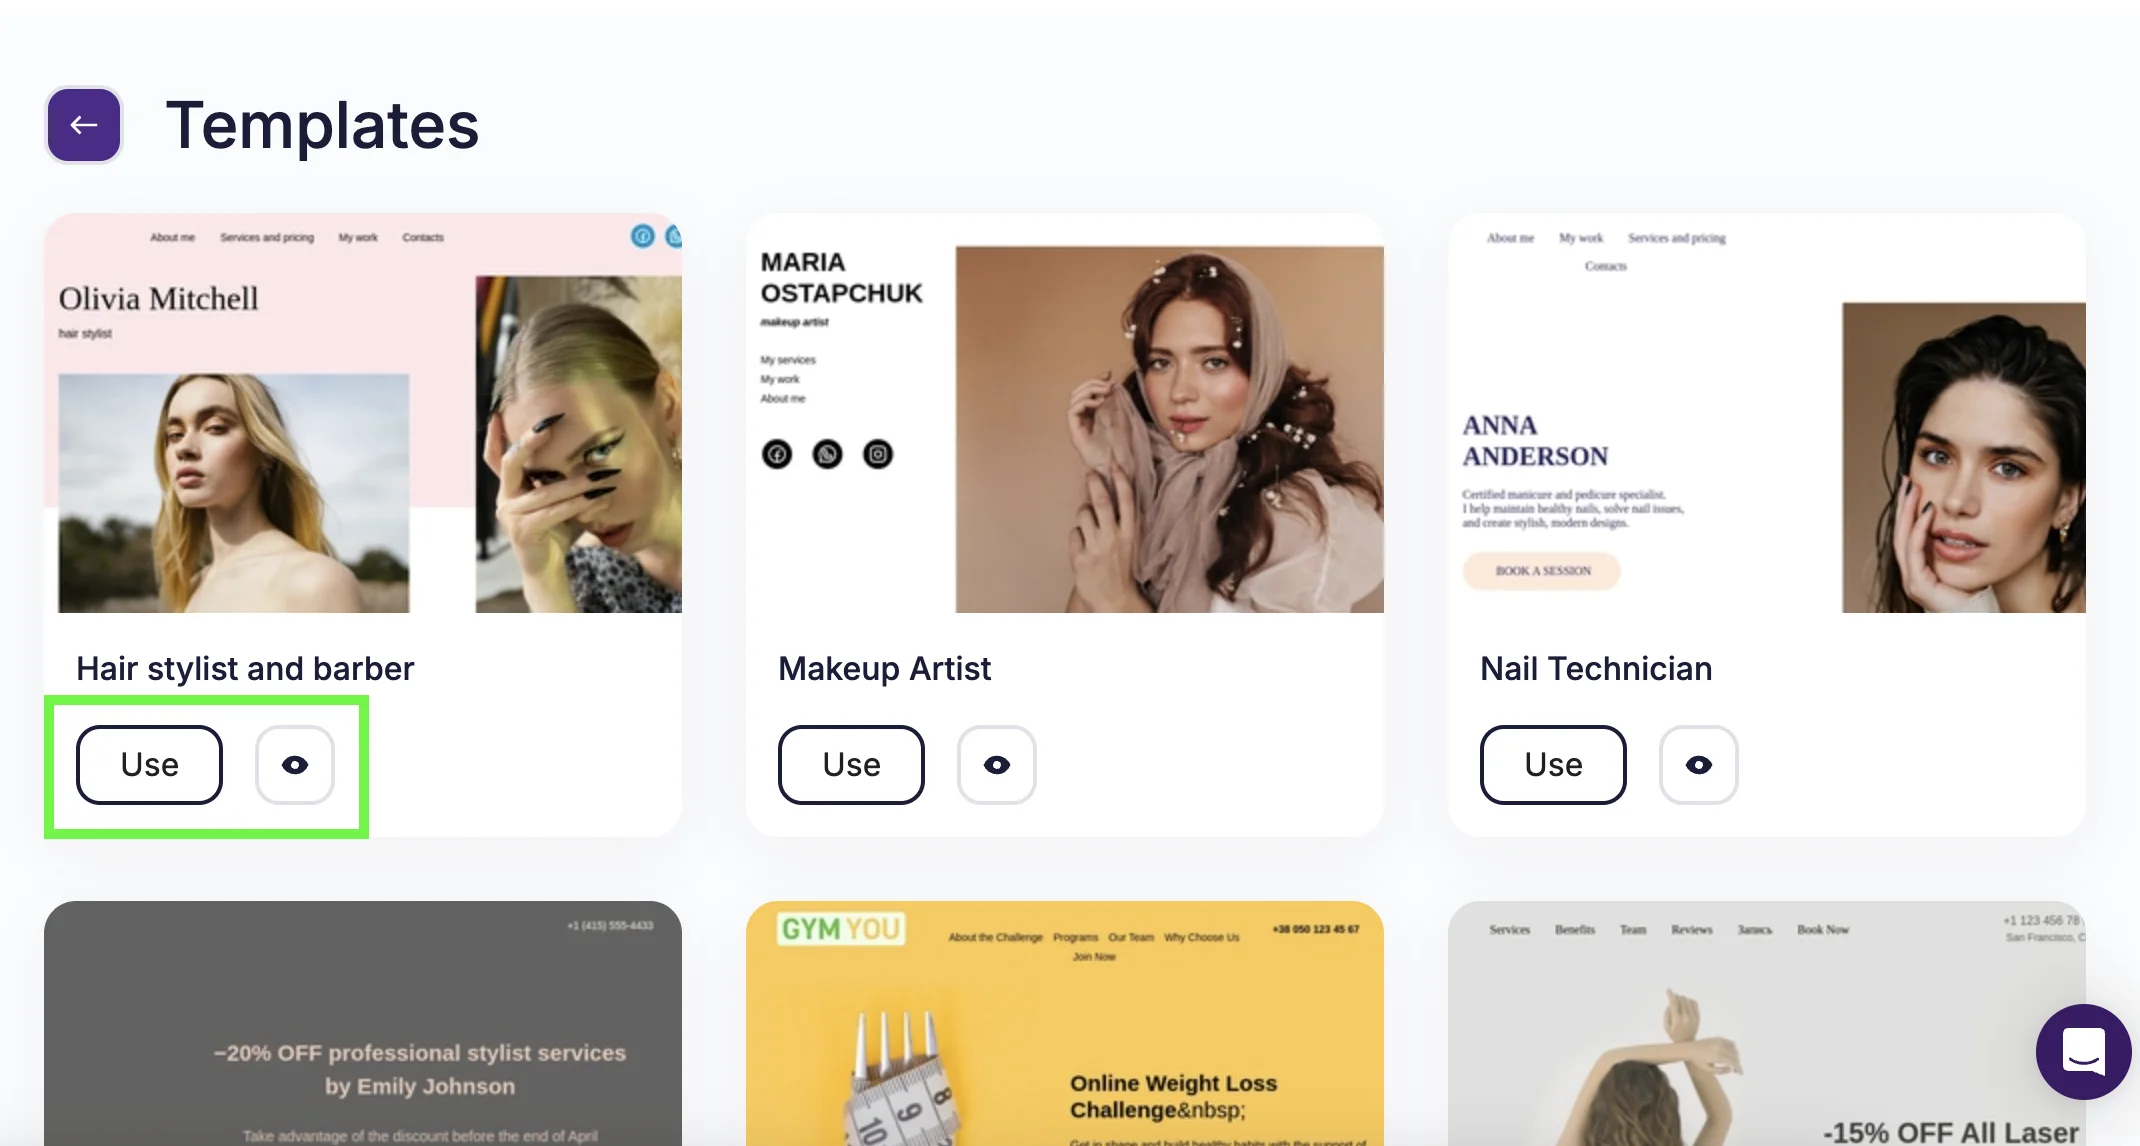
If you select Use template, you’ll be redirected to the landing page template library.
To preview a template, click on the “Eye” icon. Click on the “Use” button either on the preview page or on the library page to open the landing page builder.
To customize the template, double-click the area you want to change.
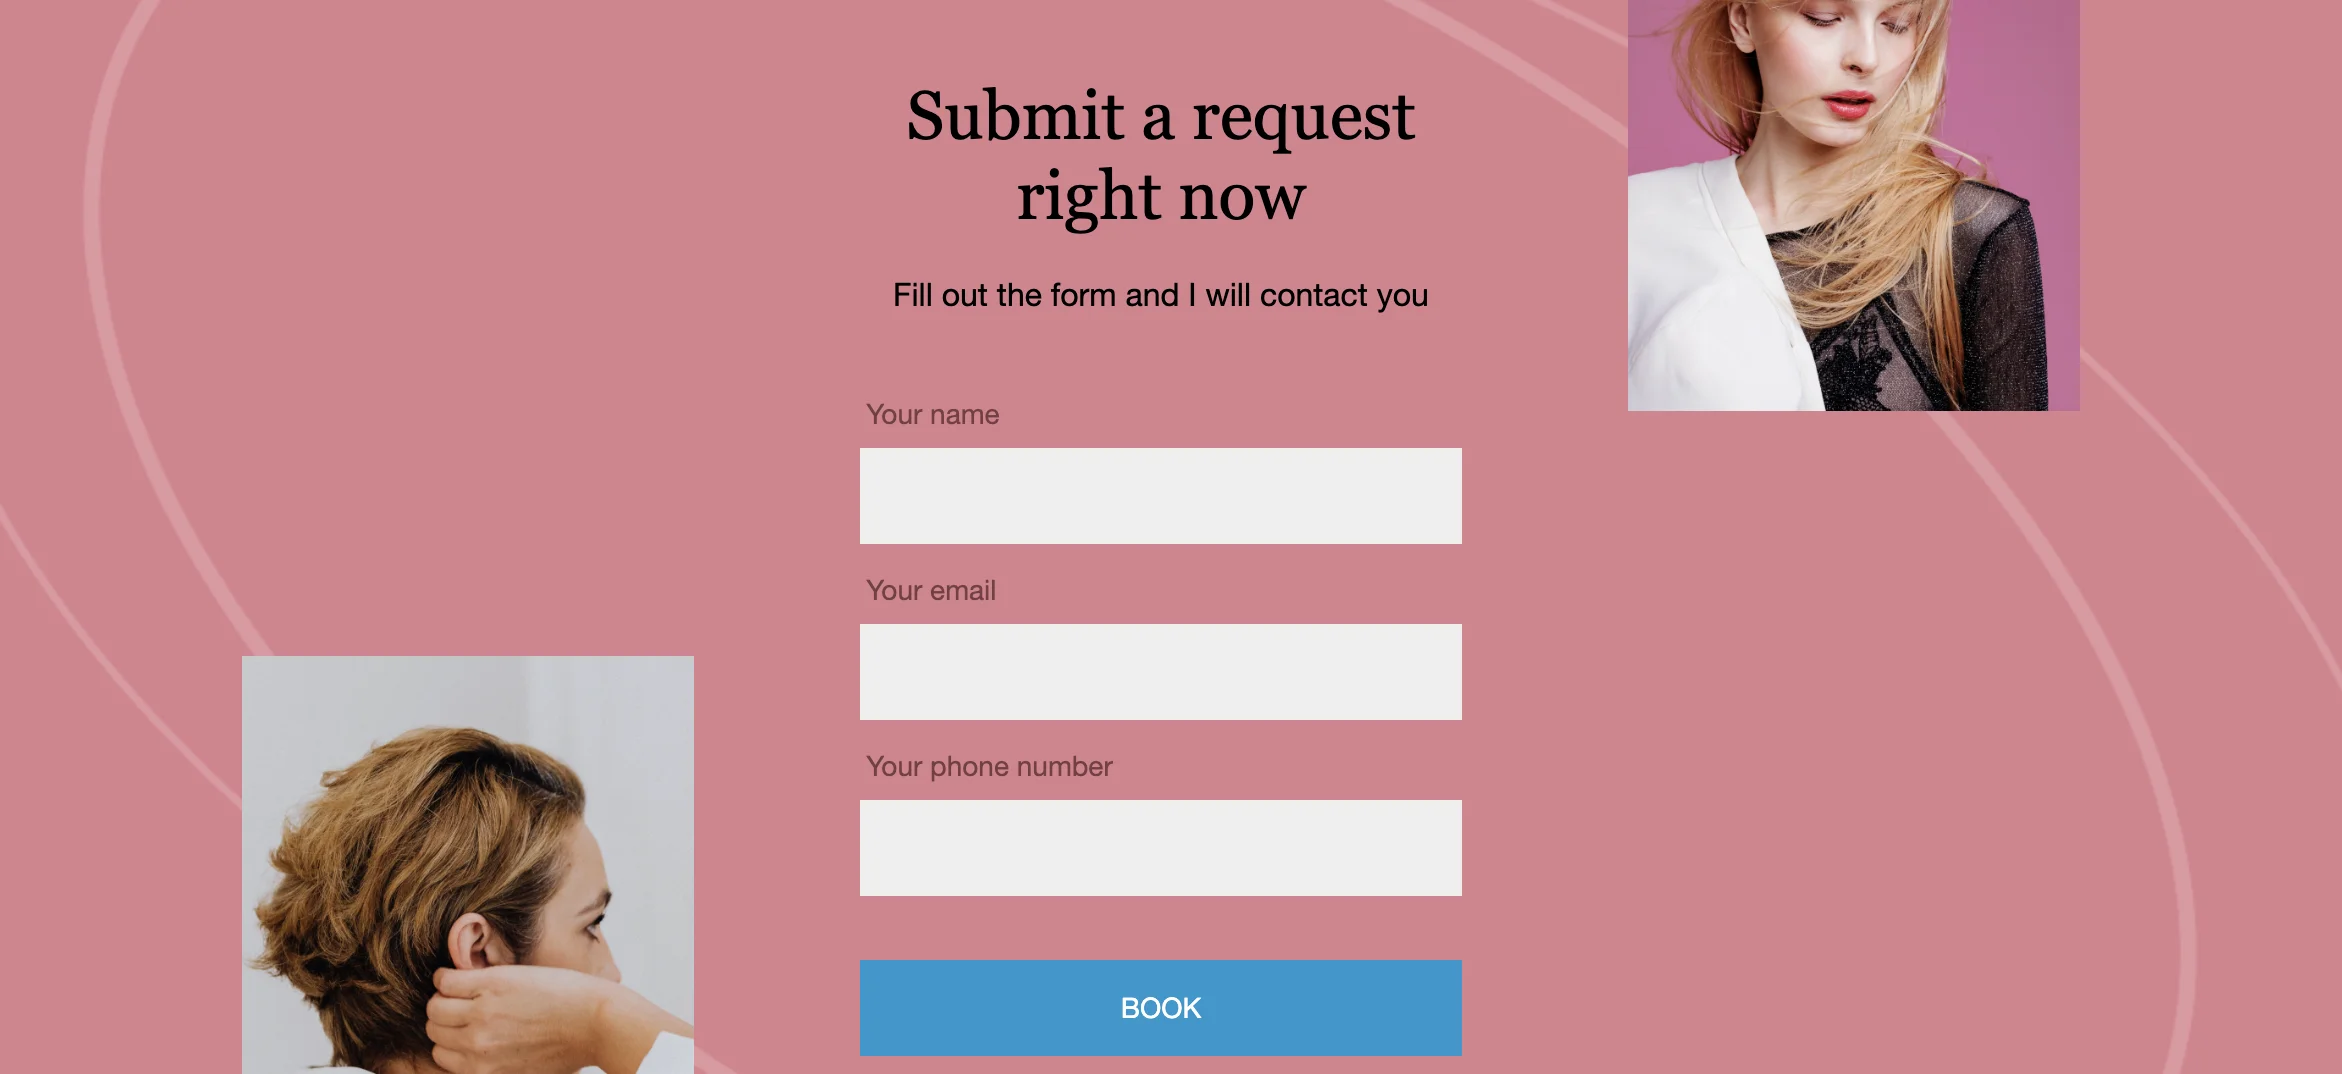
Example
As a hair stylist, you chose Hair stylist and barber template. You can then:
- Replace the main photo with your own
- Edit the text content
- Showcase your work
- Customize customer form
- Include your contact details and social media links
Templates already include a structure optimized for landing pages, so editing usually takes only a few minutes.
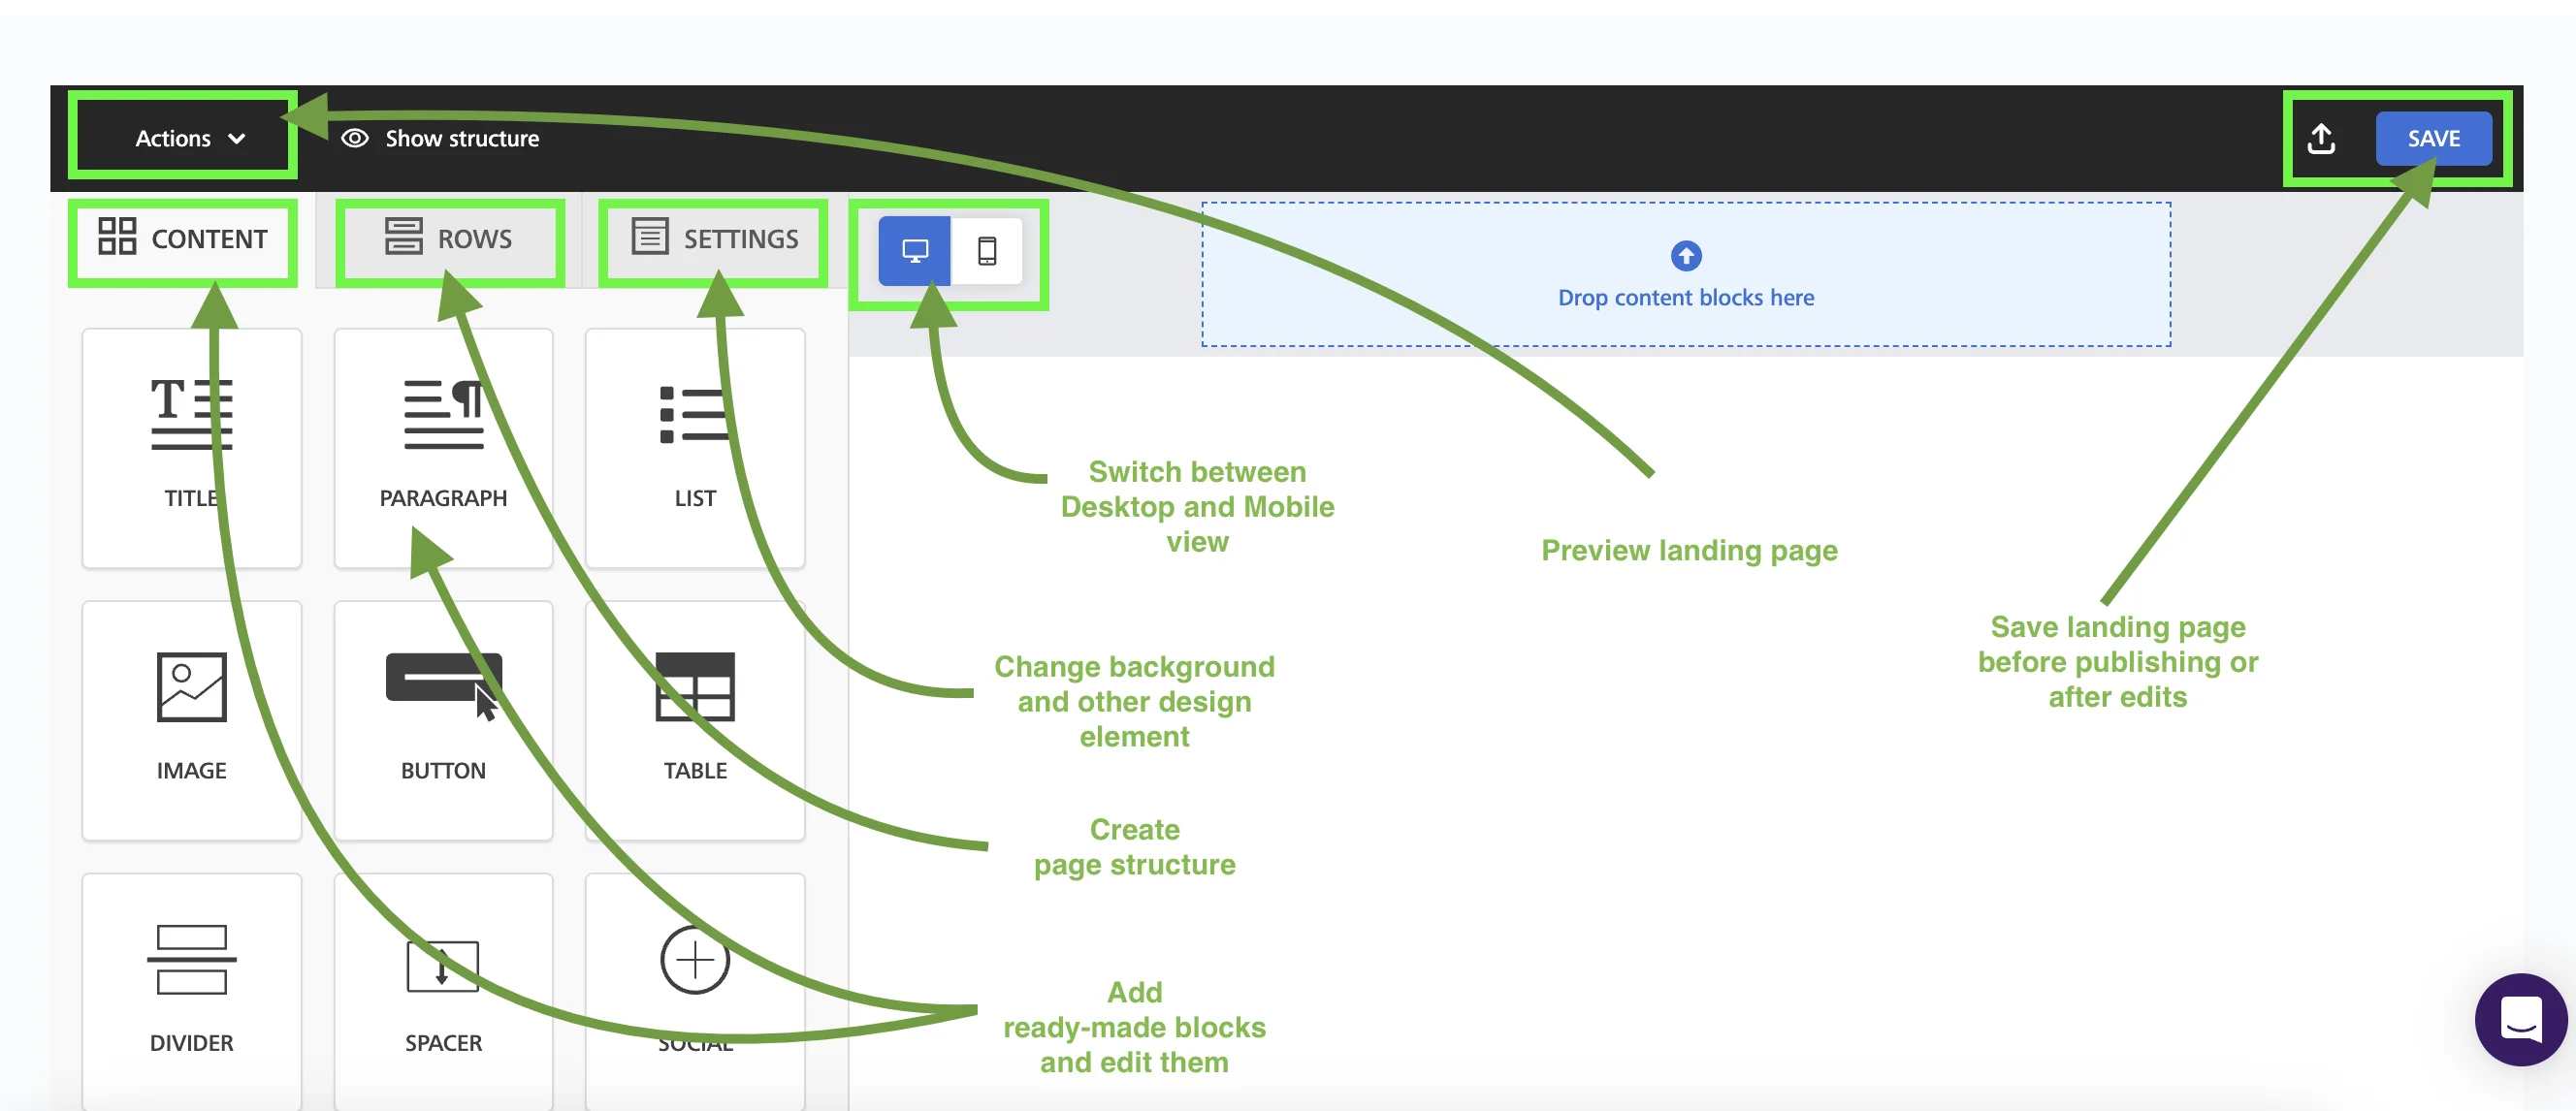
Use the menu on the left to edit and adjust the template according to your needs:
- Content tab — add ready-made blocks and edit them
- Rows tab — change the structure of the page
- Settings tab — change font, background color and other design elements

Click here to learn how to customize different landing page elements.
Edit text
Click the text block in the workspace. It becomes active and the text editing bar appears.
You can:
- Change the font size
- Change padding and spacing
- Change the text color
- Apply bold, italic, or underline formatting
- Add a colored background
- Add links, emojis or formulas
To do that, use either the Content tab in the menu, or apply changes through the text editing bar.
Change button settings
To change settings for a button, click on it. In the Content tab, you can:
- Choose between link types — open a different webpage or another section of your landing page, send email or SMS, or make a call.
- Change link — redirect your customers to your website, messenger or social media account.
- Customize button design — adjust color, font, etc.
- Edit text
To change the button text, click the text and type the new one. All the other changes can be made through the Content tab in the menu.
Add video
To add video from YouTube or Vimeo, drag the video block from the Content tab to the working space. Click the “Enter URL” button and paste it in the URL field on the left.
Choose how the video is displayed on your landing page:
- Thumbnail displays a preview image that starts the video when clicked.
- Embedded shows the video player directly on the page.
- Hosted video plays a video file hosted on your own server or storage using the built-in player.
Replace image
Click on the image you want to replace.
In the Content tab, open Image properties, then click Change image. You will be redirected to the File manager page.
In the File manager click Upload → Select the image → Click Insert. You can also preview a replacement image first. To do this, click on the “Preview” icon next to the uploaded picture.
Alternatively, you can use free photo search. To do that, click the “Search free photo” button in the File manager → Put in your search request → Click “Import” → Click “Insert” in the File manager.
Add social media links
To add a link, click on the block with social media icons (e.g. Facebook, Instagram, LinkedIn, or X). In the Content tab, paste your social media link into the URL field.
To add a new social media icon, click the “Add new icon” button in the Content tab menu. Select an icon from the dropdown menu or add a custom icon.
To remove a social media icon, click Delete next to the icon in the Content tab menu.
Change color scheme
You can change the background color for the whole page color or edit colors for individual blocks.
To change the background color, open the Settings tab menu → Background color → Click the color square → Select a new color. The change will apply to the entire landing page.
To change the color of a block, click the element you want to edit. In the Rows tab, select a new background color (or change a background picture).
Build landing page from scratch
If you choose the “From scratch” option , you will start with a blank page in the landing page builder. You can create your layout using ready-made blocks.
The builder uses a table-based layout. The entire page is divided into rows that help you to create landing page structure. Each row can have a different height and a different number of columns (up to 12 columns).
To add a new row, click on the Row tab in the menu → Choose the row suited for your needs → Drag it to the workspace.

Once you have created the structure of your landing page, you can fill each row with content using ready-made blocks in the Content tab.
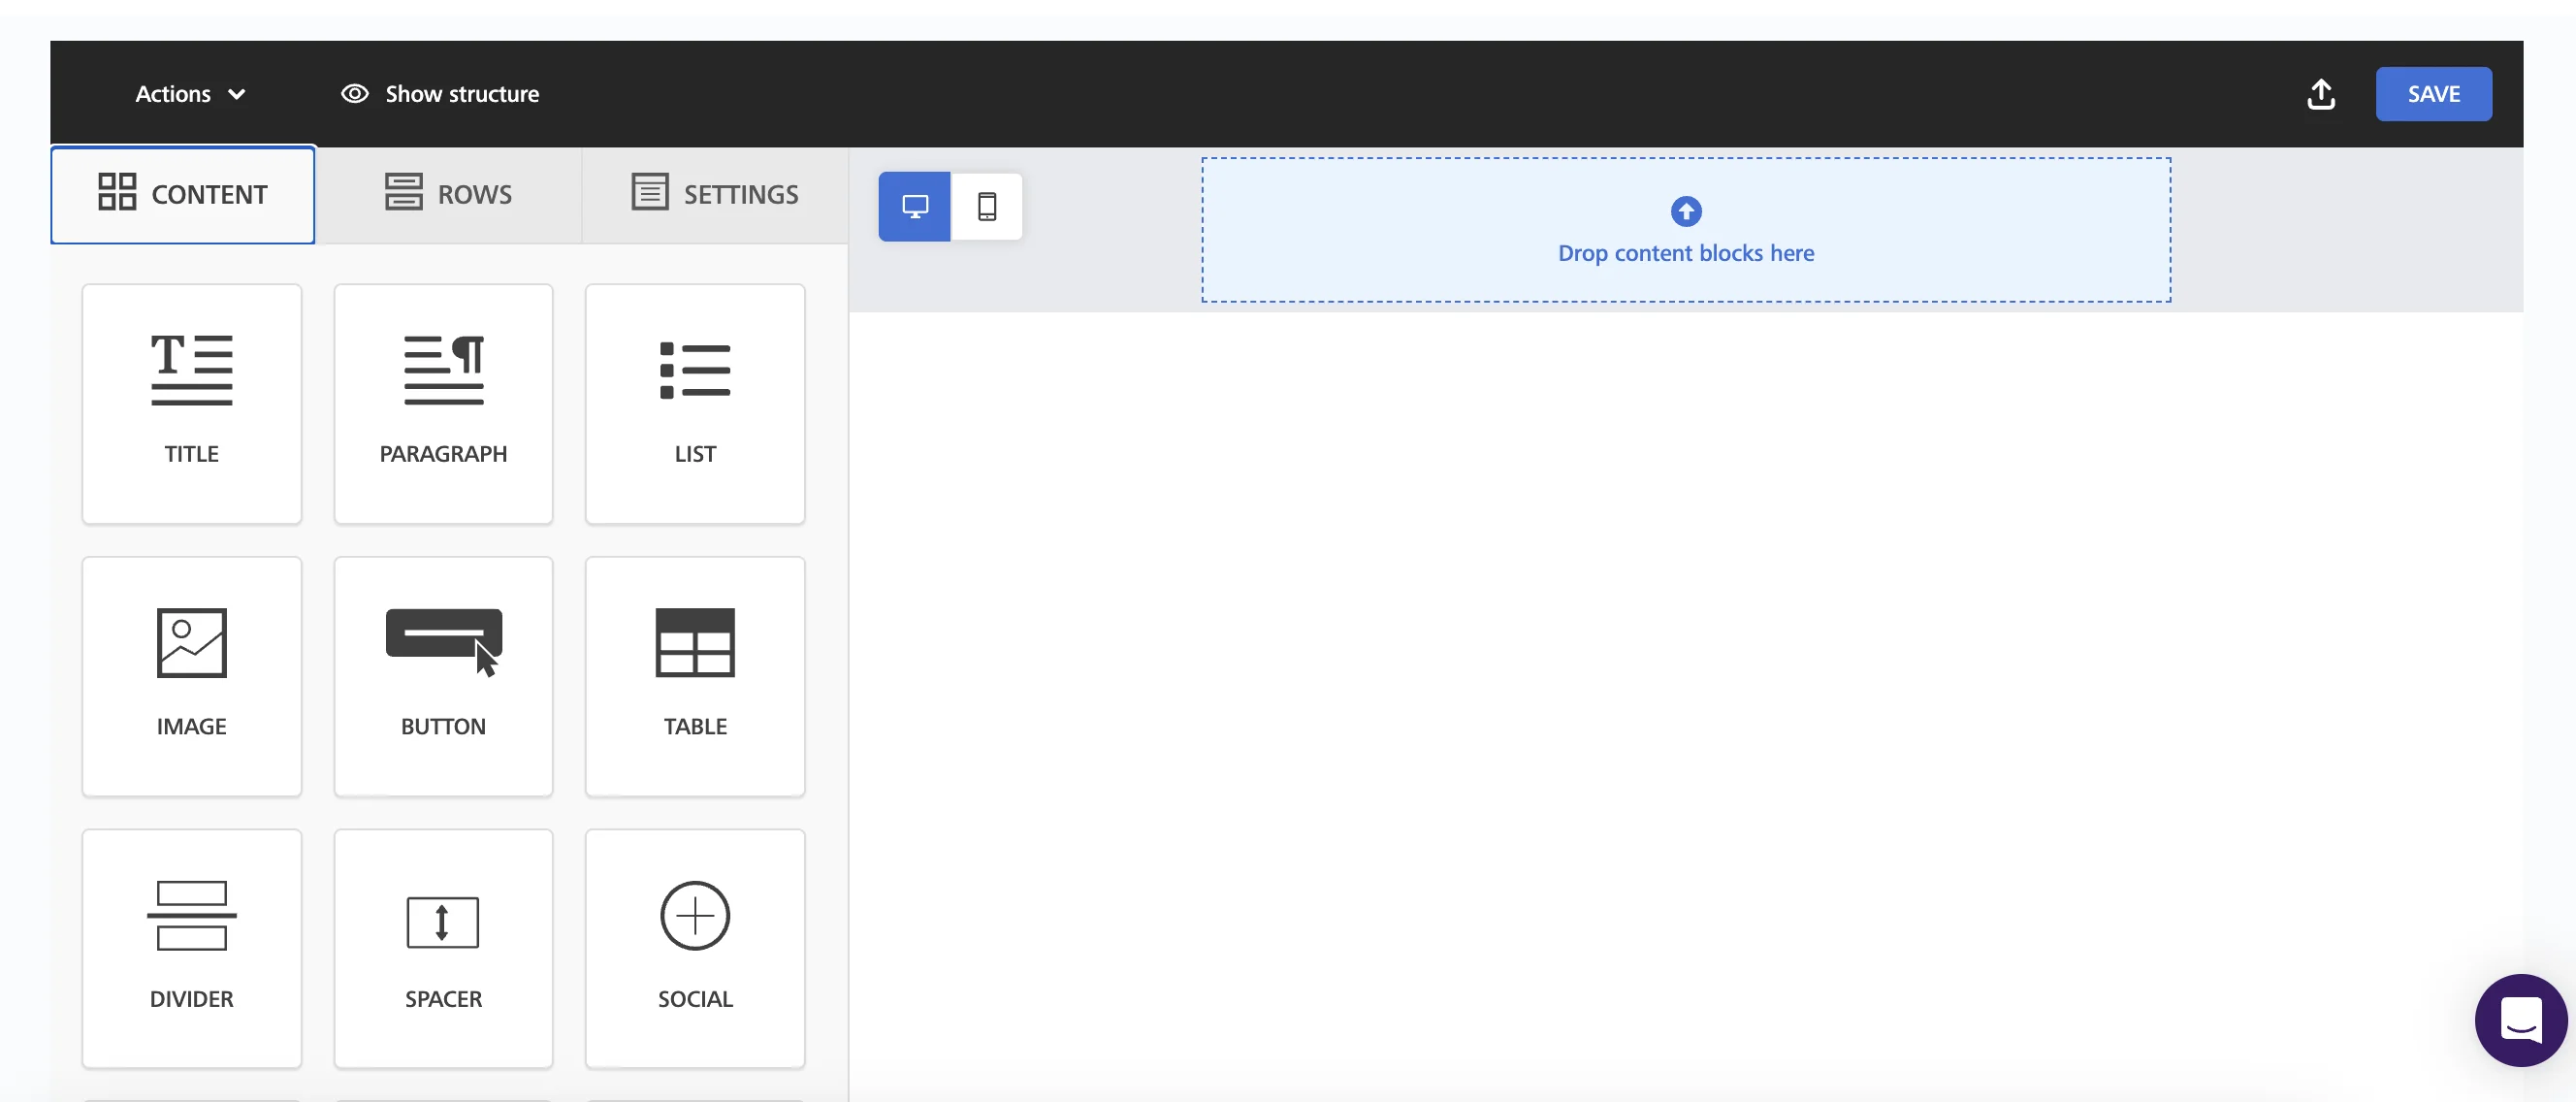
To do that, click on the Content tab in the menu → Choose the block you need → Drag it and place it into a specific row.
Then edit the text, upload images or videos, and add links to your social media pages.
When everything is ready, click Save.
Click here to learn more about blocks and their purposes.
| Block | Purpose |
| Title | Large bold text that is typically used to visually separate different sections of your landing page |
| Paragraph | A text block that is typically used for descriptions |
| List | A bulleted or numbered list that is typically used for presenting steps, advantages, conditions, or features |
| Image | A photo or any other visual element |
| Button | A visual element that directs visitors to a certain action. Types of action include:
|
| Table | A table that is typically used for clearly comparing features, prices, plans, or other data |
| Divider | A line that visually separates blocks |
| Spacer | An empty block to create space within the landing page layout |
| Form | A form to collect contact information from customers or site visitors. Form is directly connected to your contact list. |
| Social | A block with social media icons linked to your profiles |
| Icons | Schematic images that help to highlight advantages or key features |
| Video | A video embedded from YouTube, Vimeo or other source |
| Menu | A block for quick navigation across sections of the landing page, usually placed at the top |
| Text | A standard text block used to fill sections with content. |
Collect contacts with the Form block
The builder includes a Form block that allows you to collect contact information from potential customers. Use it to capture leads and grow your audience.
To add a form, open the Content tab in the menu → Find the Form block → Drag it to the workspace.
Every form includes one required element, either:
- Email field, or
- Submit button
You can add more fields to collect extra information from customers. To add one, click on the form → Manage fields section in the Content tab → Click Add new field in the Content tab and select the type of field you need.
Available custom field types include:
- Address — for delivery or location information
- Phone — useful for callback requests or SMS communication
- Comment — lets visitors leave additional information
- Text / Long text — open text responses
- Date — commonly used for birthdays or appointments
- Dropdown — users choose one option from a list
- Number — allows only numeric values
- Checkbox — for agreements such as privacy policy consent
- Radio buttons — single-choice survey questions
- URL — allows visitors to submit a link (for example, a social media profile)
When a lead submits the form, the submission appears in the Leads section. Each application includes the submission time, the lead’s email address, and any additional information they provided.
Alternatively, you can use a subscription form created in Selzy. If you don’t have a subscription form, go to Tools → Subscription forms, and follow the instructions to create a new form.
To add your form, open the Rows tab in the menu → Select “My popup forms” from the dropdown list → Drag the selected form to the workspace.
Note that a new contact list is created in Selzy for the landing page.
⚠️ If you want to store and use information from additional custom fields in Selzy, make sure the corresponding custom fields already exist in your contact cards.
If a matching custom field exists, the data from the form will be automatically saved to that field in the contact card.
If the form includes fields that do not exist in the contact card, the data from those fields will not be saved in Selzy, only in the Leads section of the Landing page service.
Preview and copy landing page
To preview your landing page, click Actions on the top-left → Select Preview.
The Preview mode page will open.

Use Dark mode preview on the top to simulate the dark mode color scheme.
Use Device preview to see how the landing page looks across different devices — smartphones, tablets and desktops.
To close the Preview mode, click X on the top-right.
To copy the landing page, click the Actions button on the main Landings page, and select “Duplicate.”
Publish landing page
To publish your landing page, click the “Publish” button next to your landing page.

The pop-up window will appear. Enter the website name that will appear in the browser and search results. Next, add a domain and click Publish landing page.
Alternatively, you can use the landing page checklist or click Settings to:
- Add a website name
- Choose a domain
- Add site policies
- Connect your page to analytics tools
Add domain
To publish a landing page, you must choose a domain for it. You can:
- Use a free Selzy domain such as [yourname].selzy.space
- Connect your custom domain
To connect your own domain, click Connect custom domain in the publishing window. Next, you will see the IP address that must be added in your domain registrar account settings. Add this IP address to your domain’s DNS configuration with your registrar to connect the domain to your landing page.
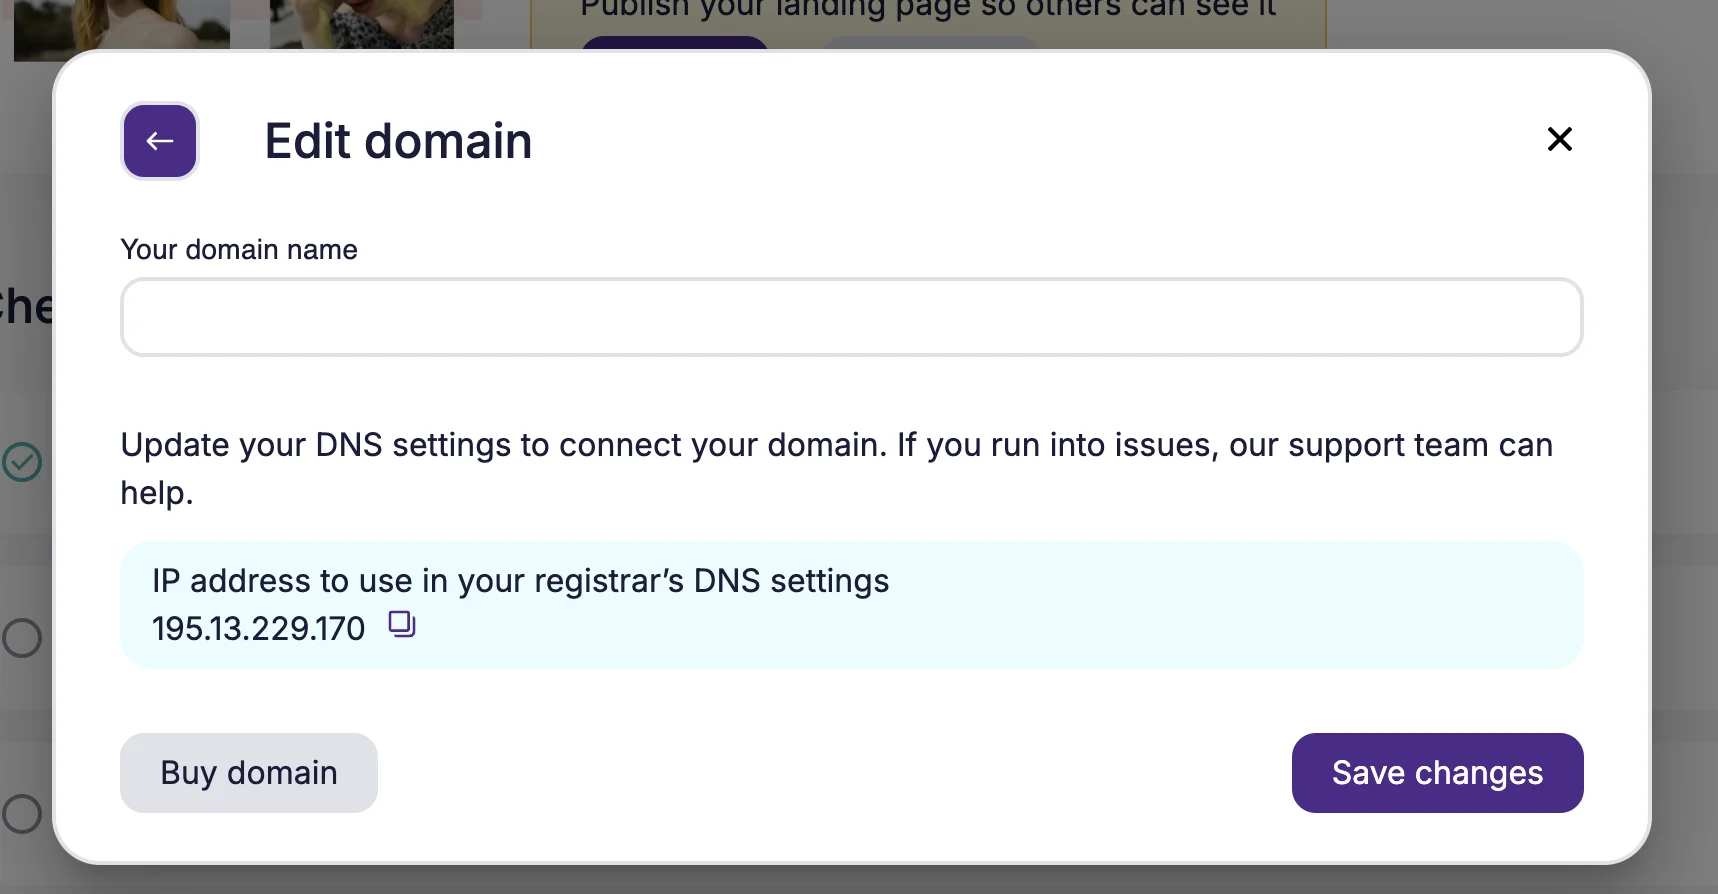
If you don’t have a domain name yet and don’t want a free one, click on the “Buy a domain” button — you’ll be redirected to the external domain name registration service.
Update a published landing page
If you need to make changes to your landing page, click Edit page on the main page → Update the content in the builder → Click Save → Select Publish changes for the updates to appear online.
Add site policies
Make sure you comply with applicable local laws and regulations, especially those related to the collection and processing of personal data. With Selzy, you can add site policies to the landing page in the Settings.
To add site policies, go to Settings → Site policies tab. To enable a policy, use the switcher next to it.
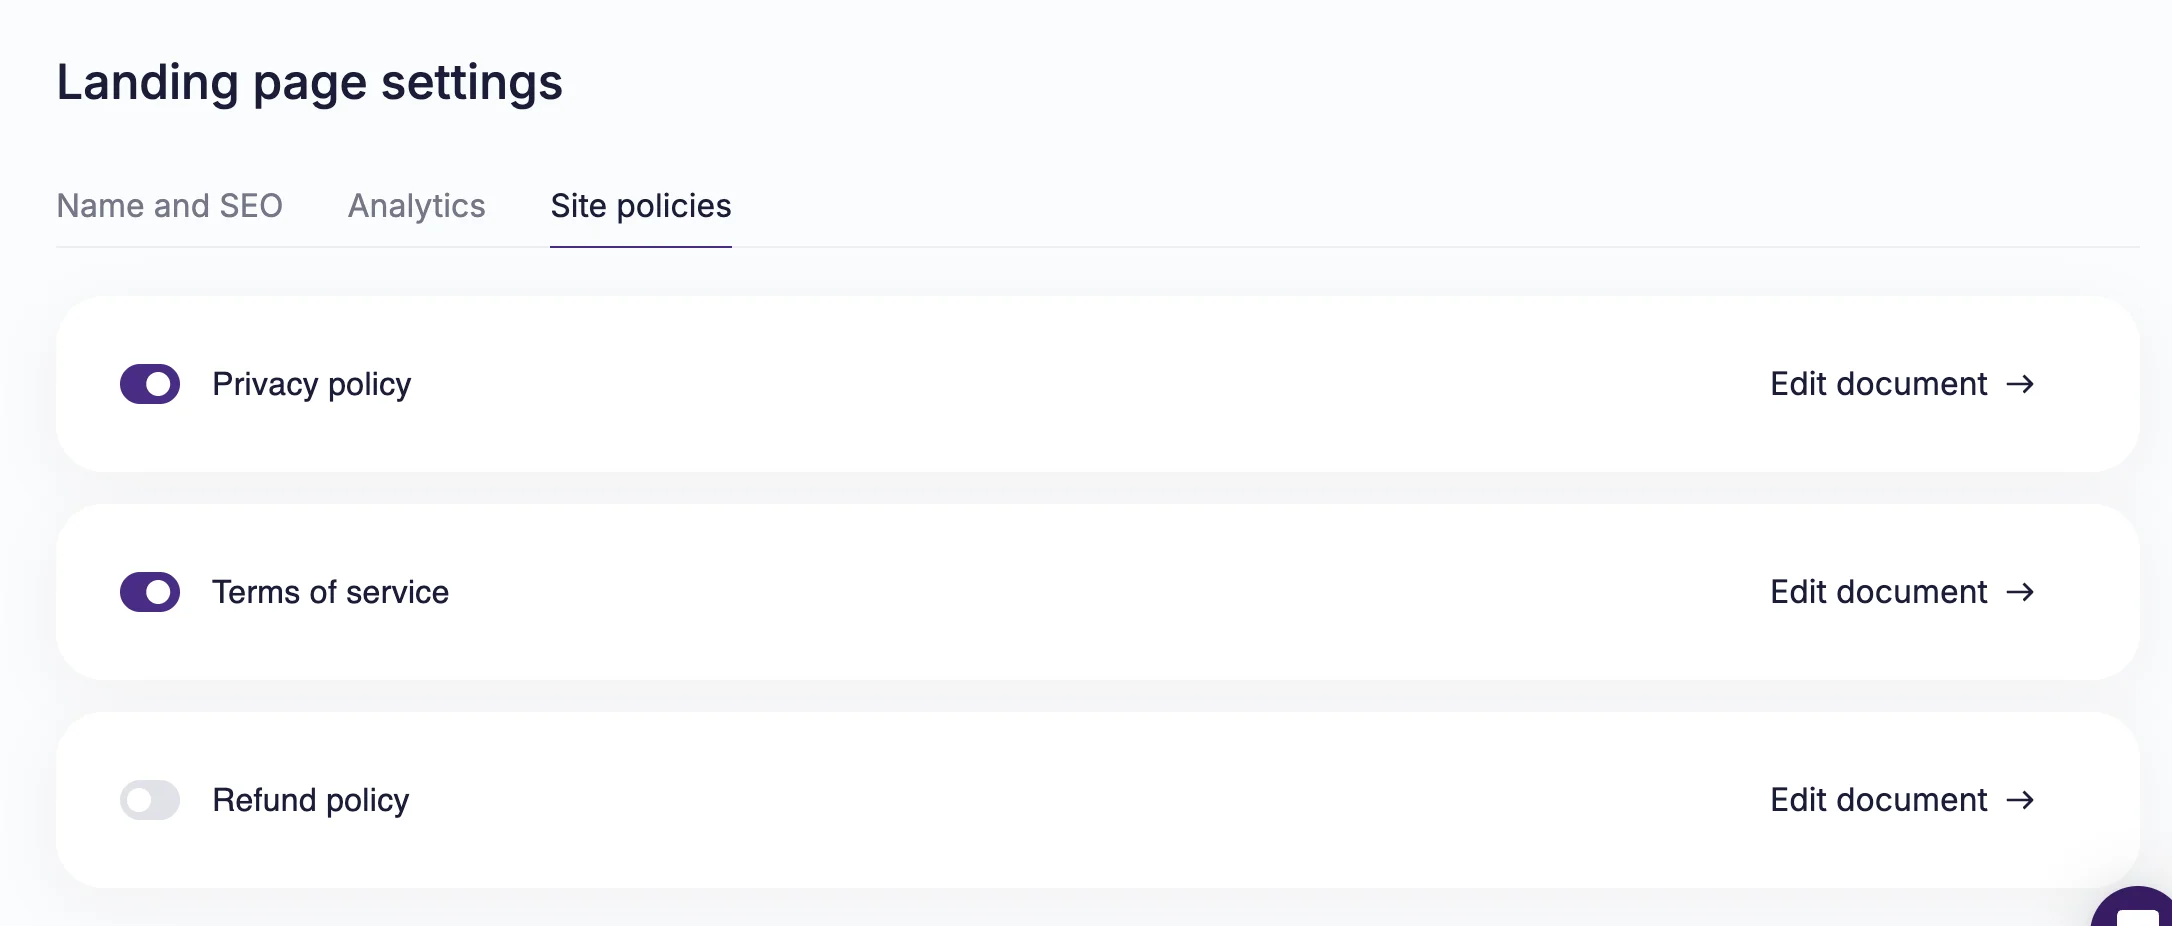
Choose a policy you want to include → Click Edit document → Paste your text in the text field → Click Save.
Analyze landing page traffic
Track traffic activity in the Analytics section.
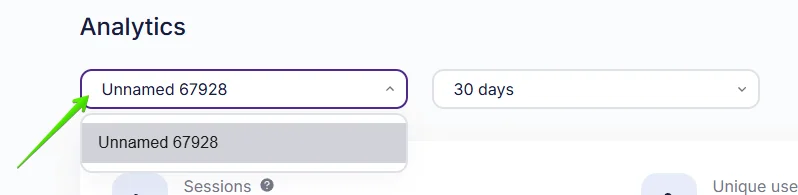
To do this, choose a range of dates between one day and 100 days. If you have multiple landing pages, you can switch between them in the dropdown menu next to the date picker.
Landing page traffic analytics includes:
- Sessions — a period of user activity on your landing page. If a user performs no actions on the site for 30 minutes, a new session starts.
- Unique users — users with a unique IP address.
- Visits — a single browsing session. Each time the landing page is opened counts as one visit.
On the same page, track what devices are typically used by visitors. The list includes phones, tablets, desktops, and bots.
Finally, check traffic source:
- Organic Search — free traffic from search engines
- Organic Social — free traffic from social media
- Paid Social — paid traffic from social media, identified via a UTM tag
- Paid — paid traffic from search engines and other websites, identified via a UTM tag
- Direct Type In — traffic from typing the landing page URL directly in a browser’s location bar
- Referral — traffic from links or websites that do not fall into any of the above categories
To check results for different landing pages, use the dropdown menu on the Analytics page.