In Selzy, you can create subscription forms that allow visitors to your website to share their data and opt in for your emails. The data then automatically uploads to an email list of your choosing in Selzy.
You can create two types of subscription forms in Selzy:
- Embedded forms — forms that you can place in one of the sections of your site to be displayed there permanently.
- Pop-up forms — forms that appear automatically after a specified time period or when users visit your website (or certain page) or make an action (scroll down, attempt to leave the page, etc.).
The process of creation of both form types is identical.
Create a new form
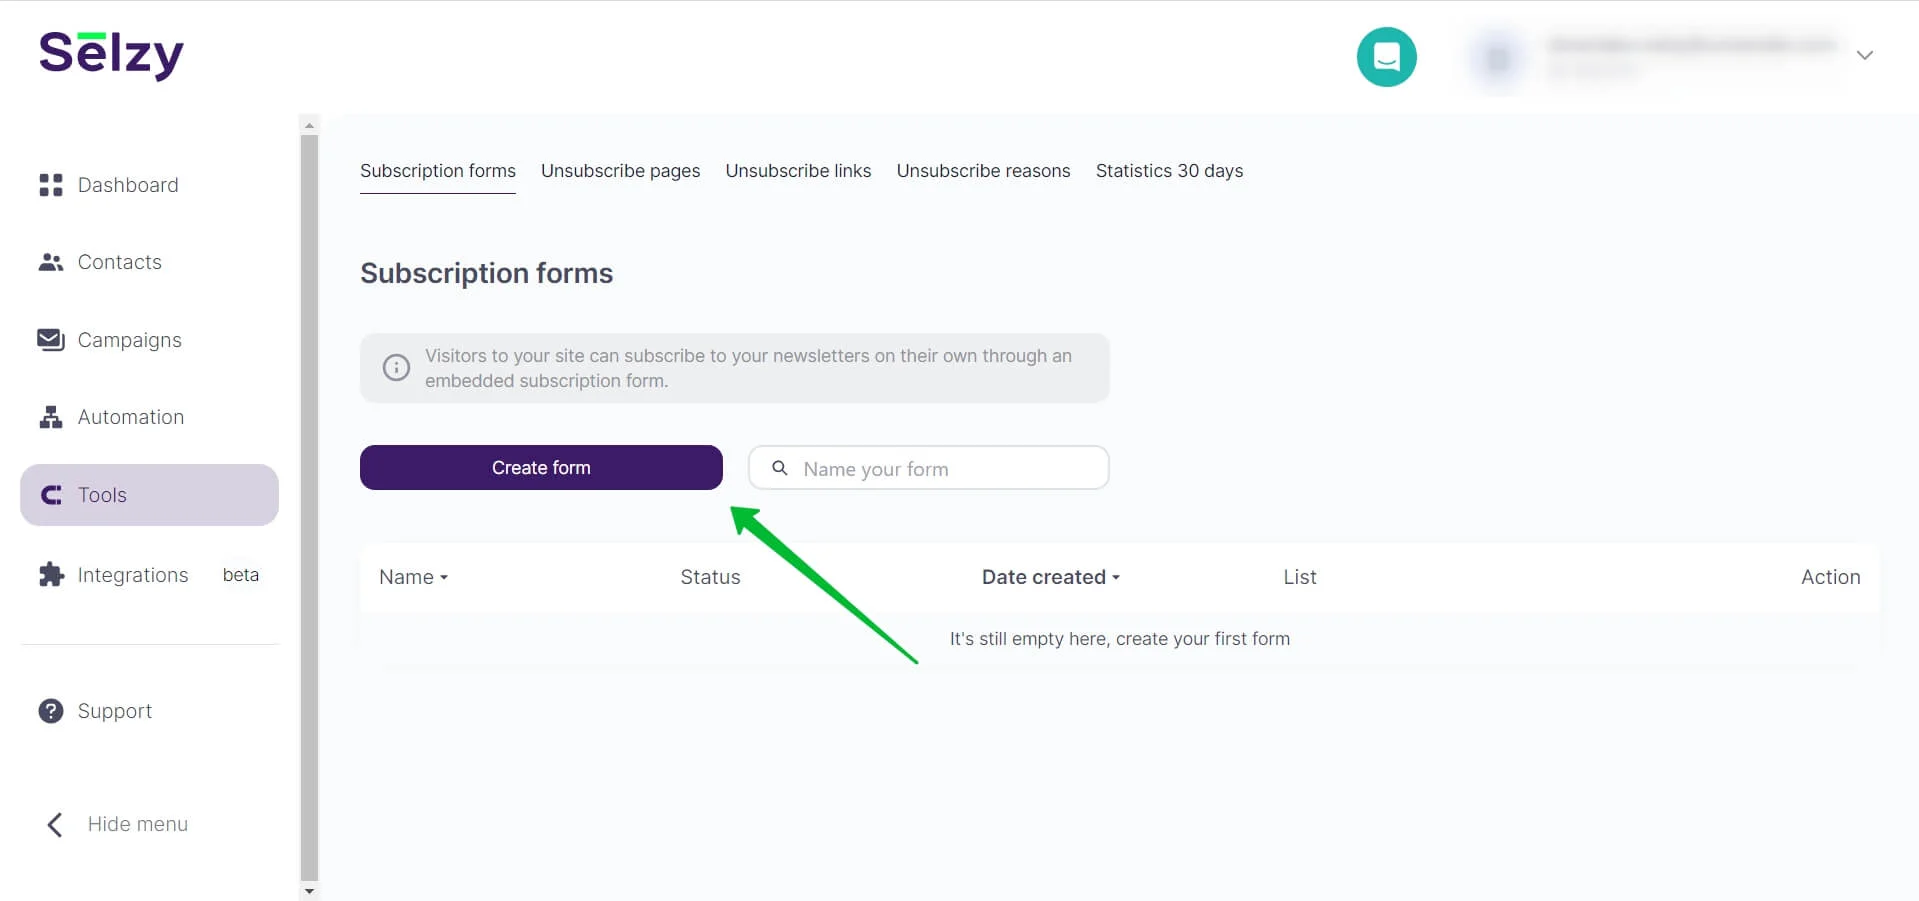
To create a subscription form of either type, navigate to Tools. You will end up in the Subscription forms subsection.
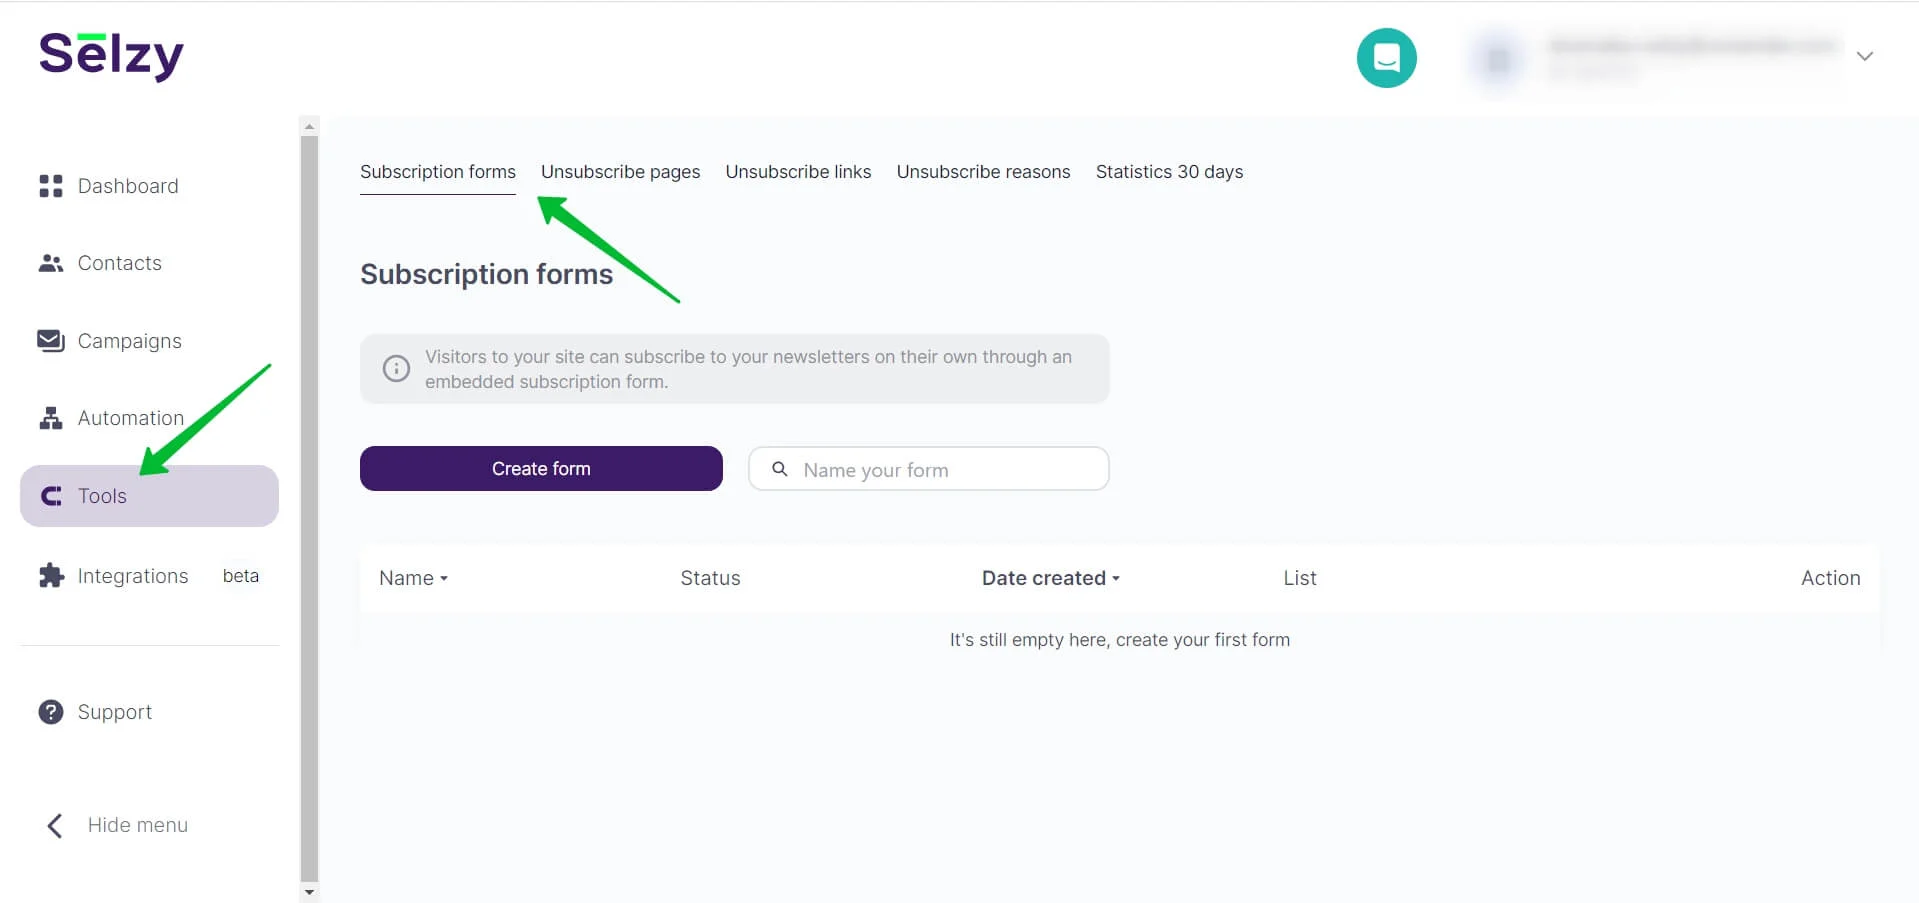
Сlick the Create form button.
Next, specify the name of your form and click the Create button.
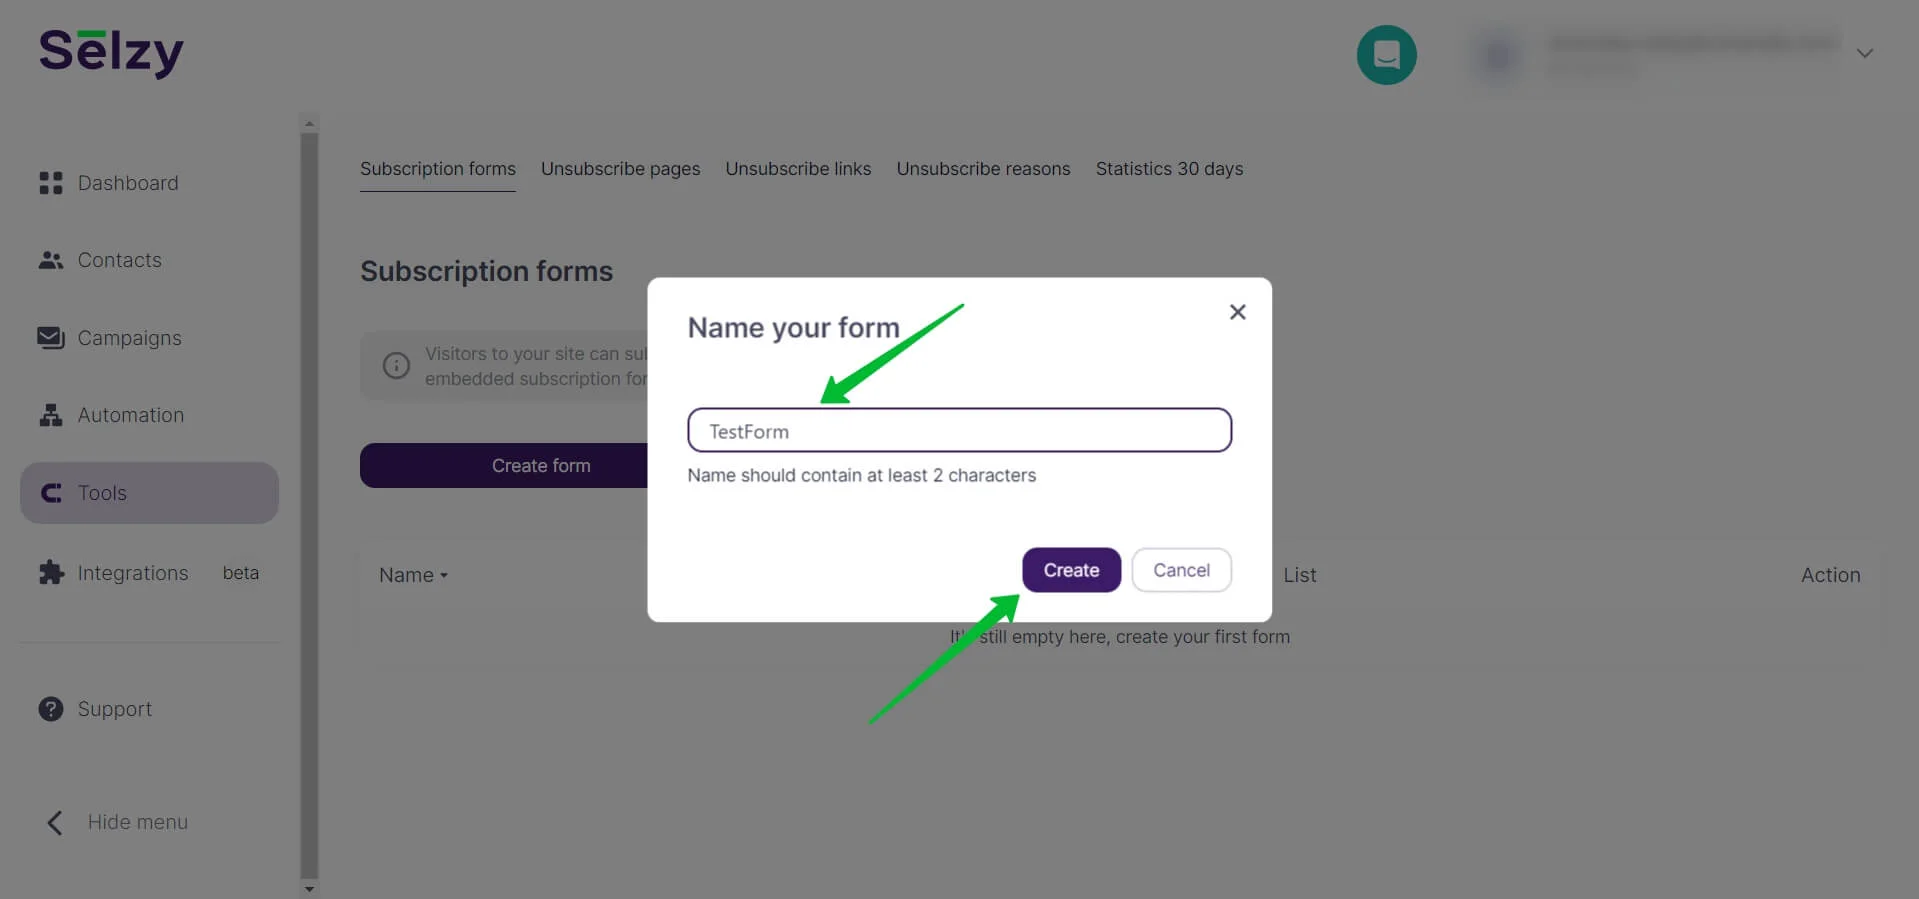
You can change the form’s name later in the settings.
Design the form
After that, you will be redirected to the drag-and-drop editor, which is similar to the email drag-and-drop editor.
Here you can design the form and add various fields users can fill in.
Check out Selzy’s blog article for pop-up form design examples.
There is a special content block in the editor — Form.
By default, only standard data fields are available in this block, namely: email address, name, and phone number. To add your own fields, you will need to create them first. Read the separate instruction to learn more about creating custom fields.
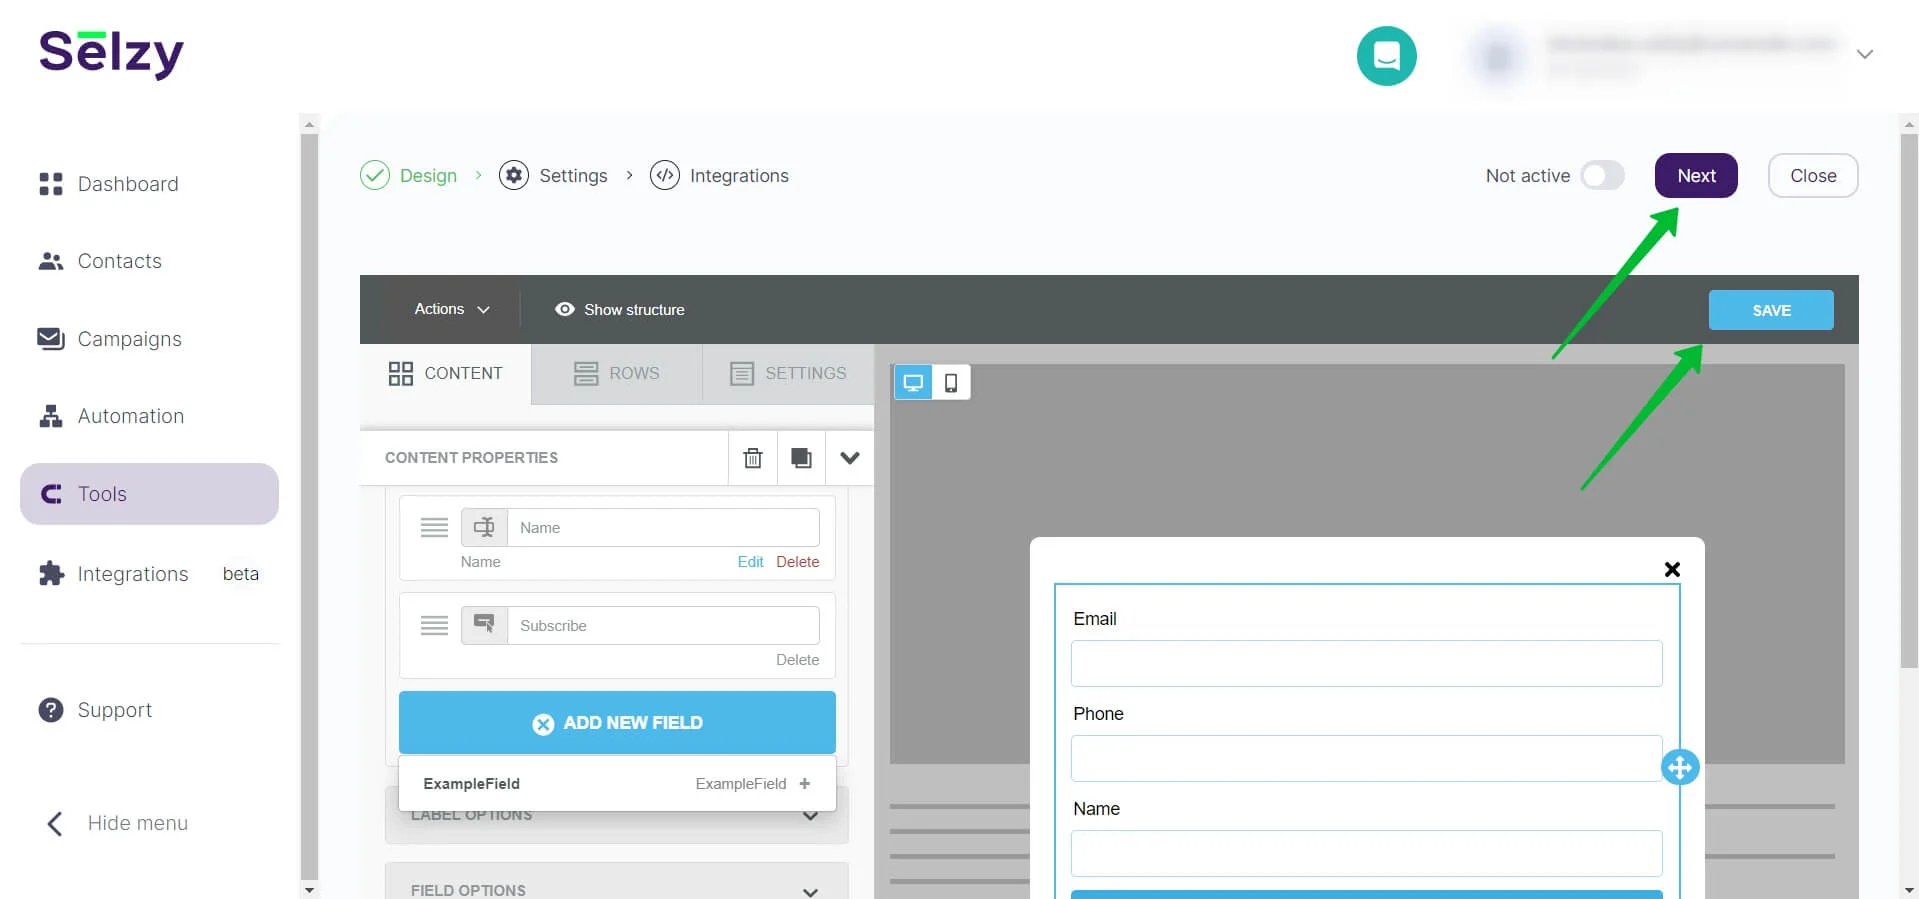
When you are satisfied with the form design, click Save or Next to go to the next step. These buttons have the same functionality.
Add a consent checkbox to your form
Create a custom field
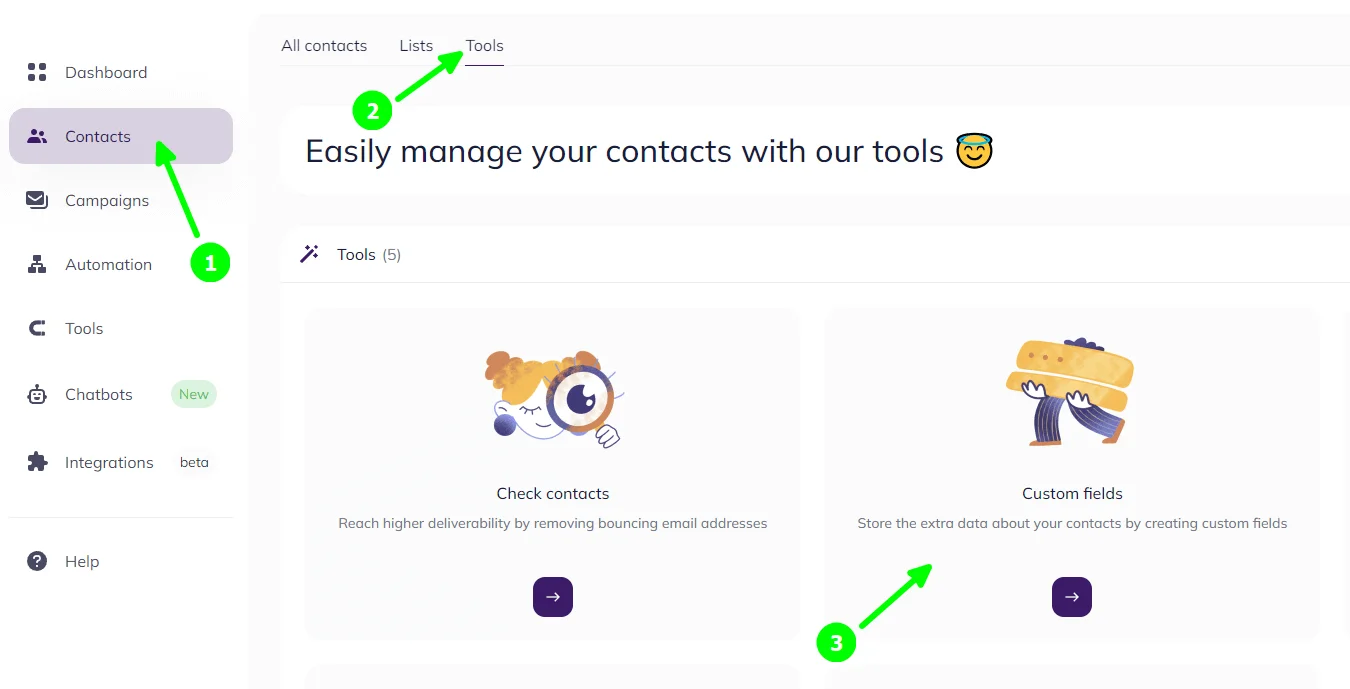
From your dashboard in Selzy, go to Contacts → Tools → Custom Fields.
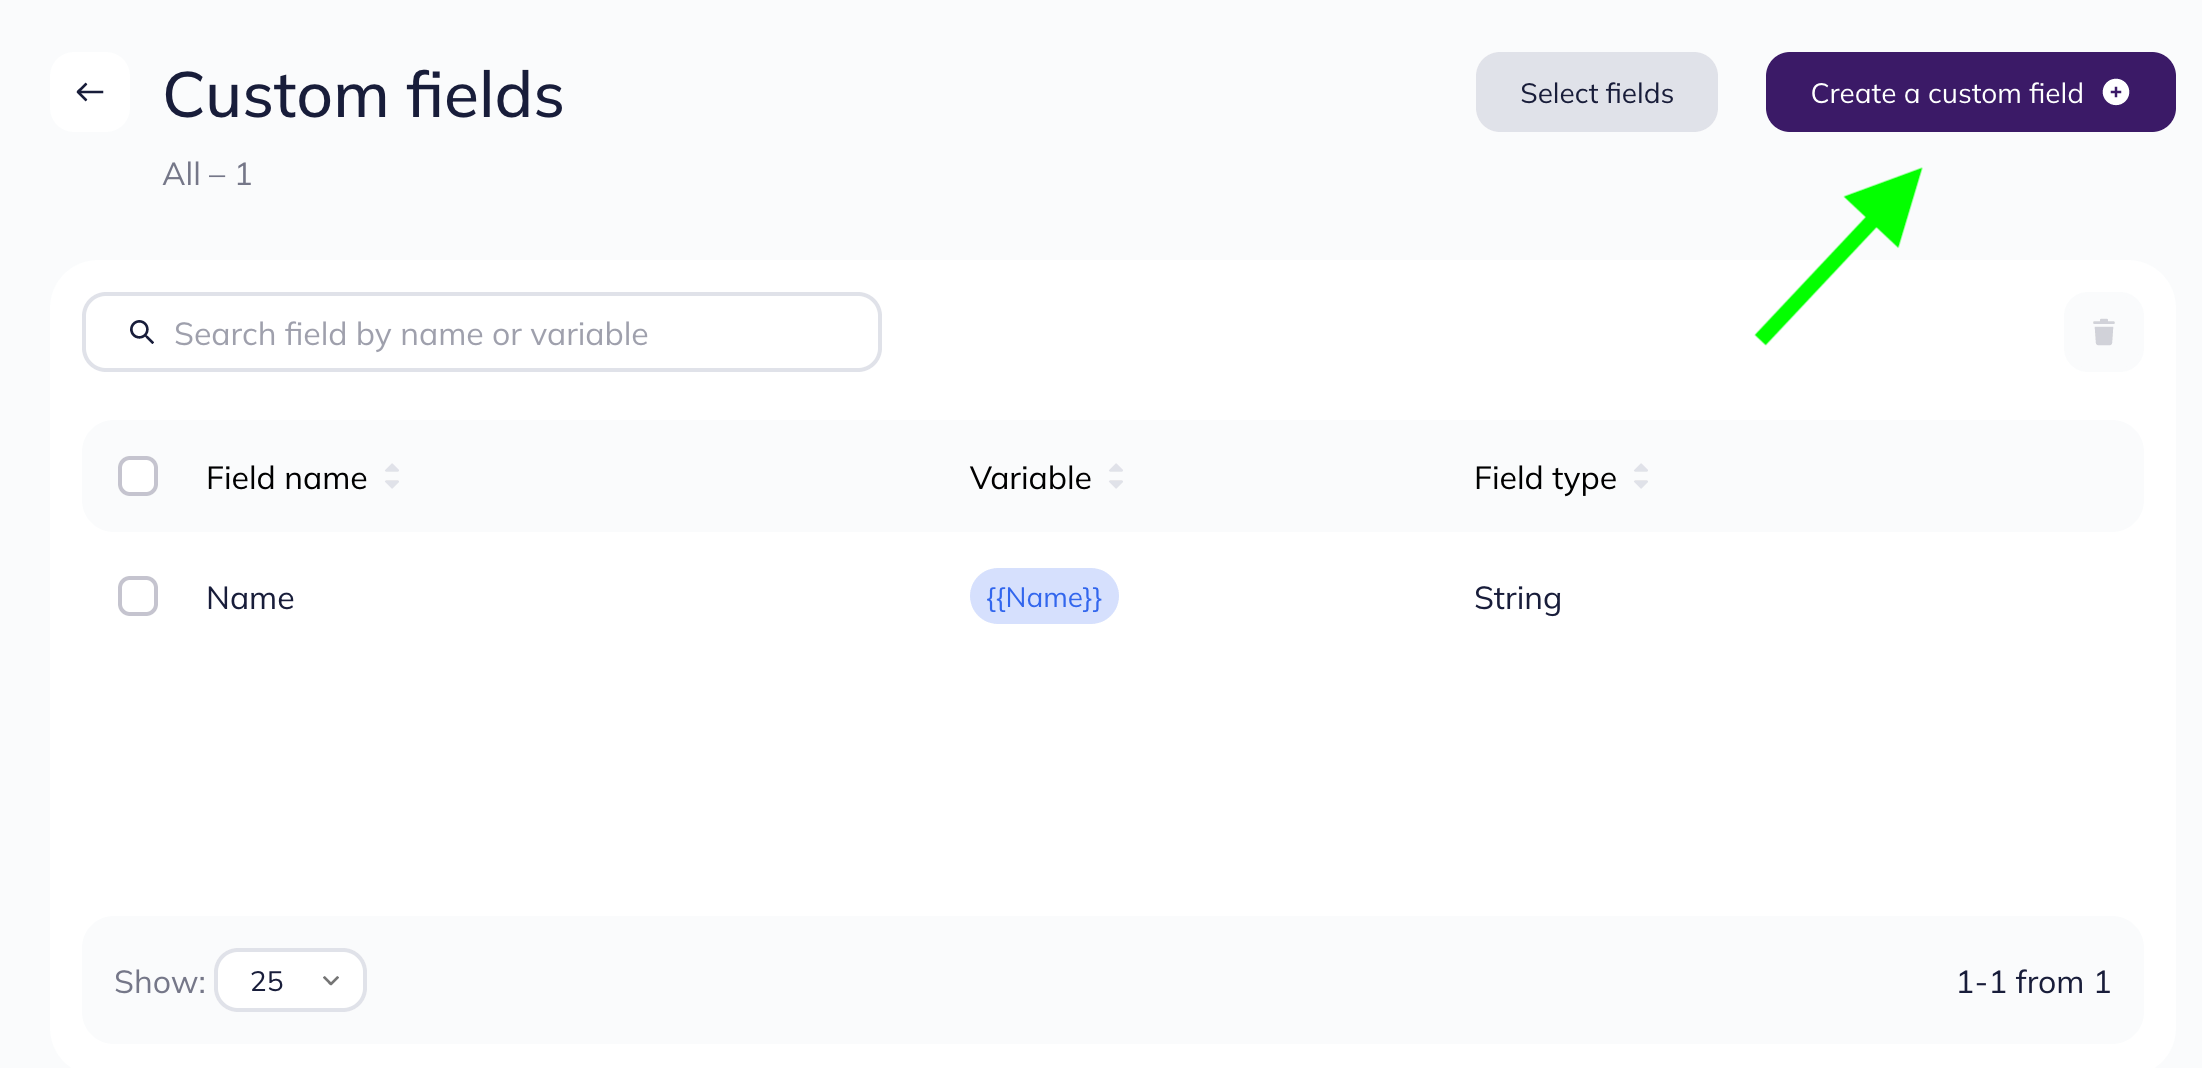
From there, click on Create a custom field.
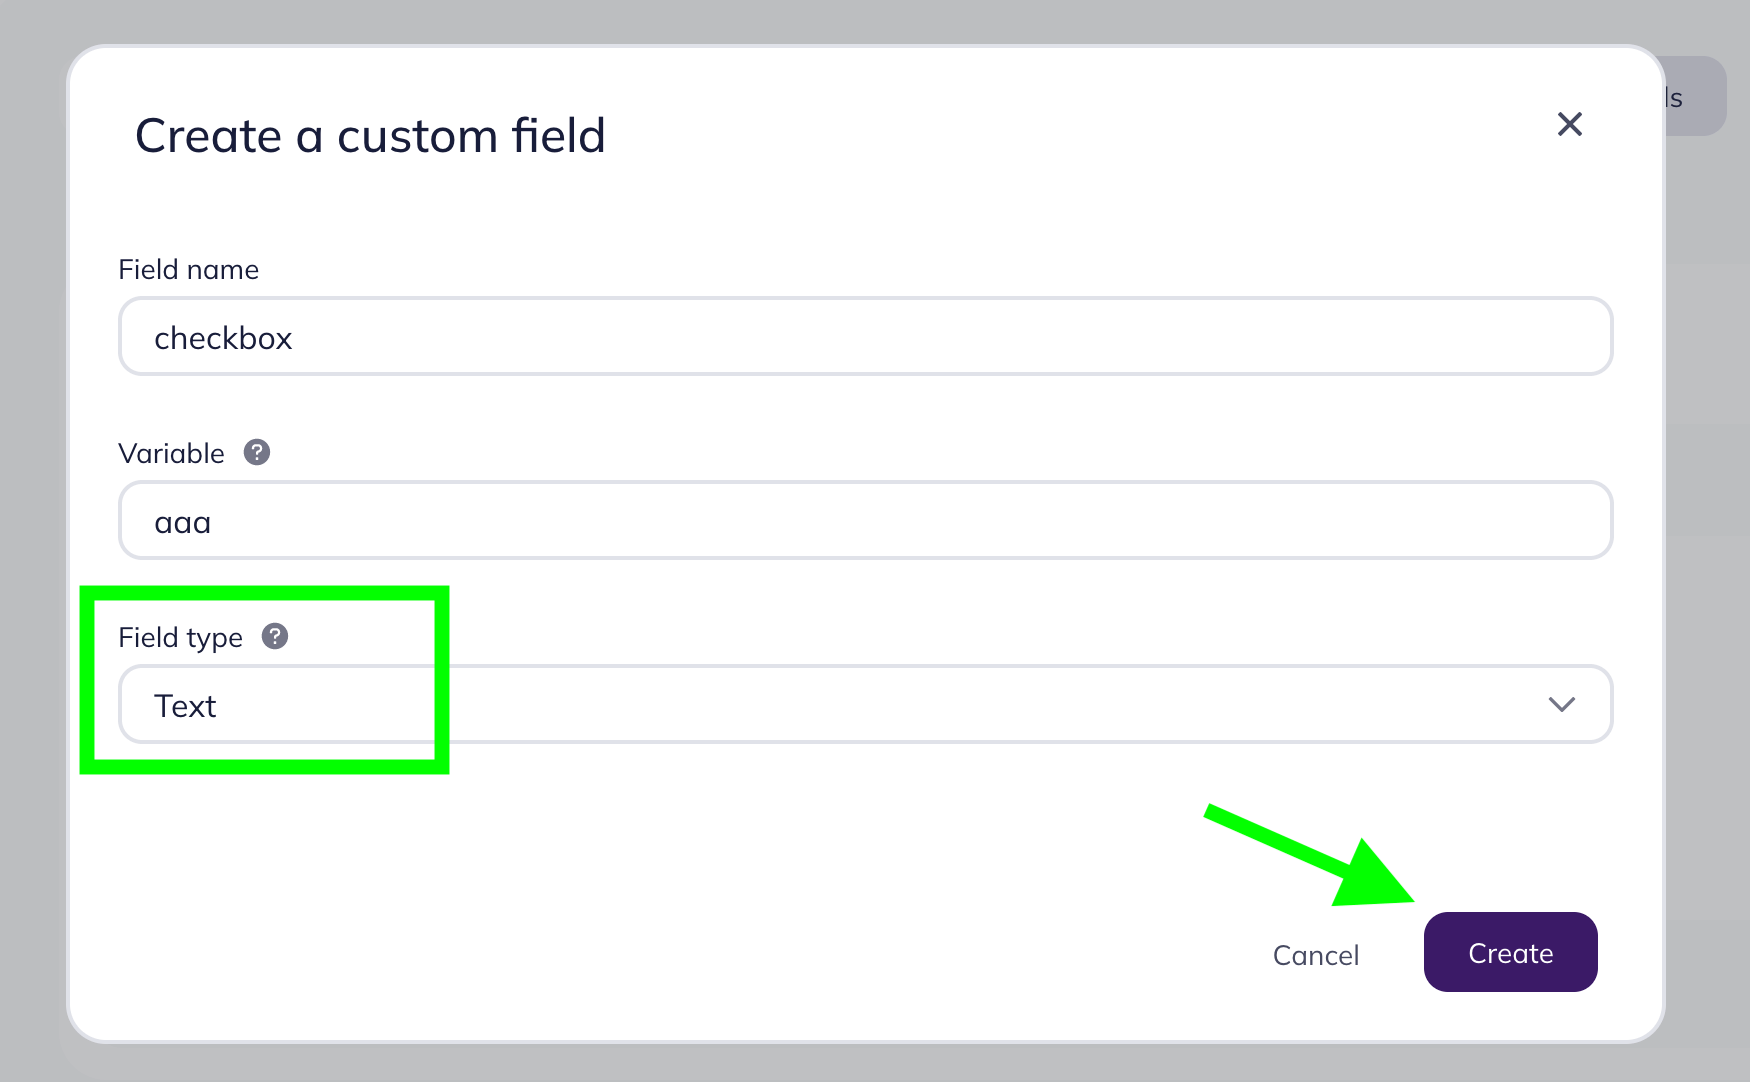
In the popped-up window, enter a name for the field and any variable (this won’t affect the field’s functionality). Select Text as the Field type. Next, click Create.
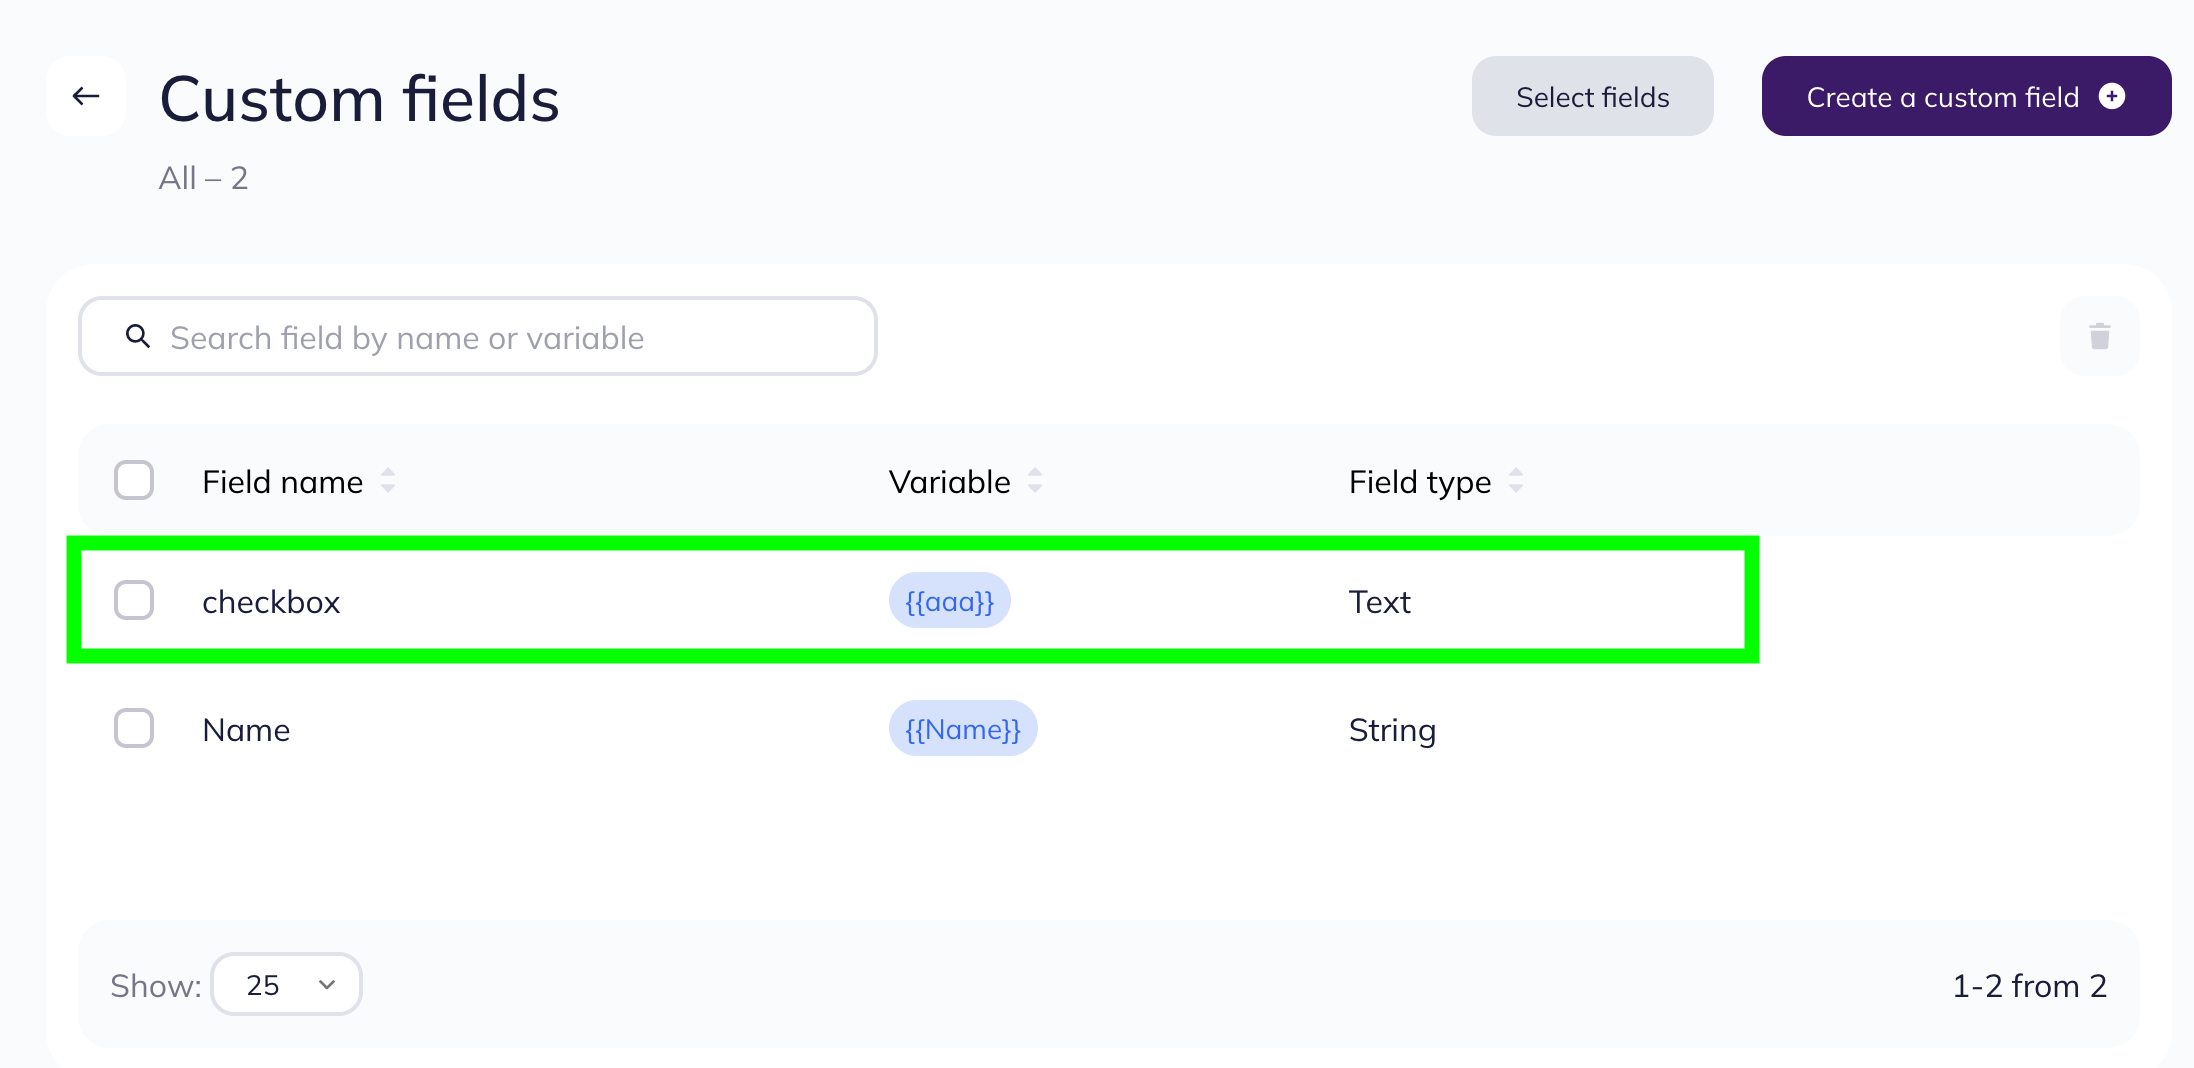
You will see the field you just created in the list of your custom fields.
Add the checkbox to your form
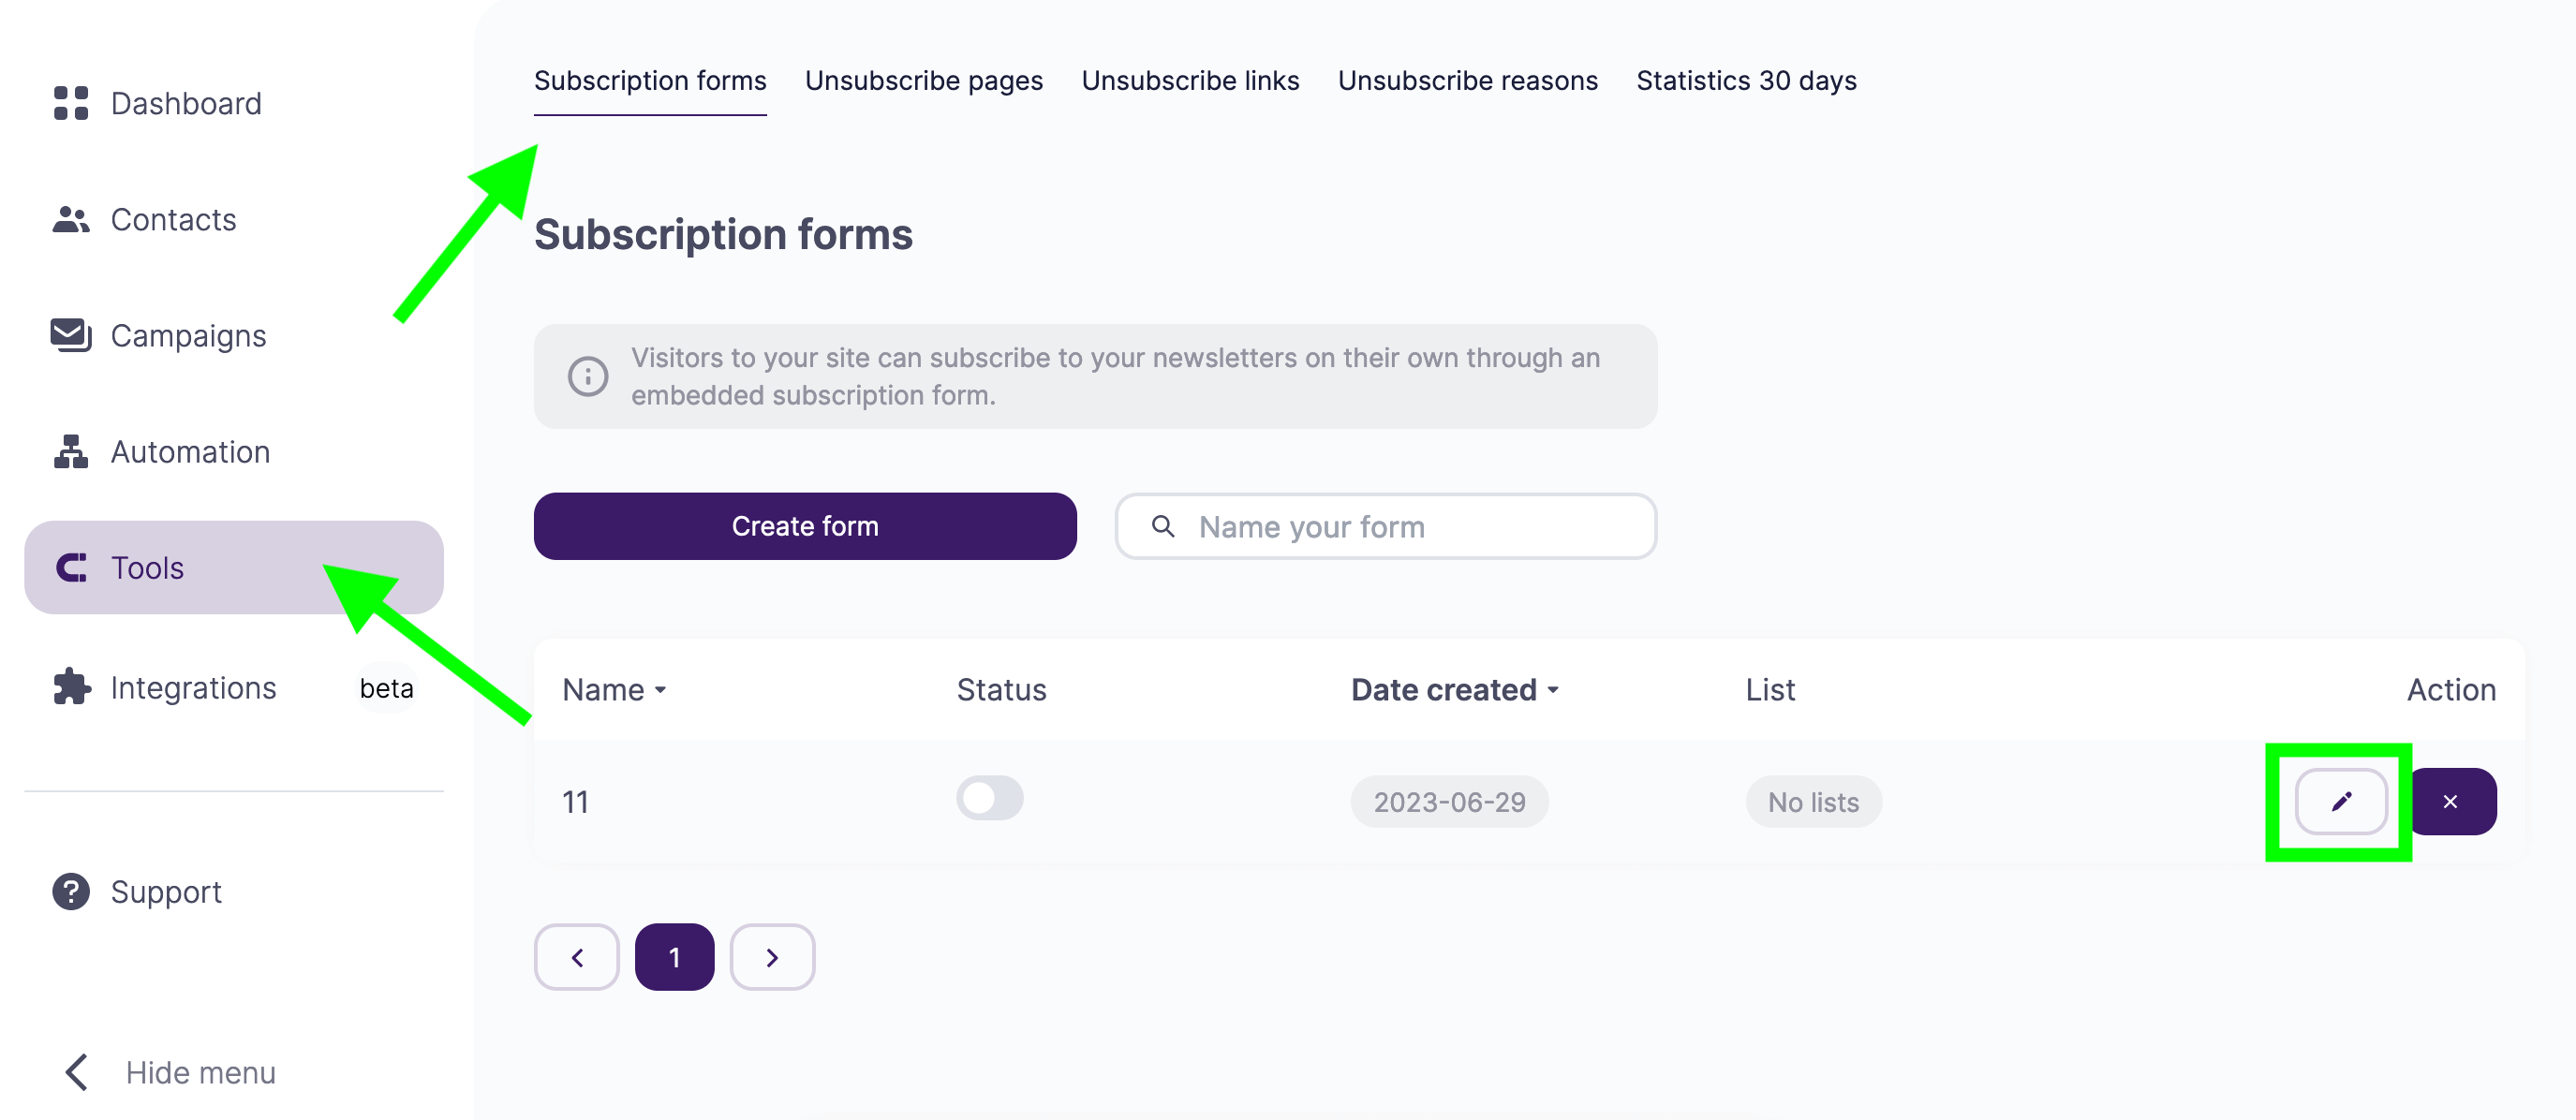
Now that you created the custom field, you can add it to your existing form or to a new one. Go to Tools → Subscription forms and click on the pencil icon by the form you want to edit.
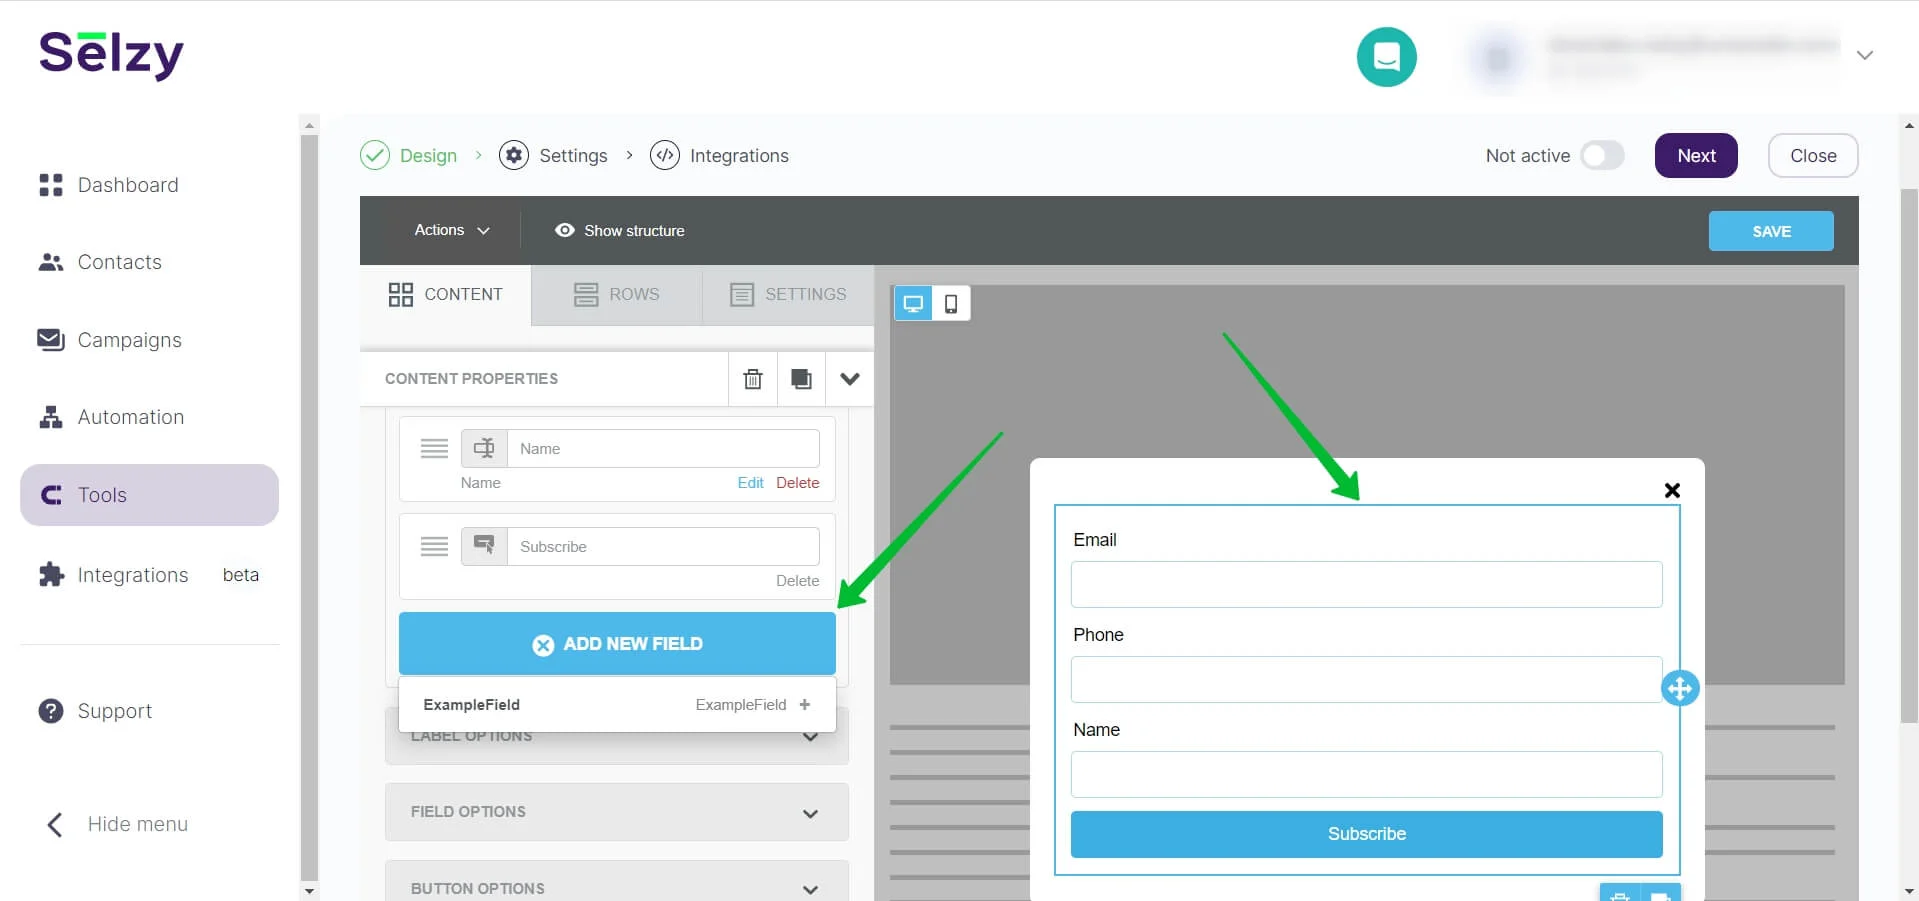
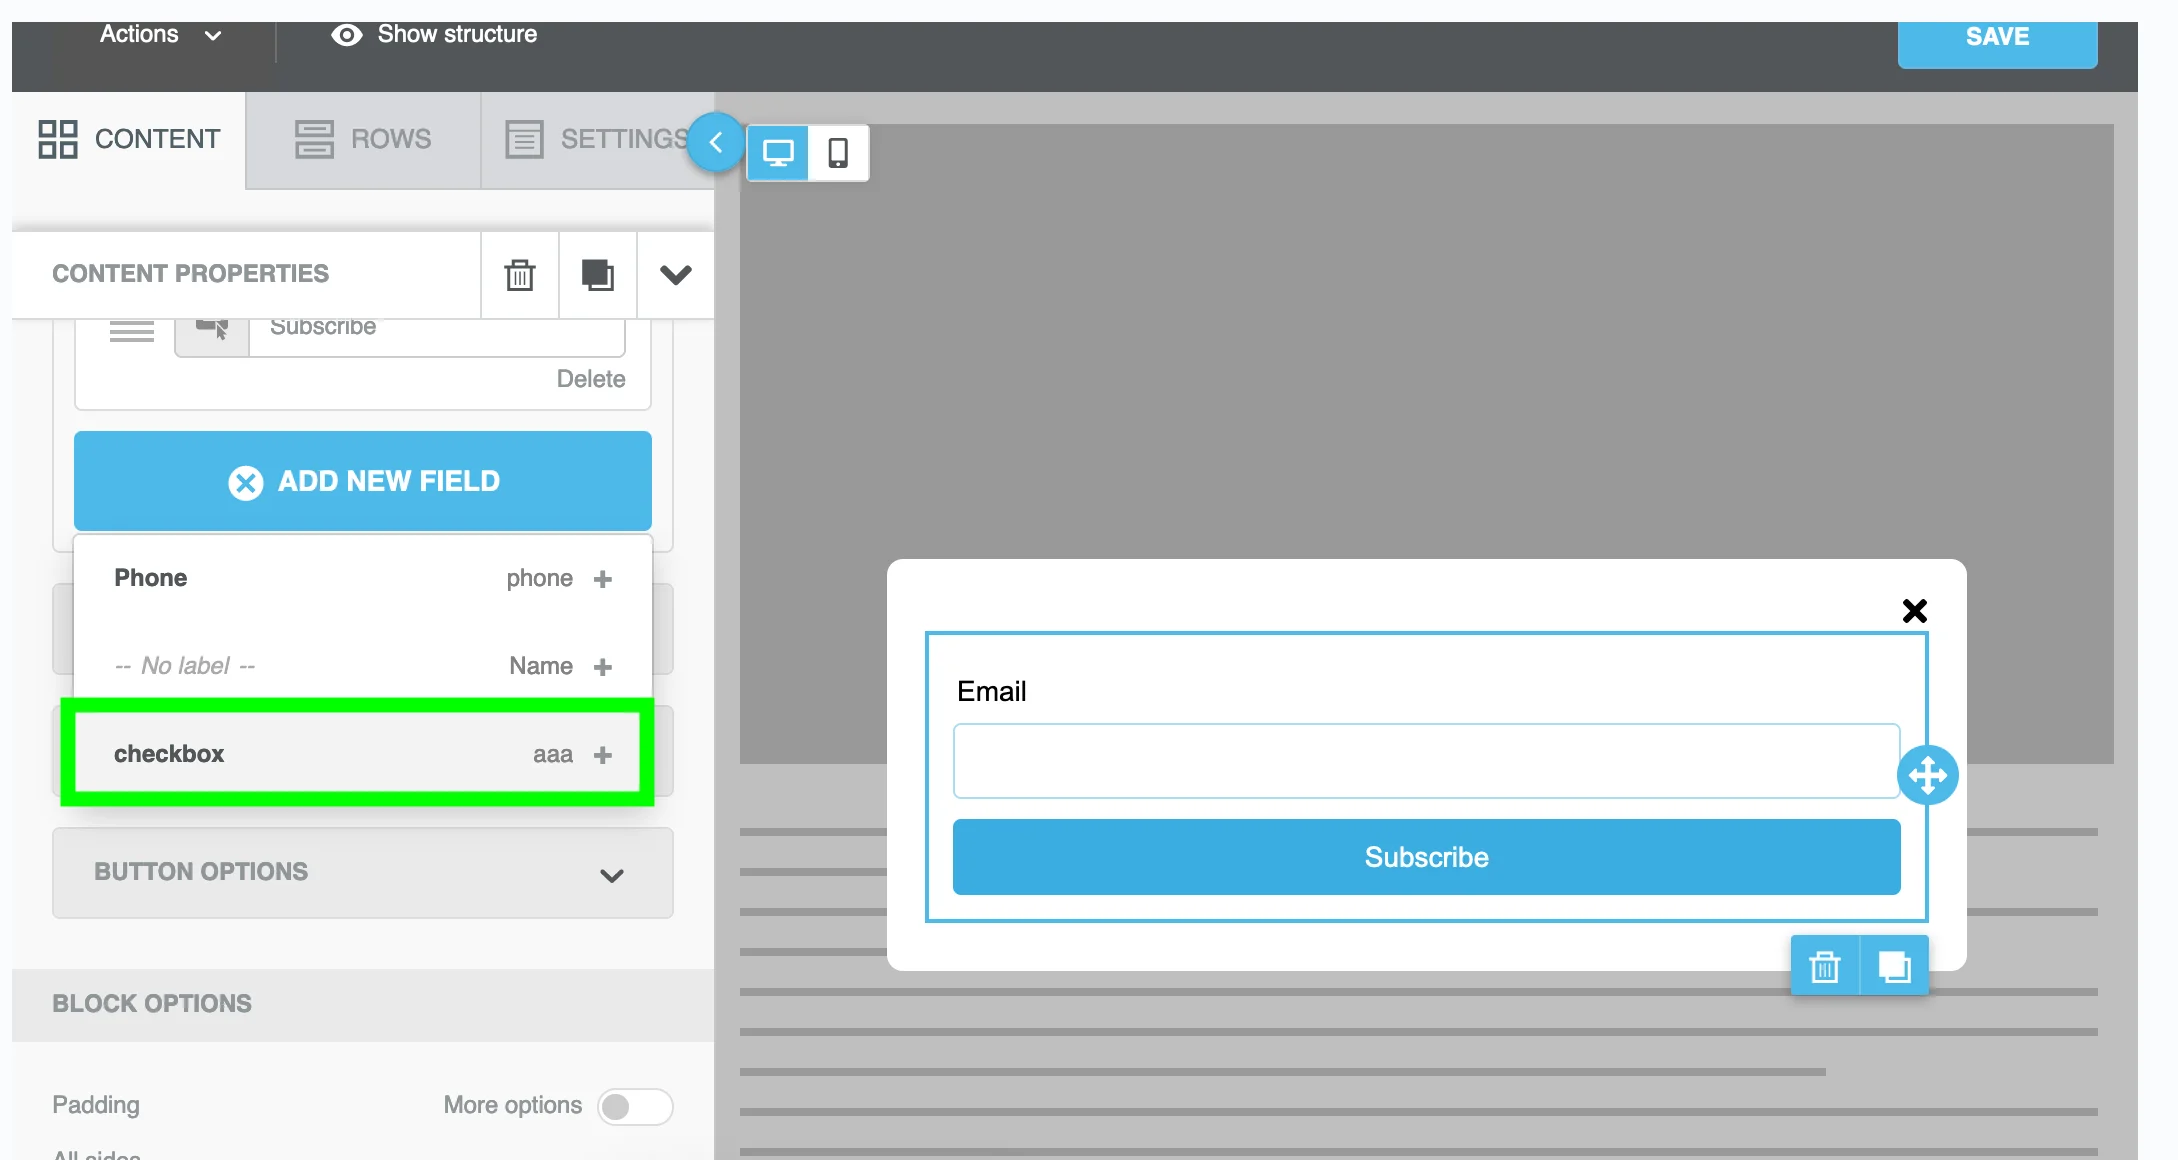
Go to the Design tab in the editor. Next, left-click on the Email field or any other field you have in the form, scroll down the menu on the left and then click Add New Field.
Select the field you’ve just created, and it will be added to the form.
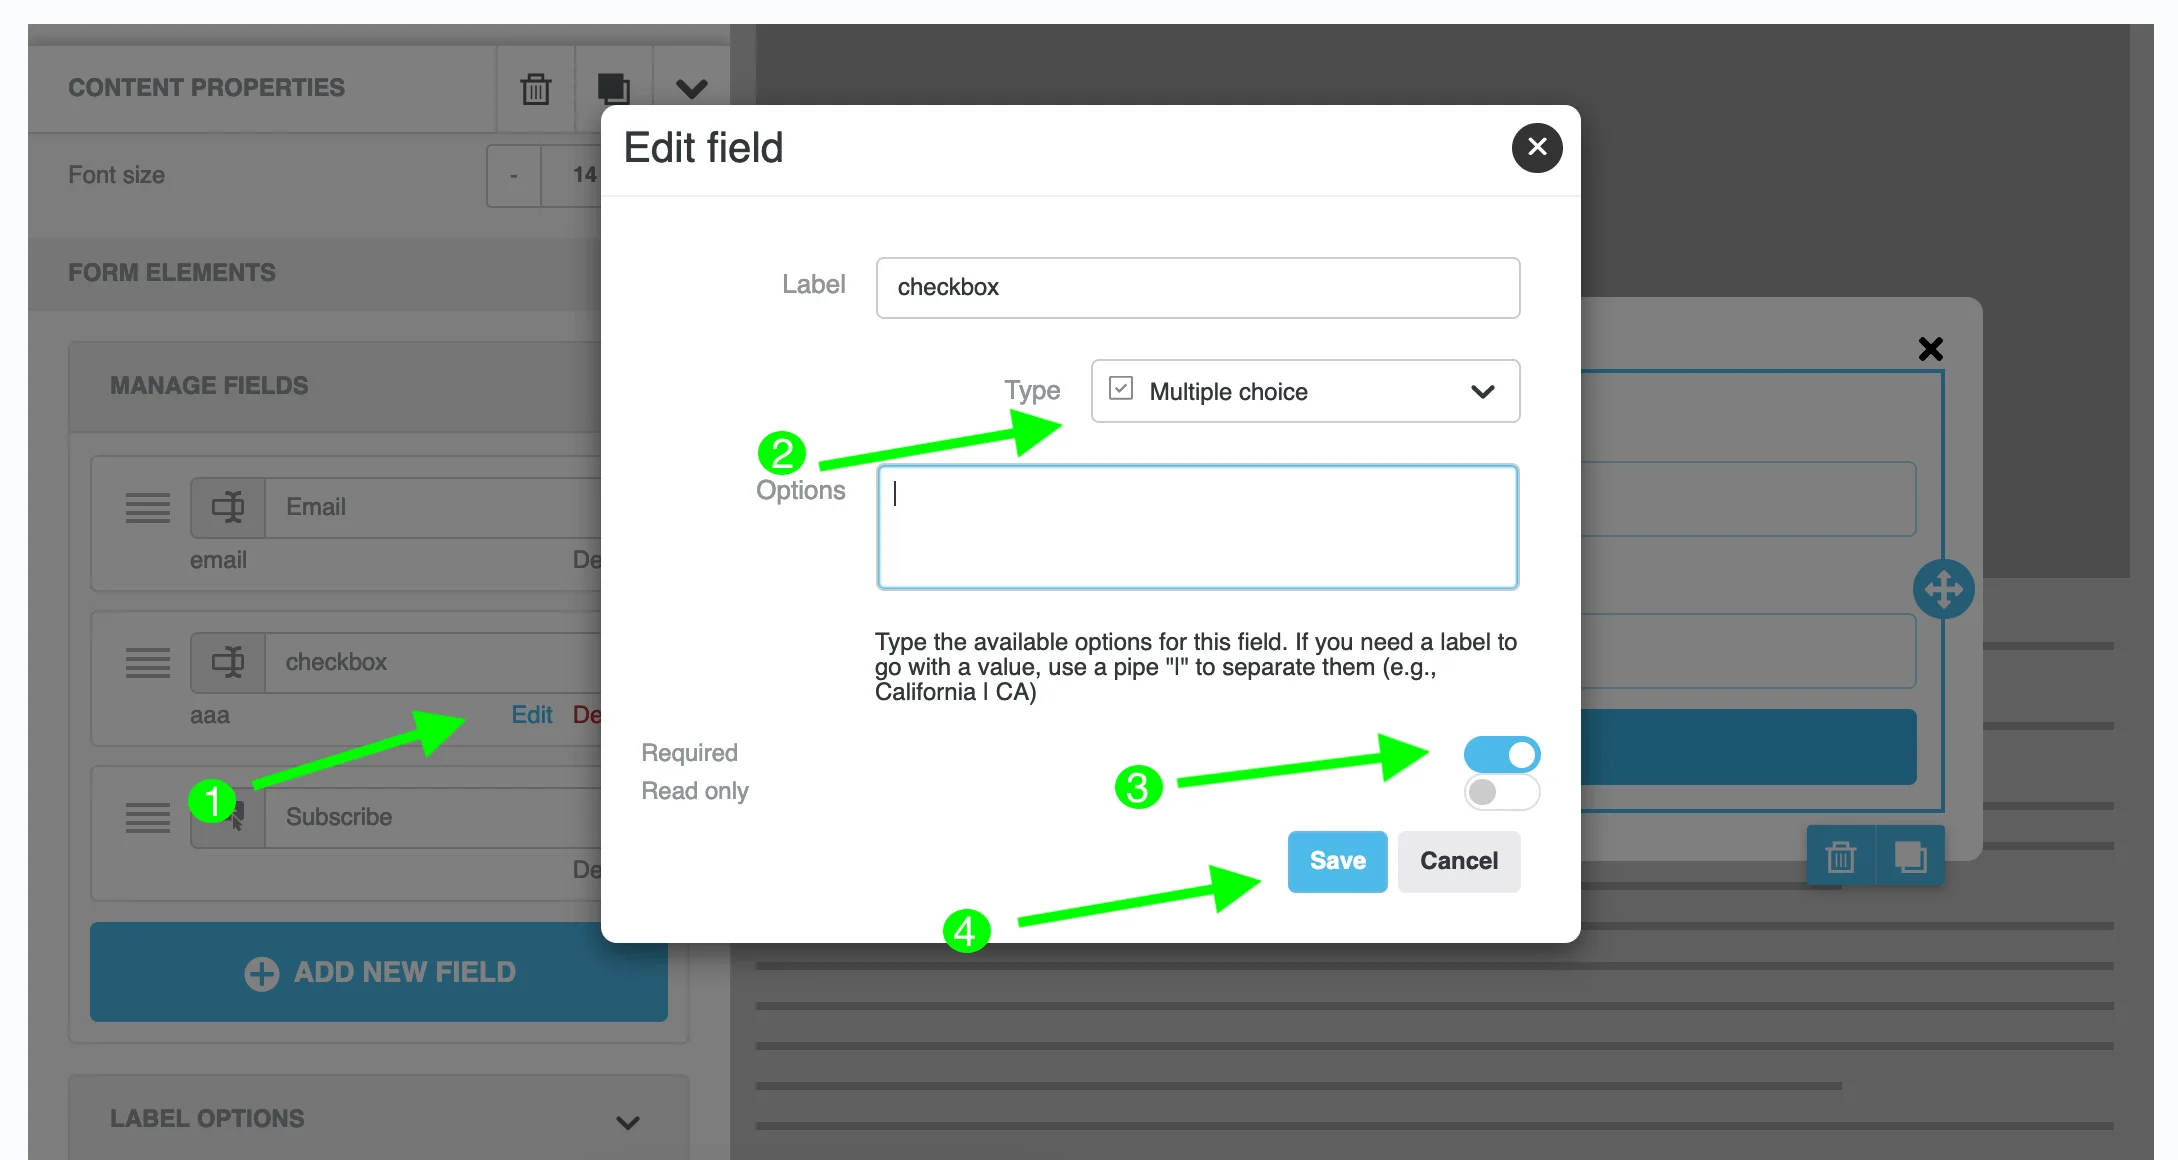
After the field is added, click Edit by the needed field in the same left menu.
In the popped-up window, change the type of the field from Text to Multiple choice. Make it Required so that the form won’t be completed without this checkbox. Afterward, click Save.
You can edit the text by the checkbox in the left menu.

Customize the form
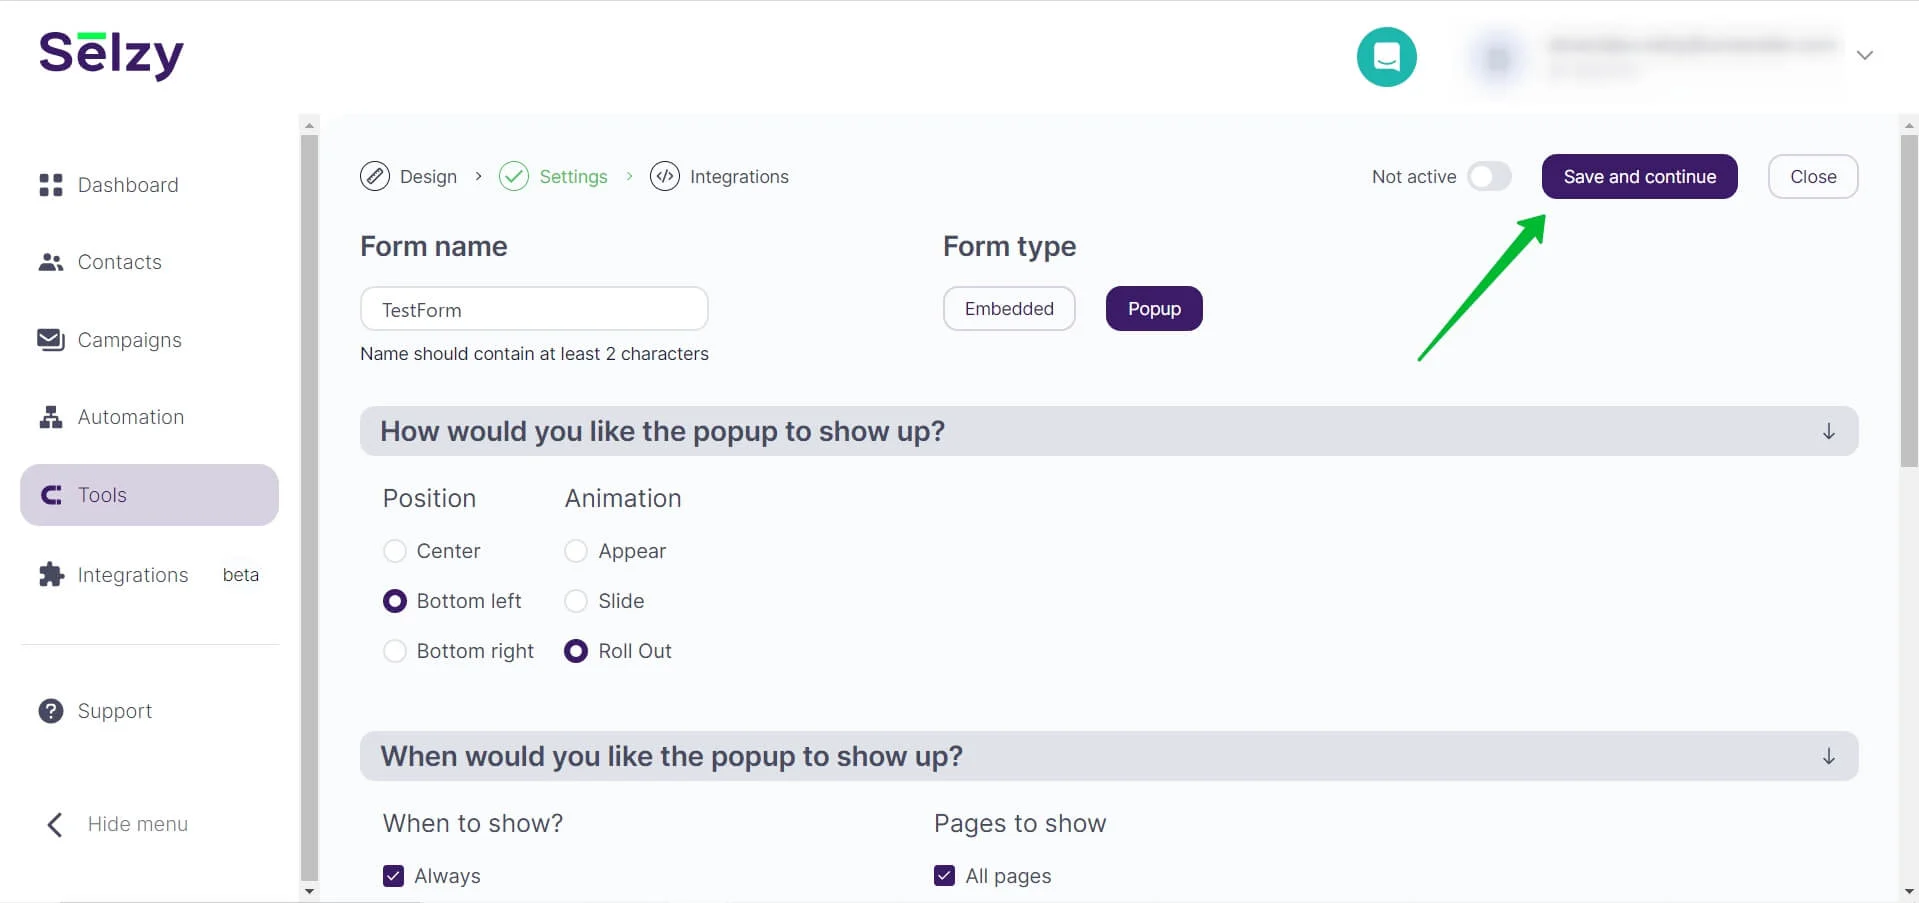
In the next section, you can change the name of the form and select its type (Embedded or Pop-up).
There are no settings for embedded forms, so you can skip the next section of the instruction. Simply click the Save and continue button on top of the page.
To customize the pop-up form, follow the instructions below.
Customize the pop-up form
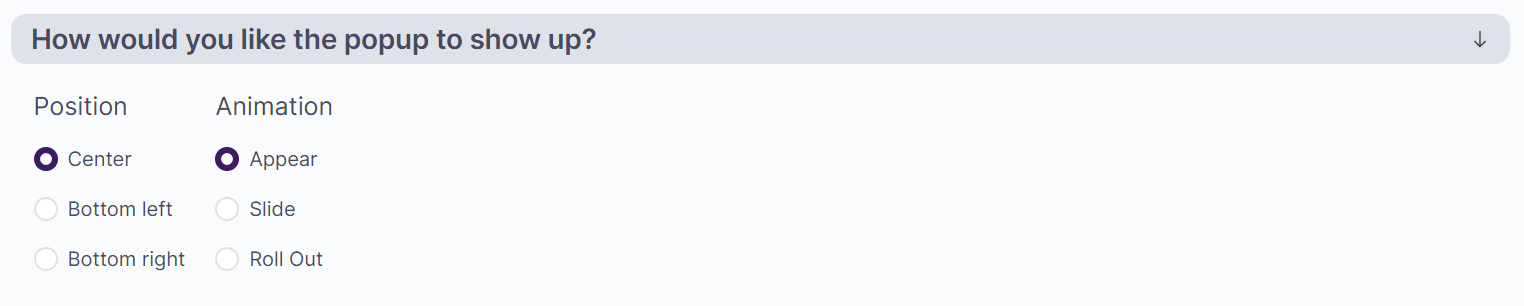
The first section of the settings manages the position of the pop-up form on the page and the animation of its appearance.
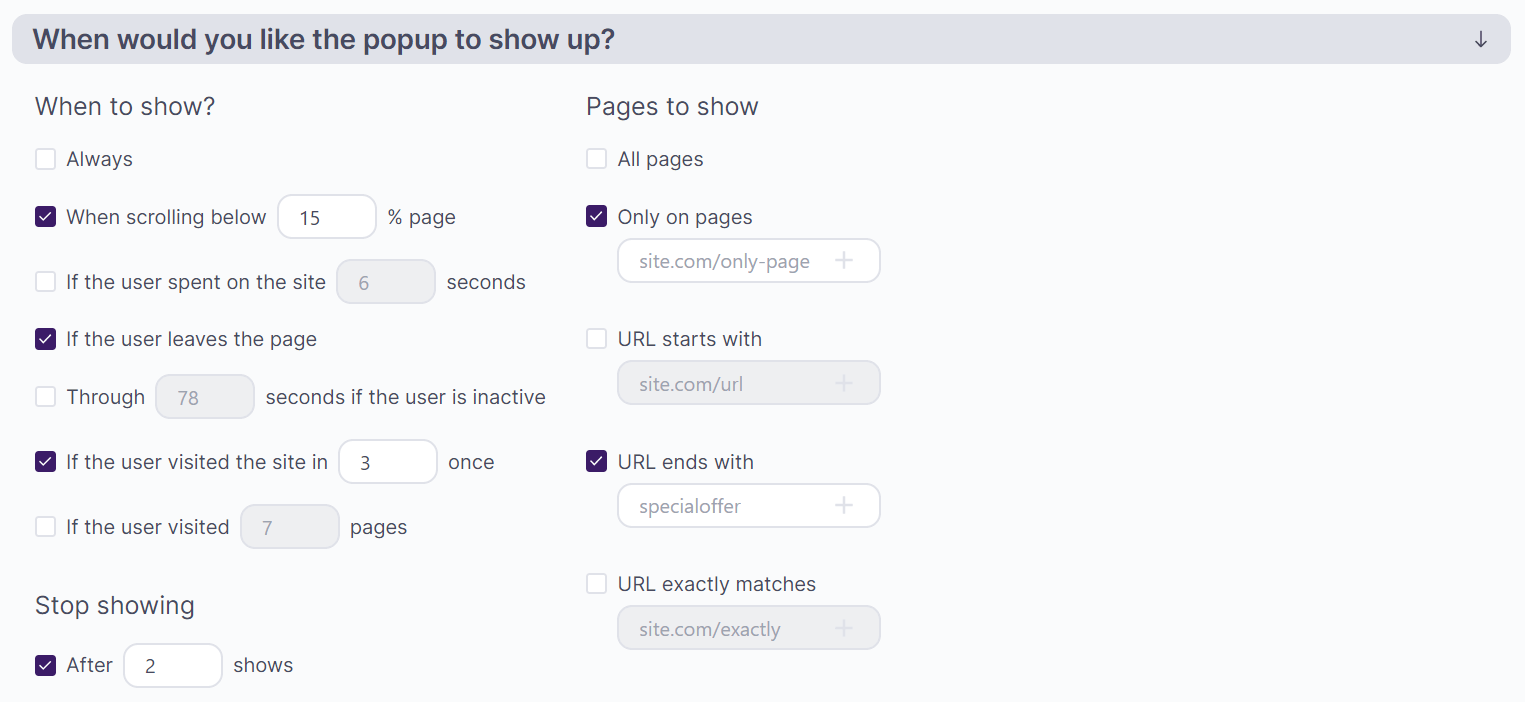
In the next section, you specify the conditions for the pop-up form to be shown. By default, the form is always shown on all pages of the selected site, but you can set up different terms:
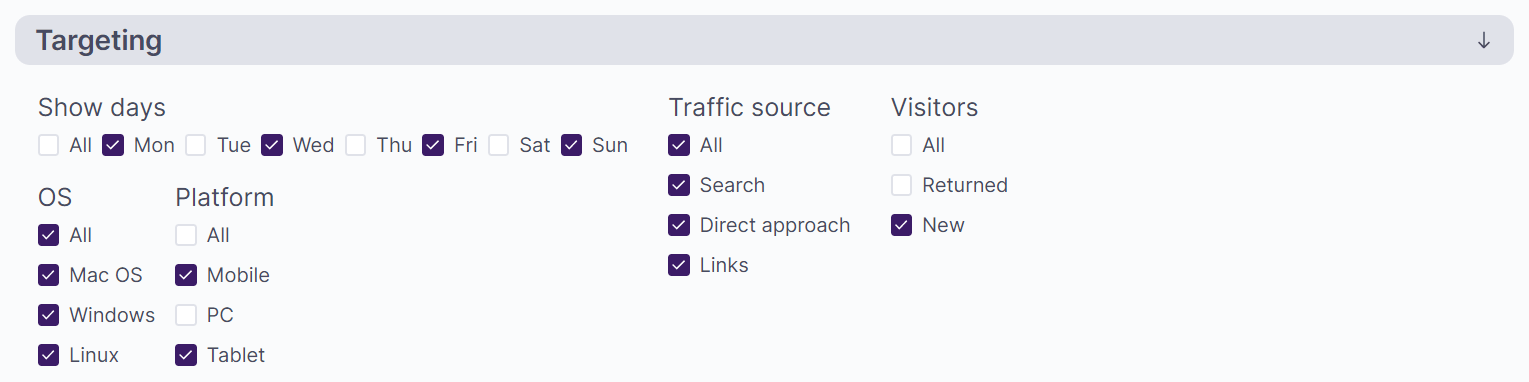
The last part of the settings is Targeting. Here you can manage what part of your audience will see the pop-up and when.
Click Save and continue after you finish setting up the form.
Select where to save contacts and activate the form
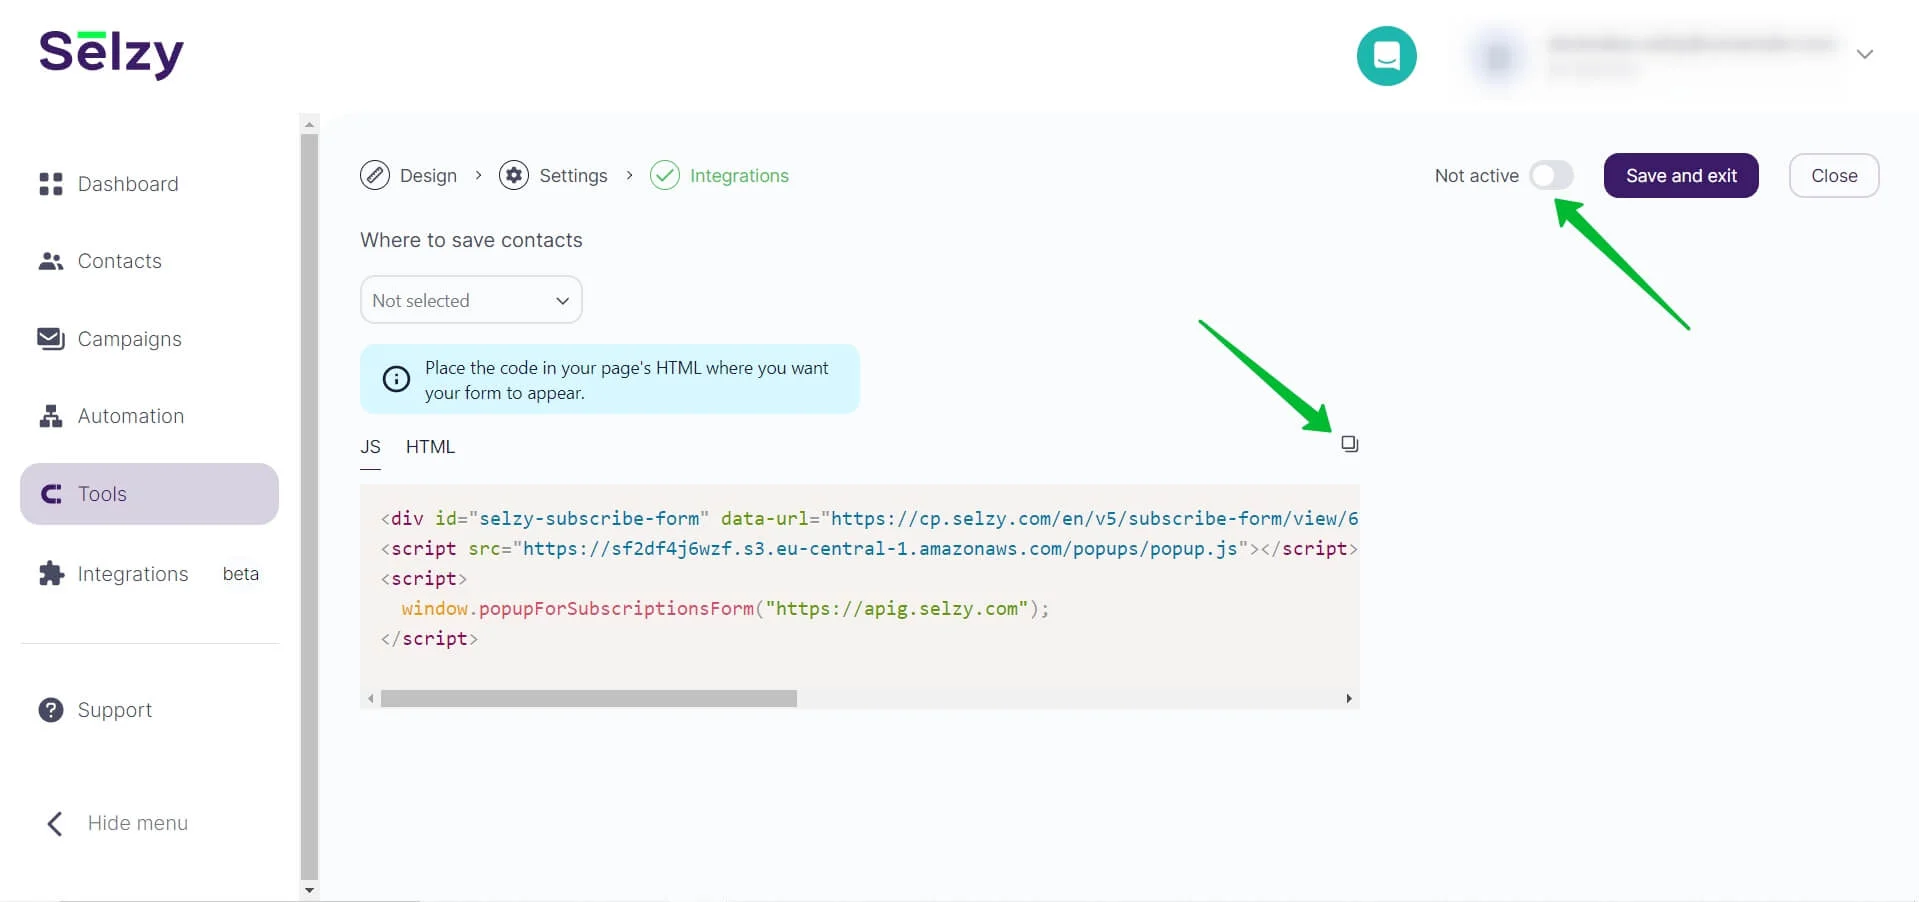
On the next screen, you will see the code needed to integrate the form with your website.
Select where you want to save contacts from the form. Data that users left in the form will be automatically added to the contacts list of your choice.
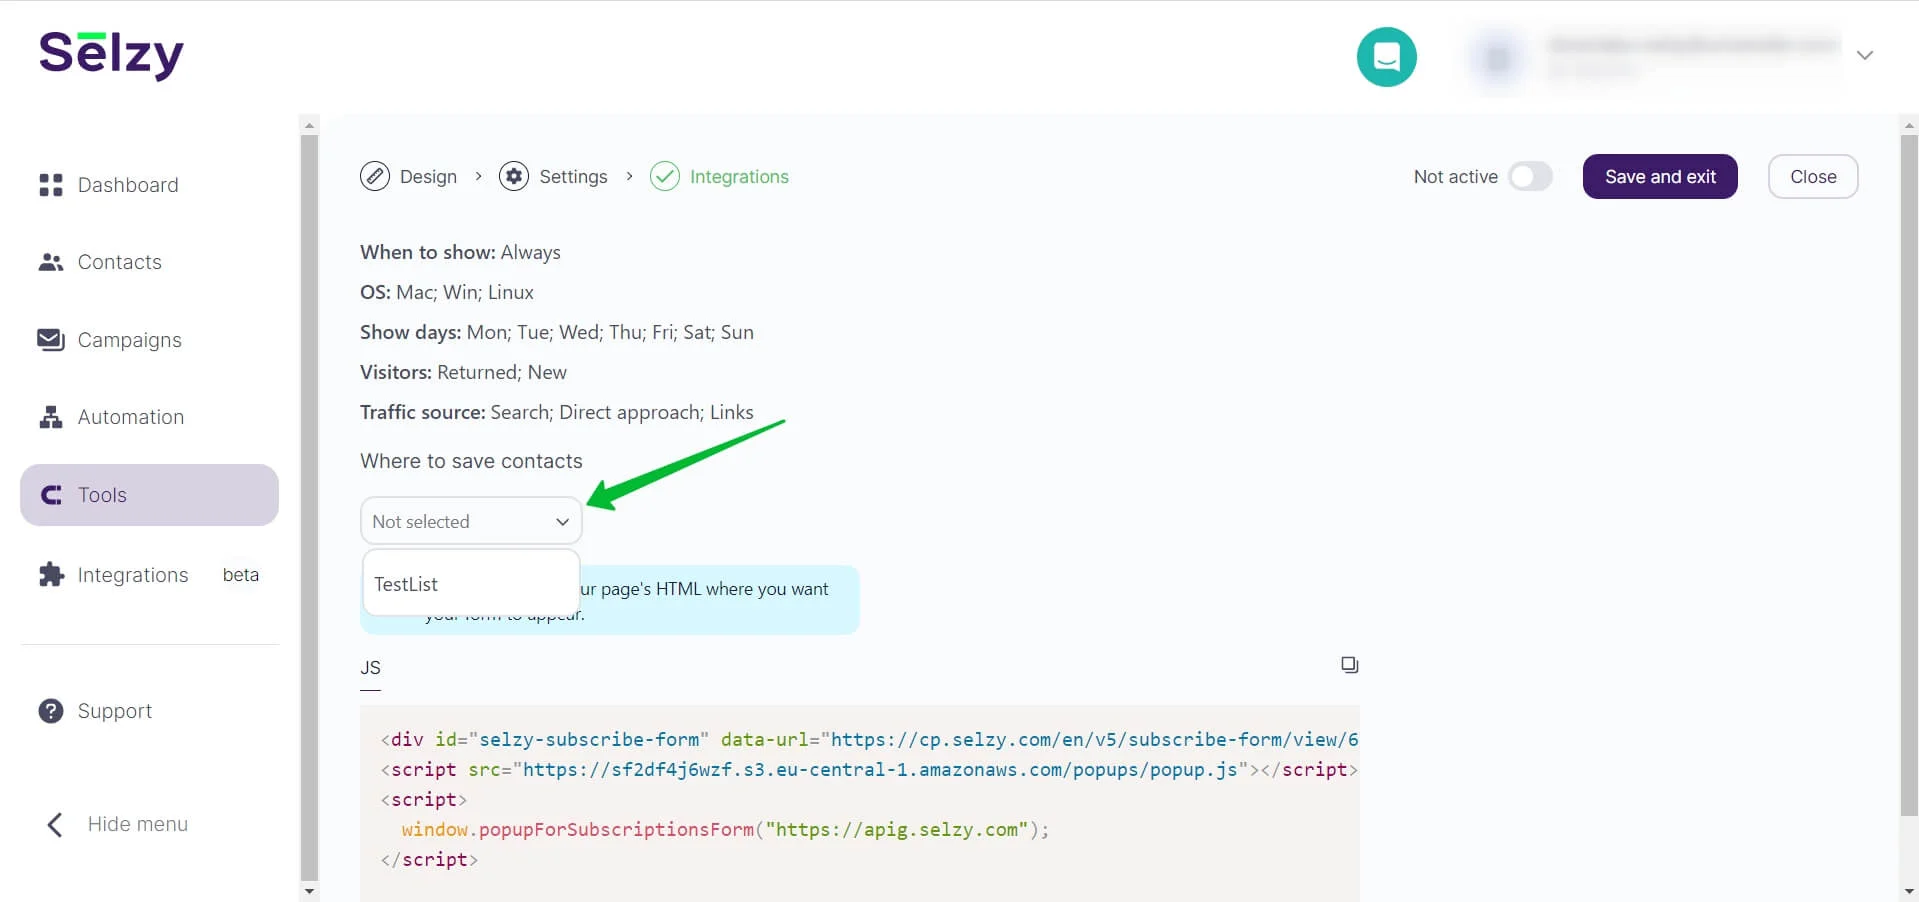
To activate the form, switch the toggle in the top right corner. When the form is active the text will change from “Not active” to “Active”.
To copy the form code, click on the icon above the code.
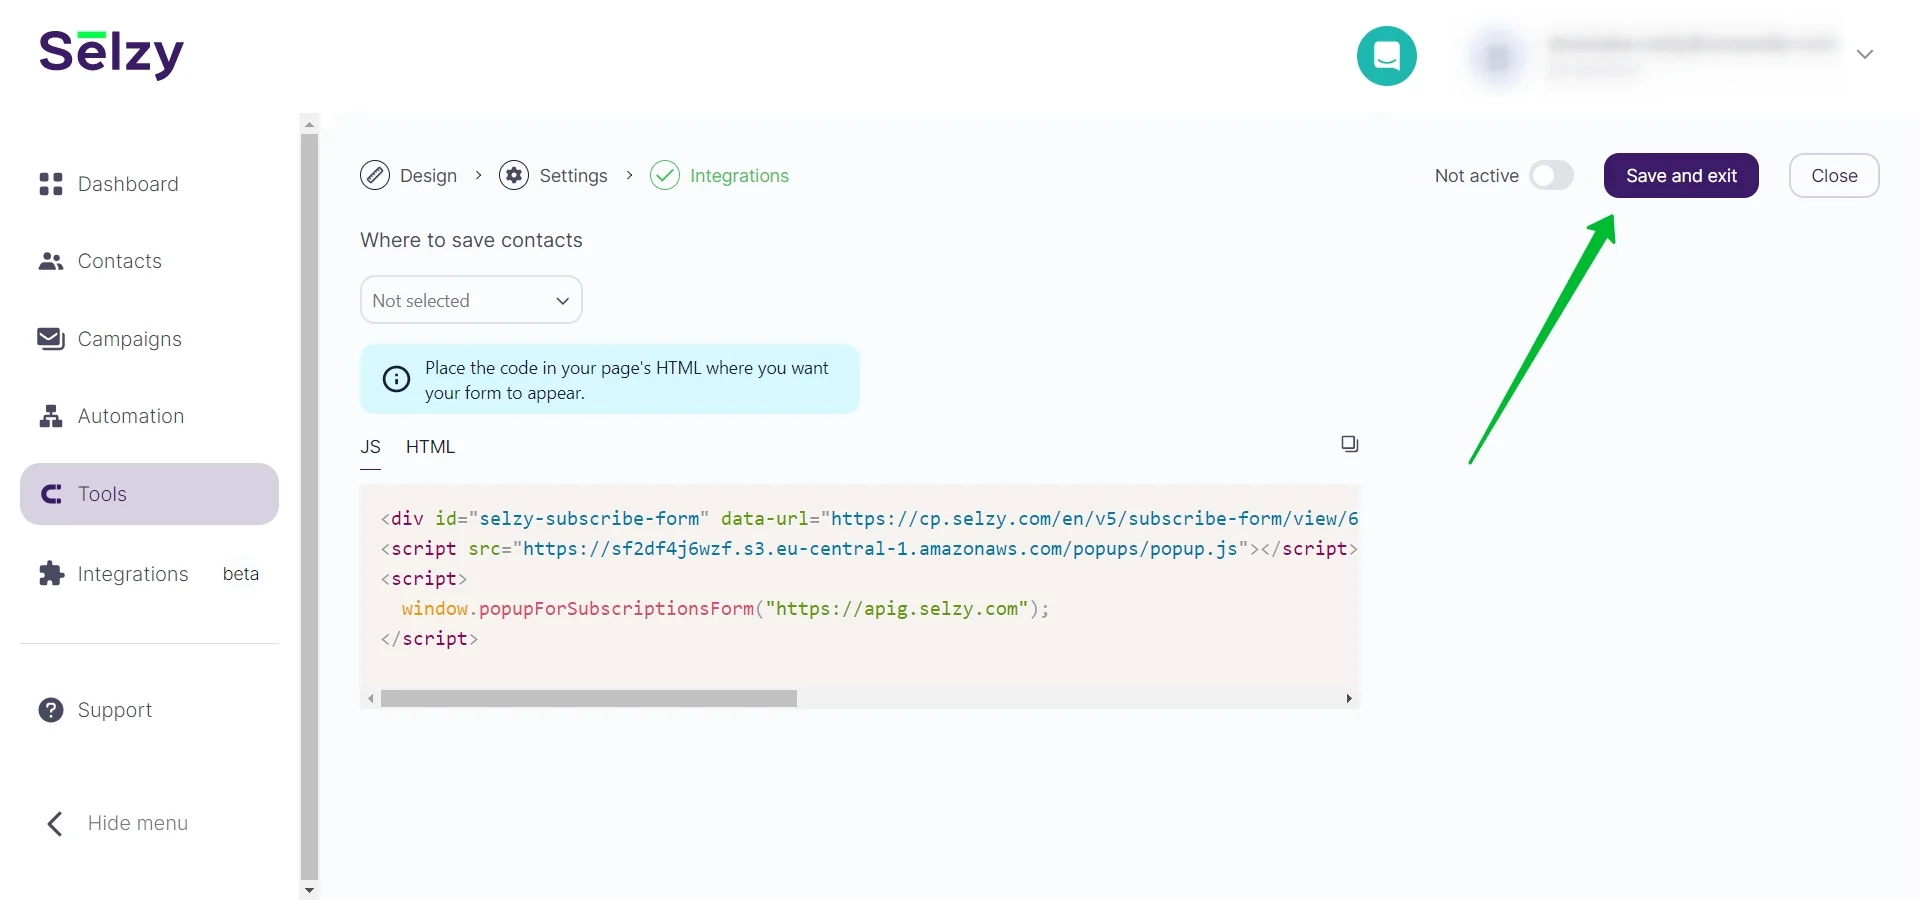
Click Save and exit to save the form.
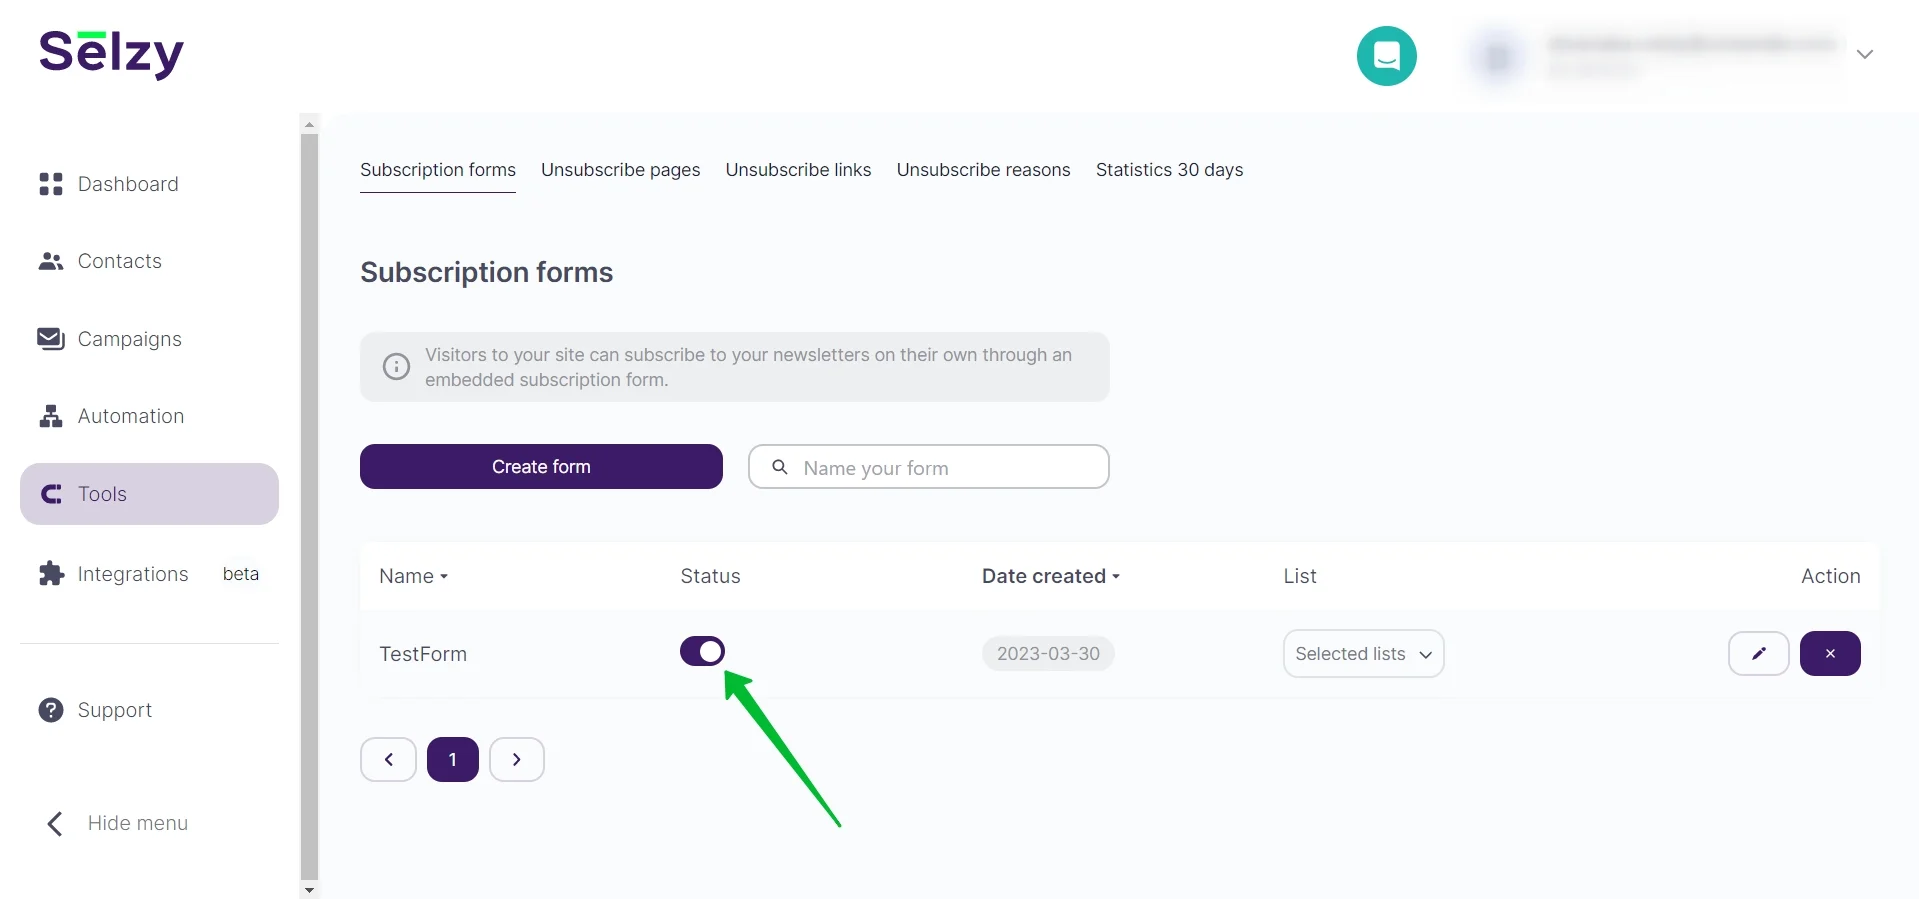
After that, you will be back in the Subscription forms section where you can see the form you created. Now the Subscription forms section displays the status of the form, which you can change without opening the form itself:
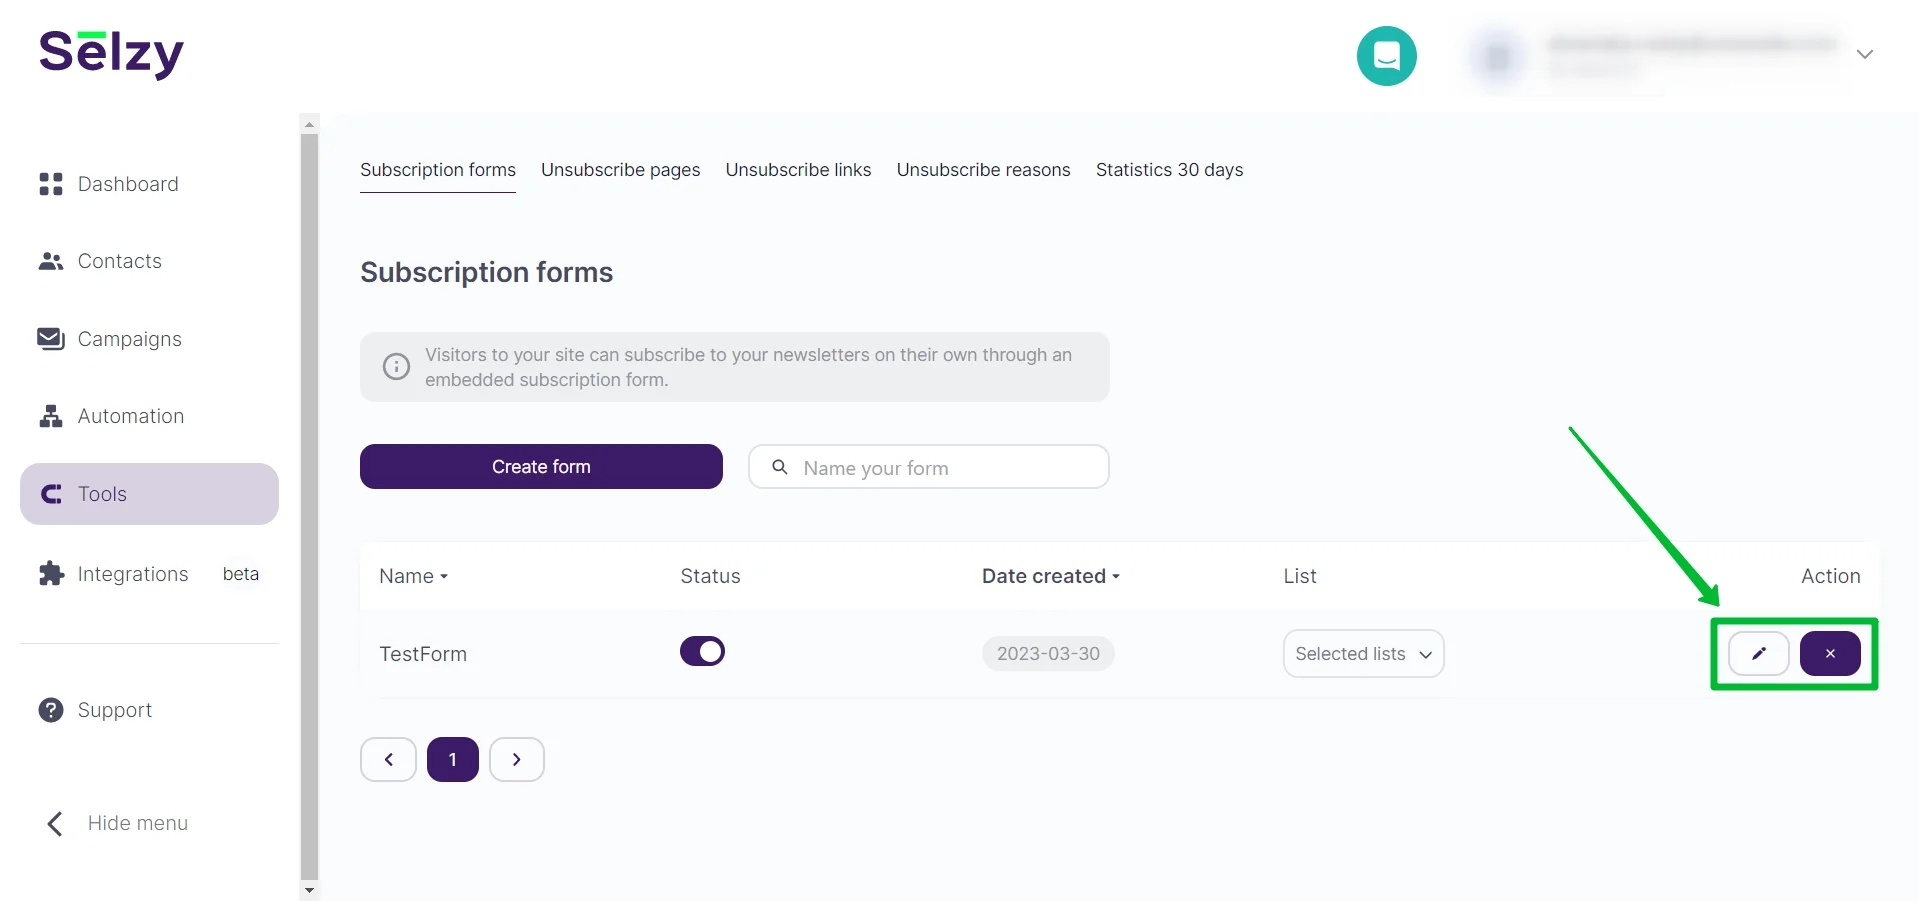
Here you can view the lists to which the form is assigned:

And you can also go to its editing, or delete the form:
That's it, you're done with the form! Now follow the next instruction to integrate the form into your website.


