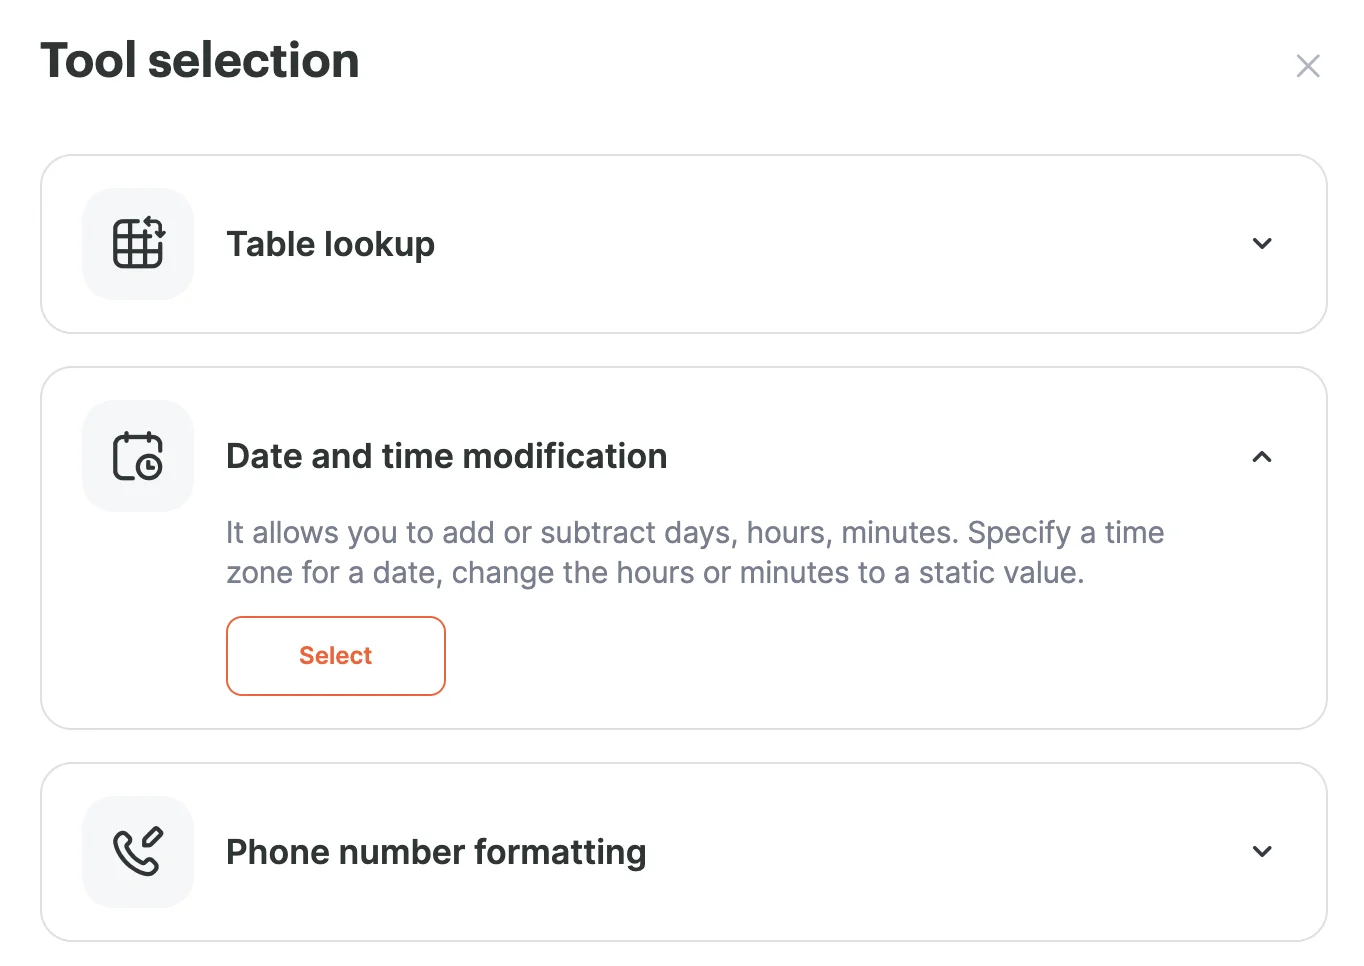
The Date and time adjustment tool is a versatile feature designed to tweak the timing of tasks, update time zones, and more. This tool can be particularly useful when integrating with platforms like Selzy, especially when you want to add a specific time delay to actions such as adding a new contact.
Here's a step-by-step guide on how to utilize this tool with Selzy:
Initiating the tool:
- Once a lead form, for instance from Selzy, has been filled out, you might want to define a task or action related to that lead.
- Navigate to the Tool option and select the Date and time adjustment tool.

Configuring the tool:
- In the tool's configuration window, specify the date and time value you wish to modify. For our example, this could be the time a new contact is added to Selzy.
- If you want to add a delay, input a static value in the Add minutes field. For instance, inputting 15 will add a 15-minute delay.
- After configuring, click Save. The tool will then generate a new variable with the adjusted date and time.
Implementing the New Step with Selzy:
- With the modified date and time variable ready, you can now integrate it into a new step in Selzy, such as Add New Contact.
- In the settings of this step, use the Changed date and time variable to specify when the new contact should be added.
- Complete the other necessary fields, such as contact details, and finalize by clicking Save.
Finalizing the automation:
- Once all steps are set up, your automation is ready to be activated. Ensure that it's started to see it in action.
By integrating the Date and time adjustment tool with Selzy, you can achieve more precise and timed actions, ensuring that tasks like adding new contacts are executed at the optimal moment. This combination offers a seamless and efficient workflow, enhancing the overall automation experience.


