To start using the data migration feature, establish a connection to the services. In this example, we'll demonstrate the process using Salesforce and a communication service.
How to set up an automation with data migration:
Step 1
Navigate to the My Automations section and choose to create a new automation. Select Salesforce as the data source. Specify the New row created event and select the service connection. Note that this feature only works with actions that use the API. Click Next.
Step 2
To use the data migration feature, check the appropriate box.
Set the period and its boundaries.
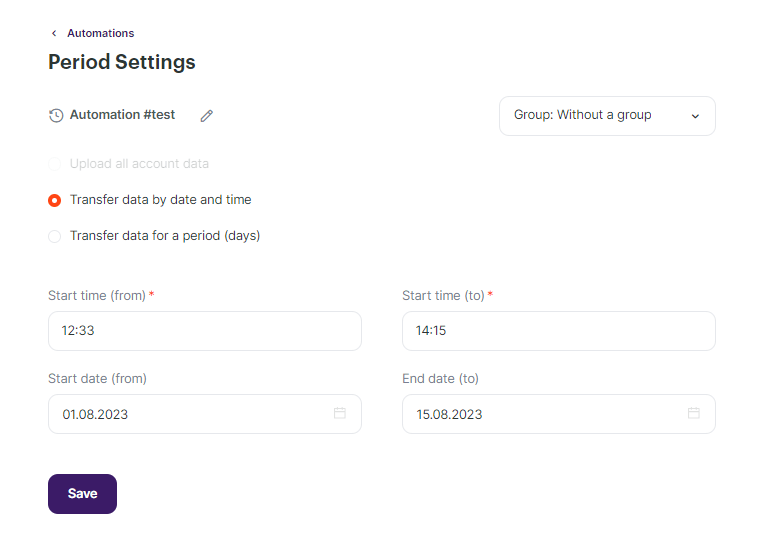
The type of data upload depends on the specific service's API. In this example, we are configuring data transfer for a specific period. If needed, specify the extraction time and the period for which data is required. You can select the start and end date for migration.
The end date must be before the current date. For instance, if today is the 3rd, data will be transferred up to and including the 2nd.
Transfer data for the period: specify the number of days for which you want to transfer data. Here, you can enable or disable data transfer for the current date. Click Save.
Step 3
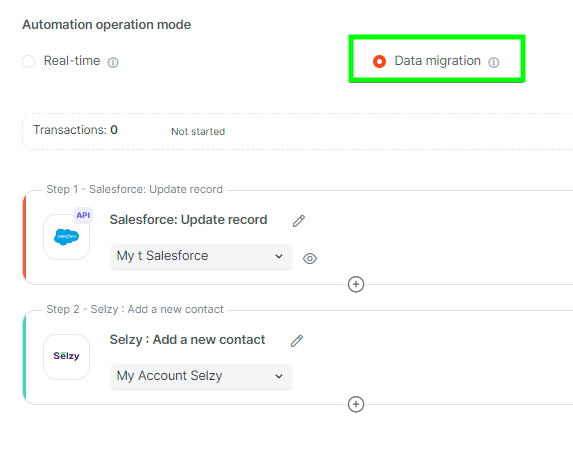
Configure the service where the form data will be sent. In this case, we're using the communication service. Choose the Add New Contact action and specify the relevant connection. Indicate the list where the fields will be transferred, and specify additional fields that need to be migrated.
Step 4
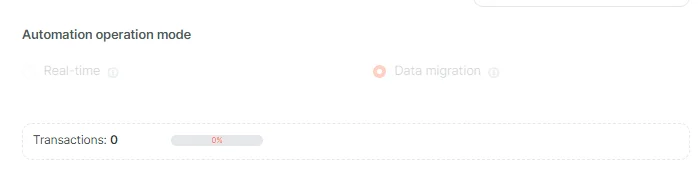
The automation is ready; all that's left is to launch it. In the top block, you can choose between real-time data transfer mode or data migration for a specific period. If desired, you can switch the data upload mode to real-time to avoid creating a second automation.
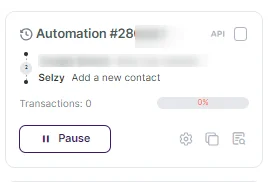
Note that automations with configured data migration are marked with a special icon. After launching the automation, its card will display a progress bar reflecting the volume of processed data. To make changes to the settings, click the Reset Progress button. This will reset the automation's progress, and the next launch may re-transfer the data.