Imagine how boring and ineffective a marketing email would be if it didn’t have any images — nobody wants to read a block of text! For email marketers, adding images is a simple way to make your emails look more professional and engaging, while also adding personality to your message.
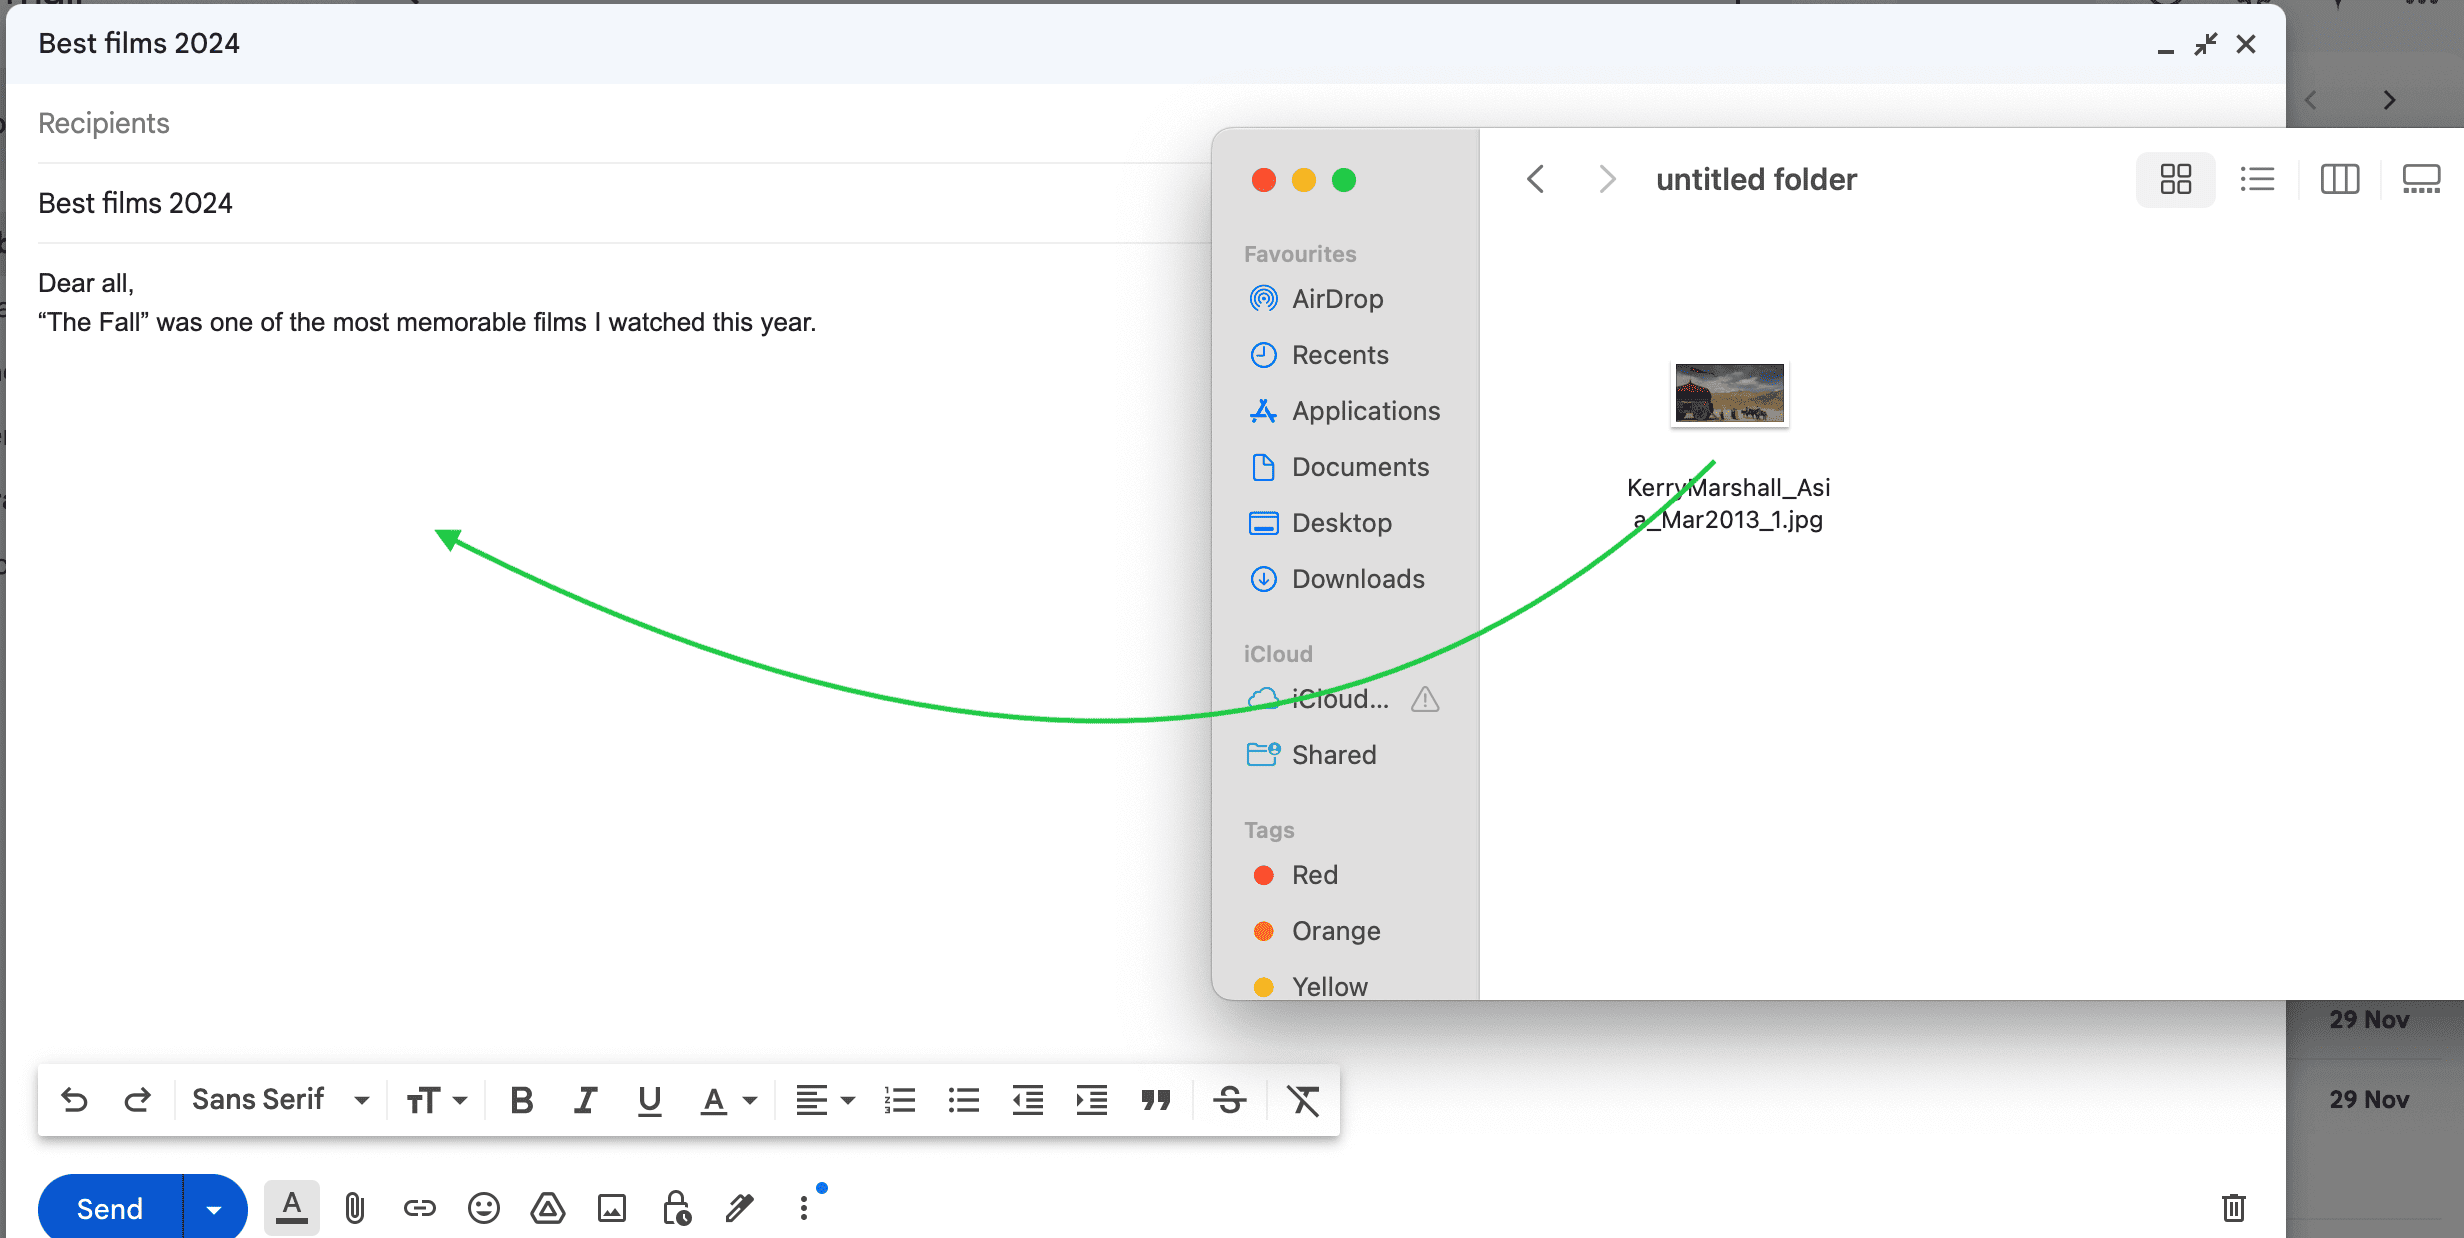
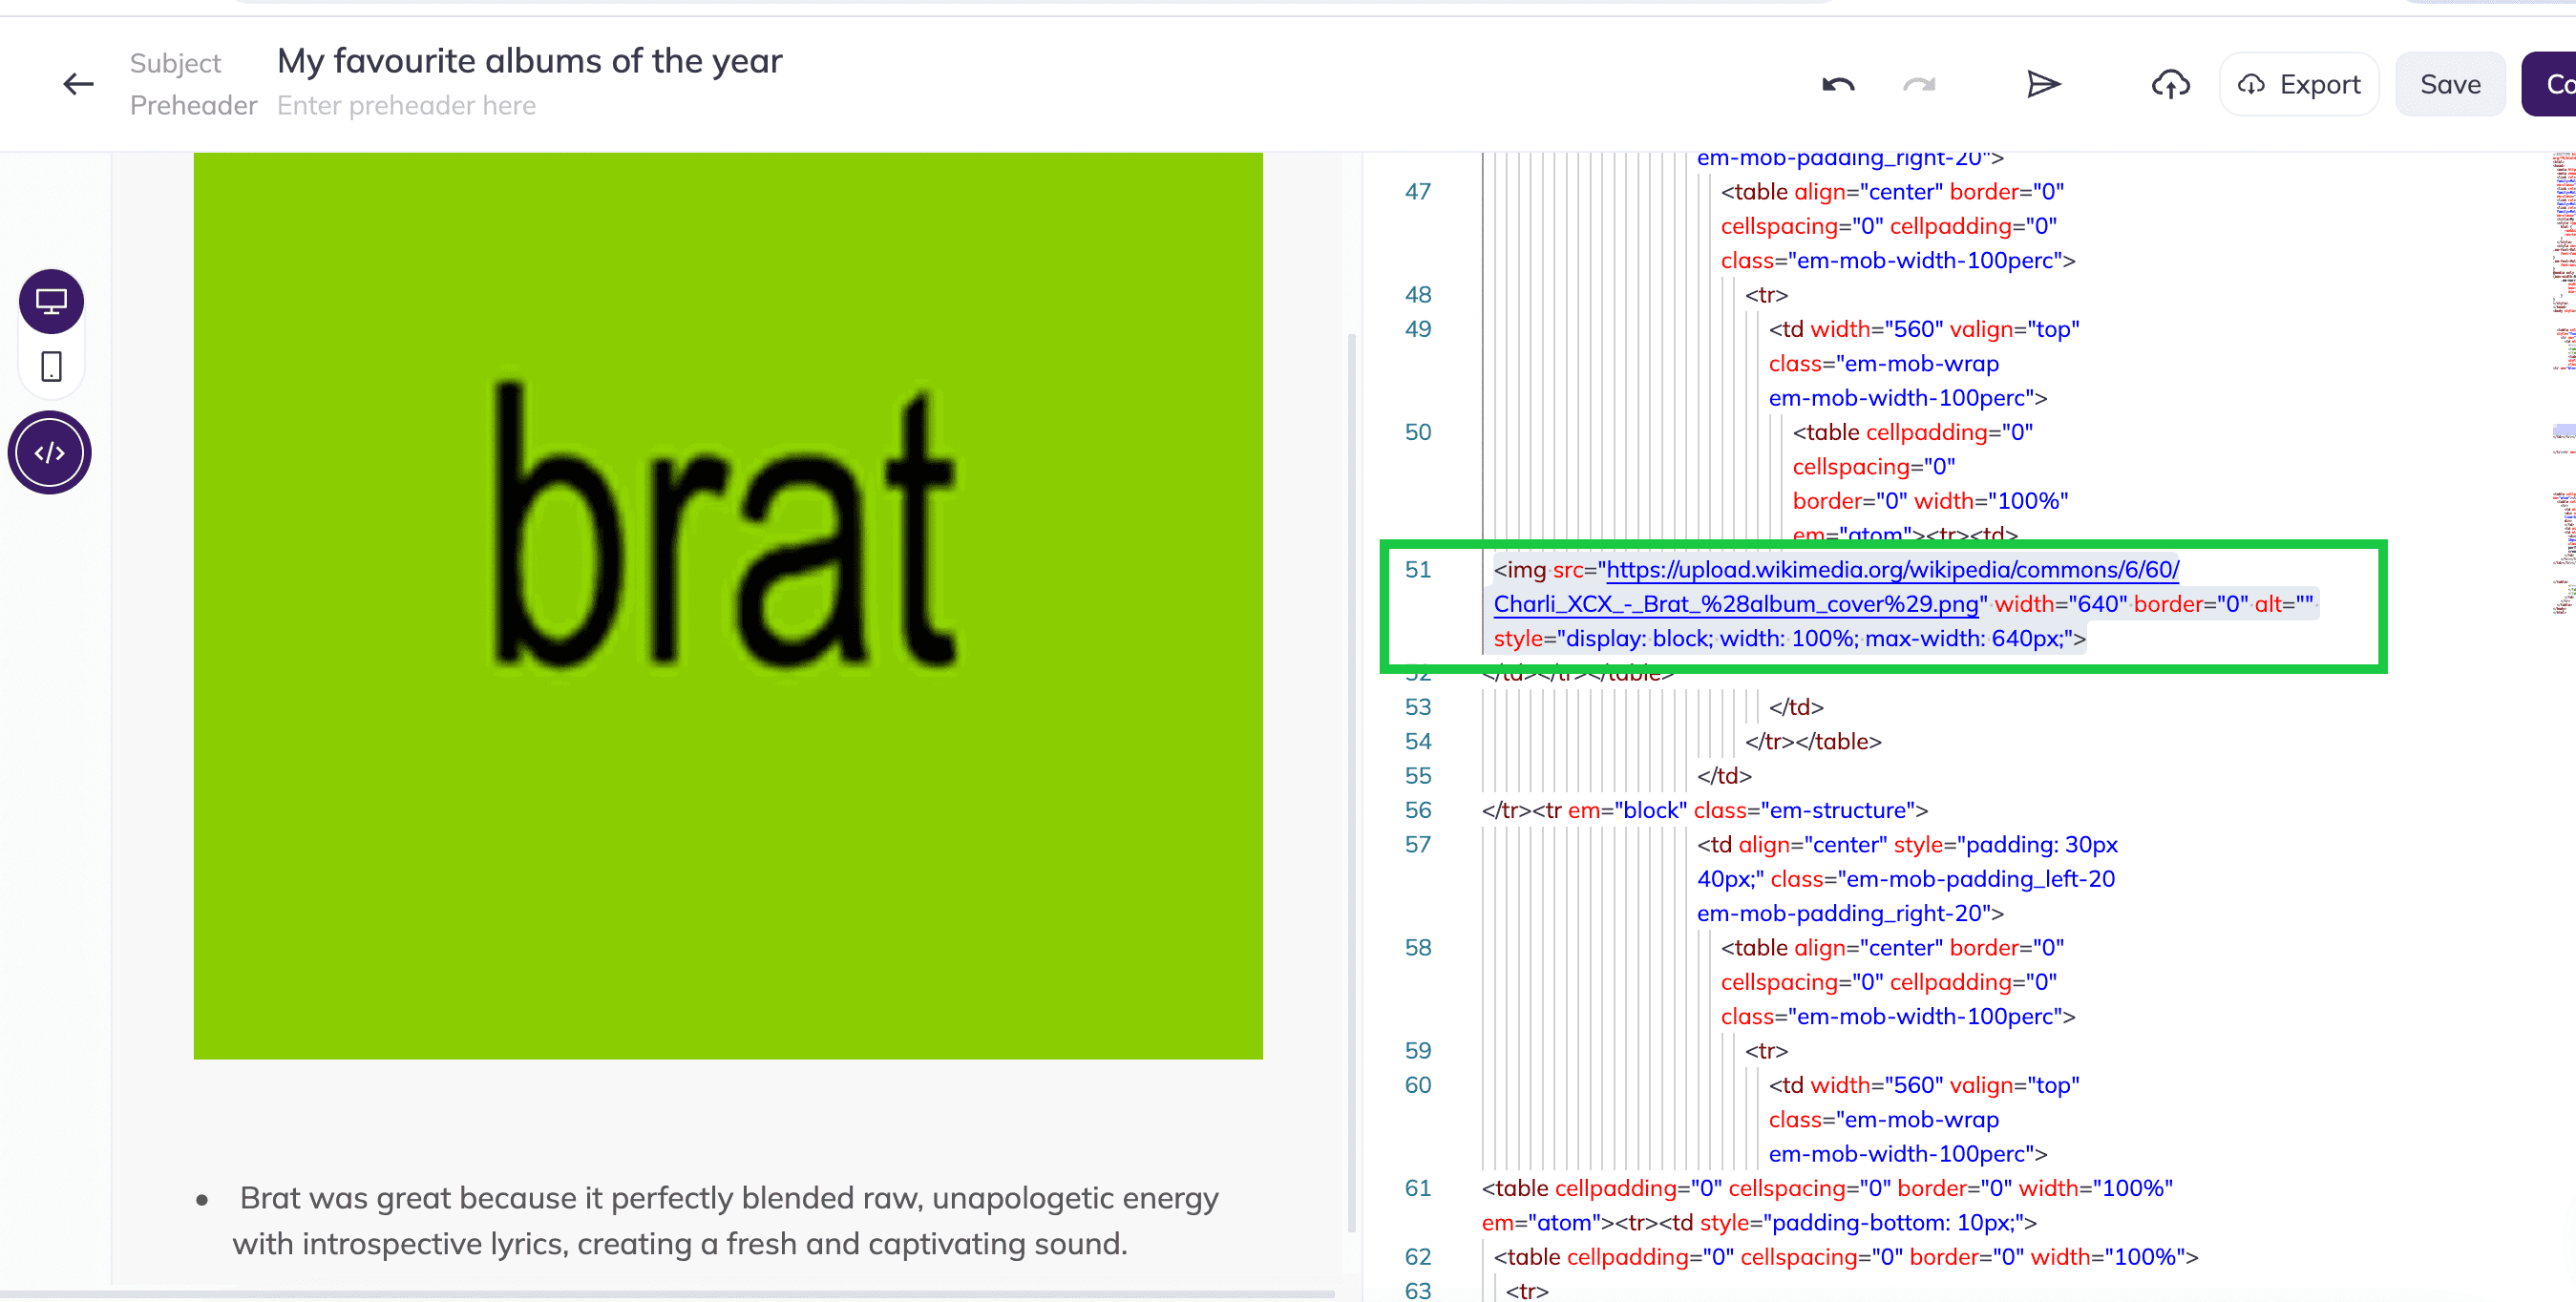
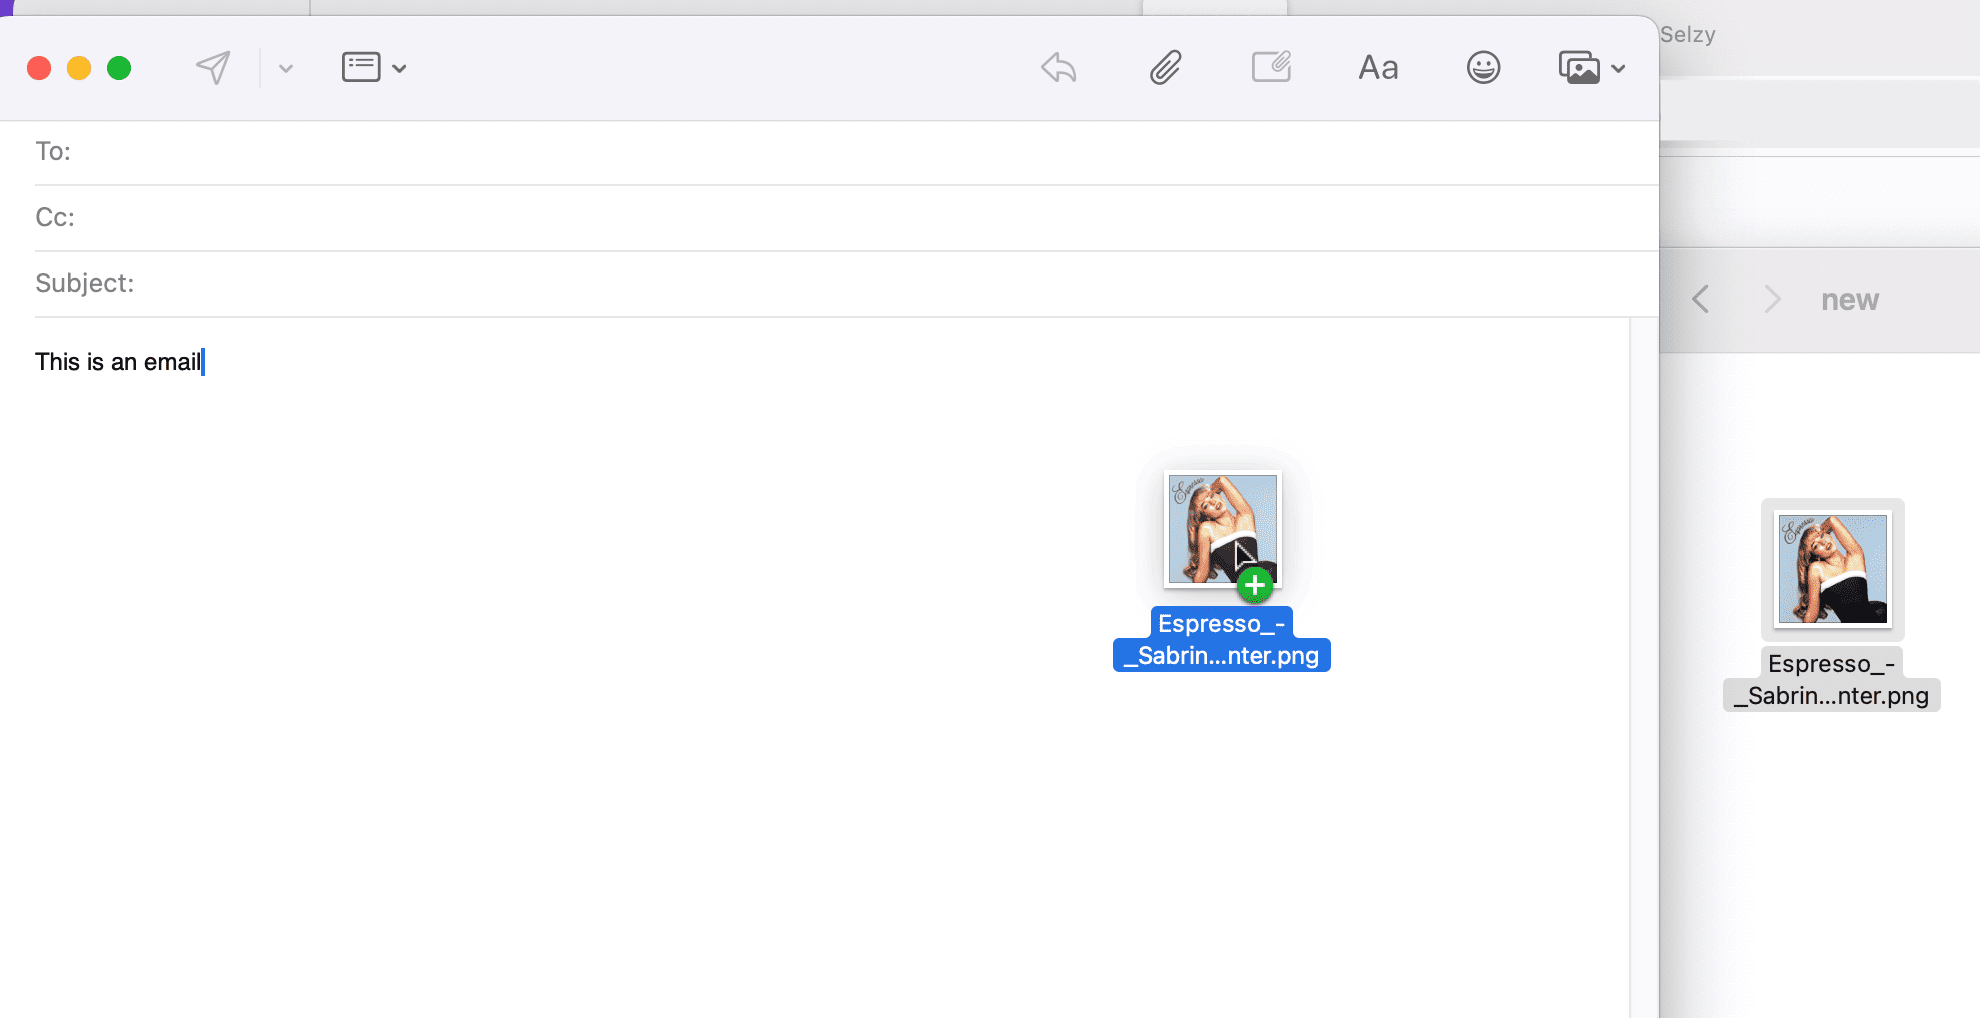
There are two ways of adding images to an email — embedding and attaching. Embedded images are directly placed in the email’s code and displayed automatically in the email body, without the recipient downloading them. In contrast, attachments are separate files sent with the email, and the recipient must open or download them to view the image.
Let’s examine some of the key benefits of adding embedded images to emails:
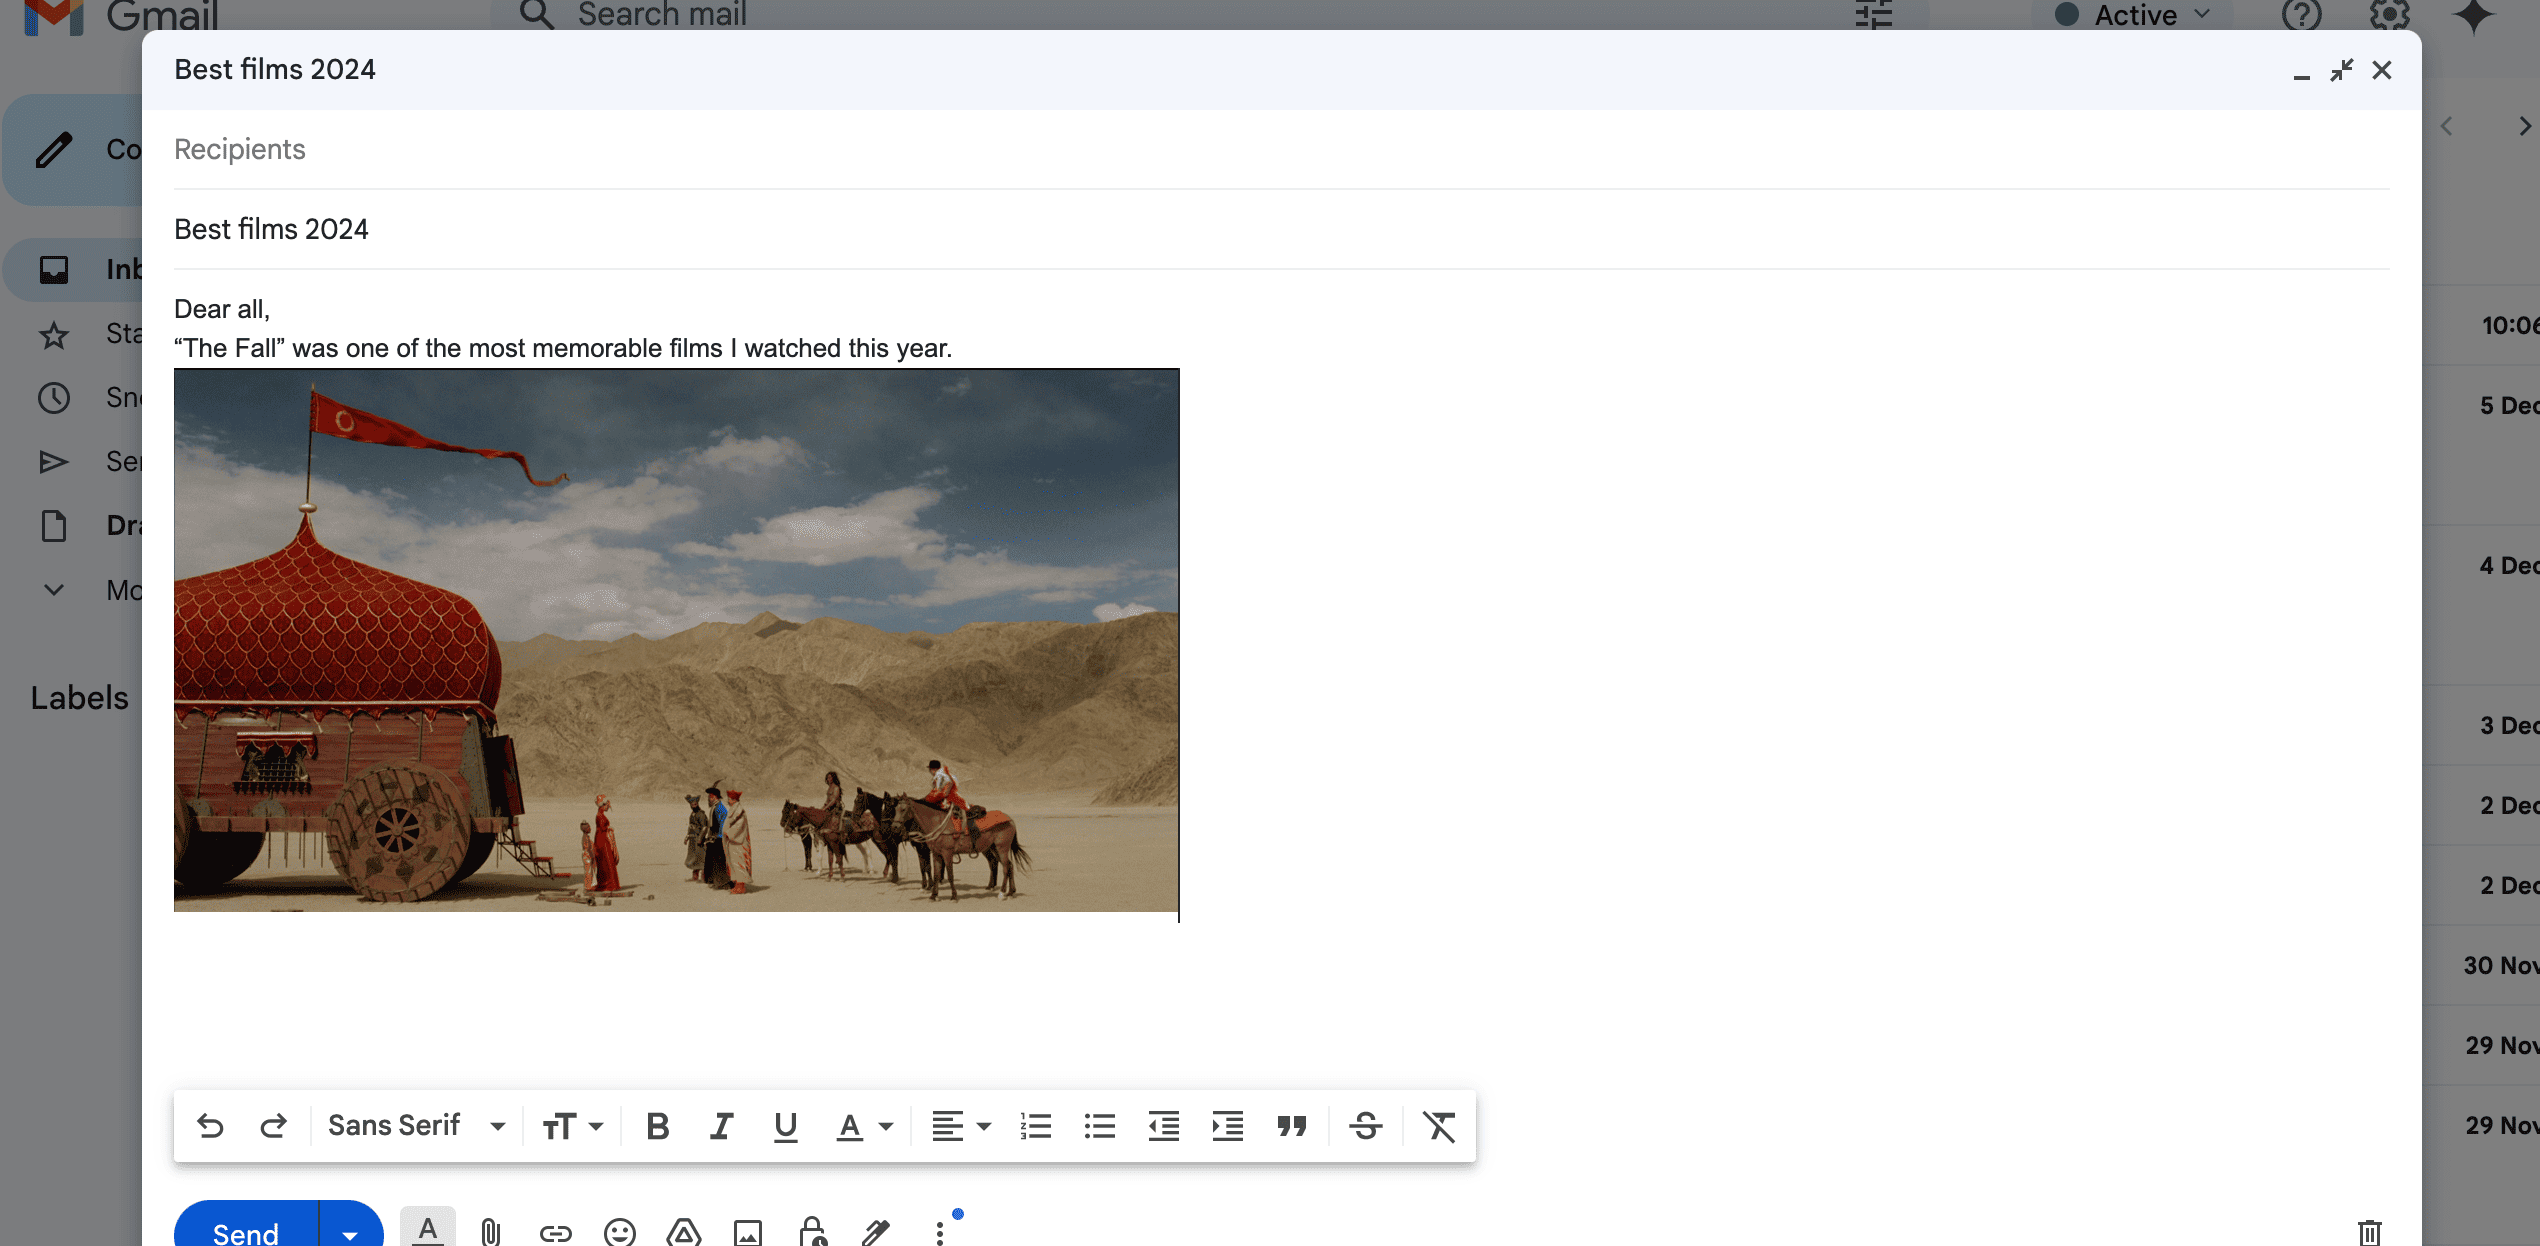
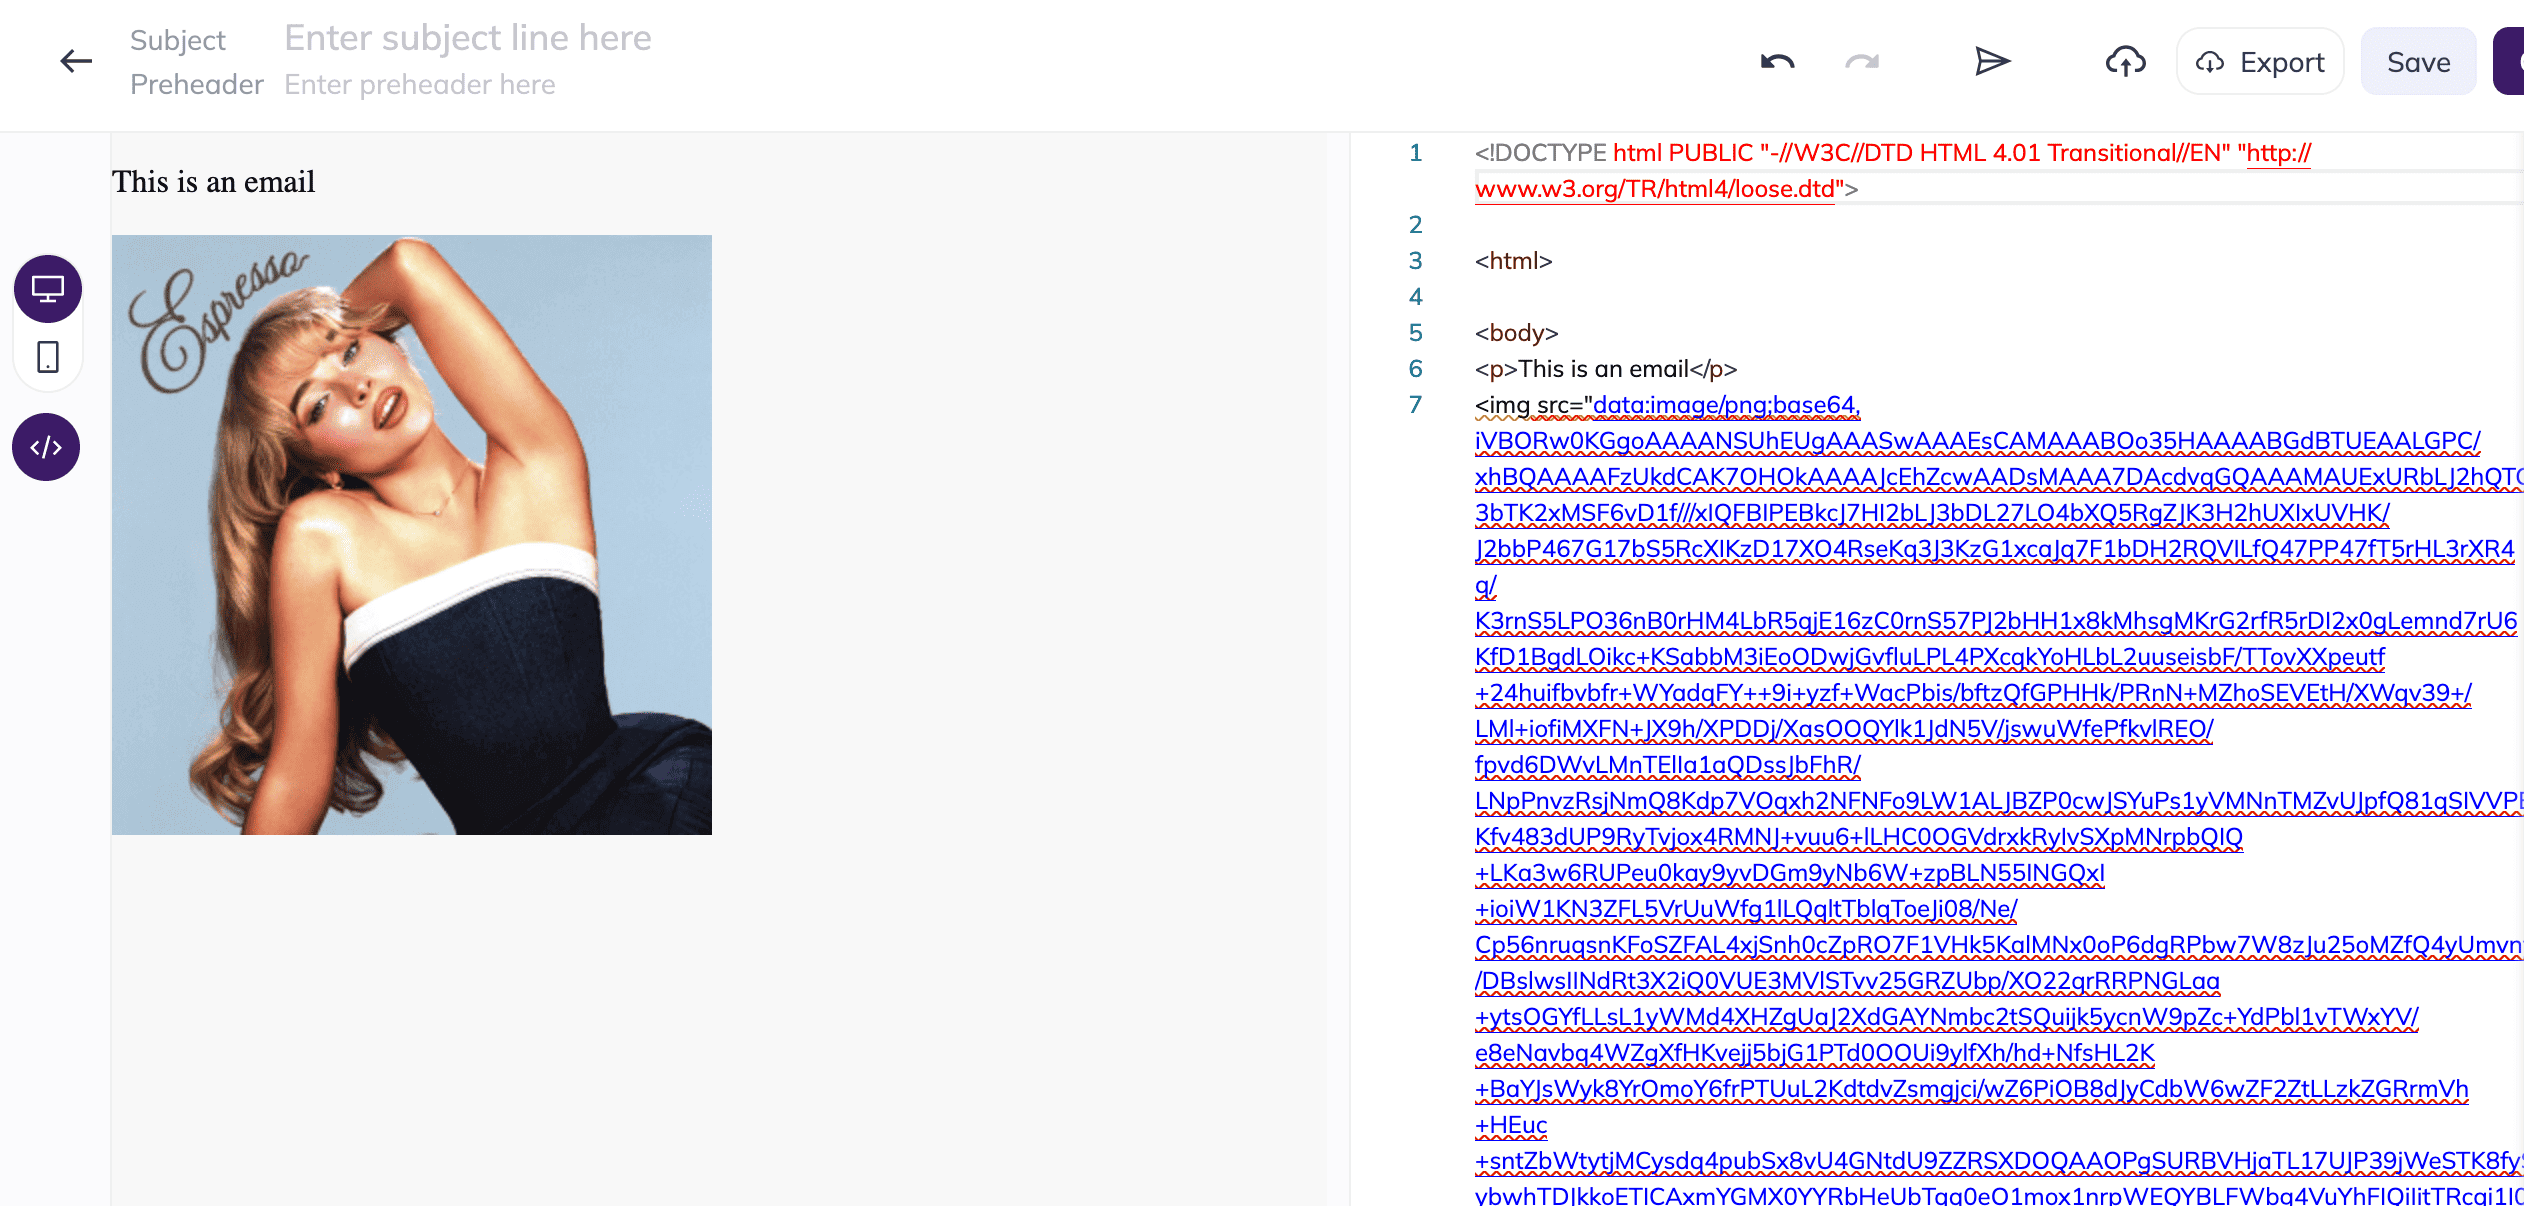
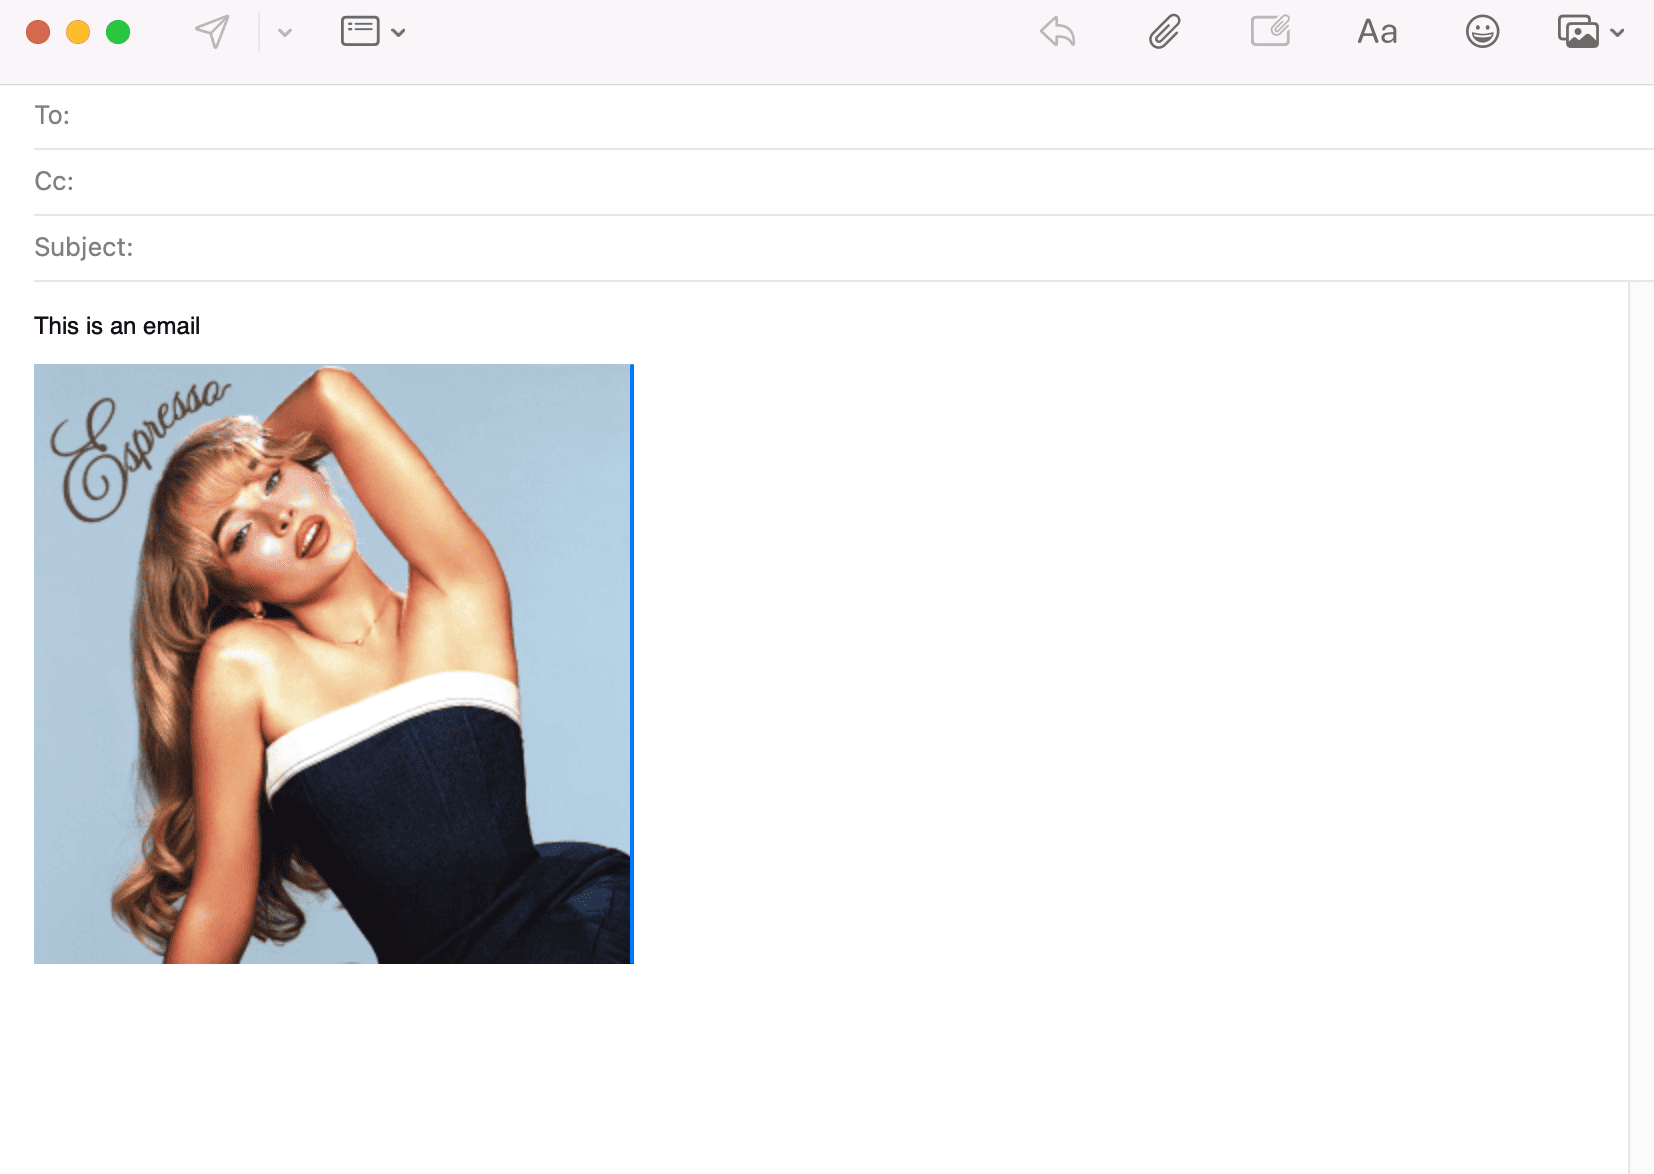
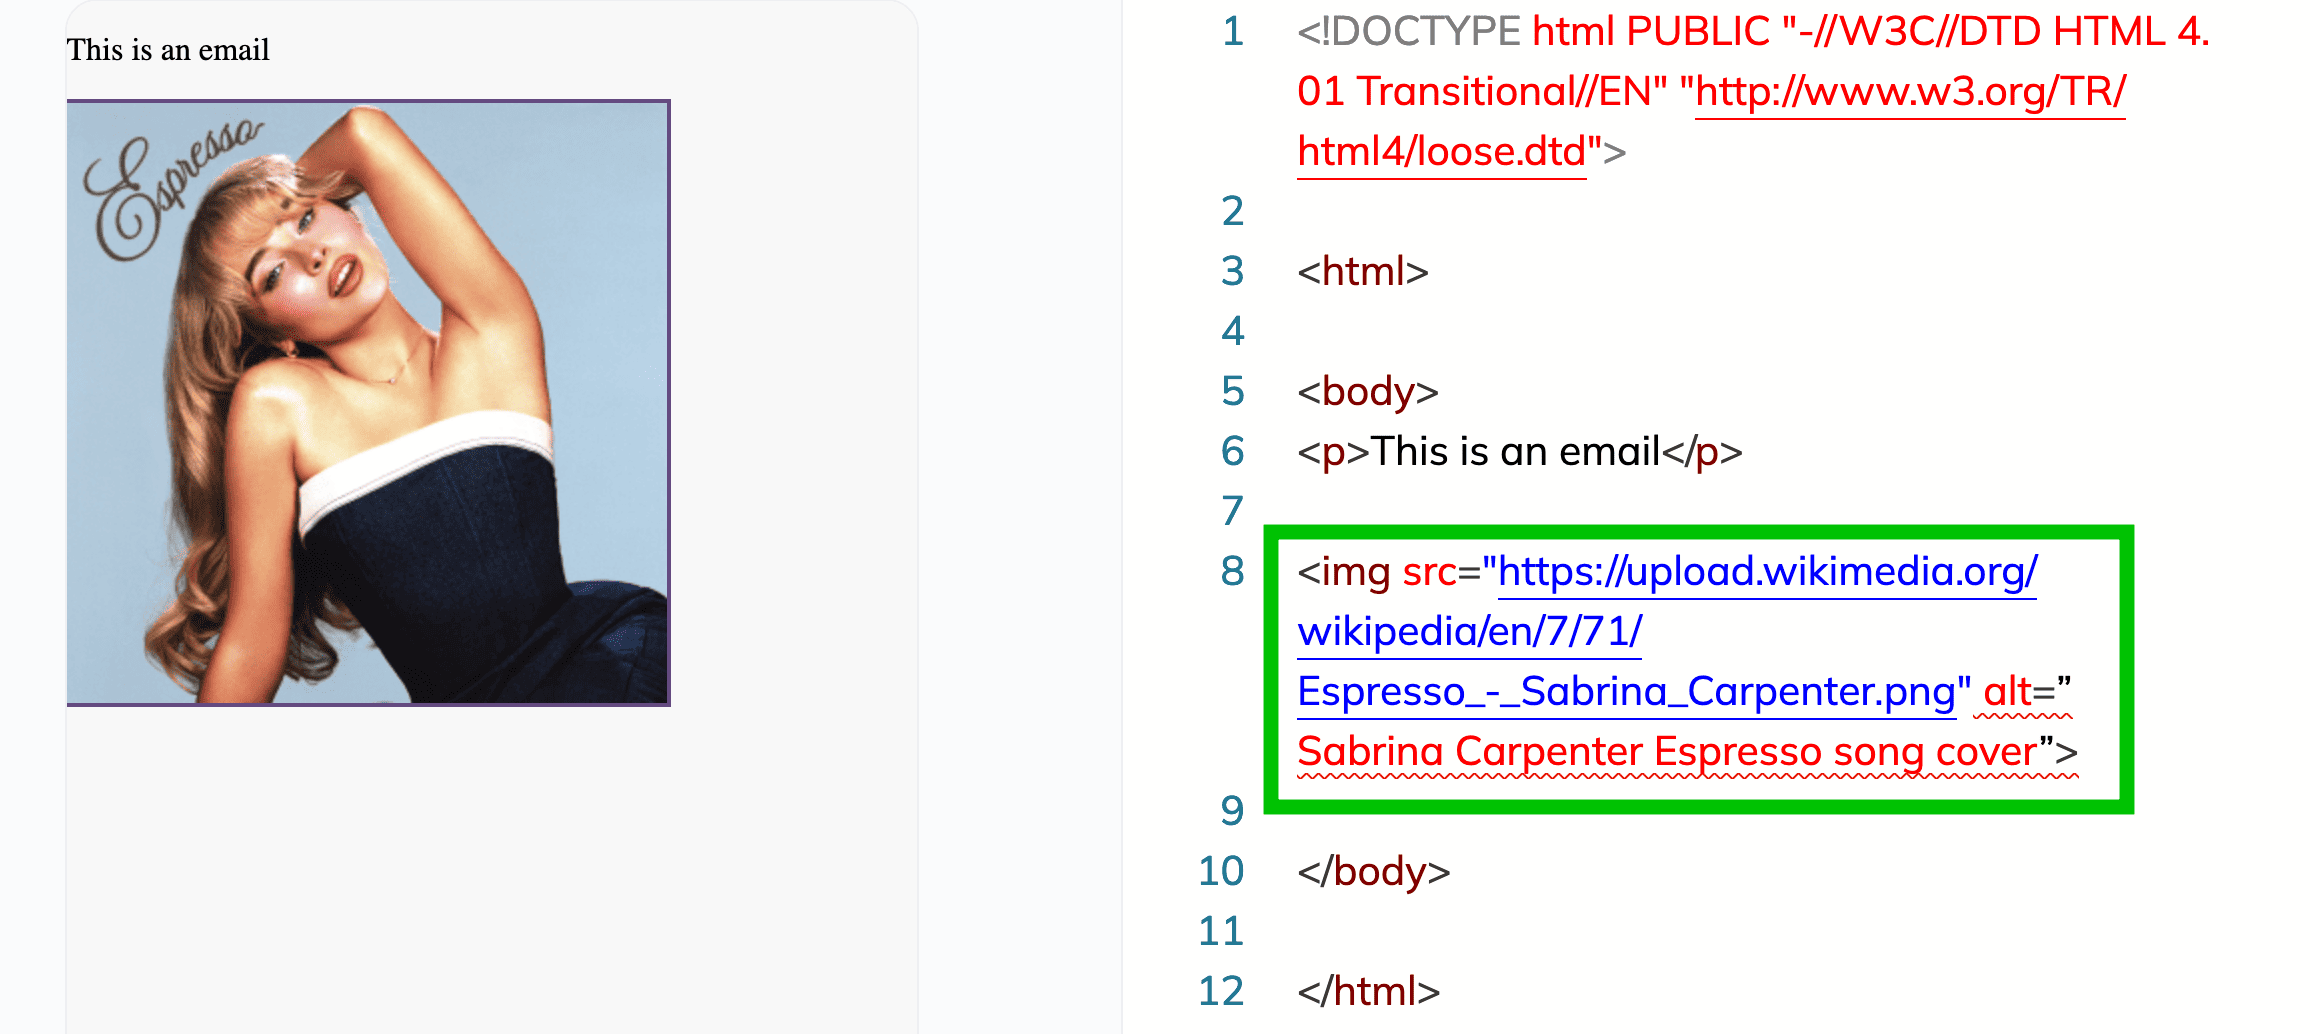
Here’s an example of an email that features an embedded image. Since this email includes a graphic, it makes the numbers in green stand out more clearly. The visual nature of the information draws attention to them, making the important details easier to notice.
Before you embed an image in your email, it’s important to make sure it displays correctly for every recipient. This involves choosing the right format, size, and resolution, among other steps.
First of all, think about the kind of content you want to include in your newsletter — the images you choose should complement it. If you’re promoting a product, include clear pictures of it. If you’re sharing a company update, add a photo of your team.
Make sure the images you’re thinking of using aren’t blurry or pixelated and stick to images that fit the style and tone of your brand. For example, if your brand is modern and sleek, choose clean and minimal visuals. If it’s playful and fun, go for colorful and creative graphics.
For example, this B2B email features graphs to get its point across — it would be much harder to explain the same concepts using just words.
Size and resolution are some of the most important factors in preparing your image for embedding. Large, high-resolution images can slow down loading times, frustrating your readers and increasing the chances they’ll close your email before it fully loads. On the other hand, images that are too small or low-quality can look pixelated and unprofessional.
You can find the right balance by resizing your images to fit your email just right. For most emails, a width of 600–800 pixels works well. Keep your file size small, and use formats like JPEG or PNG for better compression.
If you don’t have experience editing images, there are plenty of free online resources available to help you do it quickly. Our favorites include iLoveIMG, ResizePixel, and PicResize.
There are myriads of email clients out there, and you’ll want to make sure your email looks great in all of them. Different email clients (like Gmail, Outlook, or Apple) display images in slightly different ways, so it’s important to test how your email appears across multiple platforms. Thankfully, there are online tools like Litmus or Email On Acid using which you can preview your email on various clients and devices.
Accessibility is equally important. Some recipients may have images turned off by default in their email settings, while others might be using screen readers. This is where alt text comes in. If an image doesn’t load, alt text will appear in place of it and will provide a short description. This also makes your emails more inclusive for individuals with vision impairments.
Last but not least, don’t forget that many people are using mobile phones to read emails — this means you need to make sure your email design is user-friendly. Ensure your images are responsive and resize automatically for smaller screens — when using an email client like Outlook or Gmail, this is possible via external HTML editors.
Now that you’ve prepared your image for embedding, it’s time to put theory into practice. Embedding a picture is simpler than you might think, whether you’re using a regular email client or an email marketing service. The types of embedding listed below make your emails look more visually engaging and professional.
HTML embedding is a method of adding images directly into the body of your email using HTML code. While you don’t need to be a pro in HTML coding to embed an image this way, a basic understanding would be helpful.
This type of embedding, also known as true inline embedding, means adding the actual image into the email message itself, instead of linking to an image hosted elsewhere. This method works by converting the image into a long string of text called base64. Emails containing images embedded with this method do not rely on an internet connection or external hosting to display the image.
Here’s an example of what such code might look like:
True inline embedding is somewhat of a niche method — it’s great for guaranteeing your image is included, but it can make your email file much larger leading to slower loading. It also doesn’t work perfectly on all email clients (like Yahoo or Gmail), so it’s not the most popular option for marketers.
If HTML embedding sounds a little too tricky for you, you’ll be happy to learn that there are simpler options for embedding images — namely, drag-and-drop. This type of embedding works for both regular email clients like Outlook or Gmail and email service providers.
Drag-and-drop is pretty self-explanatory — just drag an image file directly from your computer and drop it into the email body. Your email client will embed the image automatically. While this option sounds easy and convenient for users of regular email clients, it actually lacks the full functionality of email service providers — more on that later!
The size of an email with a drag-and-drop image depends on the size of the image or file being embedded. For example, if the size of your image is 5 MB, the total size of the email will be around 5 MB as well, plus a little extra for metadata.
Linked images, another straightforward method of embedding, refer to visuals embedded in emails by linking to their URL instead of attaching them directly. It’s similar to true inline embedding which we’ve covered already, except instead of adding the image itself to the email message, we’re going to be using an external link.
Start by uploading your image to any of the external hosting services such as Imgur (or your marketing service’s library, if that’s what you’re using), and simply use the hosted image’s URL in your email by adding it to the <img> tag. Your code may look a little like this:
For this type of embedding, the size of the email itself is typically much smaller because the image is hosted externally. The size of an email with linked images can vary, but typically, it will remain under 1 MB even if you have multiple linked images.
Inline attachments are yet another, slightly more technical, way of including pictures directly in an email. With inline attachments, the image is physically attached to the email (like a regular file attachment), but it’s coded to appear directly in the body of the email. To achieve this, you need to use a special identifier called a Content-ID (CID) to reference the attached image in your email’s HTML code.
Here’s how to do this. First of all, add the image to your email as an attachment. After this, add a CID reference to your email’s HTML. Here’s an example:
As a result, your attached image will appear inline in your email content, where the <img> tag is placed, instead of a file to download. Similarly to drag-and-drop, the size of the email depends on the size of the image or file being attached directly in the email.
If you don’t have extensive knowledge of HTML but want to streamline your email creation process, you should look into email service providers (otherwise known as email marketing platforms).
We’d recommend using an email service provider to any email marketer, as these platforms can handle much of the campaign management in general, and email creation is no exception. ESPs take care of the tricky parts, like adding images and making sure your emails are easy for everyone to read.
Another massive benefit of using ESPs is that they often come with email template builders — this means that you only need to design your email once, and then adjust it based on your future needs. And here’s the best part: many ESPs allow you to reuse the templates you’ve built in other email clients, such as Gmail or Outlook by exporting the HTML code or copying the rendered email from the preview window. This makes them versatile tools not just for large-scale marketing campaigns, but also for more personal, one-on-one email messages.
We may be biased over here, but we can’t recommend Selzy’s email template builder enough. Check out our guide on how to use it.
Different email platforms have their own methods for embedding images, but the process is usually straightforward. Let’s have a look at how it works on popular platforms.
So, how do all of the methods we’ve discussed above work on Gmail?
HTML embedding
So, the bad news is that HTML embedding doesn’t work directly on Gmail, because Gmail doesn’t allow raw HTML editing in its regular interface. This means that you can’t embed images as base64-encoded data using <img src=”data:image…”>. Gmail doesn’t support this method because it breaks the data when the email is sent.
However, if you’re dead set on using this method of embedding in your Gmail message, there are workarounds. You can compose an HTML email in an external editor, including true inline embedding, and send it using Gmail via extensions or third-party integrations.
Drag-and-drop
Out of the methods we’ve discussed in this article, drag-and-drop is definitely the easiest one to use on Gmail. Just simply drag an image file from your computer and drop it directly into the compose window.
Gmail will automatically embed the image inline.
Linked images
When trying to embed a linked image into a Gmail message, we encounter the same issue as we did with HTML embedding — Gmail doesn’t let you write or edit raw HTML directly in its compose window, meaning you can’t manually insert an <img> tag to link an image. Despite this, you can still include linked images in Gmail by creating the email elsewhere, like an email marketing platform’s template builder or an HTML editor. Here’s how to do this:
While this may sound similar to HTML embedding, there’s a crucial difference — since your email doesn’t carry the image in it and just points to an image hosted online, Gmail allows it.
Inline attachment
As you already know, Gmail doesn’t allow manual HTML coding, which includes coding to reference inline attachments. However, Gmail’s drag-and-drop feature handles inline attachments automatically, embedding the image directly into the email without needing any HTML coding.
Let’s check out how to embed images in Outlook.
HTML embedding
Unlike Gmail, Outlook does support HTML embedding using base64-encoded images, but it has limitations. Start off by using an online encoder — we are going to be using elmah.io to obtain a base64 equivalent for the image.
Copy the HTML code with this string and paste it into Selzy’s HTML editor:
Finally, copy the rendered email and paste it into Outlook’s New email window.
We can’t really recommend using true inline embedding in Outlook. Even though this method ensures the image is included in the email itself, the file size may be huge, and the visuals may fail to render properly across all email clients.
Drag-and-drop
As of December 2024, Microsoft Outlook no longer supports the drag-and-drop function but is planning to reintroduce it in the future.
Linked images
To include a linked image in your Outlook email, start by composing your message in an external editor and include the image’s hosted URL in the <img> tag.
Copy and paste your draft email from your external editor into Outlook’s New message window, and voila! This is what it looks like for the recipient:
Inline attachment
To add an image inline in Outlook, open a new message and click on Insert followed by Pictures.
Select the image you want to insert, and it should appear inline instead of a downloadable attachment.
Apple Mail is the default email program for macOS and iOS devices. On the Mail app, you may use Apple’s own email domains (@icloud.com or @me.com), or any other email address, such as Gmail or Outlook. So, how does embedding work on Apple’s own email program?
HTML embedding
Apple Mail supports HTML true inline embedding, which means you can include images directly in the email as part of the email file.
Start by creating your email in an HTML editor, including a base64-encoded string to embed the image.
We used an elmah.io online encoder and encoded an image using a link from Wikipedia. We then used a simple HTML code with this string and pasted it into Selzy’s HTML editor.
After that, copy the email preview (on the left). Finally, open the Mail app on your computer, create a new email, and paste your email into the window directly.
Drag-and-drop
As with the other email clients we mentioned above, drag-and-drop is the simplest method of embedding images. Simply drag an image file from your computer and drop it directly into the email body while composing your message. The image will be embedded inline automatically.
Linked images
The process of embedding a linked image in an Apple Mail email is almost identical to those of email clients we described above — host your image online, draft your email in an external HTML editor, preview your email, and copy and paste it directly into your message.
We’ll walk you through the process using Selzy’s email builder. Compose your message and include the image’s hosted URL in the <img> tag.
Next, copy the email preview (on the left) and paste it into the Apple Mail email.
Inline attachment
Similarly to Gmail, when you drag and drop an image into the email body, Apple Mail automatically inserts the image directly into the email content — it’s not attached as a separate file at the end. Therefore, there’s no need for HTML coding.
They say a picture is worth a thousand words, and that’s especially true when it comes to email marketing. Whether you choose HTML embedding, drag-and-drop, linked images, or inline attachment, pictures add visual appeal that words alone can’t achieve. We hope this article helped you master the art of embedding images!
Check your email — the guide is on it’s way to your inbox.