


Email spoofing is when someone pretends to be you by using your email address. This can be done by sending fake emails or intercepting the ones you send. DKIM is a technology that can help protect against email spoofing. If you want to protect your email, you should consider using DKIM. Learn more about what a DKIM record is, why you need it to protect your email, and how it will help improve email deliverability.
What is DKIM?
DKIM, or DomainKeys Identified Mail, is an email authentication method in addition to SPF and DMARC. It allows the receiving server to determine whether the message came from a trustworthy sender or a fraudster. The technology confirms that the source is reliable and also ensures that emails have not been altered or forged on the way from the sending server to the receiving one.
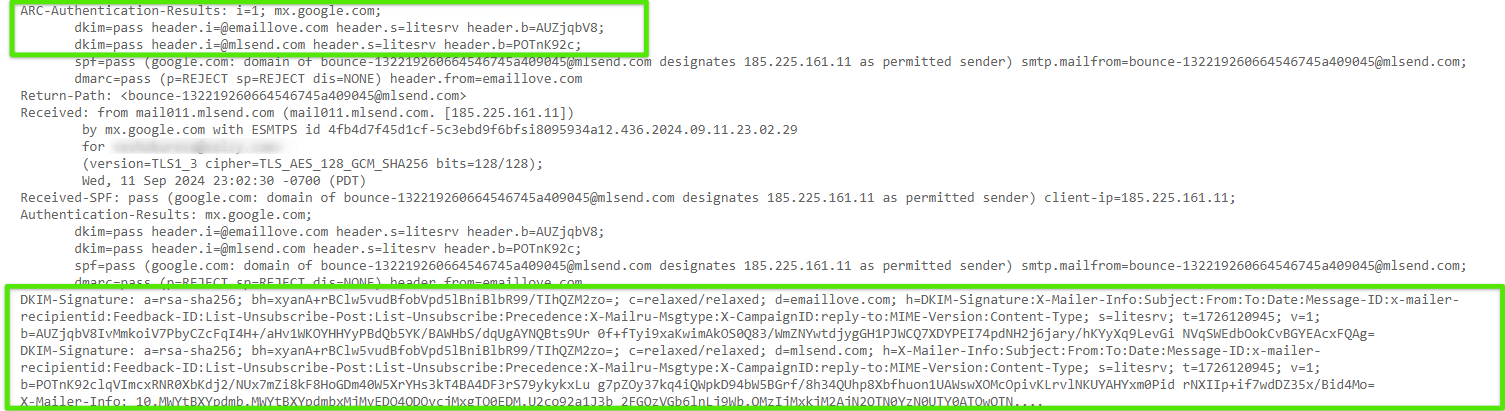
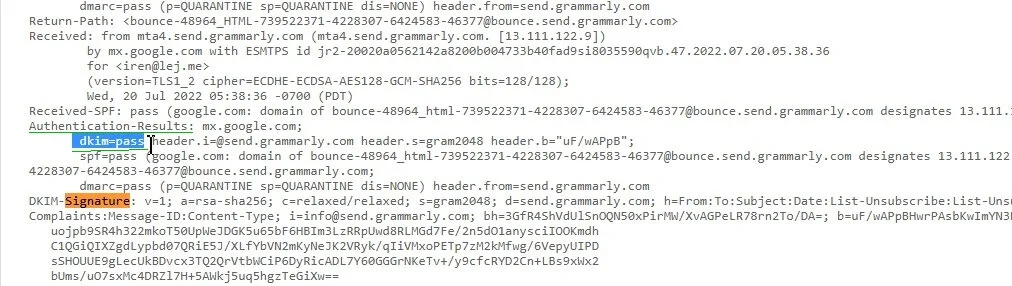
The email signature in the header, as well as the “Authentication-Results” line with the “dkim=pass” record, can help you determine that the sender is reputable and that the message was not tampered with after it was forwarded.
Why it is important
DKIM is a standard of email authentication. The main function of a DKIM record is to verify the authenticity of the sender. Email verification is worth using because:
It protects the message integrity
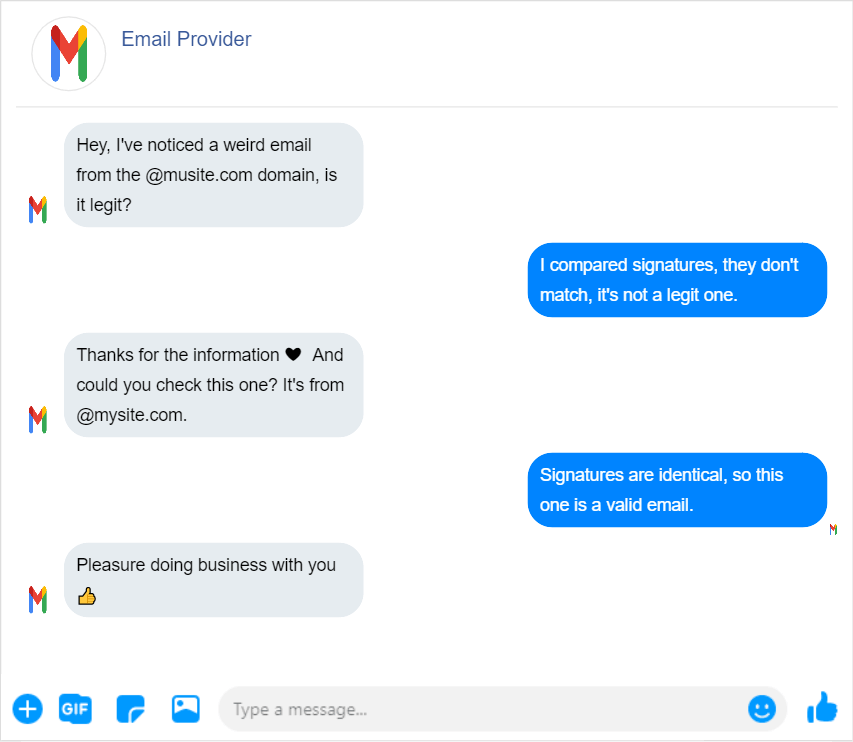
Adding a DKIM digital signature to your messages helps verify that the message is from your domain, and that it hasn’t been altered in transit. This protects your recipients from spoofing attacks, where someone could pose as you and send malicious or spammy messages on your behalf.
It increases domain reputation
DKIM aids develop your domain reputation with ISPs (Internet Service Providers) and mail services like Gmail and Yahoo by verifying the identity of your domain. Domains with verified email are more trustworthy, which helps to prevent real emails from being classified as spam and improves email deliverability.
Since February 1, 2024, DKIM stopped being a best practice only and became compulsory for all bulk senders with the introduction of the new requirements by Google and Yahoo.
How a DKIM record works
The scope of influence of DKIM conventionally is divided into two parts: what happens on the sending server and what happens on the receiving server. For the DKIM authentication method to work, two keys are created: a private key and a public key.
The private key encrypts the data of the sender in the headers of each email sent. The headers are not visible to the recipients of emails. The private key for each domain is stored on the server.
A public key is a DKIM signature or DKIM record. It looks like a txt record that is added to the DNS zone settings of a domain. It looks like this:
| v=DKIM1; k=rsa; t=s; p=””*******….”” |
Where:
| Variable | Meaning |
| v | The DKIM version. |
| k | The key type, always specified as “rsa”. |
| p | The key, which is created through the settings of email services, or it can be generated on a third-party platform. |
Sending a signed DKIM message
A key pair is generated for you when you use a DKIM-enabled email service provider. This private/public key combination is what constitutes the key pair. The sender’s email service provider uses the private key to encrypt the message before delivery. The DKIM signature, which contains the sender’s DKIM identity, appears in the DKIM-Signature header. Everything required for verification from the recipient server is included in this signature.
Verifying a signed DKIM message
The message recipient’s email service extracts the DKIM signature from the header of the email and retrieves the corresponding DKIM record from the DNS server of this domain after it has received it. The security and legitimacy of the message are verified using the supplied public key.
If the message was not altered, the check was passed, changed – failed, and the email is sent to SPAM.
About SPF and DMARC protocols
DKIM, SPF, and DMARC are all email authentication protocols. They are designed to help prevent email spoofing, which is when someone sends an email using someone else’s address. These protocols can help to improve the security and deliverability of your emails.
DKIM is a method of verifying that an email message has come from the domain it claims to have come from.
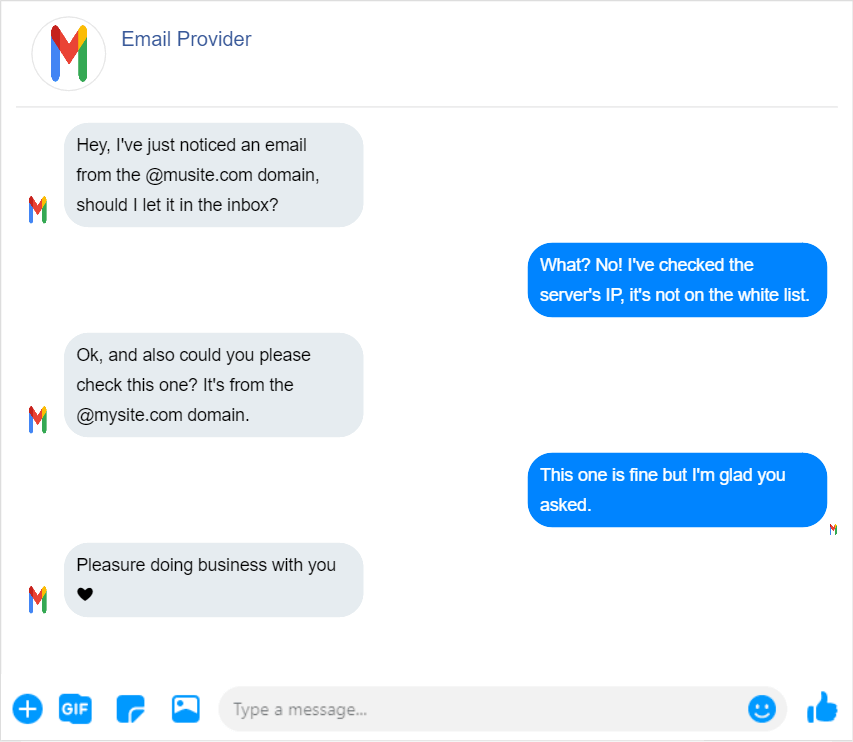
SPF, on the other hand, checks to see if the server that is sending the message is actually authorized to send messages using a particular domain name. You can use SPF to verify if a domain is allowed to send emails from your web host. For example, if you use the Selzy service for email campaigns, you give its servers the right to send emails on behalf of your domain.
The DMARC standard allows domain owners to define how they want unauthenticated emails handled by email services. It employs DKIM and SPF to authenticate a message’s validity and determine whether it should be delivered or discarded.
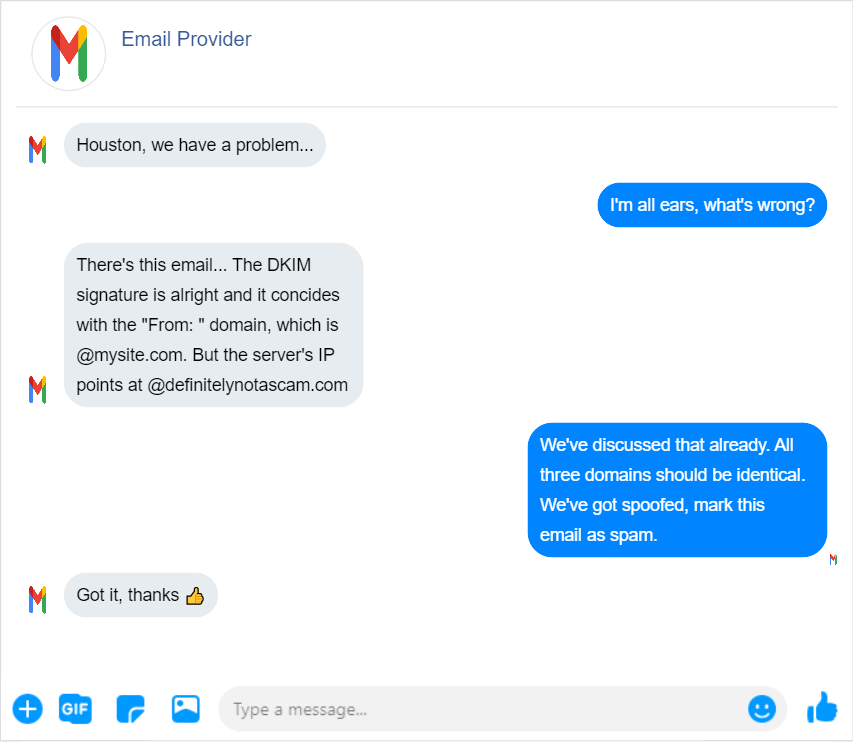
Although not compulsory, it’s important to set up the whole bunch — SPF, DKIM, and DMARC — before you start email marketing. Otherwise, you may face email bounces or your messages could end up in recipients’ spam folders. These settings help to prevent scammers from sending malicious emails on your behalf, and they let email providers know that the messages are coming from you. In other words, these protocols provide one of the most important indicators of the effectiveness of email marketing — the delivery rate.
How to set up DKIM for your domain
To set up a DKIM signature, you must have your own domain. To make changes to DNS settings, you need site administrator access. Then you can proceed to the next step — creating a DKIM key.
Create a public key
You can create the key in the email service provider you use to send out emails.
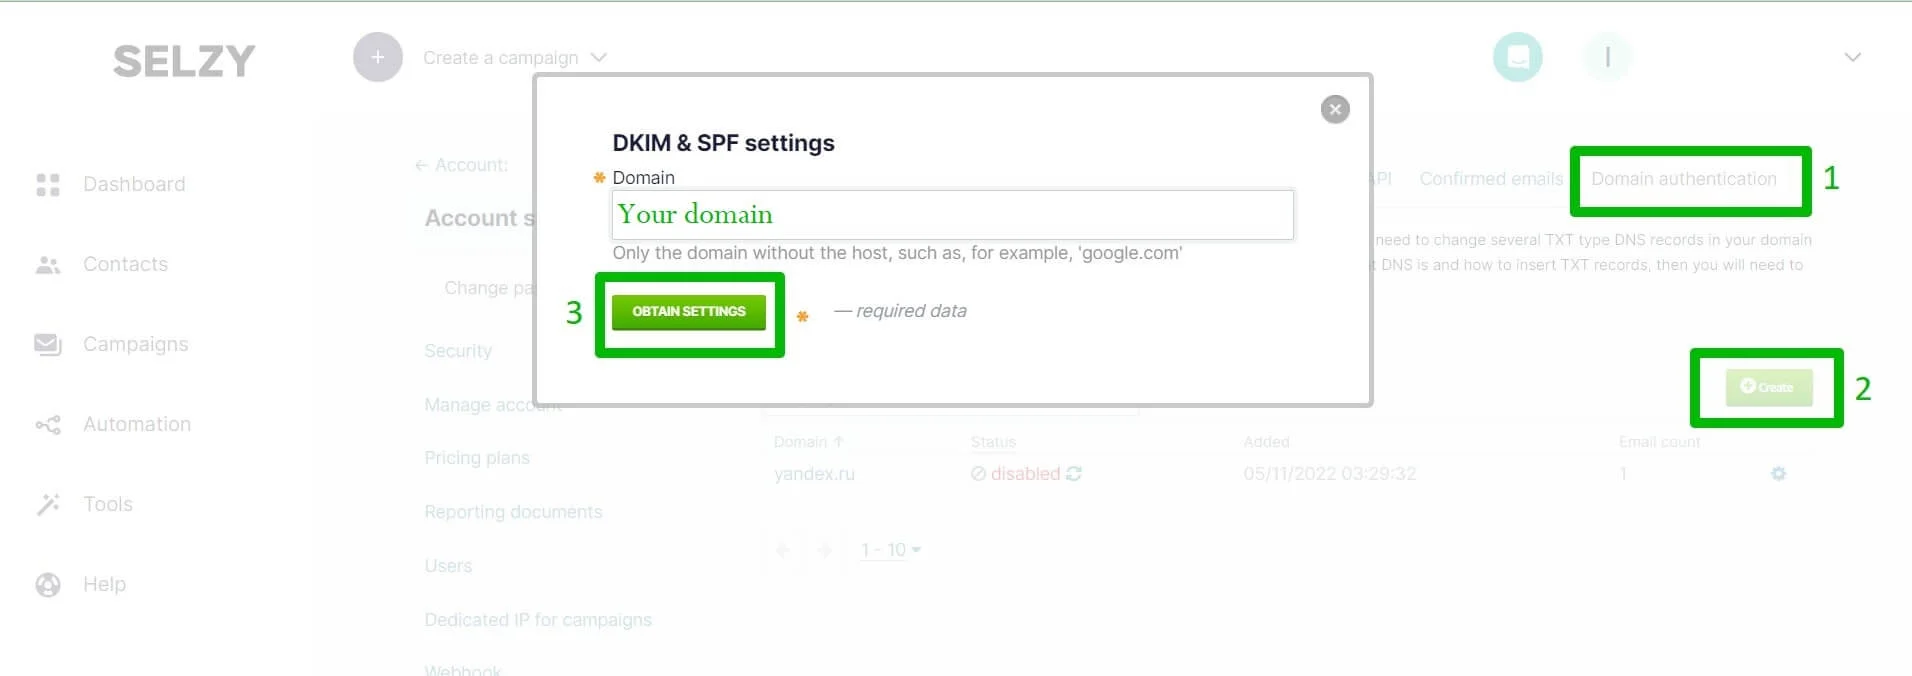
In Selzy, you can generate a DKIM in “Account Settings” under the “Domain Authentication” tab. In the window that opens, click on “Add”, enter the domain and click on “Obtain Settings”.

Add a key to your DNS
Once you have the public key, add it to your DNS records. The process may differ depending on your hosting provider. You can find out about the hosting of your site by using special services, such as NsLookup.
How to configure:
- Copy the public key in your ESP’s private account.
- Log in to your domain hosting control panel.
- Create a TXT record. In the “Value” field, insert the previously copied public key.
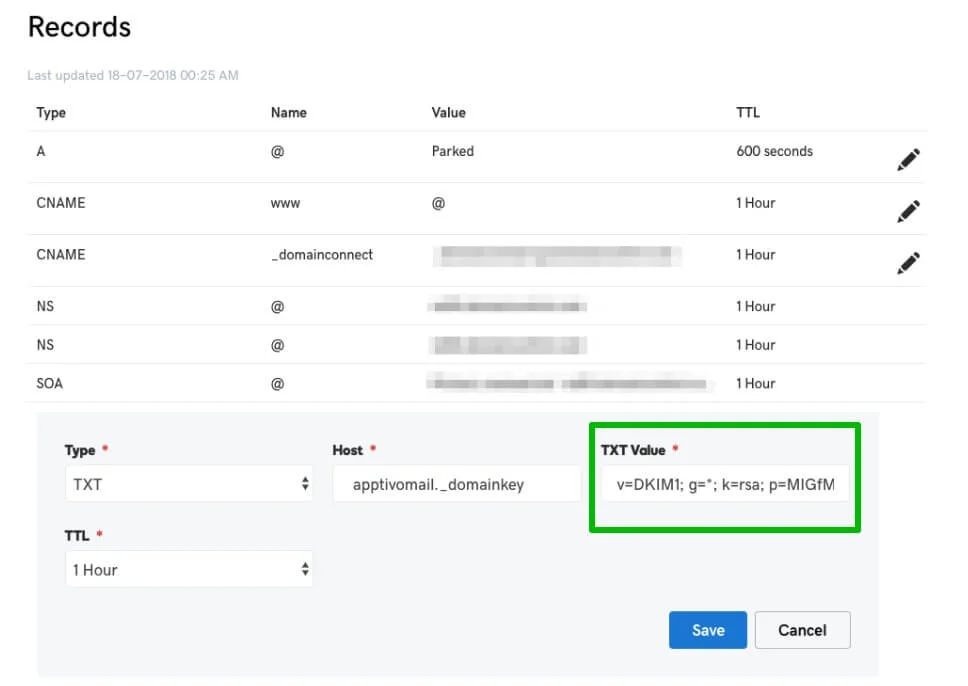
- Wait for the changes to take effect.
It may take up to 72 hours for DNS records to be updated. It depends on the domain registrar’s policy.
Testing DKIM authentication
After setting up the DKIM signature, check to see if it is working correctly. This can be done using your email service provider or a third-party service:

Using your email service provider (let’s take Selzy as an example), go to your account settings → “Domain Authentication”. If the domain you want to use DKIM with has a status of “Enable”, that means you have set up DKIM correctly. Note that it can take up to a few hours for this change to be reflected.

Another way to know that the signature is displayed correctly is to send a test email to different mailboxes and make sure that the DKIM signature is present in the email header.
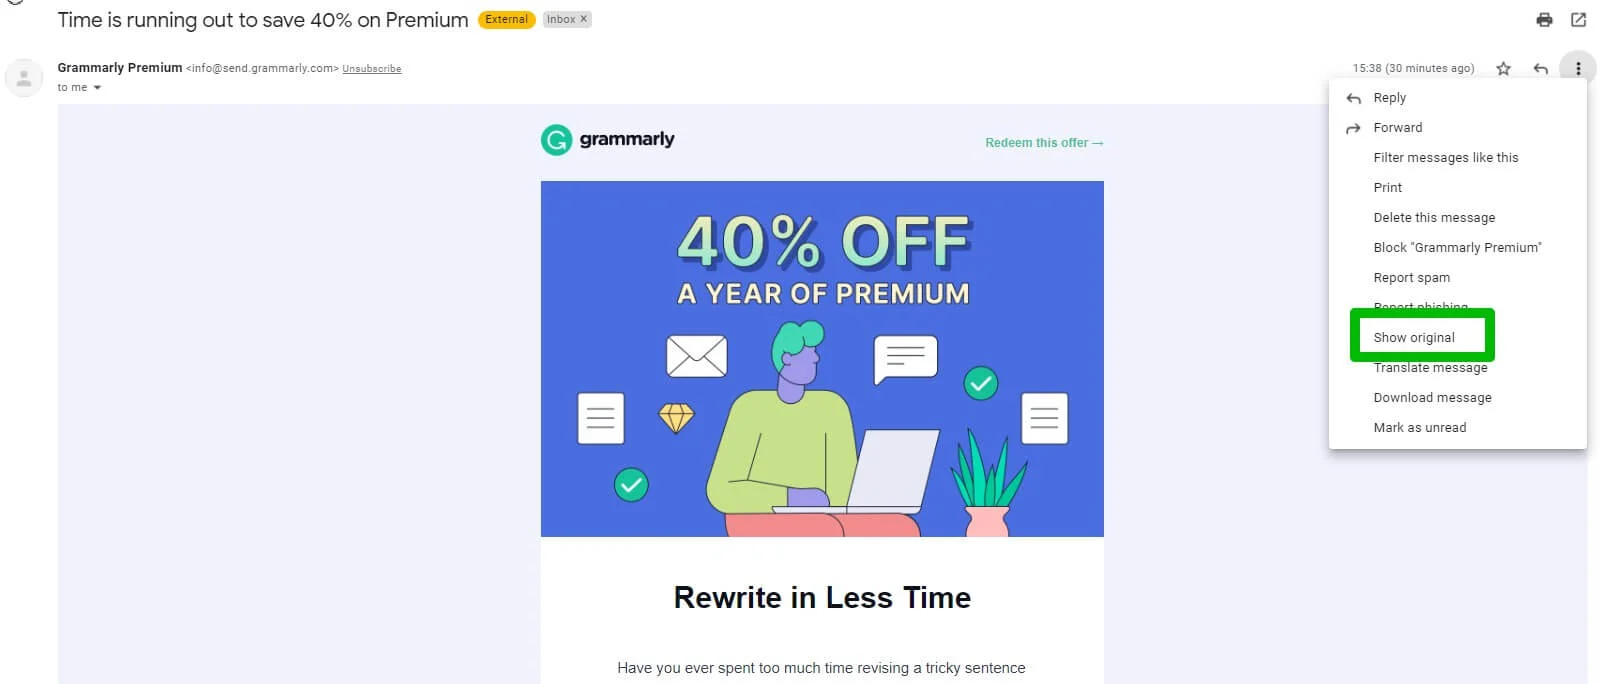
The specific steps on how to check email headers may differ from one email service to another. For example, in Google, use the “Show Original” function.
Above the DKIM signature there is the Authentication-Results line. In case of successful verification, you will see “dkim=pass.” If “fail” is used instead of “pass”, check that the keys are correct.
DKIM failure: what to expect
If DKIM failed, you should check if the key is fully copied – maybe some characters are missing.
Another option is that your web hosting provider has a key length limit. You need to ask your hosting provider for help in adding a record.
If DKIM works intermittently, you should check if there is more than one DNS server installed on your domain. If there is more than one, one may be configured incorrectly. You should check the settings on each server.
Final thoughts
To protect their users, email services use different methods that verify the reliability of incoming email sources. DKIM is one of these methods.
Remember:
- The DKIM signature verification is done on the receiving side of the mail service.
- The configuration consists of generating private and public keys on the email services or ESPs. Then settings are made at the website of the company that provided you the domain hosting. TXT records are created for this purpose.
- For everything to work without errors, it is worth checking the settings. To do this, use services for viewing DNS records and send a test email.
- DKIM signature is recommended to be used in conjunction with other email security tools in practice – SPF and DMARC.
- SPF and DKIM checks help to verify that emails are coming from a trustworthy sender. DMARC provides instructions on what to do with emails that do not pass the check.
