This article describes the old Selzy email builder. You can find information about key features of the new email builder in the overview article available in English.
If you need help with the functionality described in this article but in the new builder and can’t find it in the overview article, please contact our Support Team.
Selzy Support Team is available for all users 24/7.
Before sending a campaign, we need to create one. Choose Create a campaign and click Email in the dropdown menu.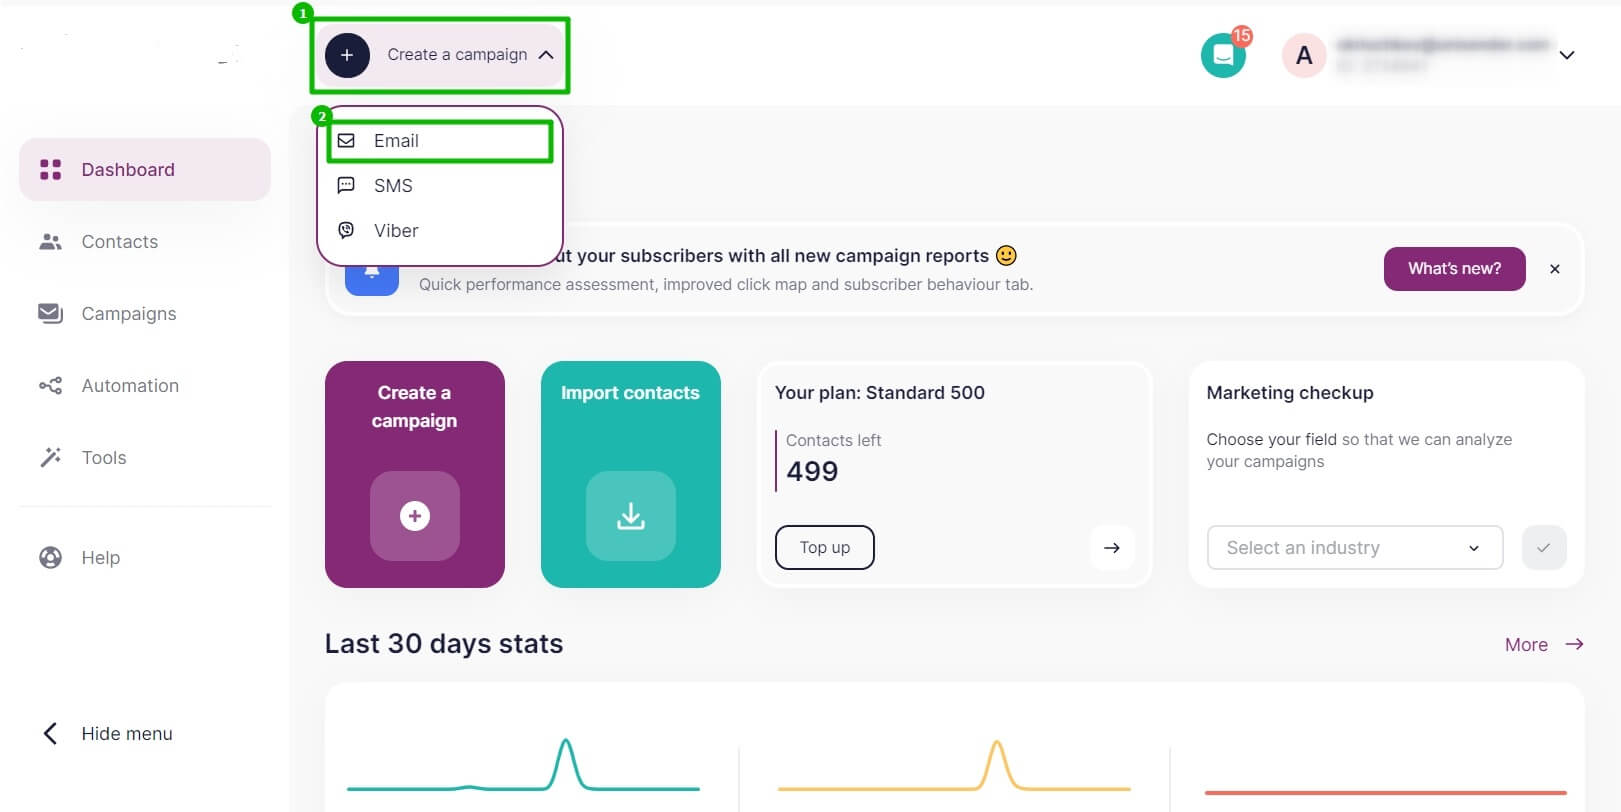
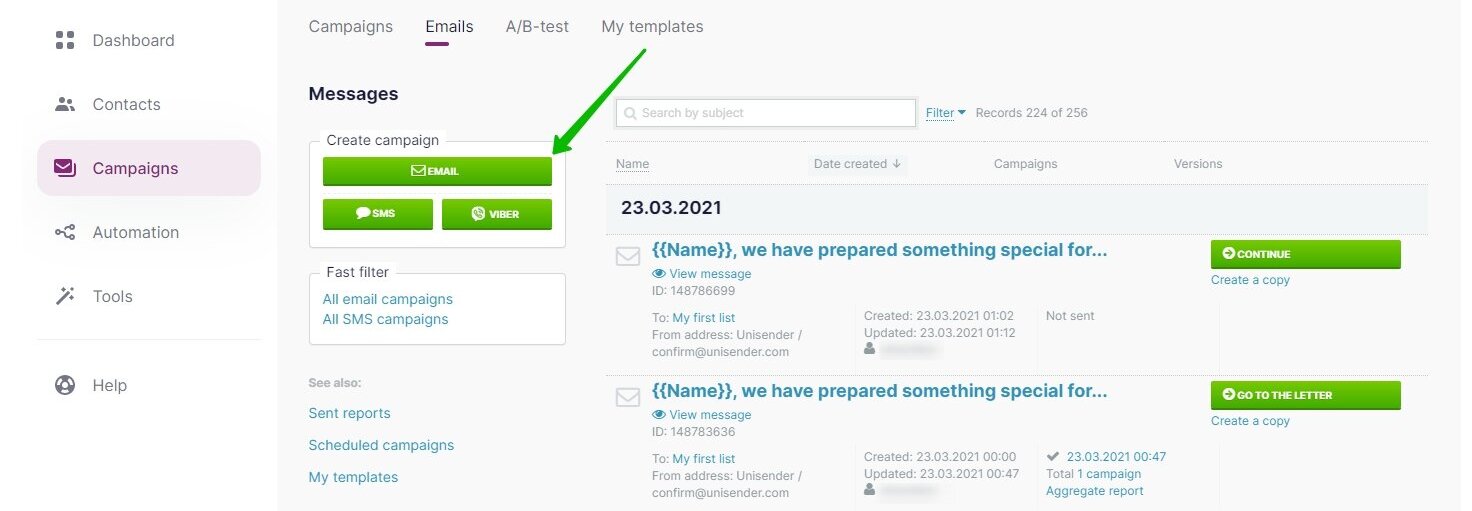
You can also create a campaign under Campaigns > Messages. Click on the Email button:
The campaign sending process includes four steps. Let us take a closer look at each of them.
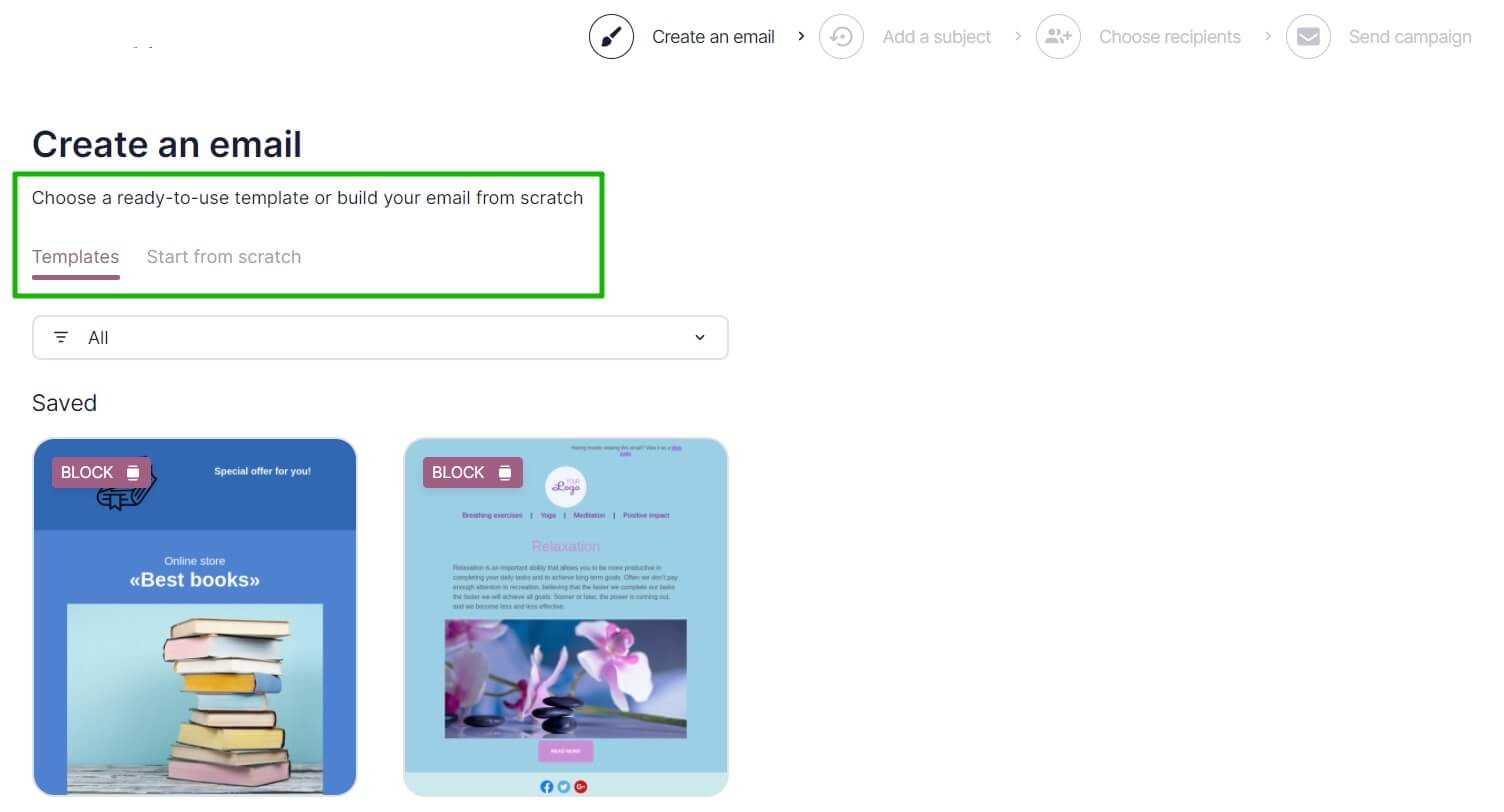
Step 1. Create an email
You can create an email:
- based on a ready-to-use a Selzy template;
- based on your own template;
- from scratch.
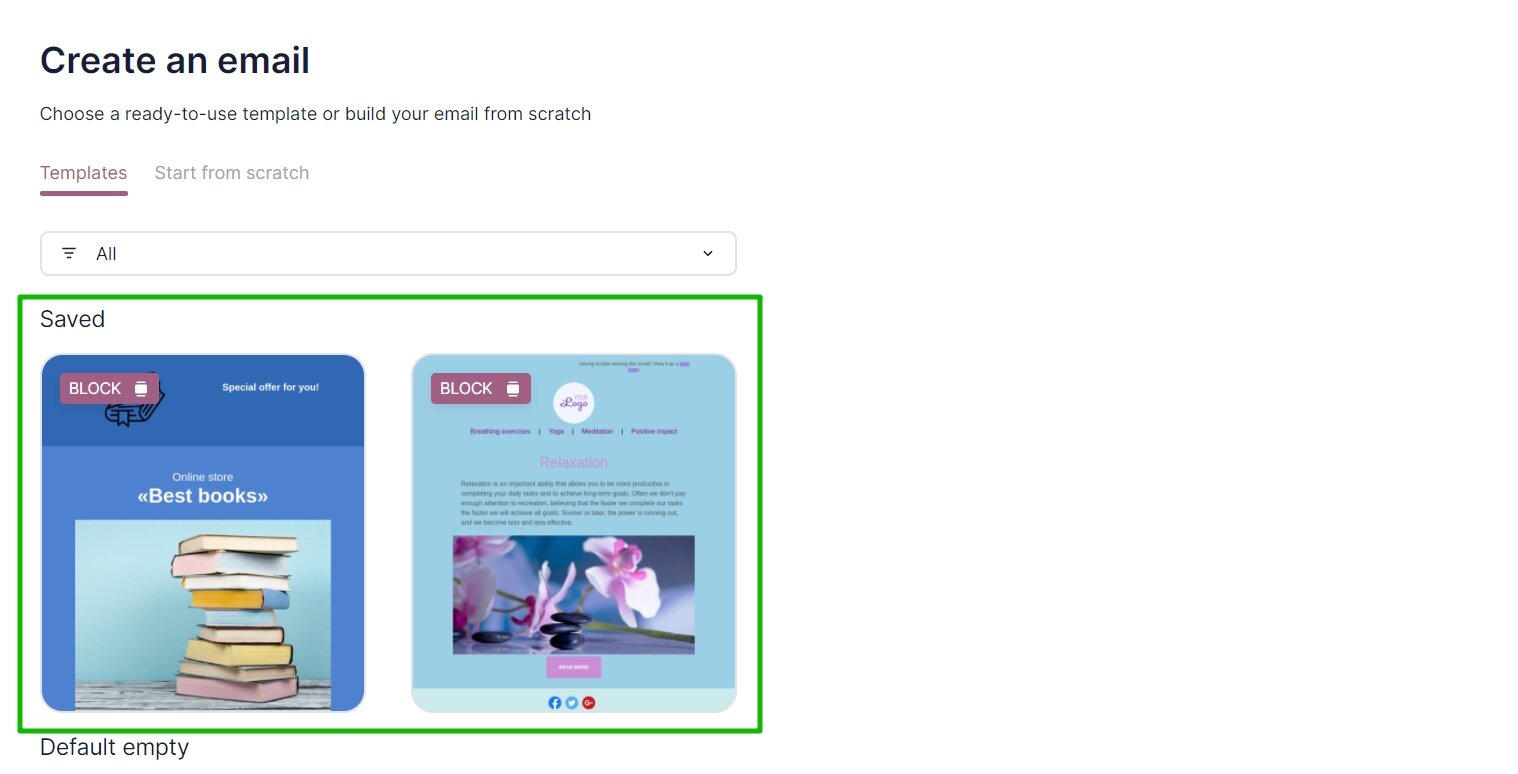
Your own templates which you saved earlier in Campaigns > My templates can be found at the top of this page under Saved.
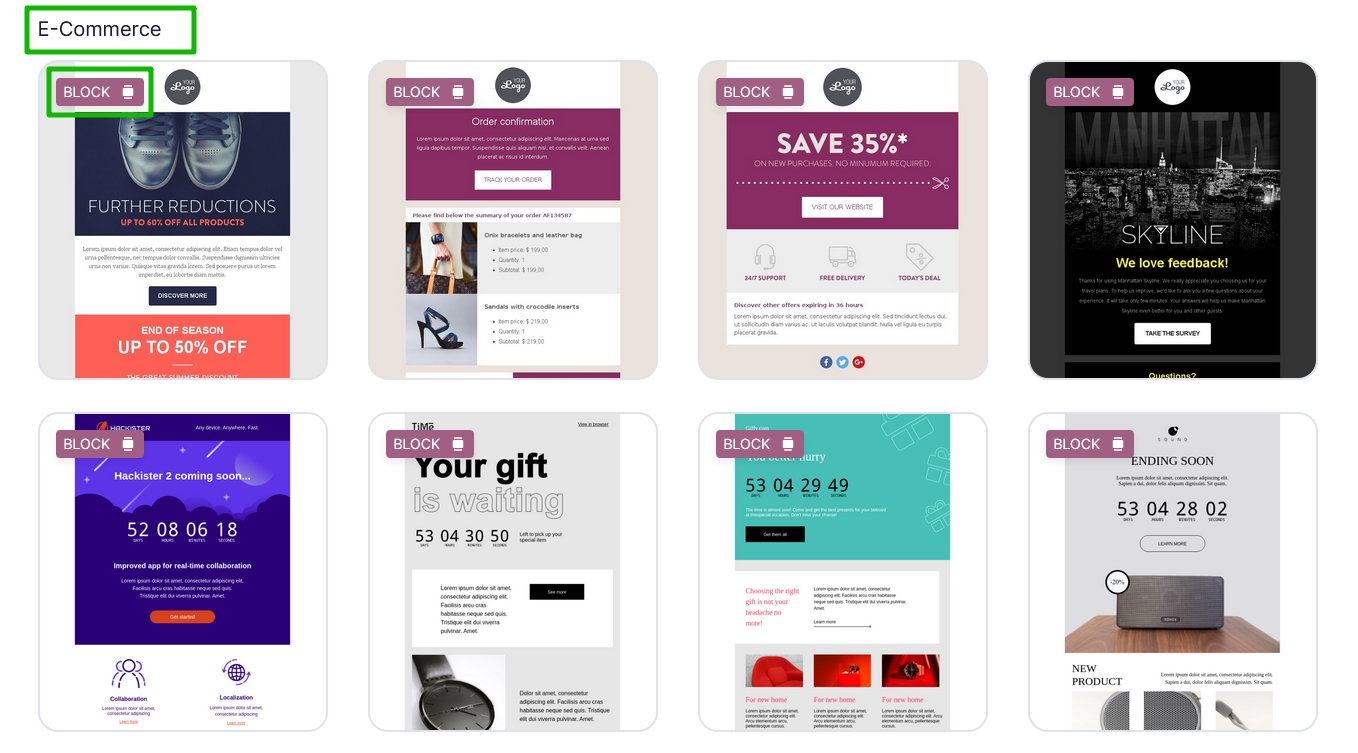
To find Selzy templates, scroll further down. All Selzy templates are grouped by theme and provided with a note indicating which graphic editor they were created in.
Create a campaign with a template in Email Builder
Create a campaign with an HTML template by Selzy
You can create a campaign from scratch in Email Builder or HTML Editor.
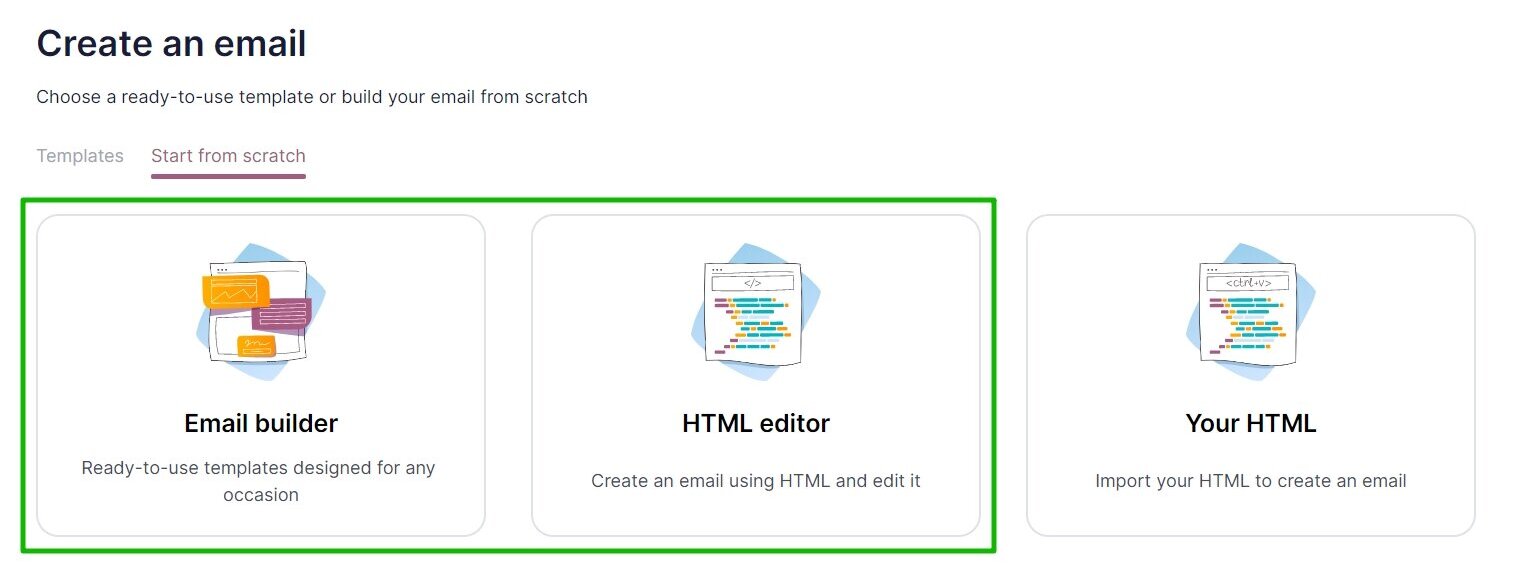
Create an email with Email Builder
Create an email with your own HTML template
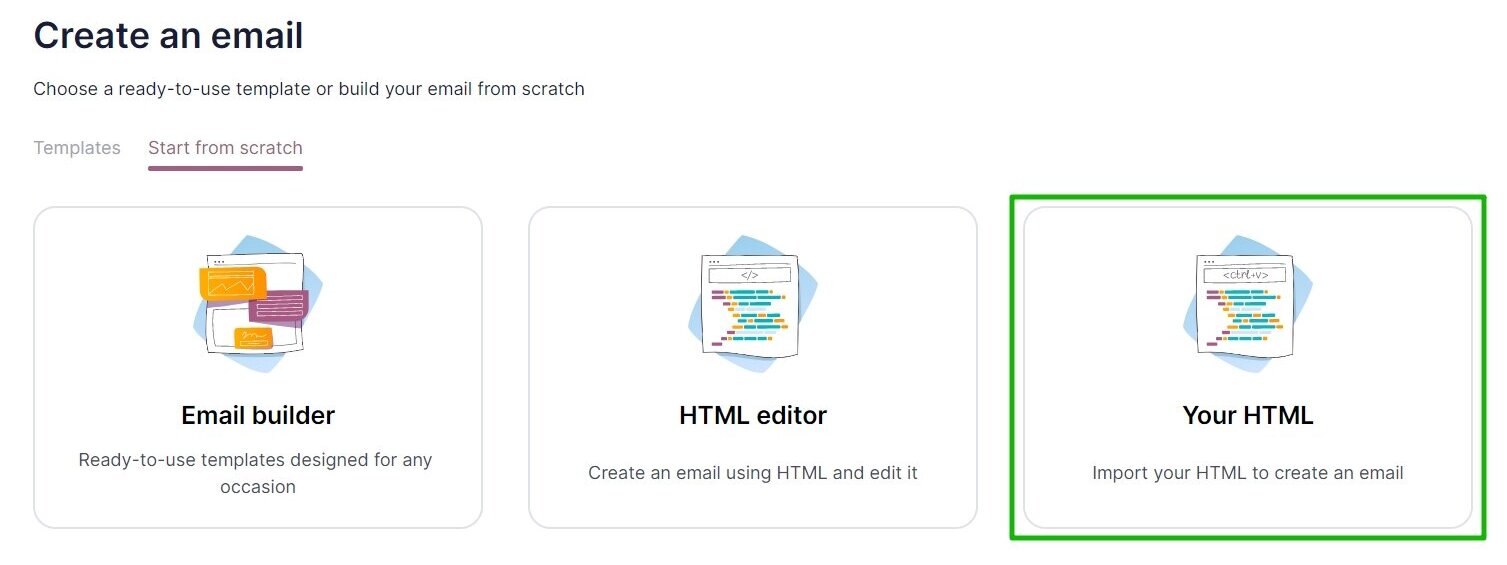
If you prefer to use your own HTML code without changing it, go to Your HTML.
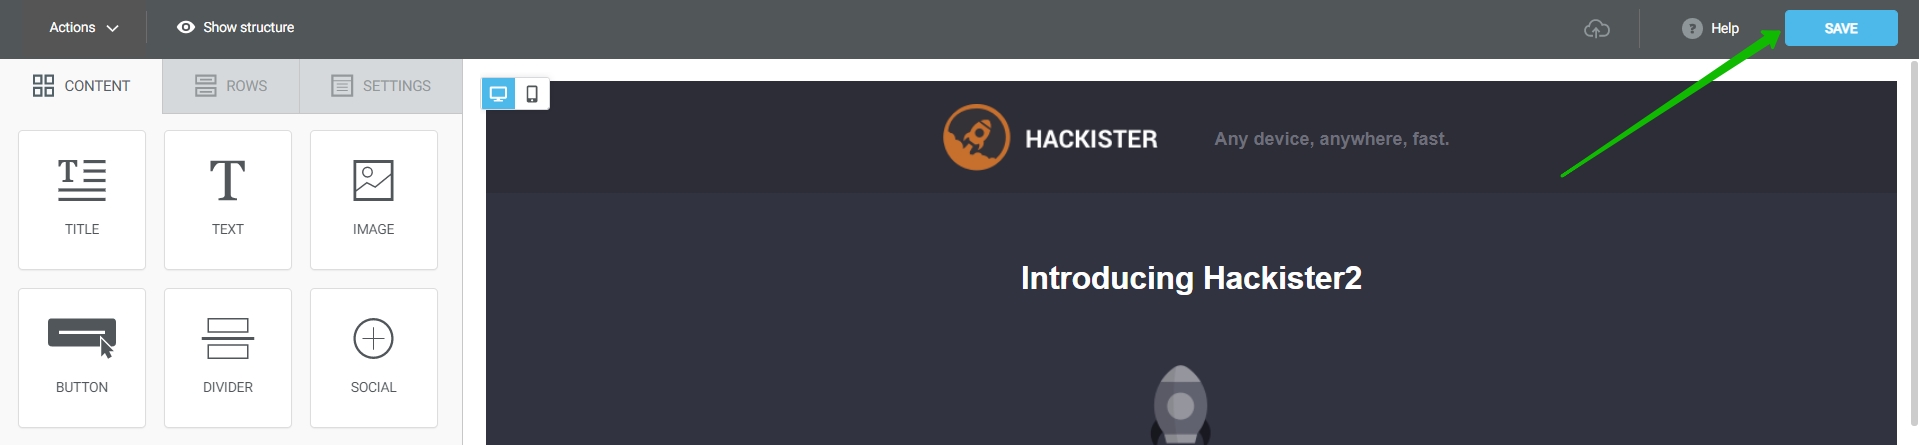
Create an email using any of the suggested methods and click Save (in Email Builder) or Continue (in HTML Editor) to proceed to the next step.
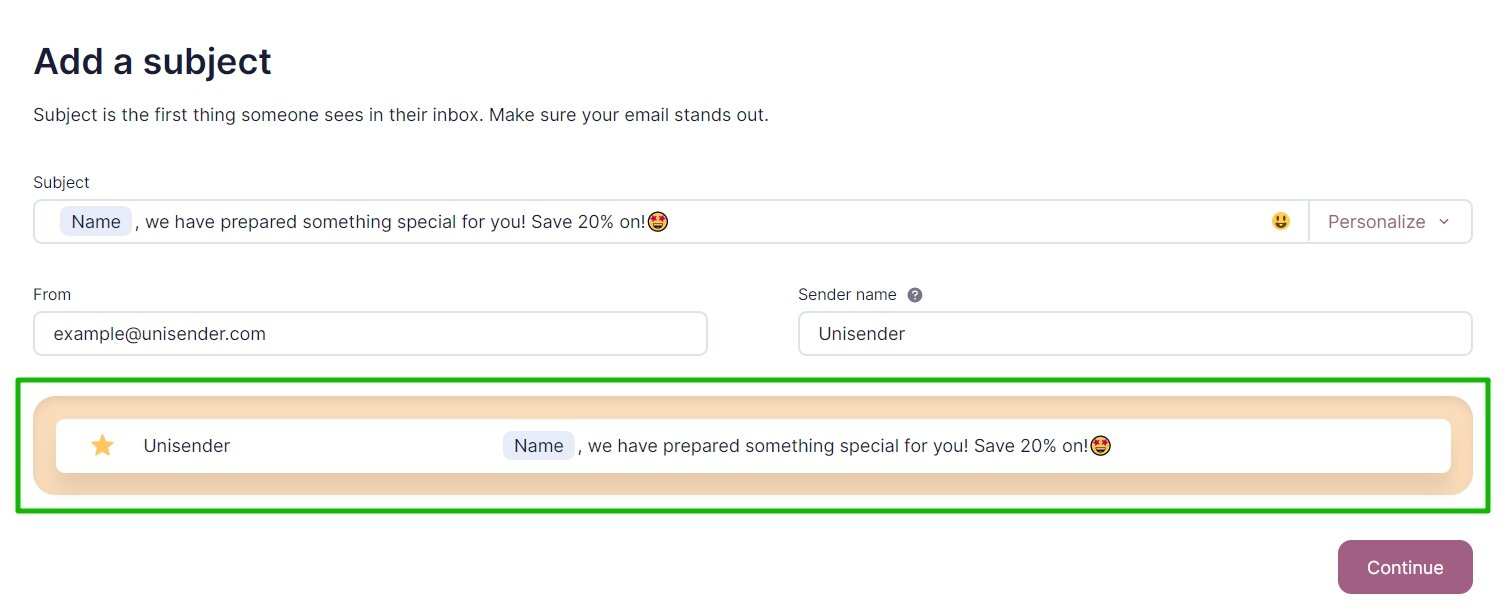
Step 2. Add subject and address
Fill in the required fields:
- From (sender’s address);
- Sender name;
- Subject.
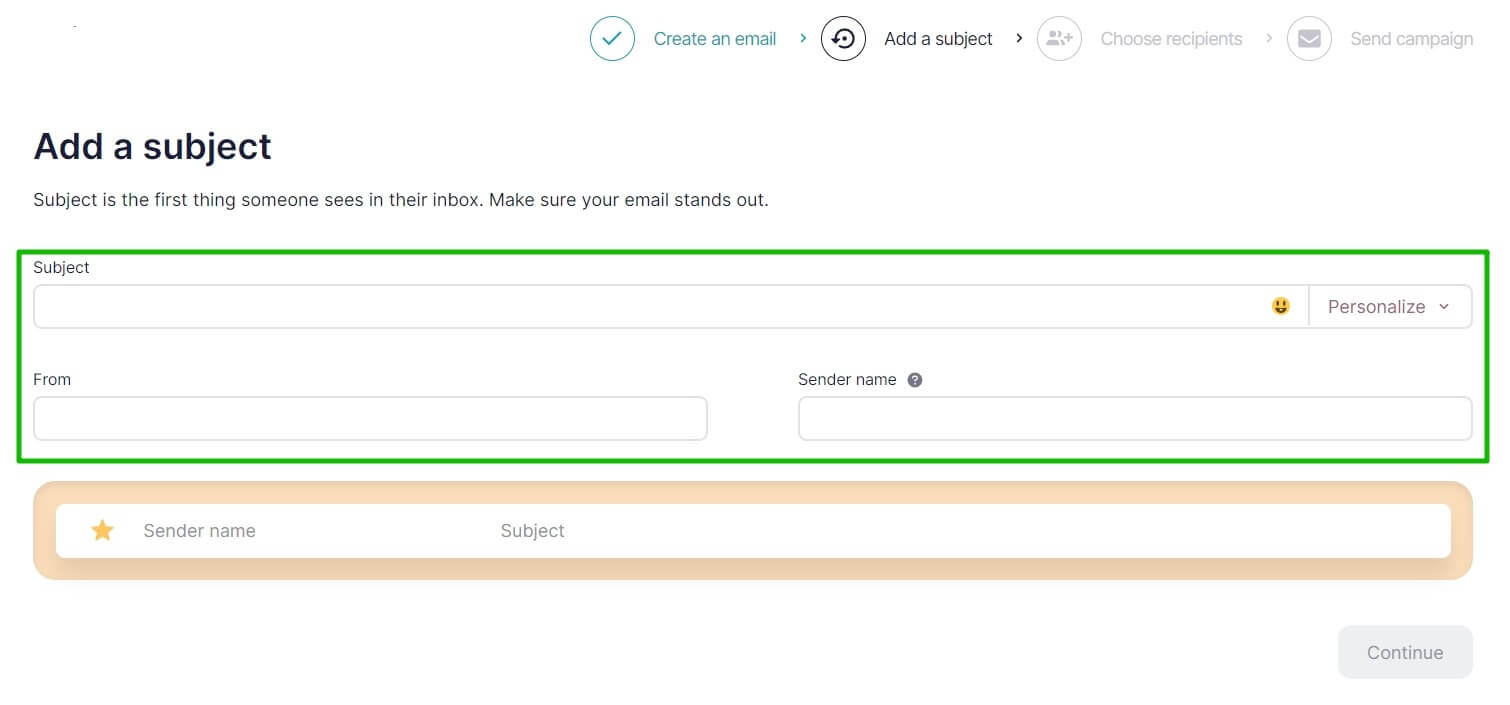
You can use Emojis in the subject line, as well as variables to add custom fields to personalize the subject.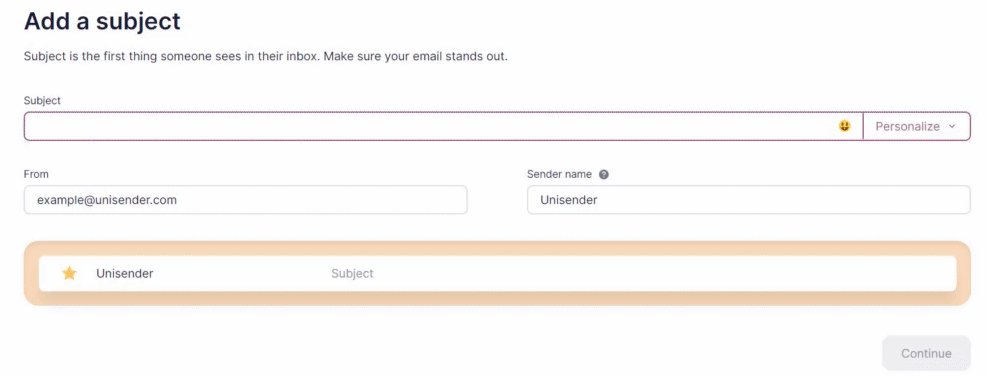
Personalize Email Content with Merge Tags
Check out the preview to see what the subject line and sender name will look like in the recipient’s mailbox.
We recommend to use only emails with a corporate domain as the sender address.
Most email services have strict security policies that ban mailing from addresses with a free public domain. Mail.ru, Yahoo and AOL prohibited the use of their addresses as the sender address in mailing campaigns.
You can send your campaign from an address registered with Gmail.com and Yandex.ru. However, most email services would qualify mailing from public domains as spam. Therefore, Selzy has a limit on such senders’ contact list, i.e. 50 contacts in one campaign.
To proceed to the next step, click Continue.
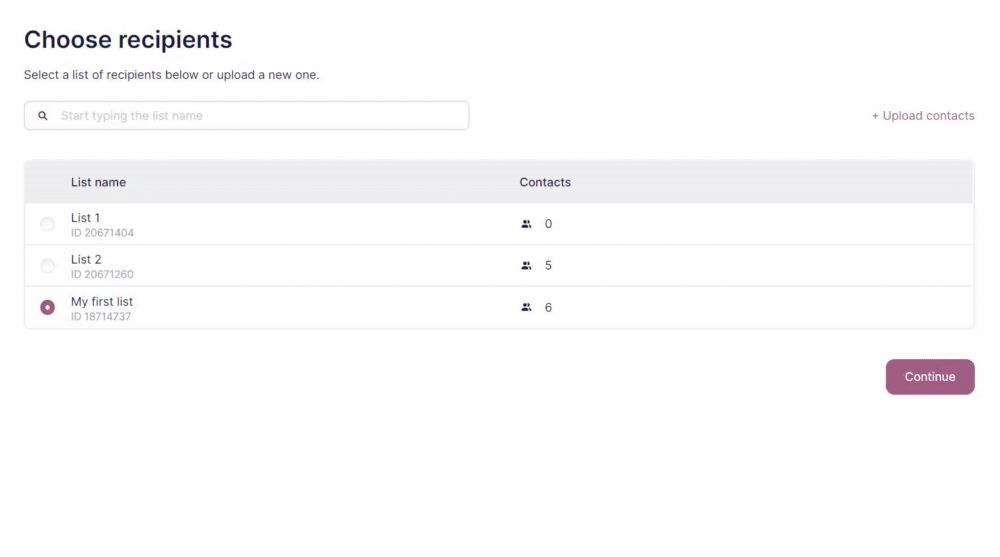
Step 3. Choose recipients
Choose the list of recipients for your campaign.
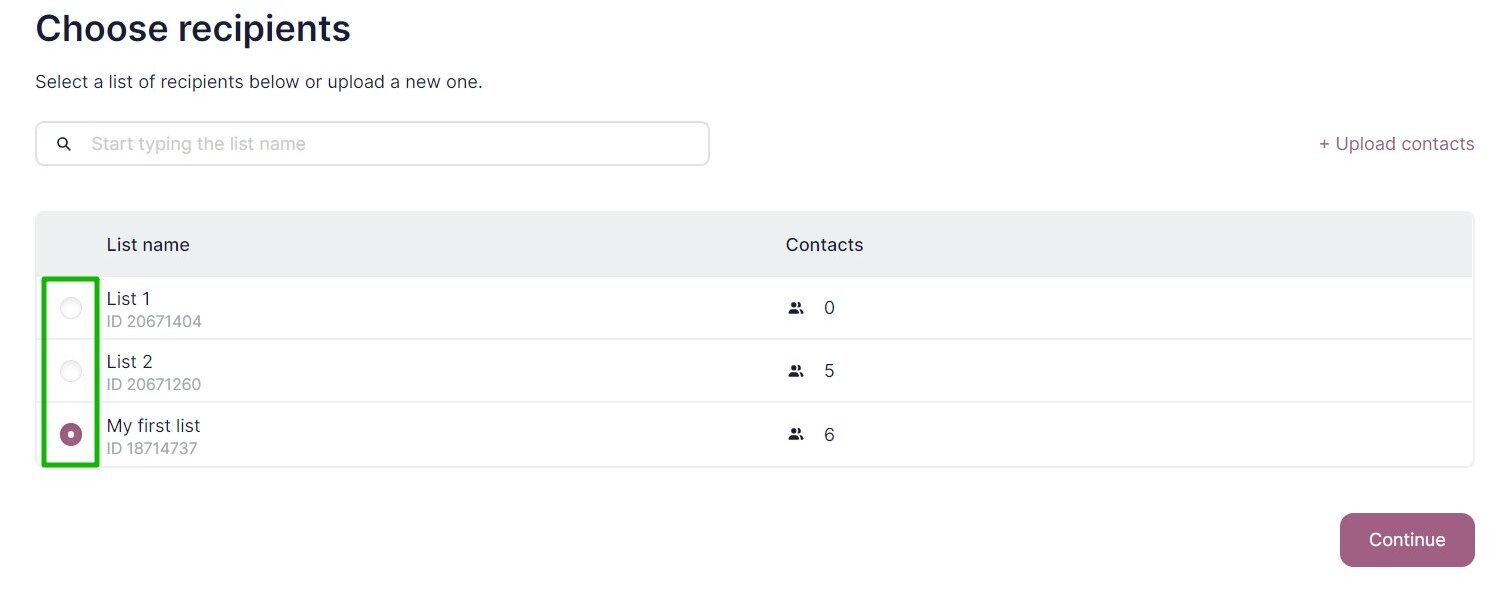
At this step, you can also import contacts or segment the list of recipients.

Segmentation is used to exclude the contacts that should not receive the campaign from the list of recipients or select a specific contact group you would like to target. Contact lists can be segmented by the data of contacts, previous campaign results or the status of contacts.
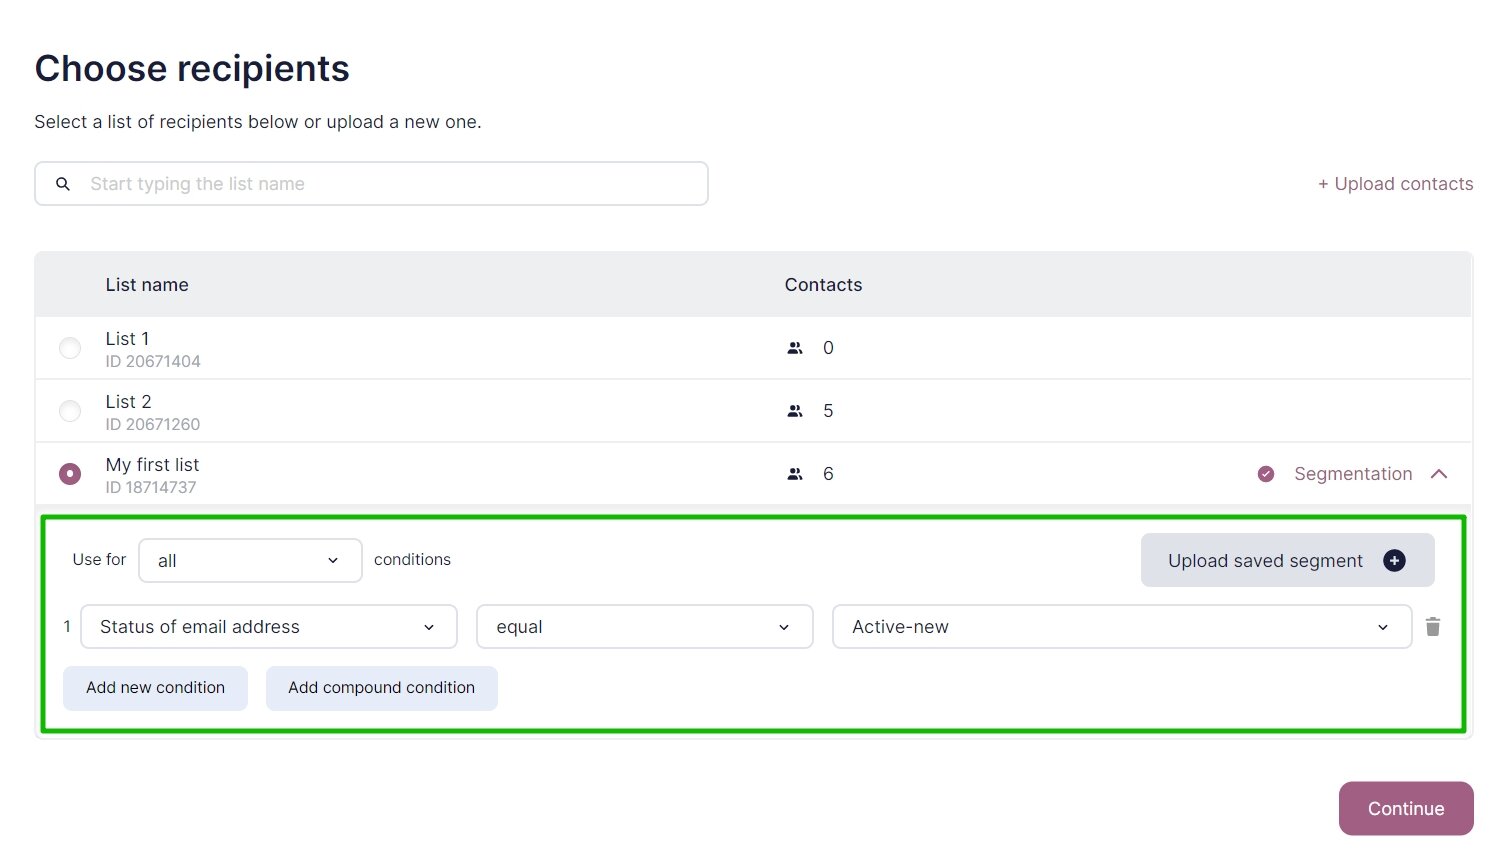
If you apply segmentation while creating a contact list, maximum 5 segmentation conditions can be set. You can also use previously saved segments.
Select the contacts you would like to target and click Continue.
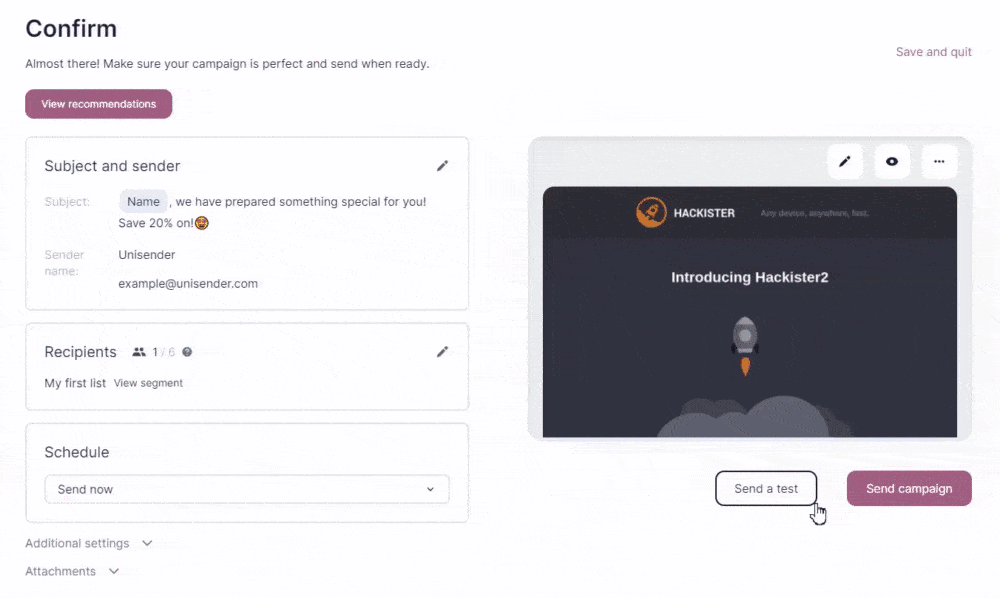
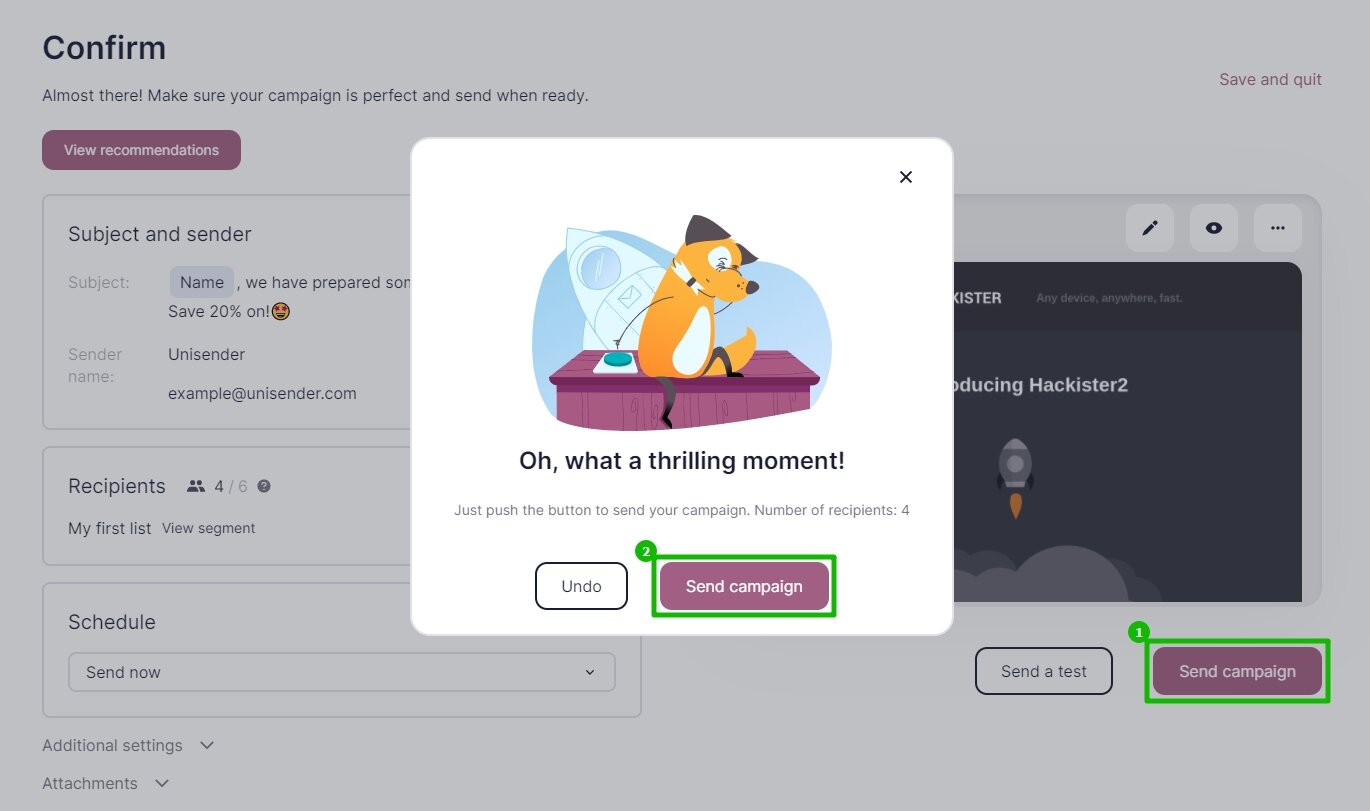
Step 4. Send campaign
Double-check all the data. If anything should be adjusted, return to the previous step at the top of the page or click on the edit icon next to the respective box.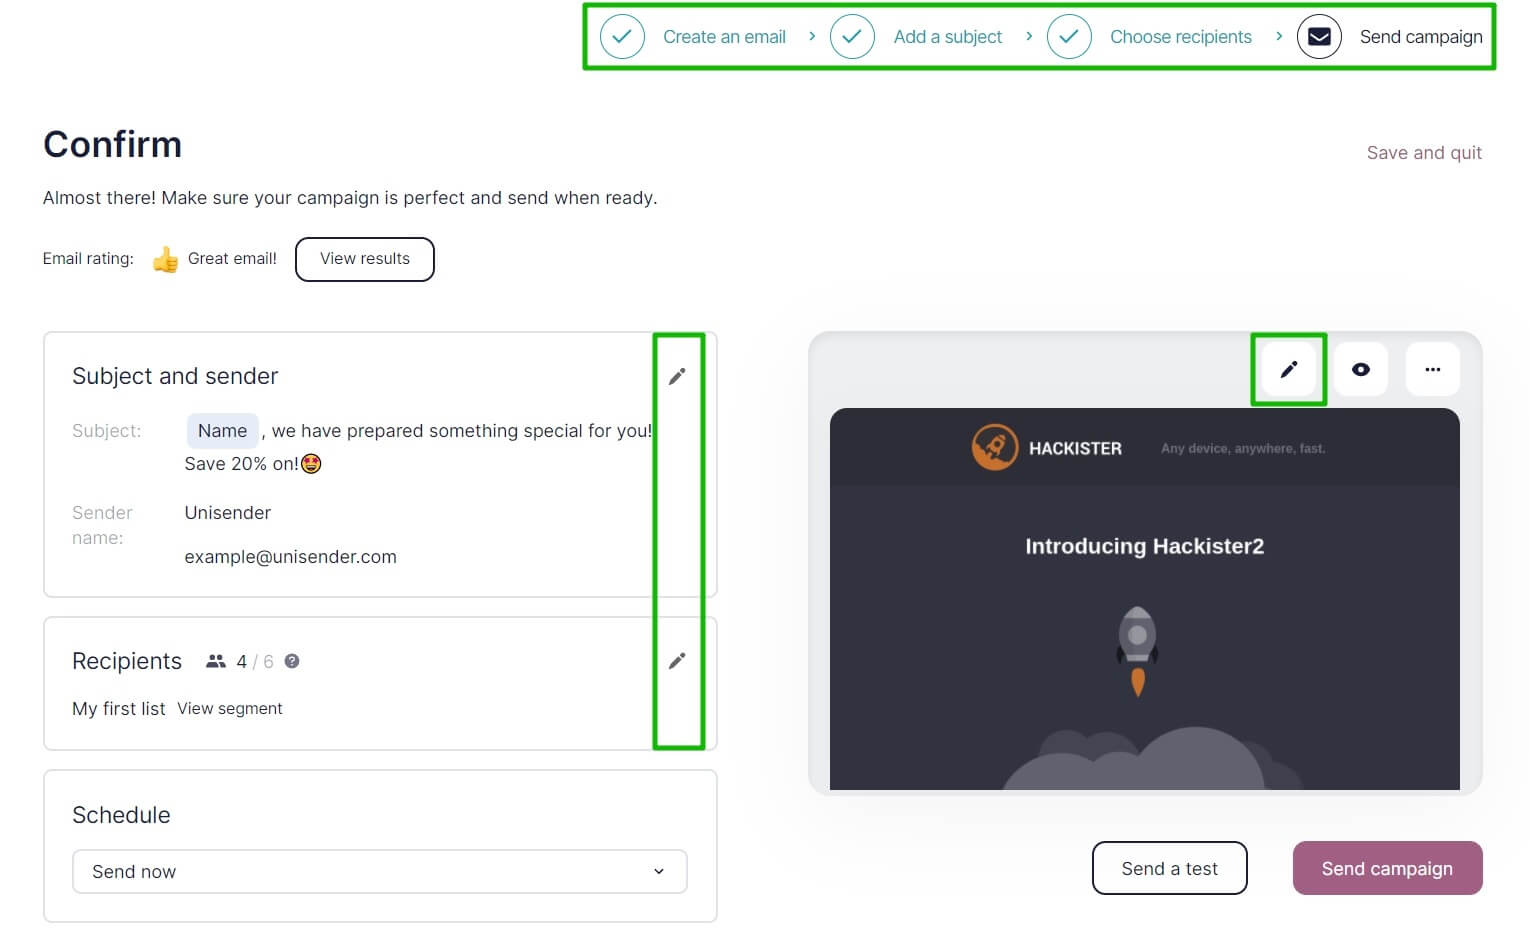
You can now specify when exactly the campaign should be sent. By default, the campaign is sent right away.
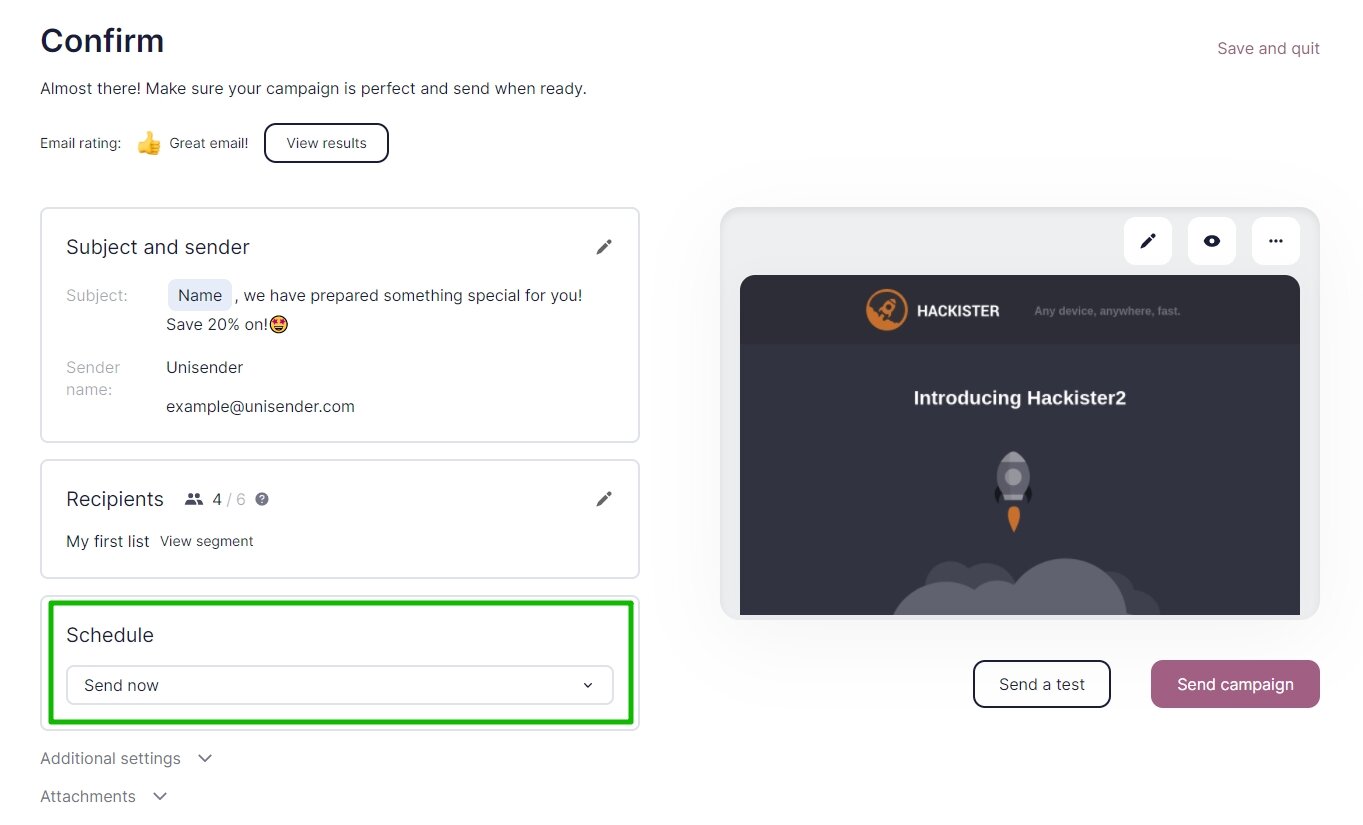
If you need to schedule your campaign for a specific day/time, select Send later. Specify the date and time and click Schedule email.
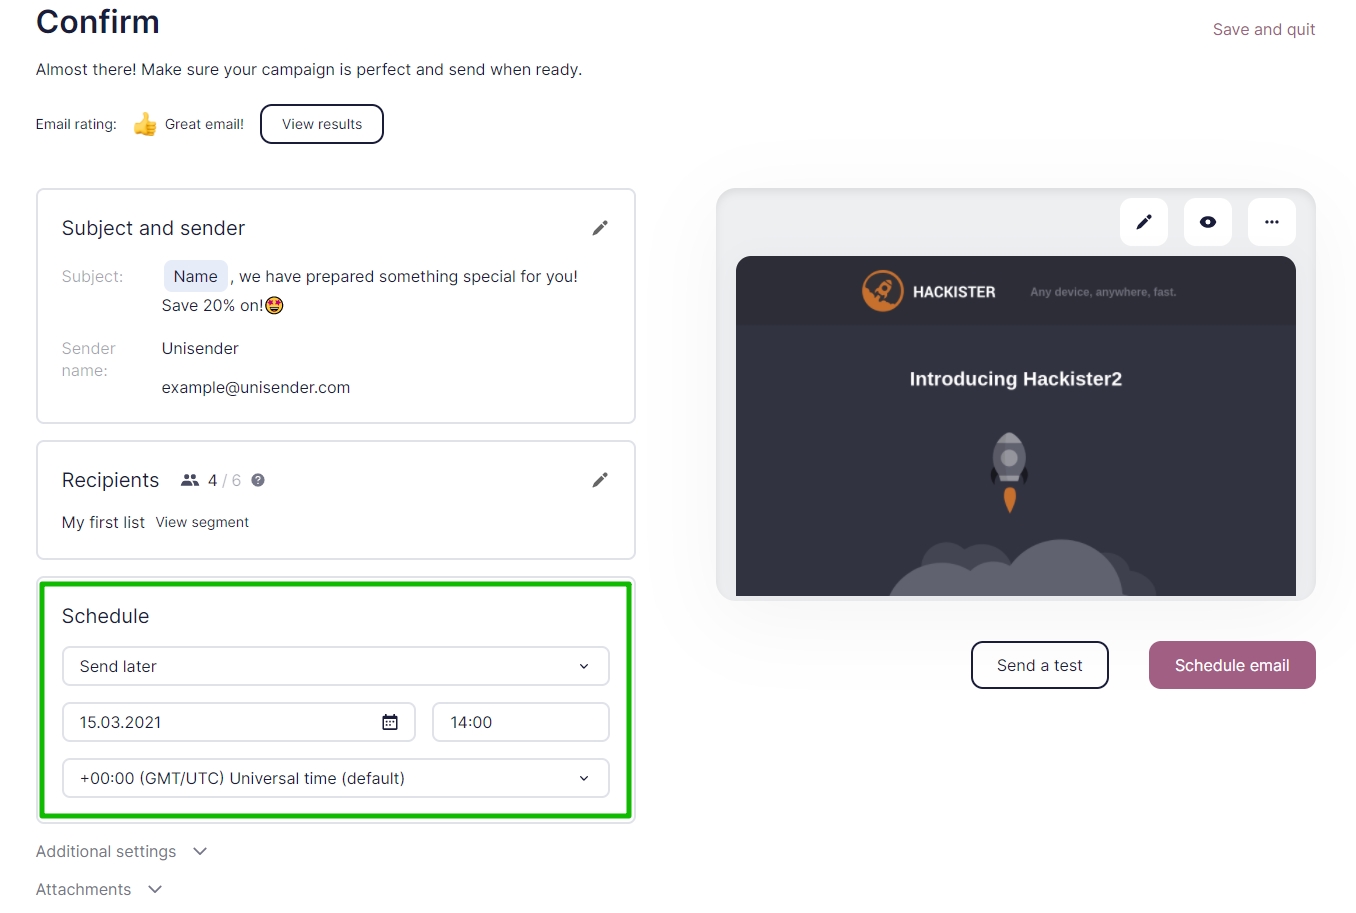
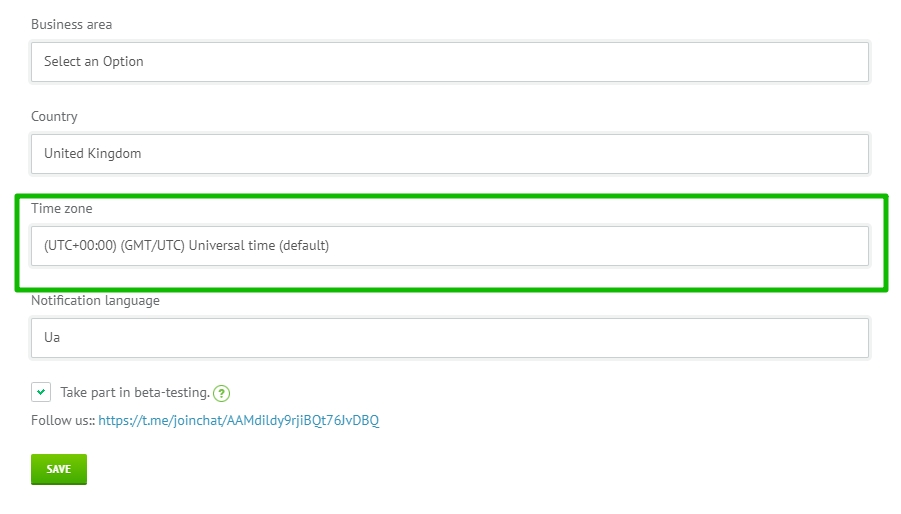
Note that when you indicate a specific sending time, the respective time zone must coincide with that indicated in your Account settings.
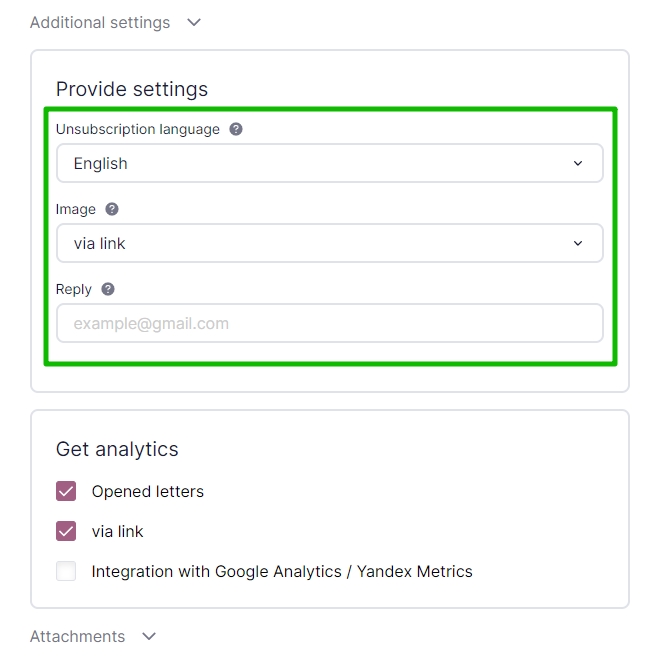
You can change the Unsubscribe block language to make sure it matches the campaign language in Additional settings.
You can also specify the method of inserting images in the email and the address to which the recipients’ responses will be sent if they choose to reply to your campaign here.
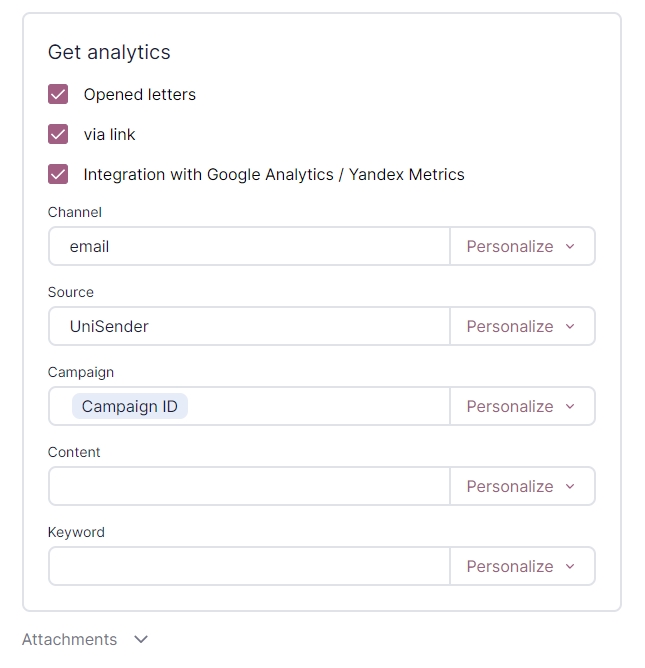
The campaign statistics collection settings are also found under Additional settings. You can enable or disable the tracking of reads and conversion in Selzy here, as well as specify UTM tags for collecting statistics by Google Analytics and Yandex.Metrica.
If you disable reads and conversion tracking, this data will not be shown in the campaign report.
You can attach files to your campaign email if necessary. However, it is considered better practice to upload materials to the cloud storage and include the links in the email. Read more in our blog article Attach files to the campaign email.
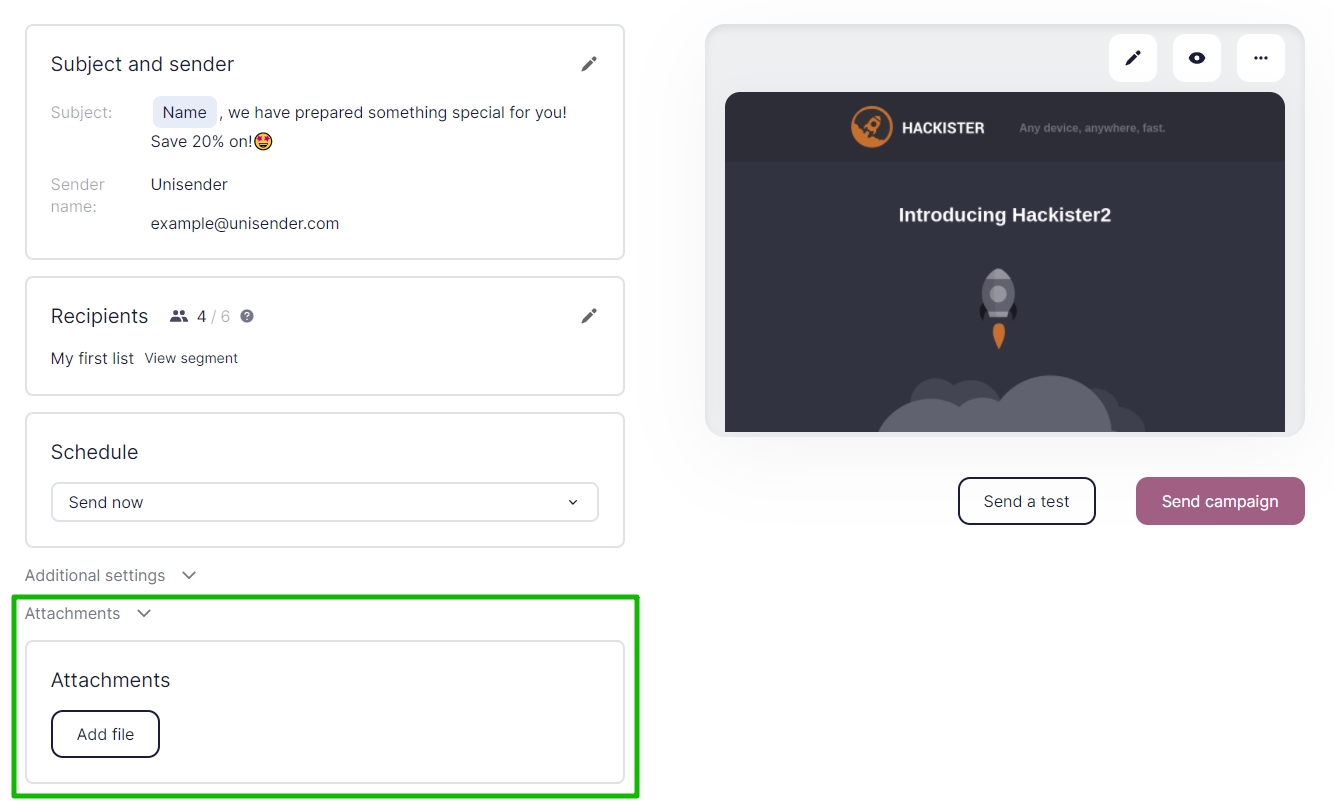
Before sending your campaign, make sure to check what the email looks like in the mailbox and whether all buttons and links work properly.
To send a test email, click Send a test, enter your email and click Send campaign.
The test email functionality is designed to check the appearance of the message and is not linked to contact lists. Therefore, the variables in the test email are inactive.
After adjusting the settings and testing the campaign, go ahead and click Send campaign.
Your subscribers will receive your campaign email, while you will be able to track the campaign performance in the History section under Campaigns (Campaign history).
Campaign sending speed
The campaign sending speed depends on multiple factors, including the number of recipients and the email size. The minimum sending speed is 150,000 messages per hour. This is the speed that we guarantee at all times.
The system can automatically send test email batches when the share of new contacts in the database exceeds appr. 20% (depending on the database size) or check if there are any delivery issues with different email services.
If after sending a test batch we find that the campaign emails end up in Spam or are rejected by email services, we will notify you and, if necessary, exclude the affected segment from the campaign in order to protect the domain reputation.
If the test is successful (the analysis usually takes appr. 20 minutes), all the remaining emails are sent to the contacts.
Campaign moderation
Your campaign may be moderated due to the following:
- a large share of new contacts in the list (with no messages sent to them previously);
- poor quality of the contact list;
- failure to comply with Selzy policies (Mandatory Requirements to Email Campaign Design and Anti-Spam Policy).
All campaigns are checked automatically using algorithms and, if necessary, submitted for moderation and additional review. The moderation time depends on multiple factors. As a rule, it takes from several minutes to half an hour.
Following the moderation, your campaign may be rejected. In that case, you will receive a Selzy chat message and an email sent to the address linked to your Selzy account stating the reasons for rejection and providing recommendations for their elimination. Once all the required adjustments have been made, you can resend your campaign.