Below, you will find instructions on how to set up integration between Selzy and WooCommerce. Once set, the integration allows the transfer of customer and order details from your WooCommerce shop to Selzy.
Setting up a new integration in Selzy
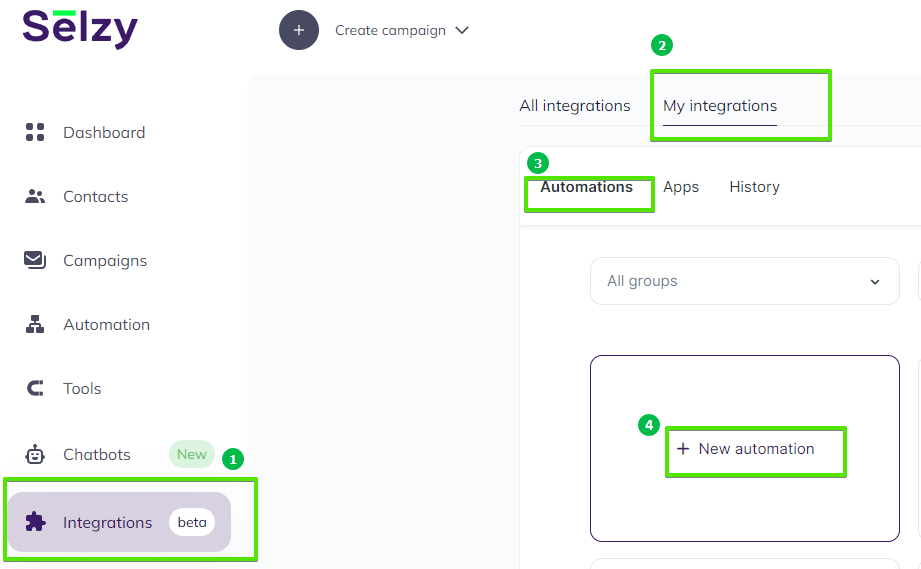
In your Selzy account, navigate to the Integrations section of the main menu, then go to My Integrations and click on Apps:
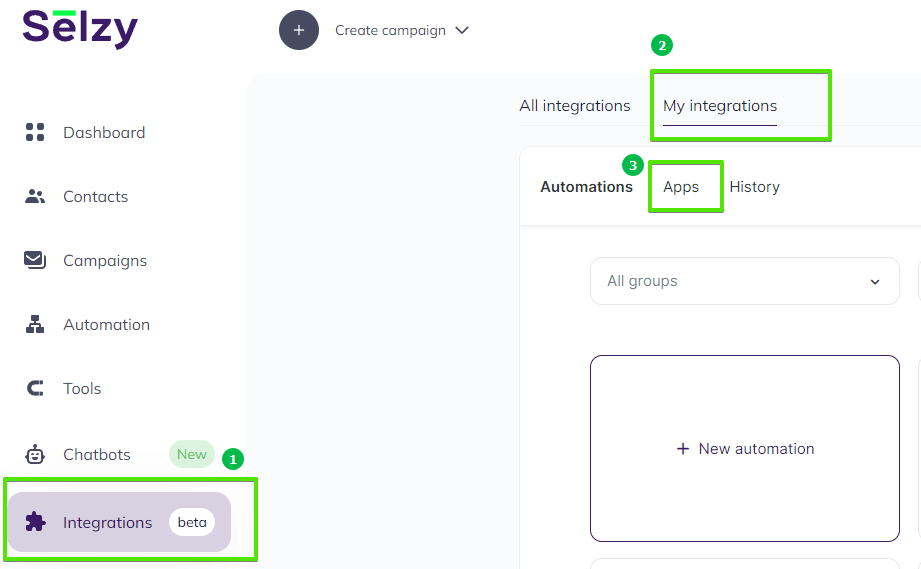
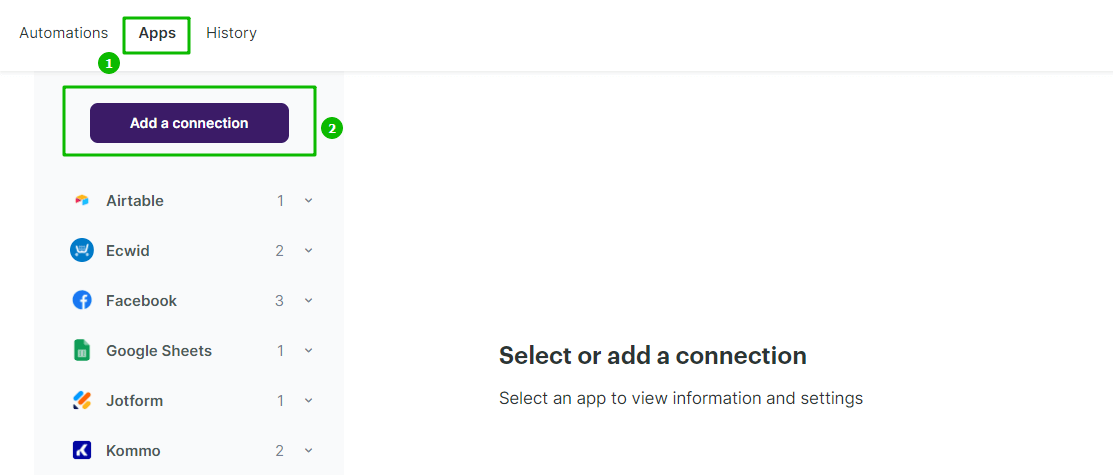
The Apps tab contains integrations that you set up with other services. Click on Add a connection to set up a new integration:
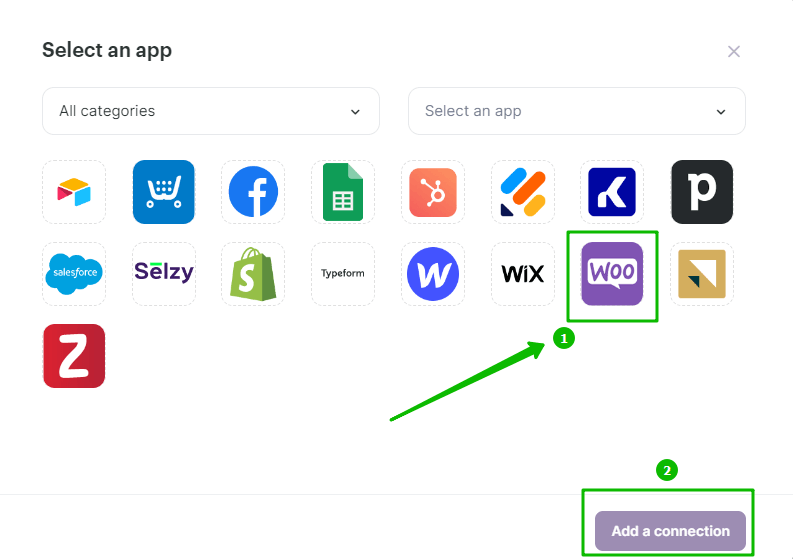
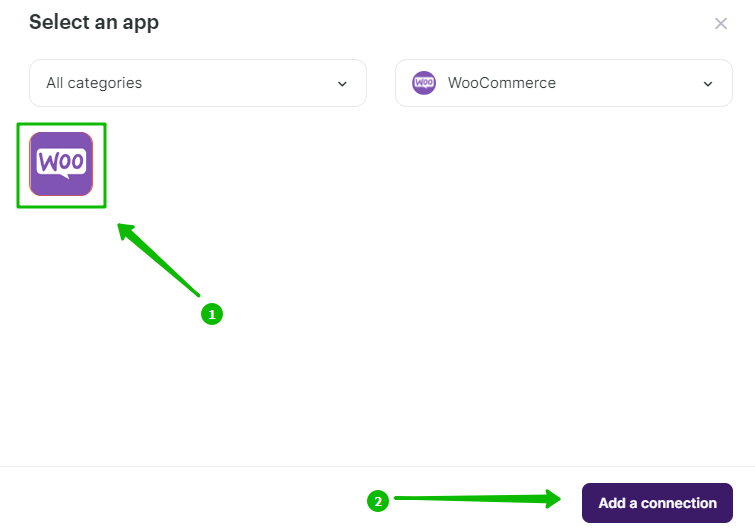
In the pop-up window select WooСommerce. Click on the WooСommerce icon once again and then click on the Add a connection button.
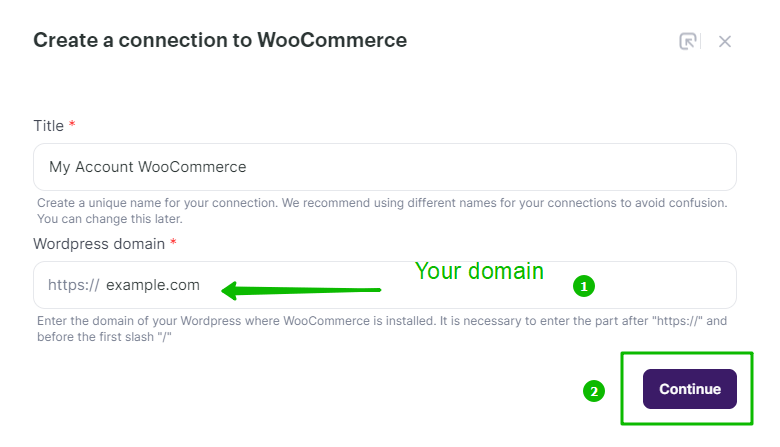
The integration editor will appear, where you need to set up the parameters marked with red asterisk (*) for the WooСommerce integration to work. You can leave the default Title “My Account WooCommerce” or set your own.
Then, type in your domain name. Make sure you follow the instructions on-screen and enter the part after “https://” and before the first slash “/.” For example, for Selzy’s WordPress, the WordPress domain field would be as follows: https://selzy.com.
When you are ready, click the Continue button in the bottom right corner of the window.
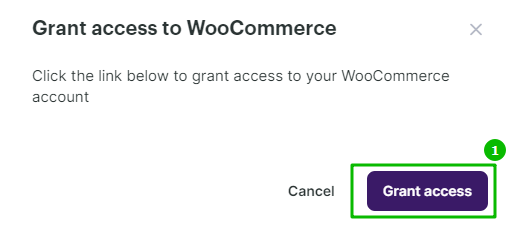
Next, grant access to your WooCommerce account. Click Grant access.
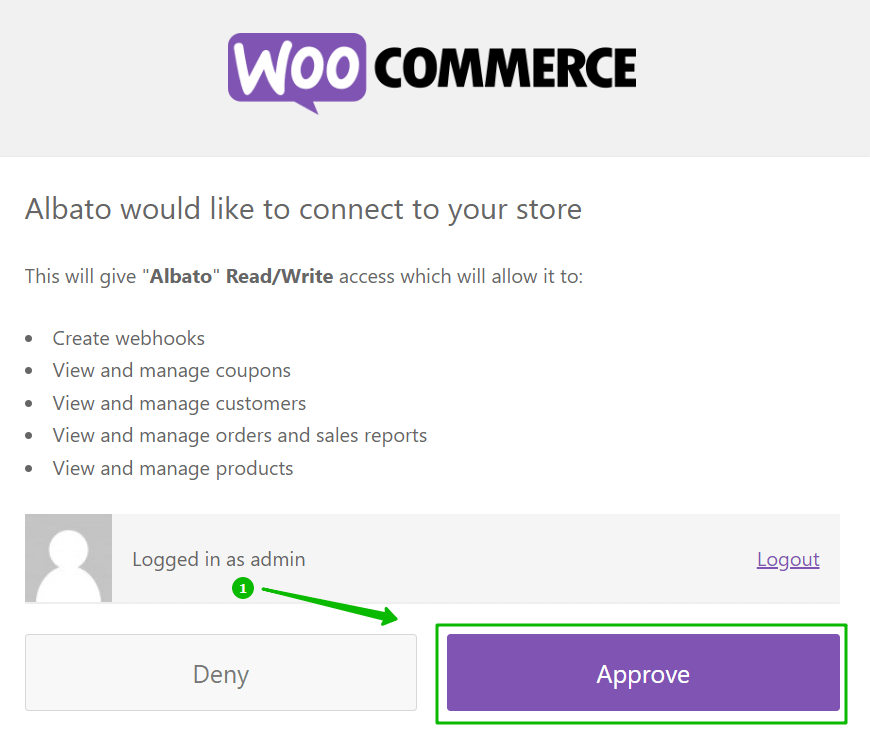
Now, you need WooCommerce to grant access to Selzy’s automation builder, Albato, to establish the connection between Selzy and WooCommerce. Click the Approve button.
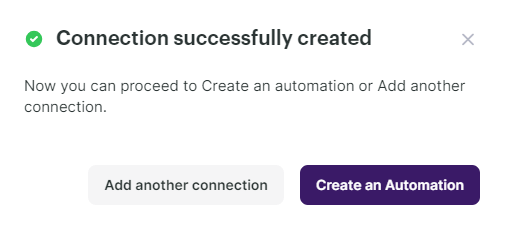
Once WooCommerce is connected, you will see a pop-up message that the connection was successfully created.
Selecting WooCommerce as the data source
To start collecting data from your WooCommerce shop, you need to create a new automation and set up a trigger, an event that is going to trigger the data collection, and further actions in Selzy.
In your Selzy account, go Integrations → My integrations → Automations → + New automation:
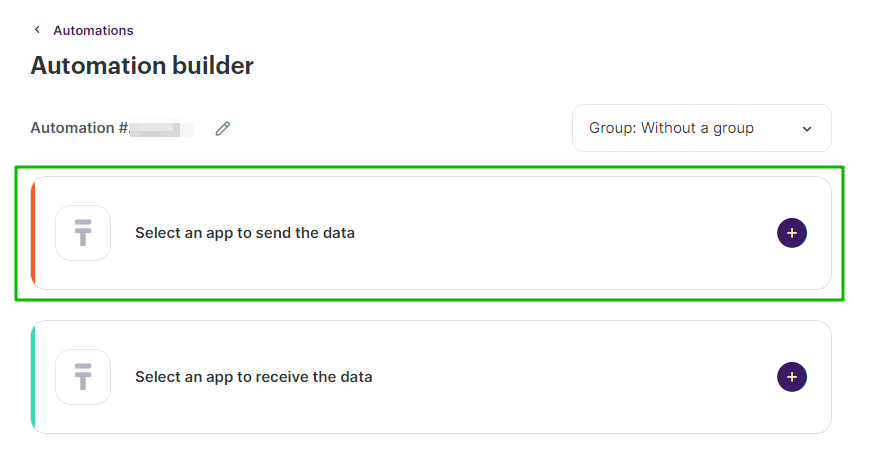
Automation builder will open. Click Select an app to send the data.
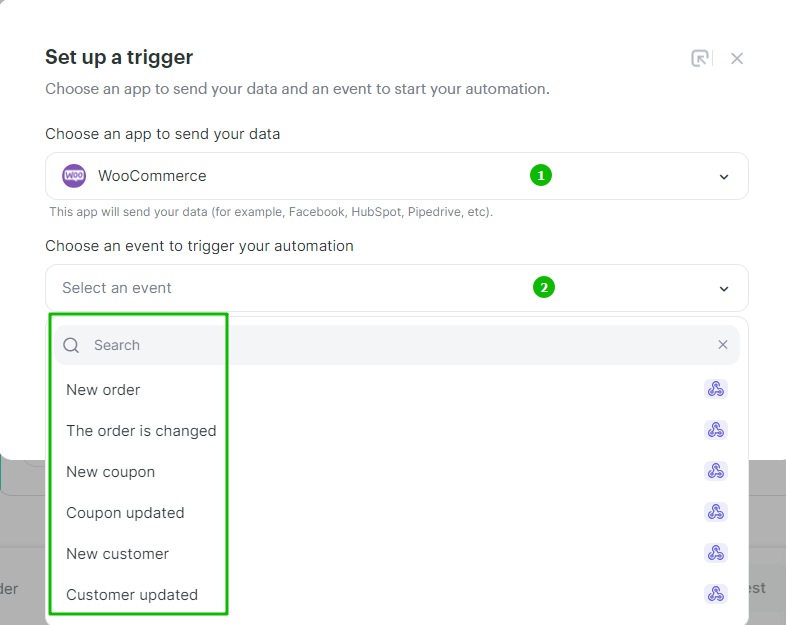
The Set up a trigger window will open. From the dropdown menu, choose WooCommerce. Depending on what you need, select one of the following events that will trigger the automation:
- New order: Triggered when a new order is created in WooCommerce.
- The order is changed: Triggered when an existing order’s details are updated.
- New coupon: Triggered when a new coupon is created in WooCommerce.
- Coupon updated: Triggered when an existing coupon is updated.
- New customer: Triggered when a new customer is created in WooCommerce.
- Customer updated: Triggered when customer data is updated in WooCommerce.
At the bottom right corner of the window, click the Add a trigger button.
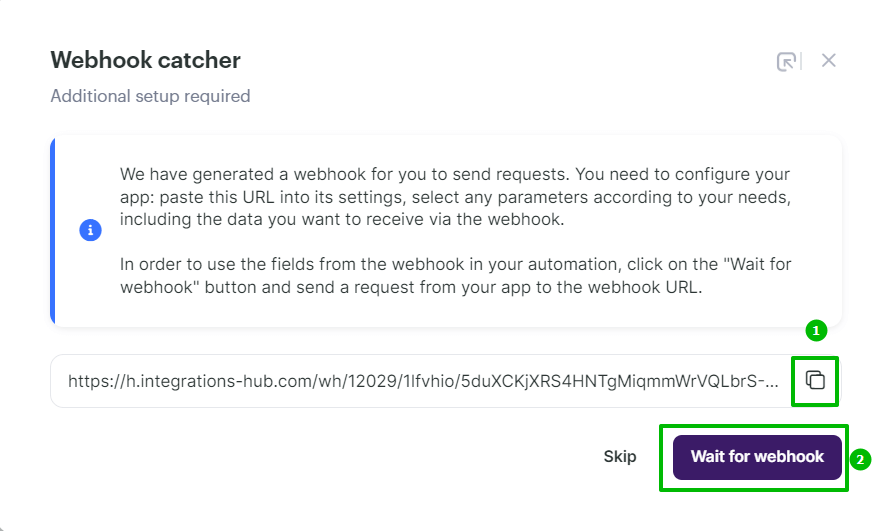
Selzy and WooCommerce integration works using webhooks. That’s why, when you are setting up a new automation and choose an app to send the data, you will be prompted by Webhook catcher.
Copy the URL (1) — you’ll later need to paste it into the WooCommerce plugin section within your WordPress admin panel. Then click on the Wait for webhook button (2).
Go to your WordPress admin panel.
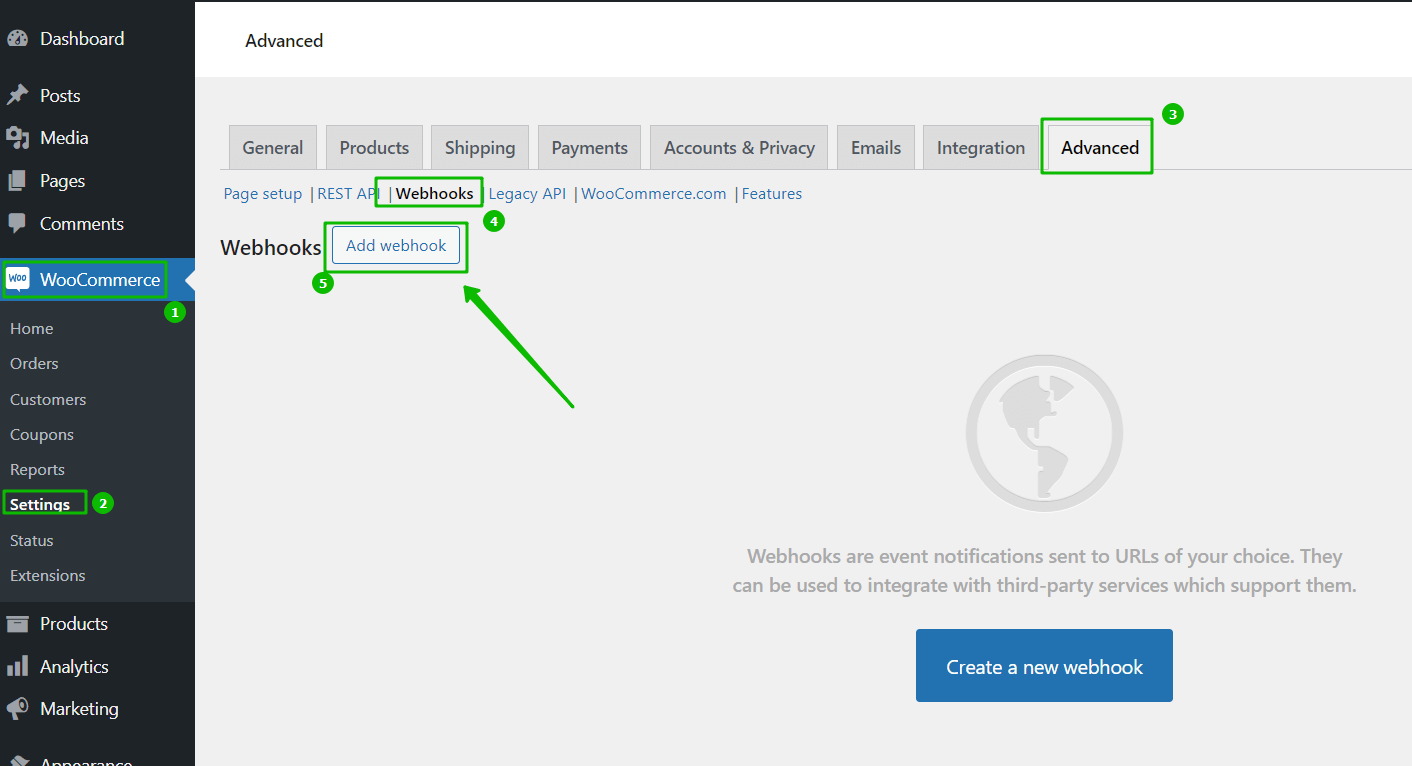
From the left-side menu, navigate WooCommerce → Settings → Advanced → Webhooks. Click Add webhook.
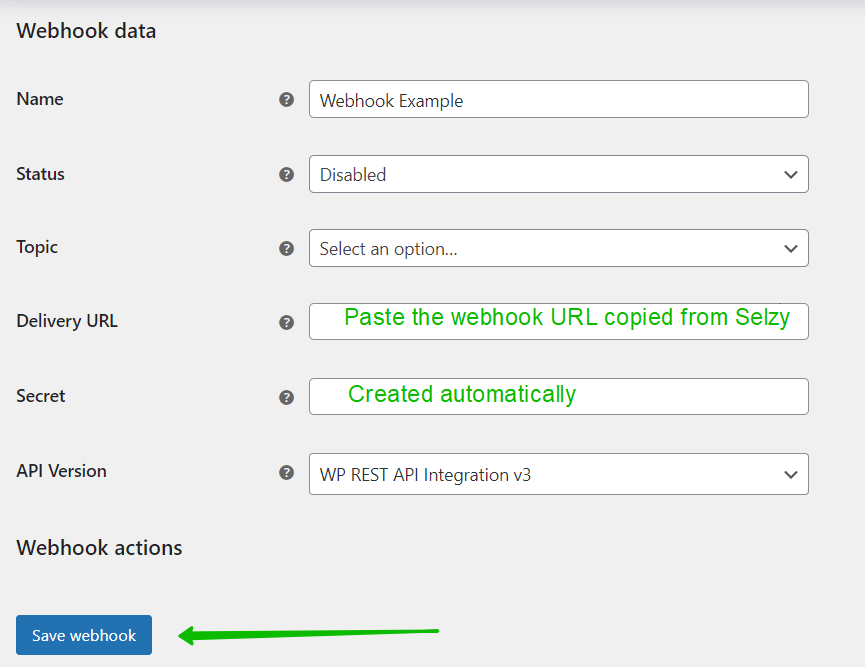
In the pop-up window, fill out all the fields as following:
- Name: To speed up the process, the system generates the name automatically in the following format: “Webhook created on [date and time].” You can change the name to something else.
- Status: Set to Active (sends the data to Selzy), Paused (does not send the data Selzy), or Disabled (does not send the data due to delivery failures).
- Topic: Choose when to trigger the webhook – Order Created, Product Deleted, or Customer Updated. There are also Action and Custom options.
- Delivery URL: Paste the webhook URL copied from Selzy.
- Secret: The system converts the information sent by the WooCommerce plugin into a unique code, the Secret Key. This code is then included in the requests sent from your website to Selzy. If you don't specify your own Secret Key in this field, the system will automatically use the current user's secret code or password.
- API version: You can leave the default option, set by the system.
Click Save Webhook.
Return to Selzy to continue configuring the automation.
Setting up an action in Selzy
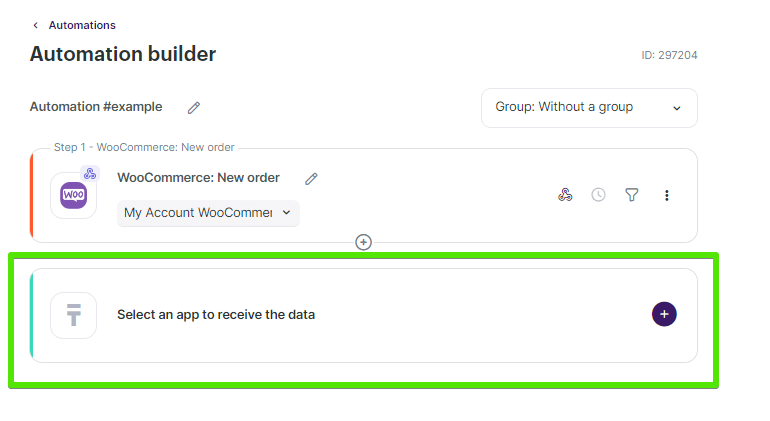
After you set up the trigger and the webhook, set up an action to be performed in Selzy. In the integration builder, click on Select an app to receive the data.
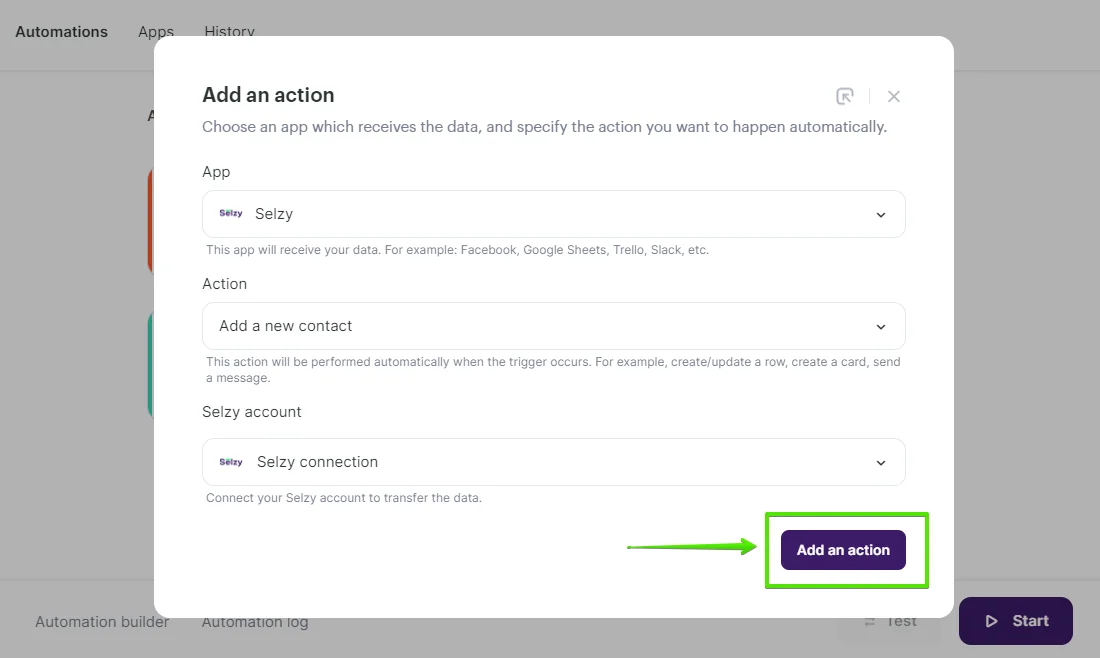
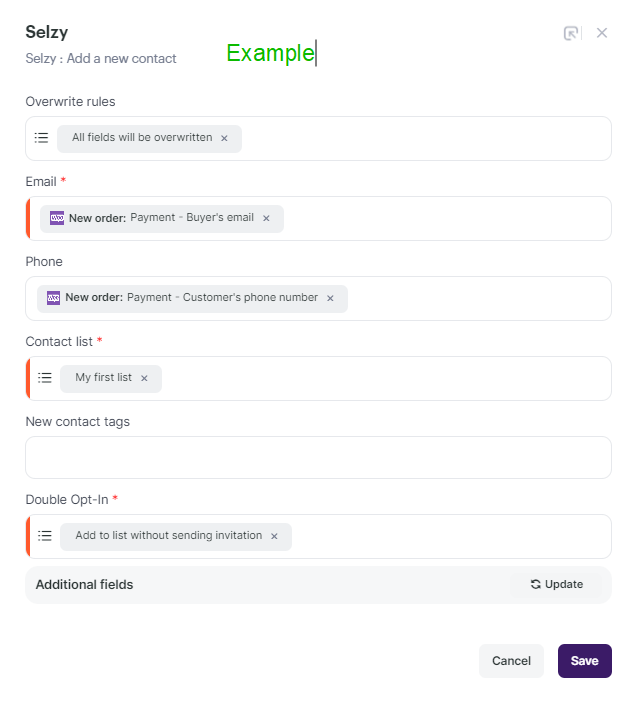
In the Add an action window, set the action parameters depending on the event you chose as a trigger. For instance, if the trigger is adding a new contact in WooСommerce, you might want to choose the Add a new contact action in Selzy.
Once you select all the parameters, click Add an action button at the bottom right corner of the window.
Data mapping
Now, you need to perform data mapping. This ensures that the data from WooСommerce is correctly transferred and utilized by Selzy to perform the set action(s).
For example, assign New order: Payment — Customer’s phone number from WooCommerce to Phone in Selzy, New order: Payment — Buyer’s email to Email, and so on:
Finalizing the integration setup
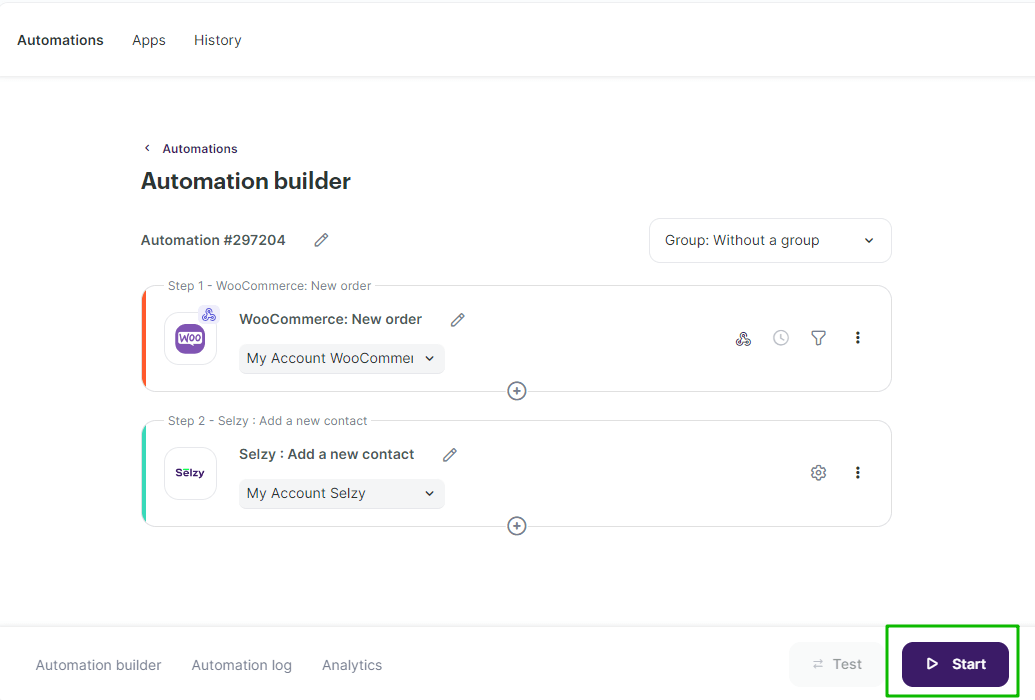
Review the settings to ensure they are correctly configured. At the bottom of the integration builder, click Start to activate the integration.
Testing the integration
To test whether everything works, perform an action in WooСommerce that you've set as a trigger. For example, create a new customer. Then, go to Selzy and check if the data has been correctly transferred and the set follow-up action has been performed.


