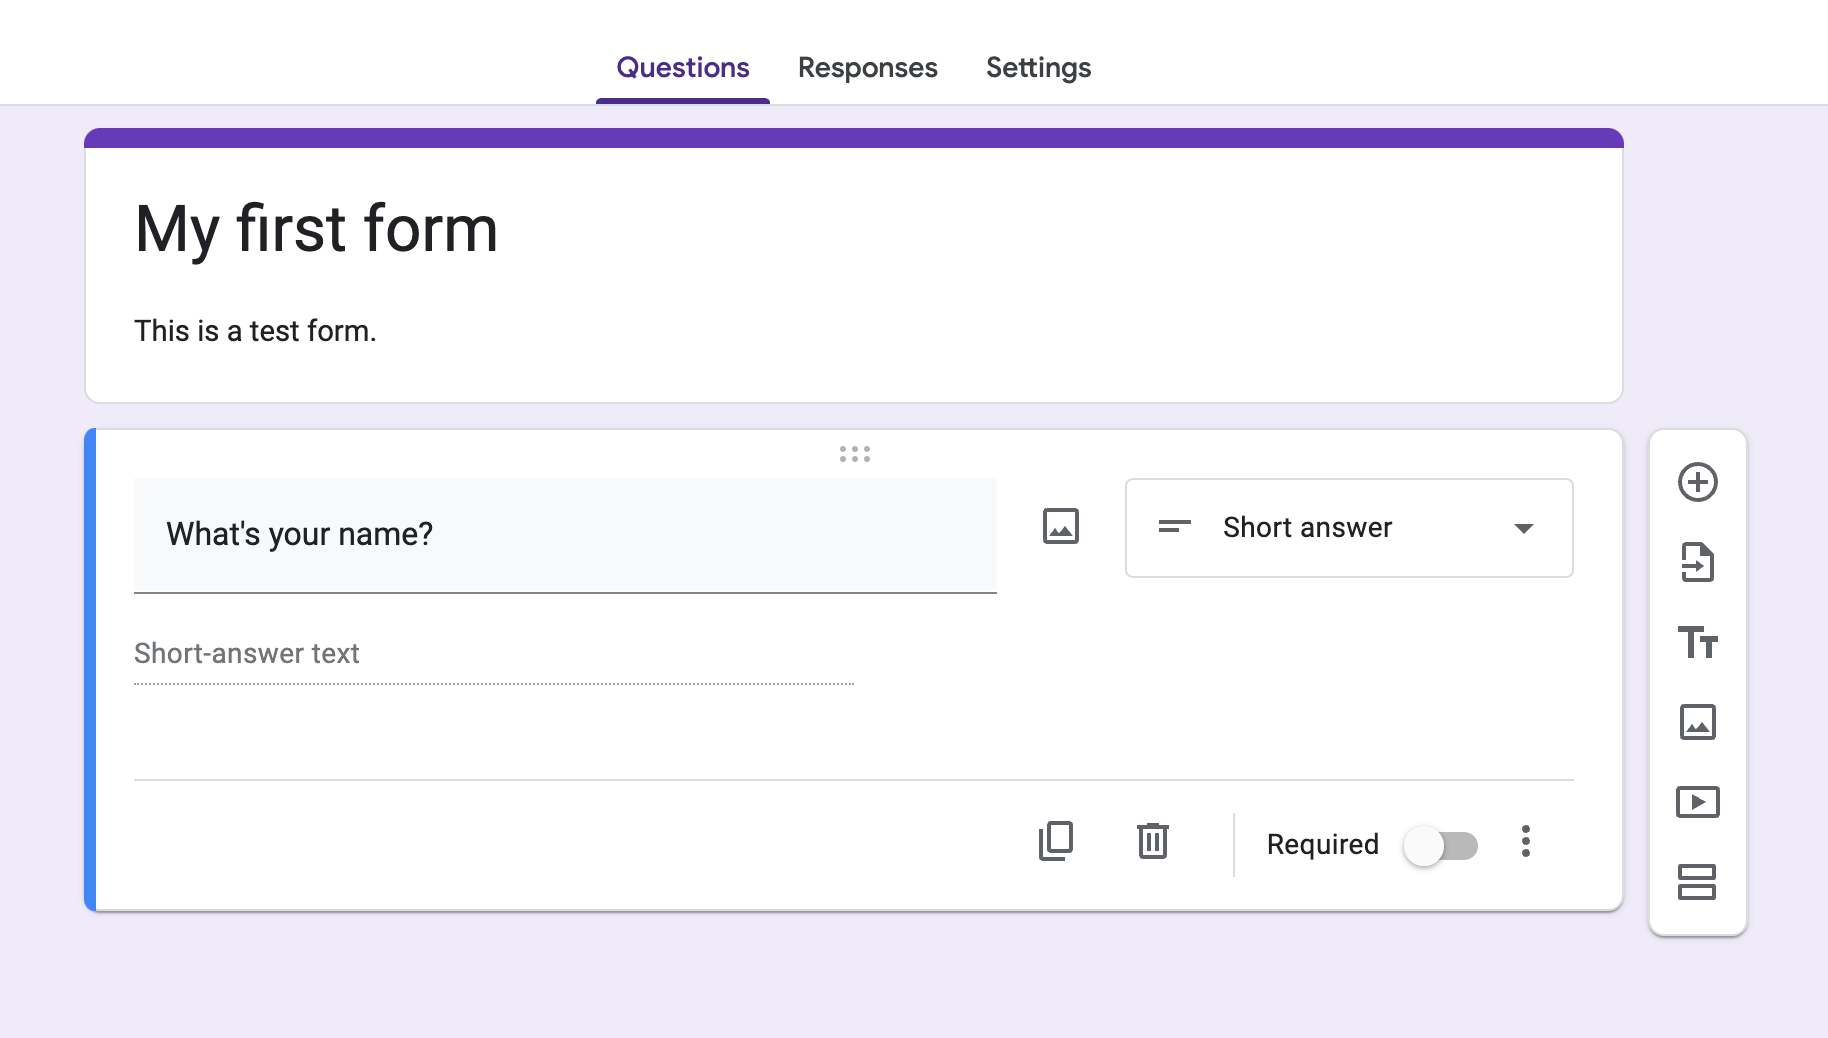


What is Google Forms and how does it work?
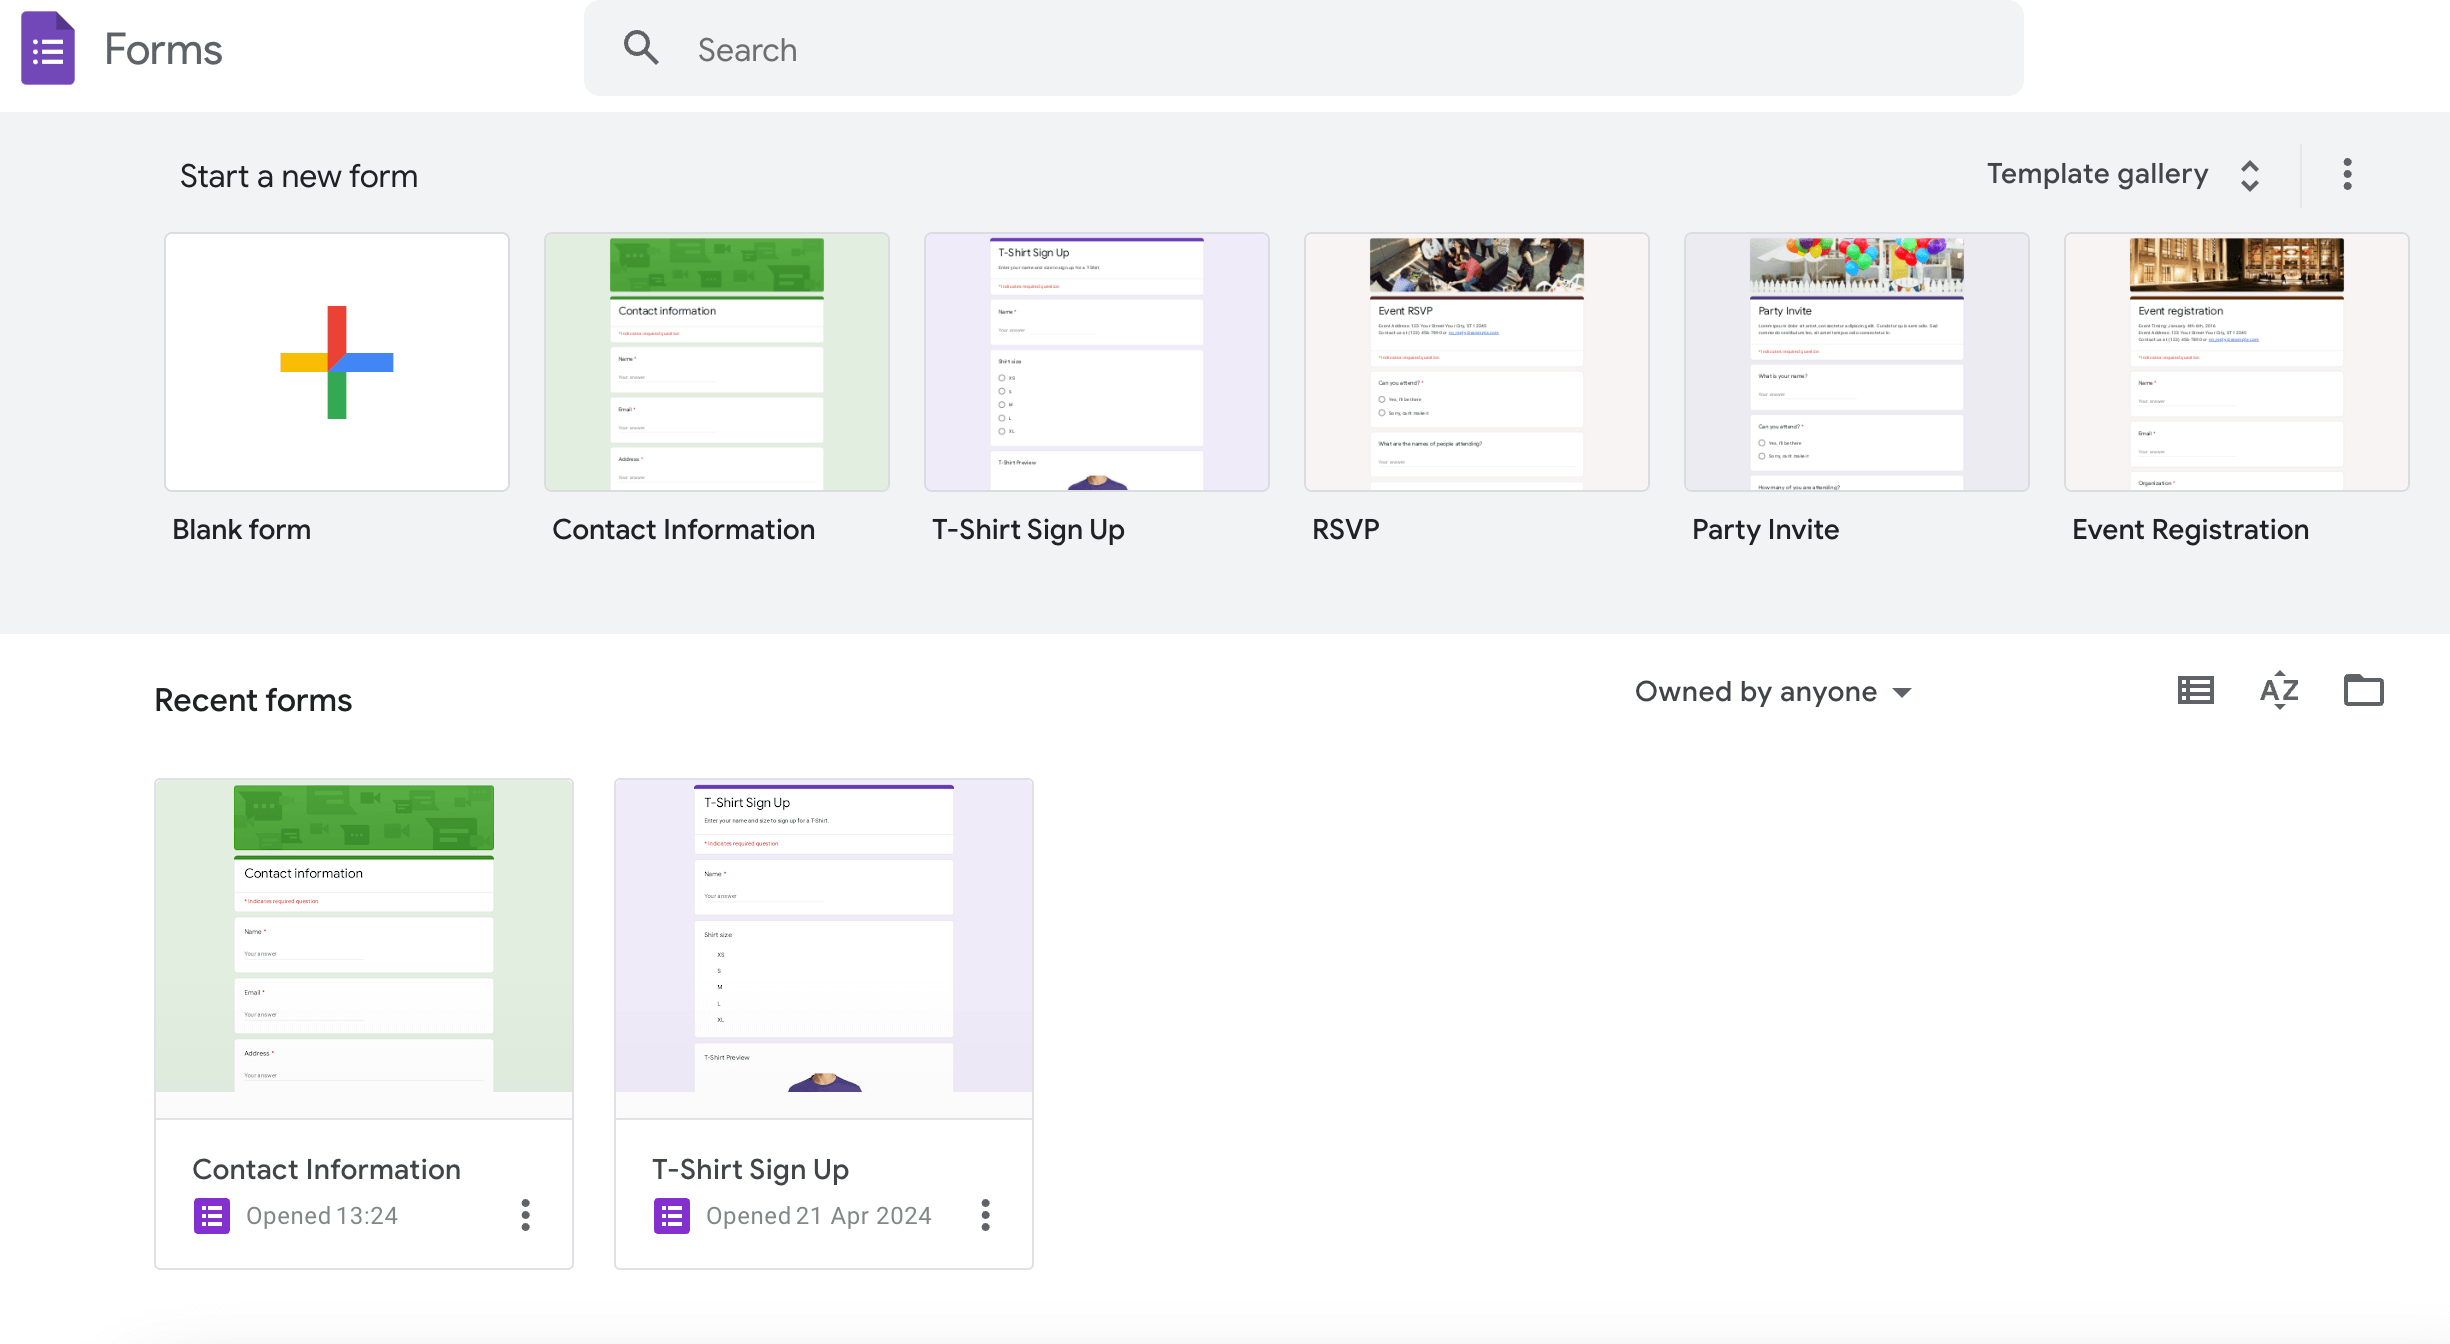
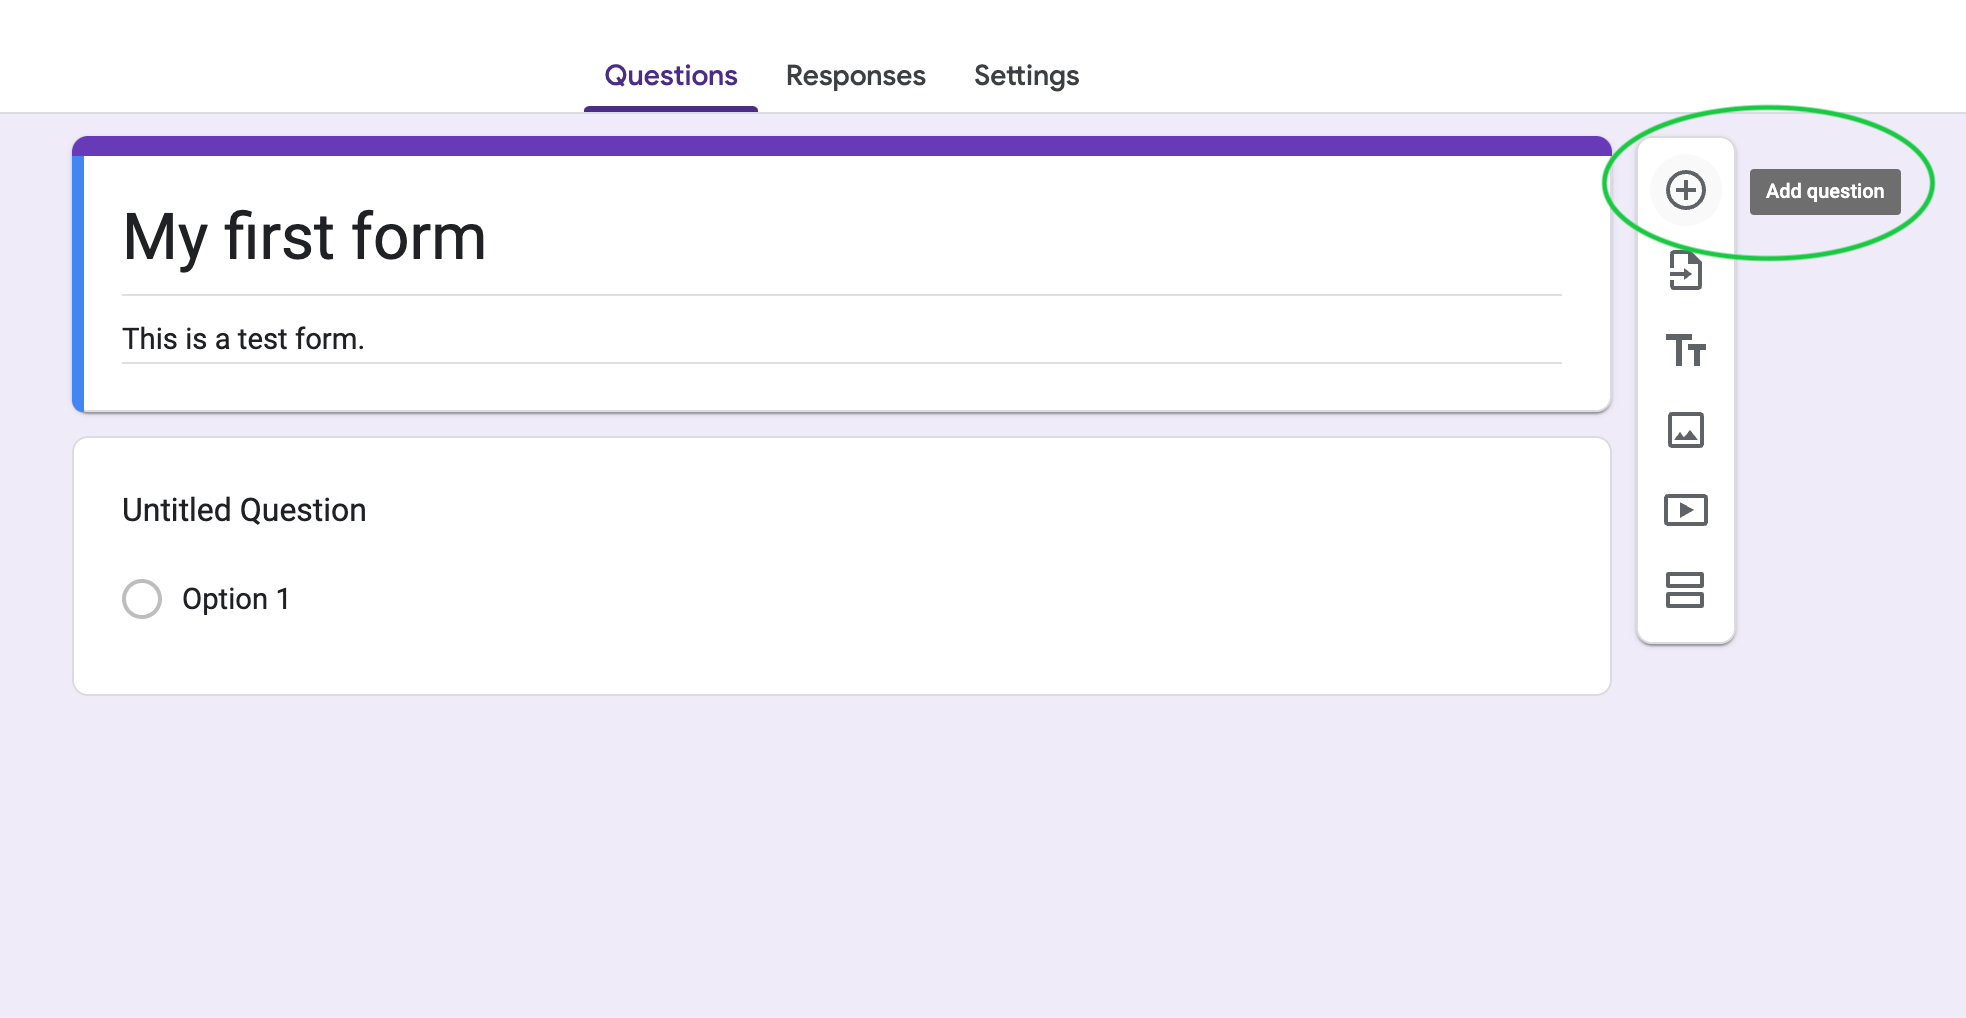
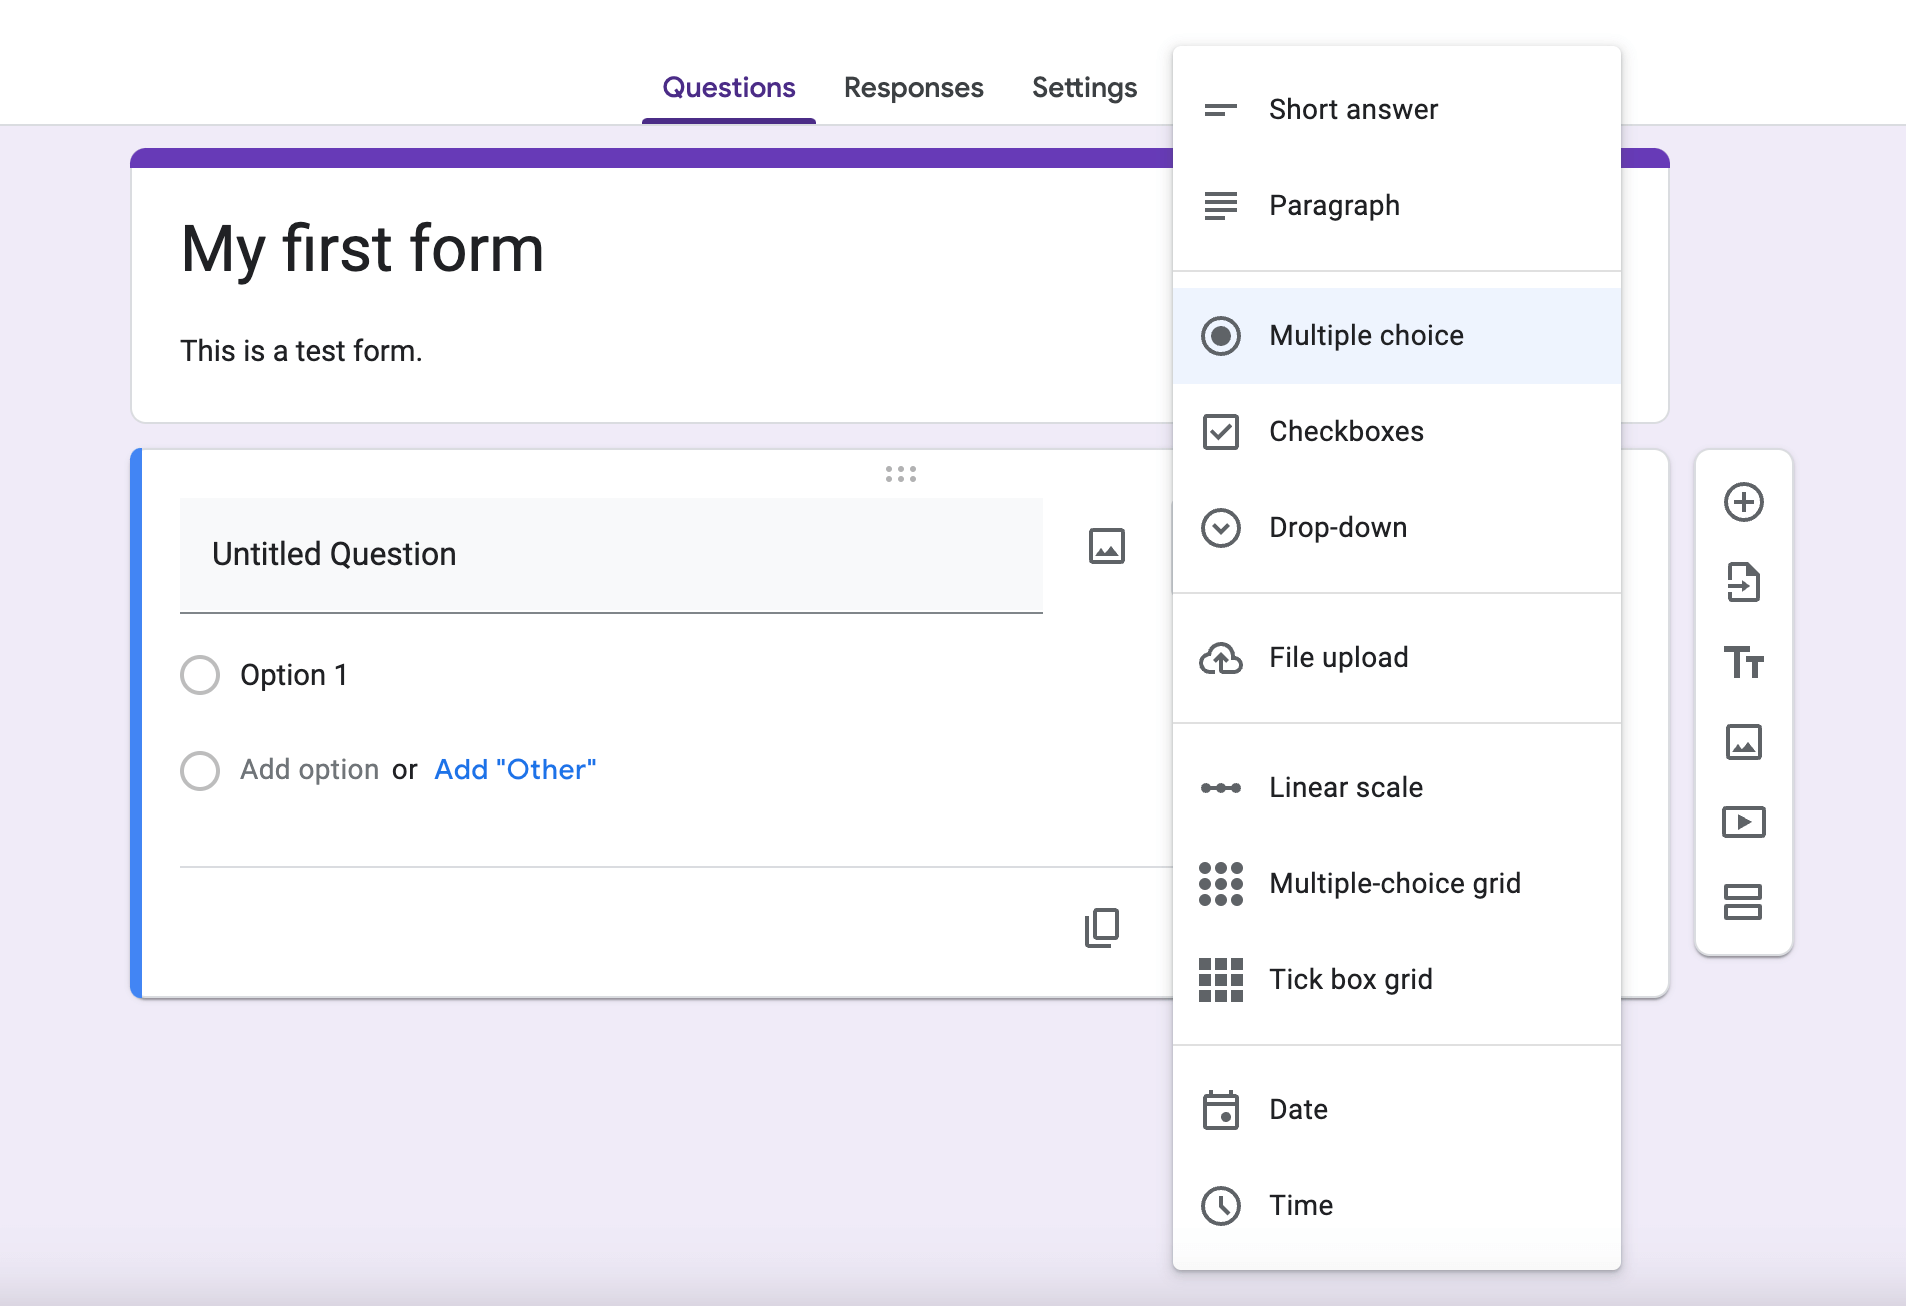
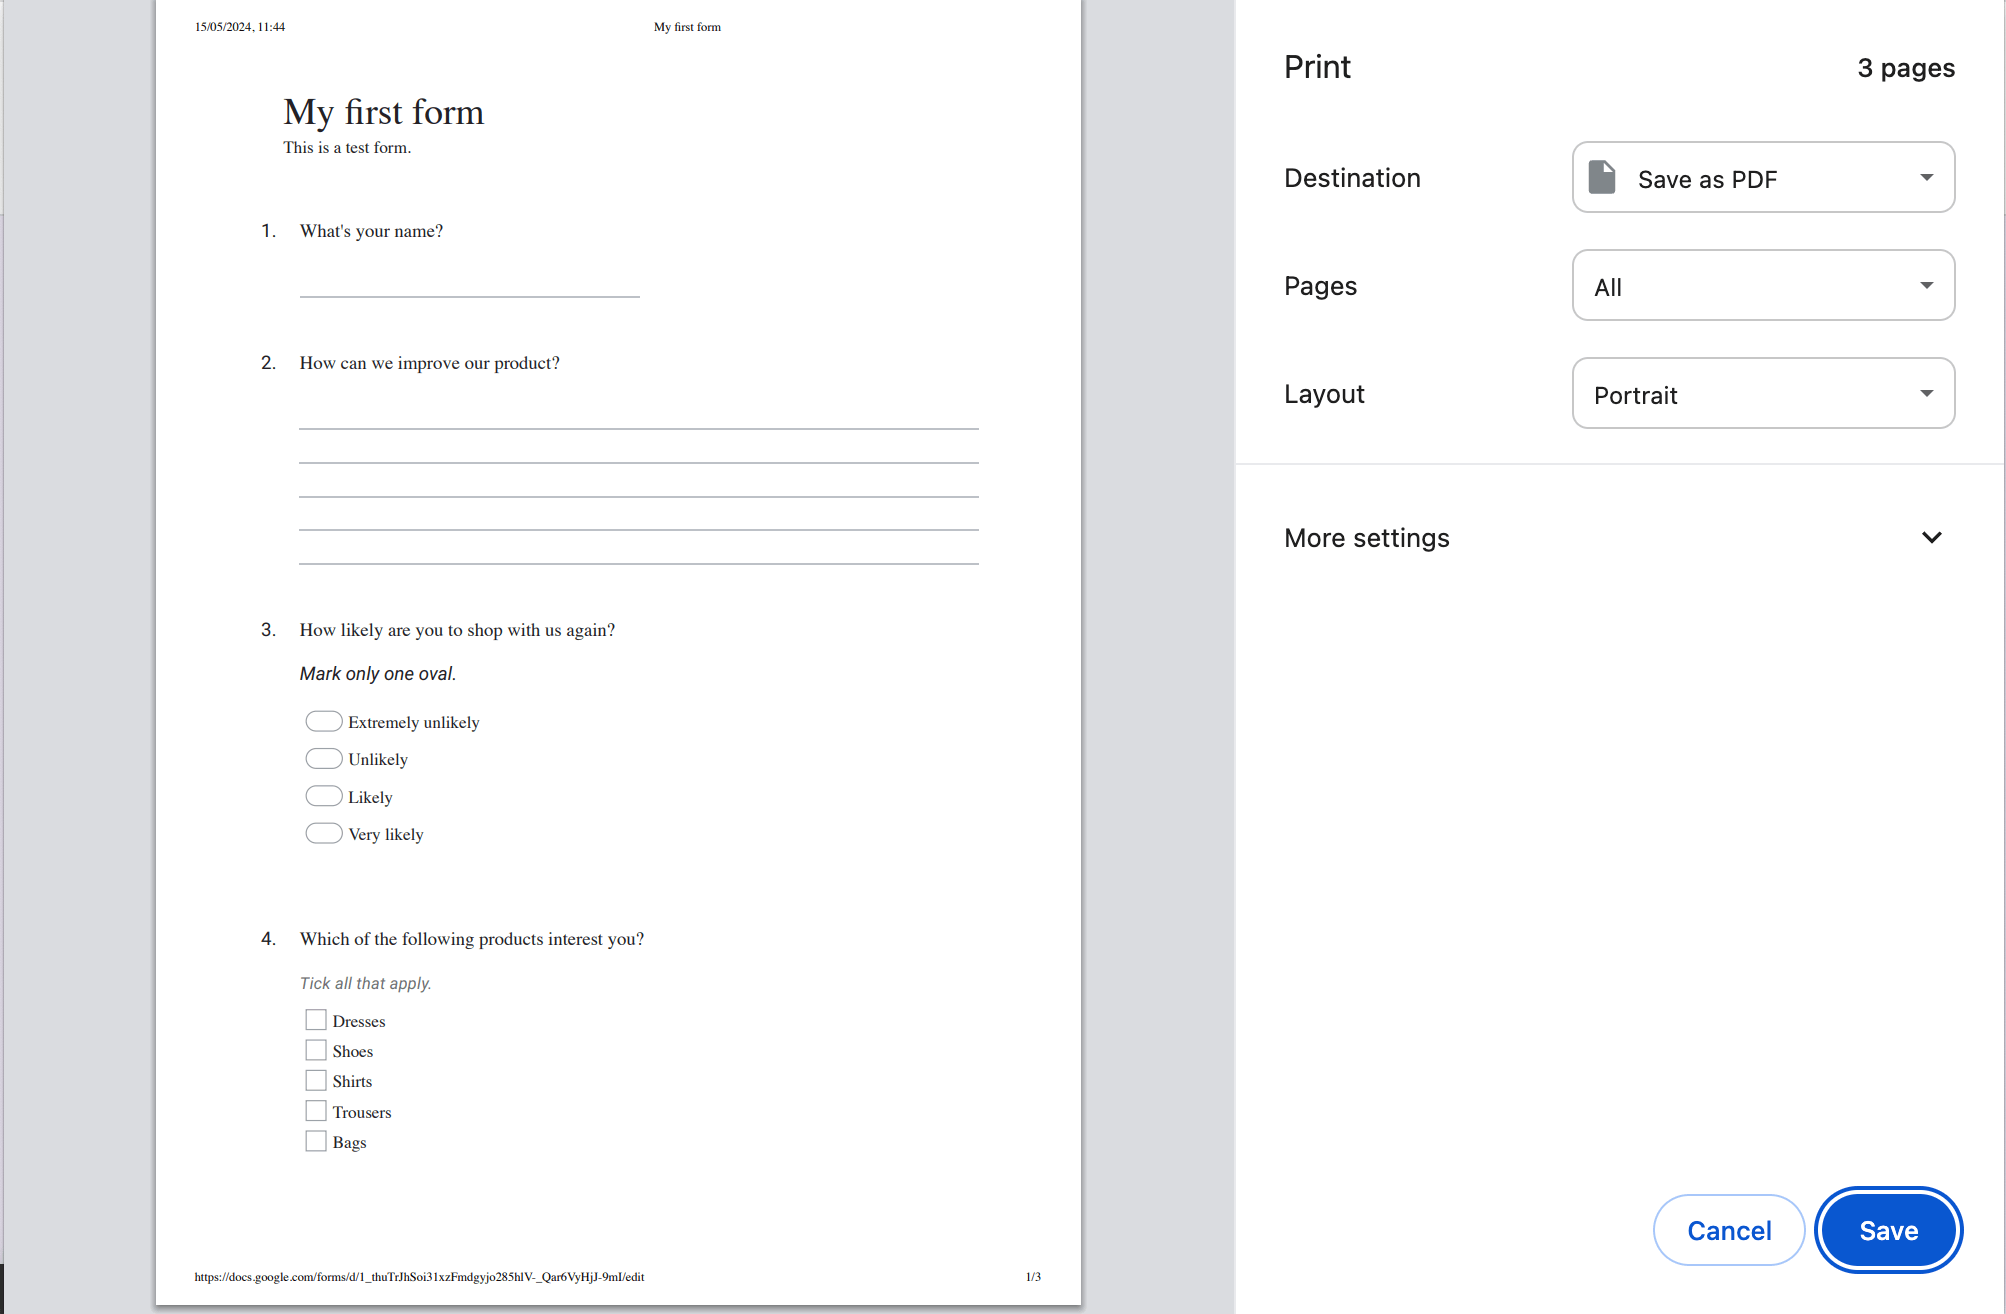
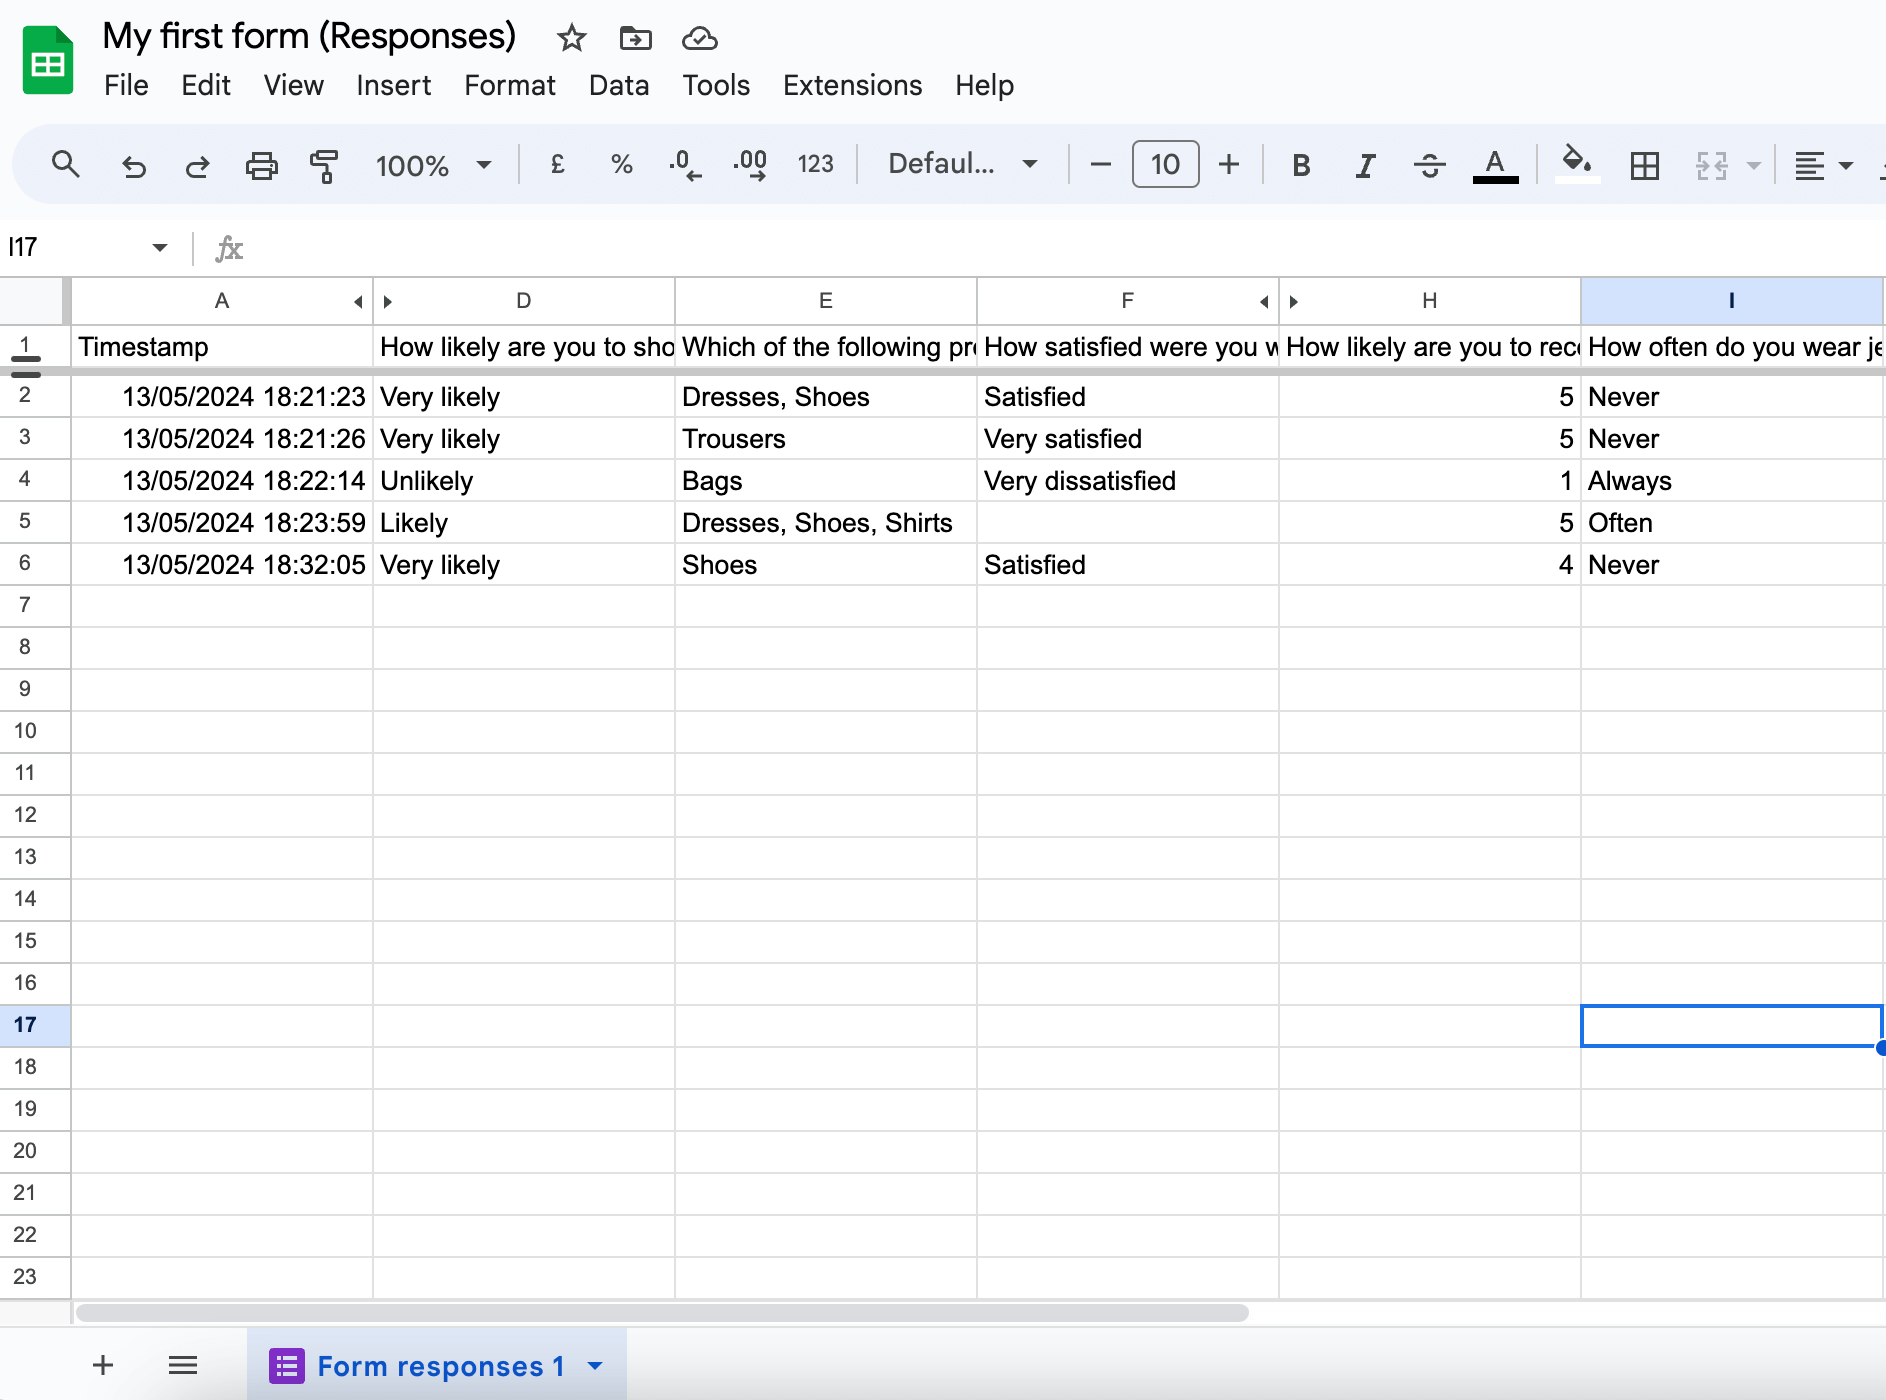
Google Forms is a free tool from Google that allows you to build surveys, quizzes, or feedback forms easily. It allows you to fill your forms to the brim with various question types, customize them with themes and branding, share them with respondents via email or links, collect responses, and analyze the data.
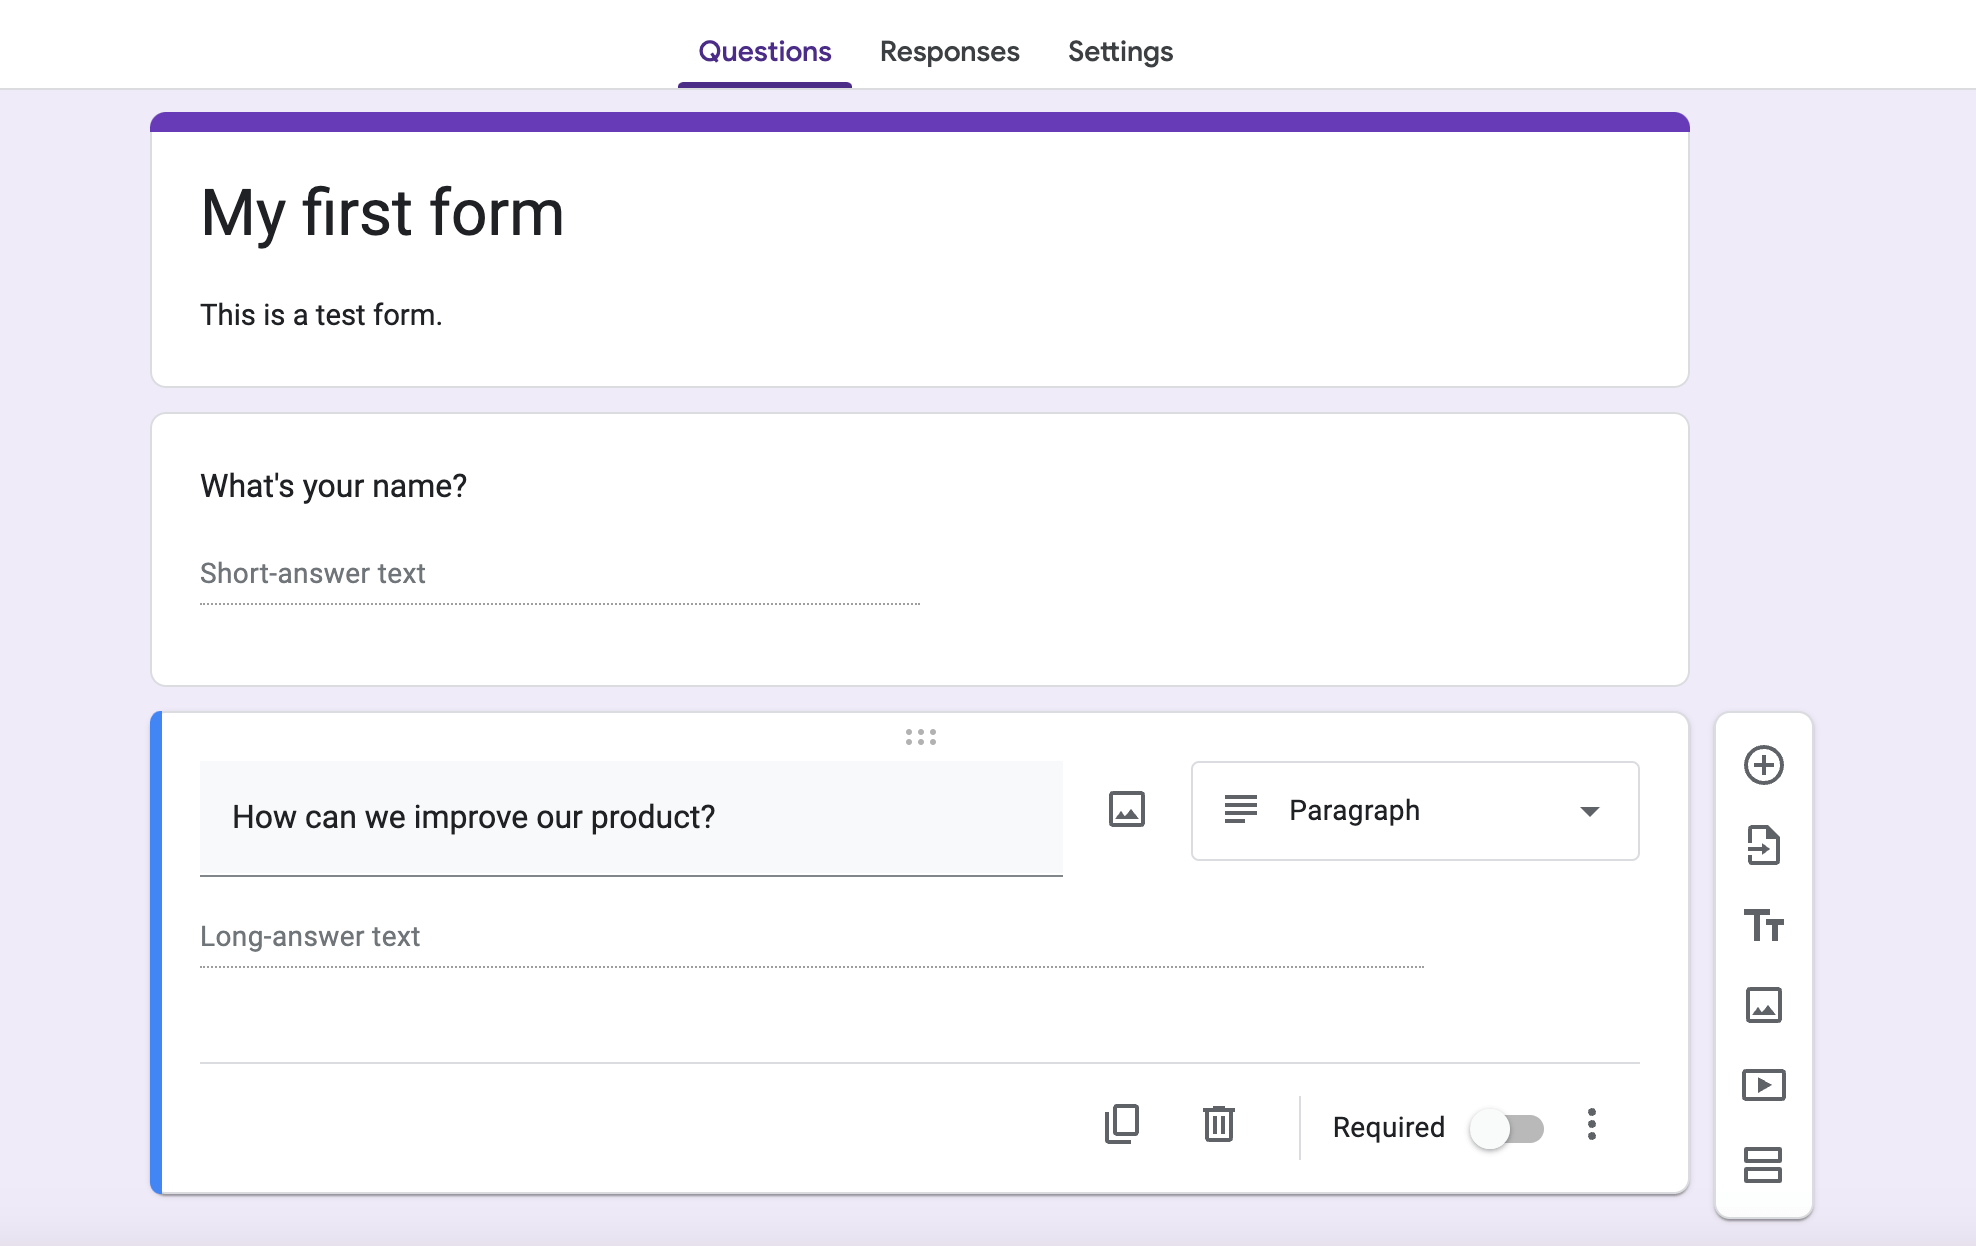
Overall, Google Forms provides email marketers with a versatile and powerful tool for gathering information:
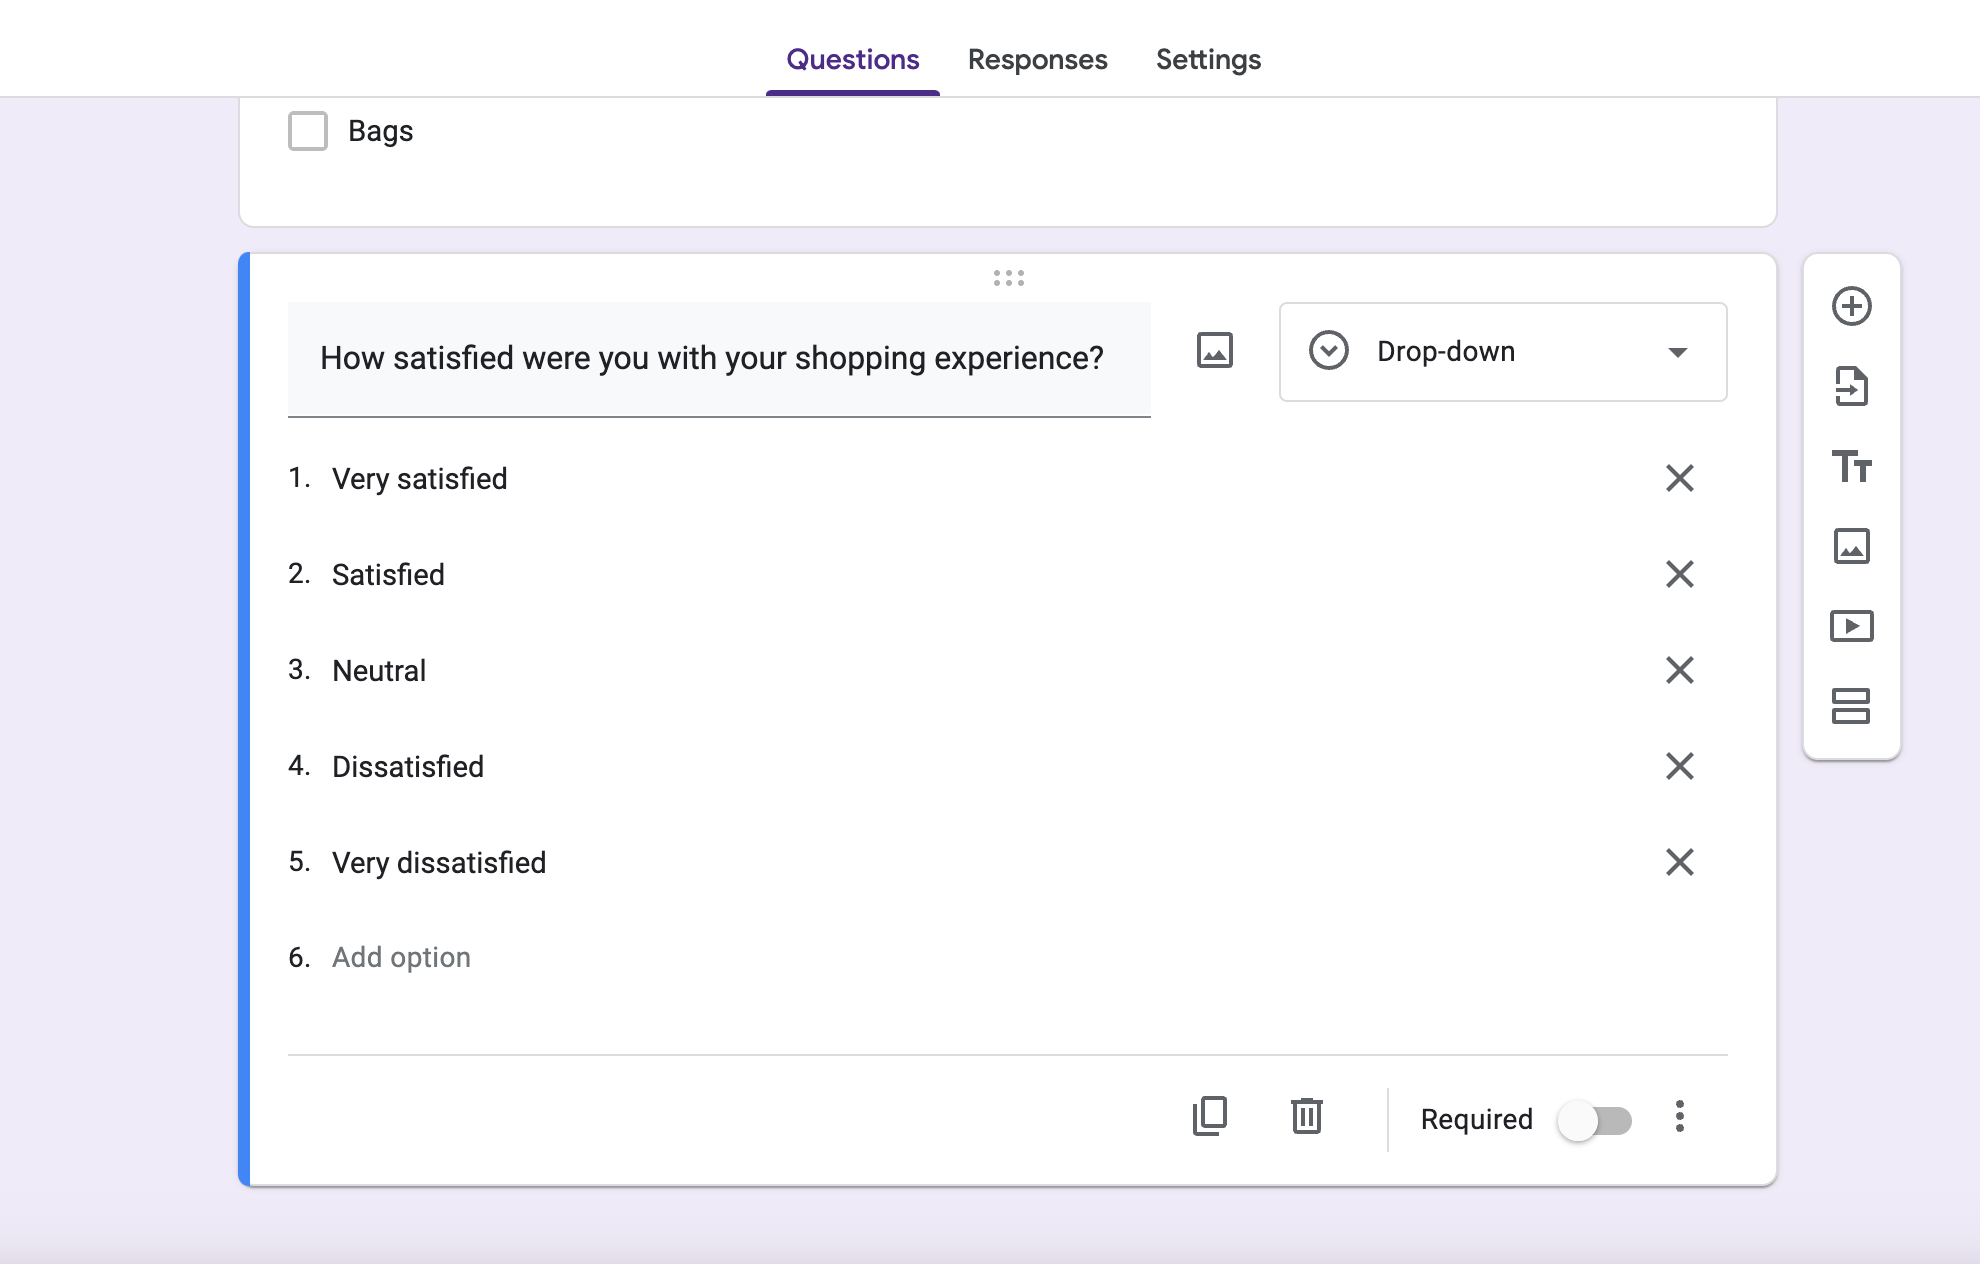
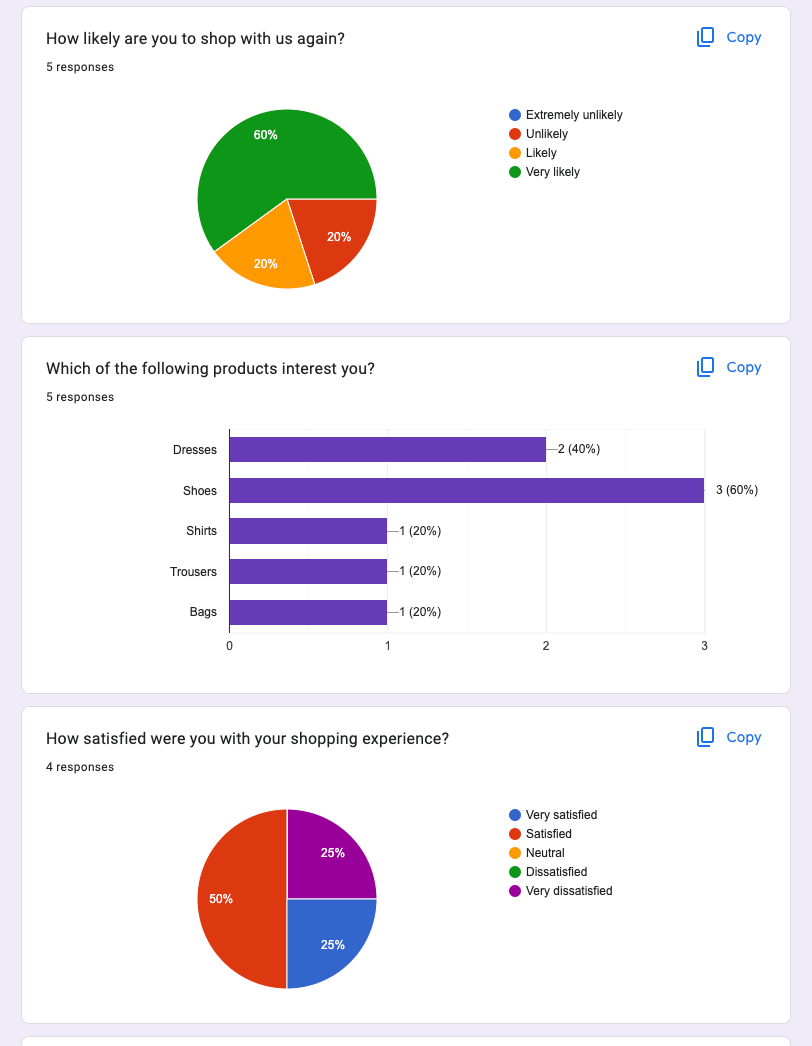
- Collecting feedback. Ask your subscribers about your campaigns, their satisfaction with your product, or any other info you need to tailor future email campaigns and services to better meet their preferences.
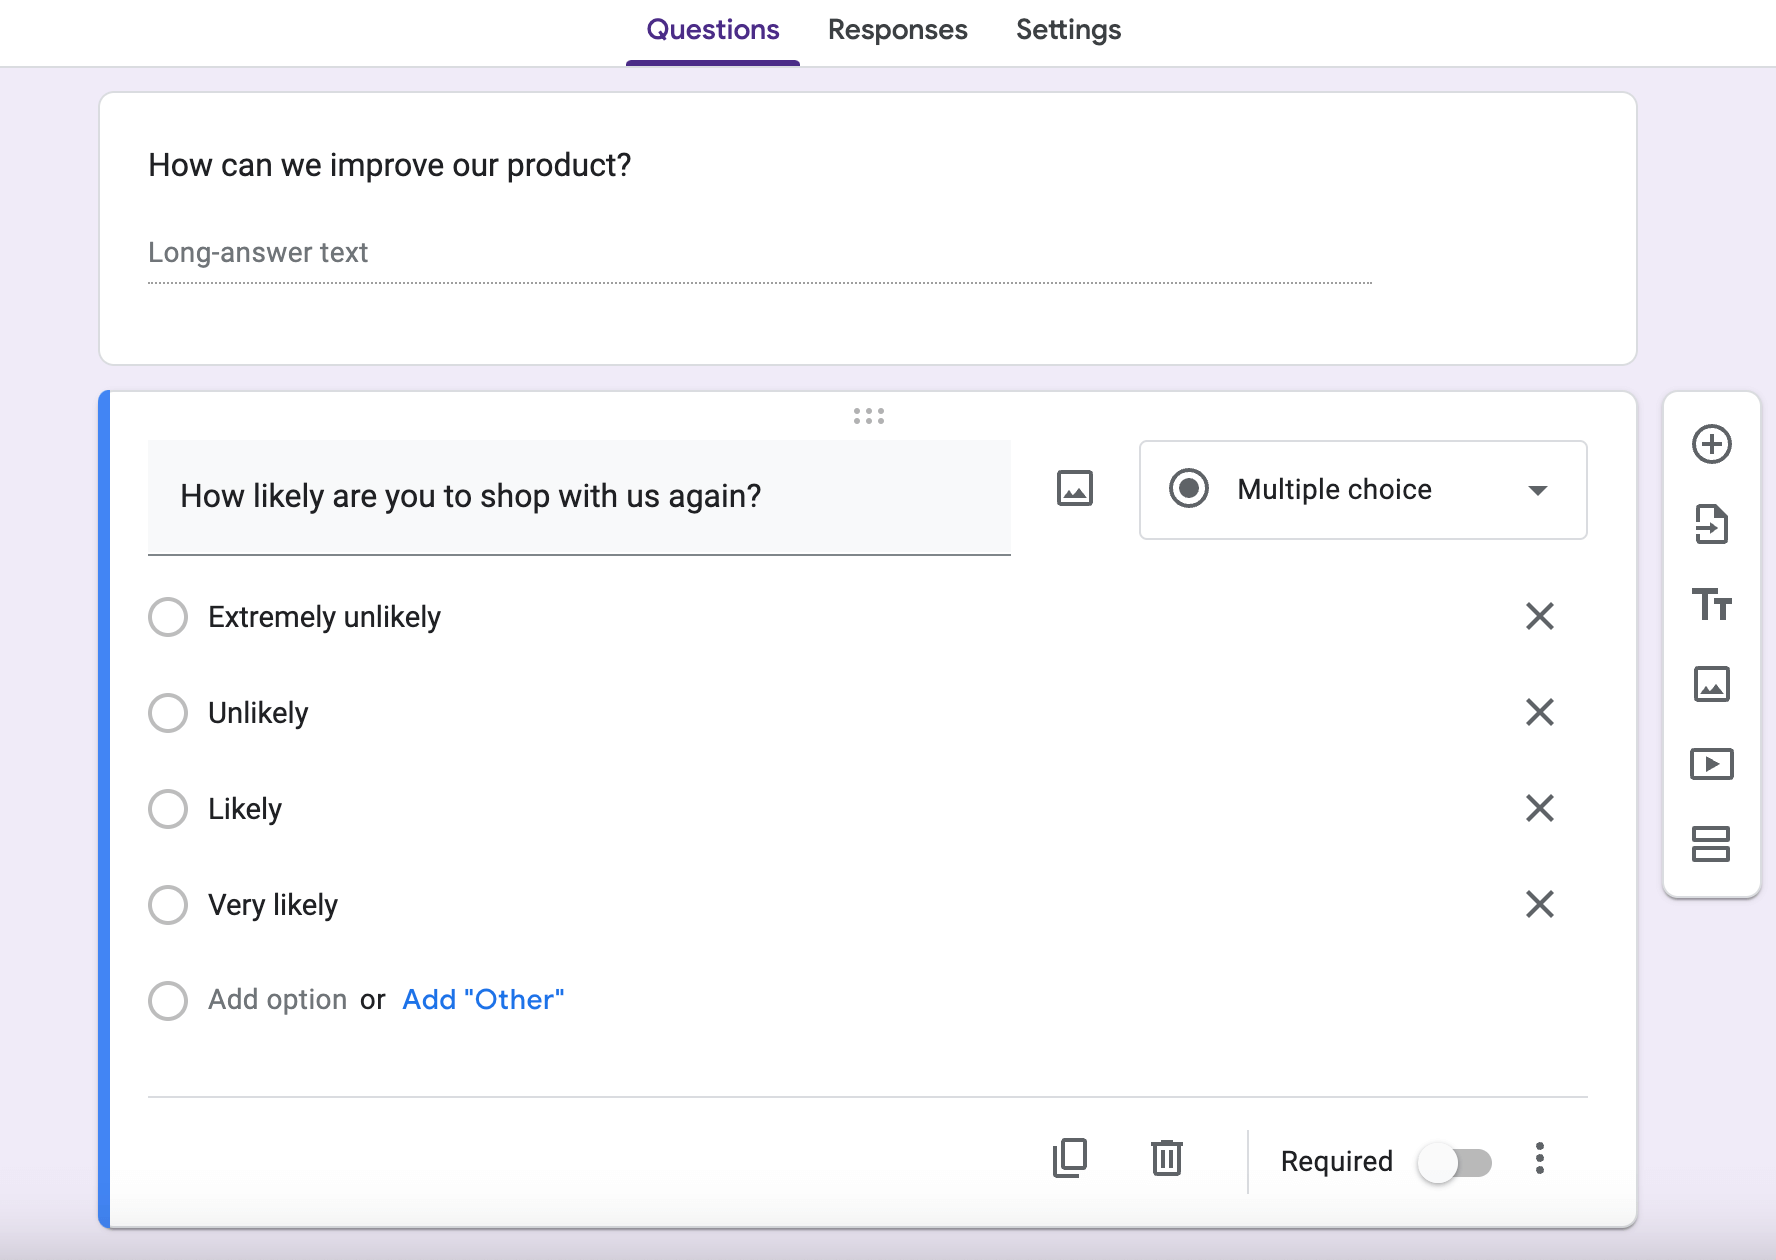
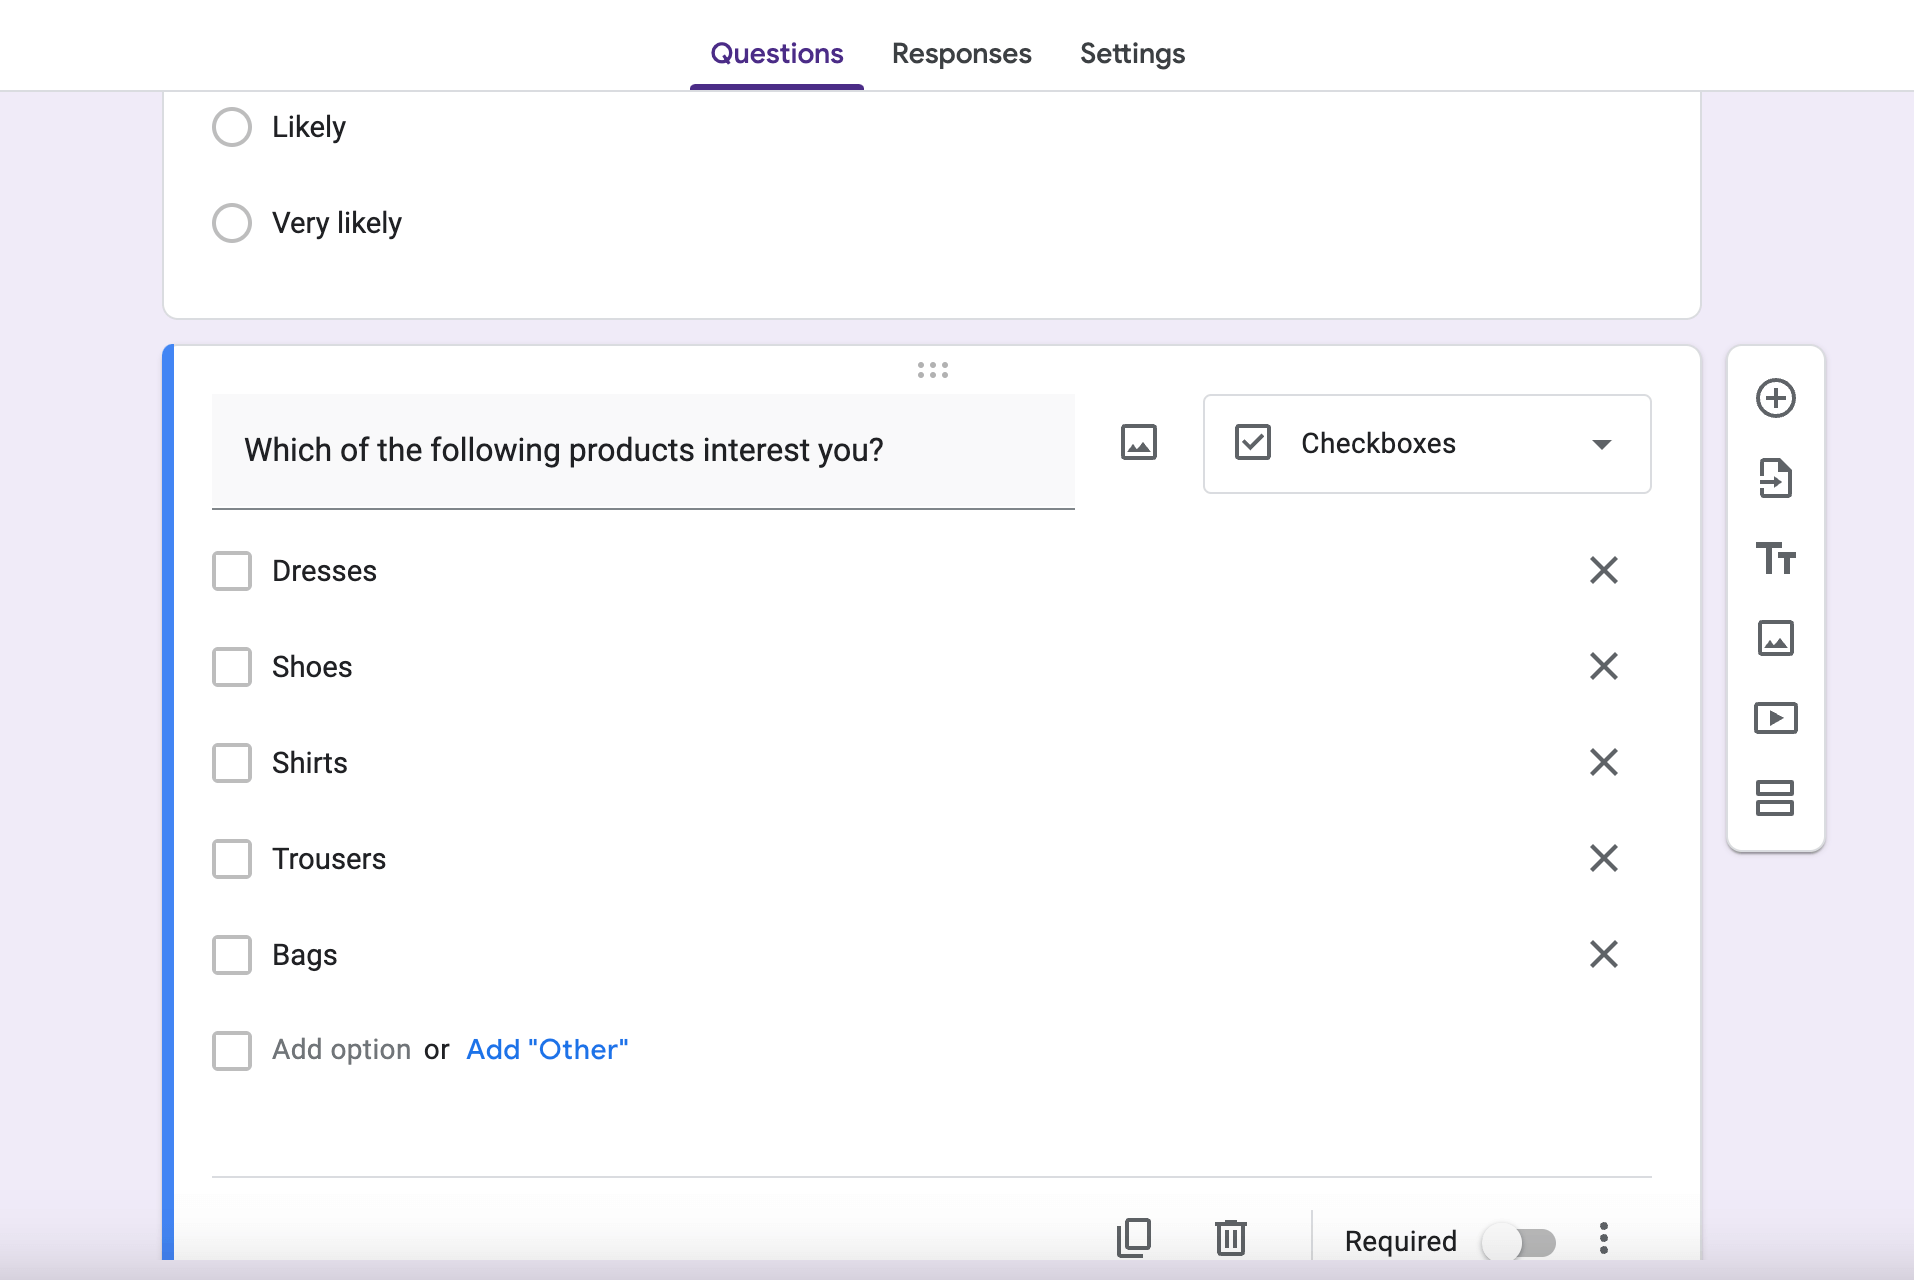
- Surveying. With Google Forms, you can build surveys to collect information from your audience about their demographic data, their interests, or their shopping preferences. Use this info to segment your subscriber lists and send more personalized emails in the future.
- Generating leads. Google Forms can be useful if you want to generate leads and grow your contact list — just ask your respondents for contact information.