An unsubscribe page is the page that opens when you click on the unsubscribe link in an email sent via Selzy. On this page, your subscriber can opt out of receiving emails (unsubscribe) and specify their unsubscribe reasons.
When a new list is created, it is assigned a default unsubscribe page which can be viewed in the "Tools" Section — "Unsubscribe pages".
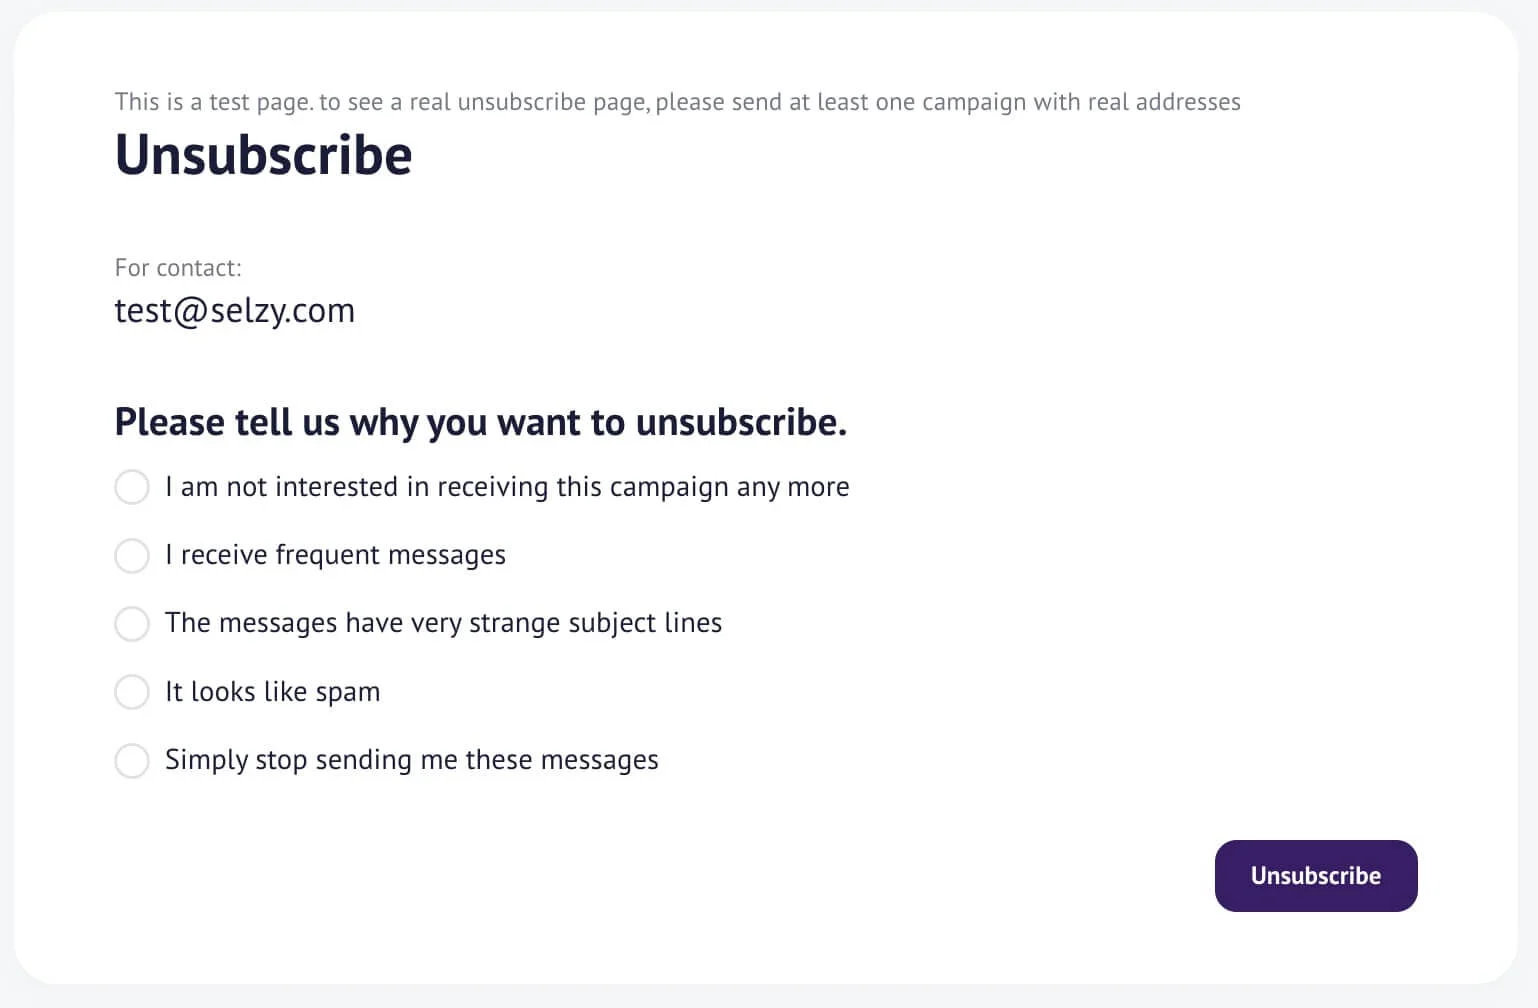
On the default unsubscribe page, the subscriber opts out of receiving all your emails and can explain why he/she made this decision.
Based on the default unsubscribe page template , you can create your own custom unsubscribe page by adding additional unsubscribe settings, as well as changing its appearance.
Creating an unsubscribe page
To create a new unsubscribe page, go to "Tools" section — "Unsubscribe pages" and click "New page".
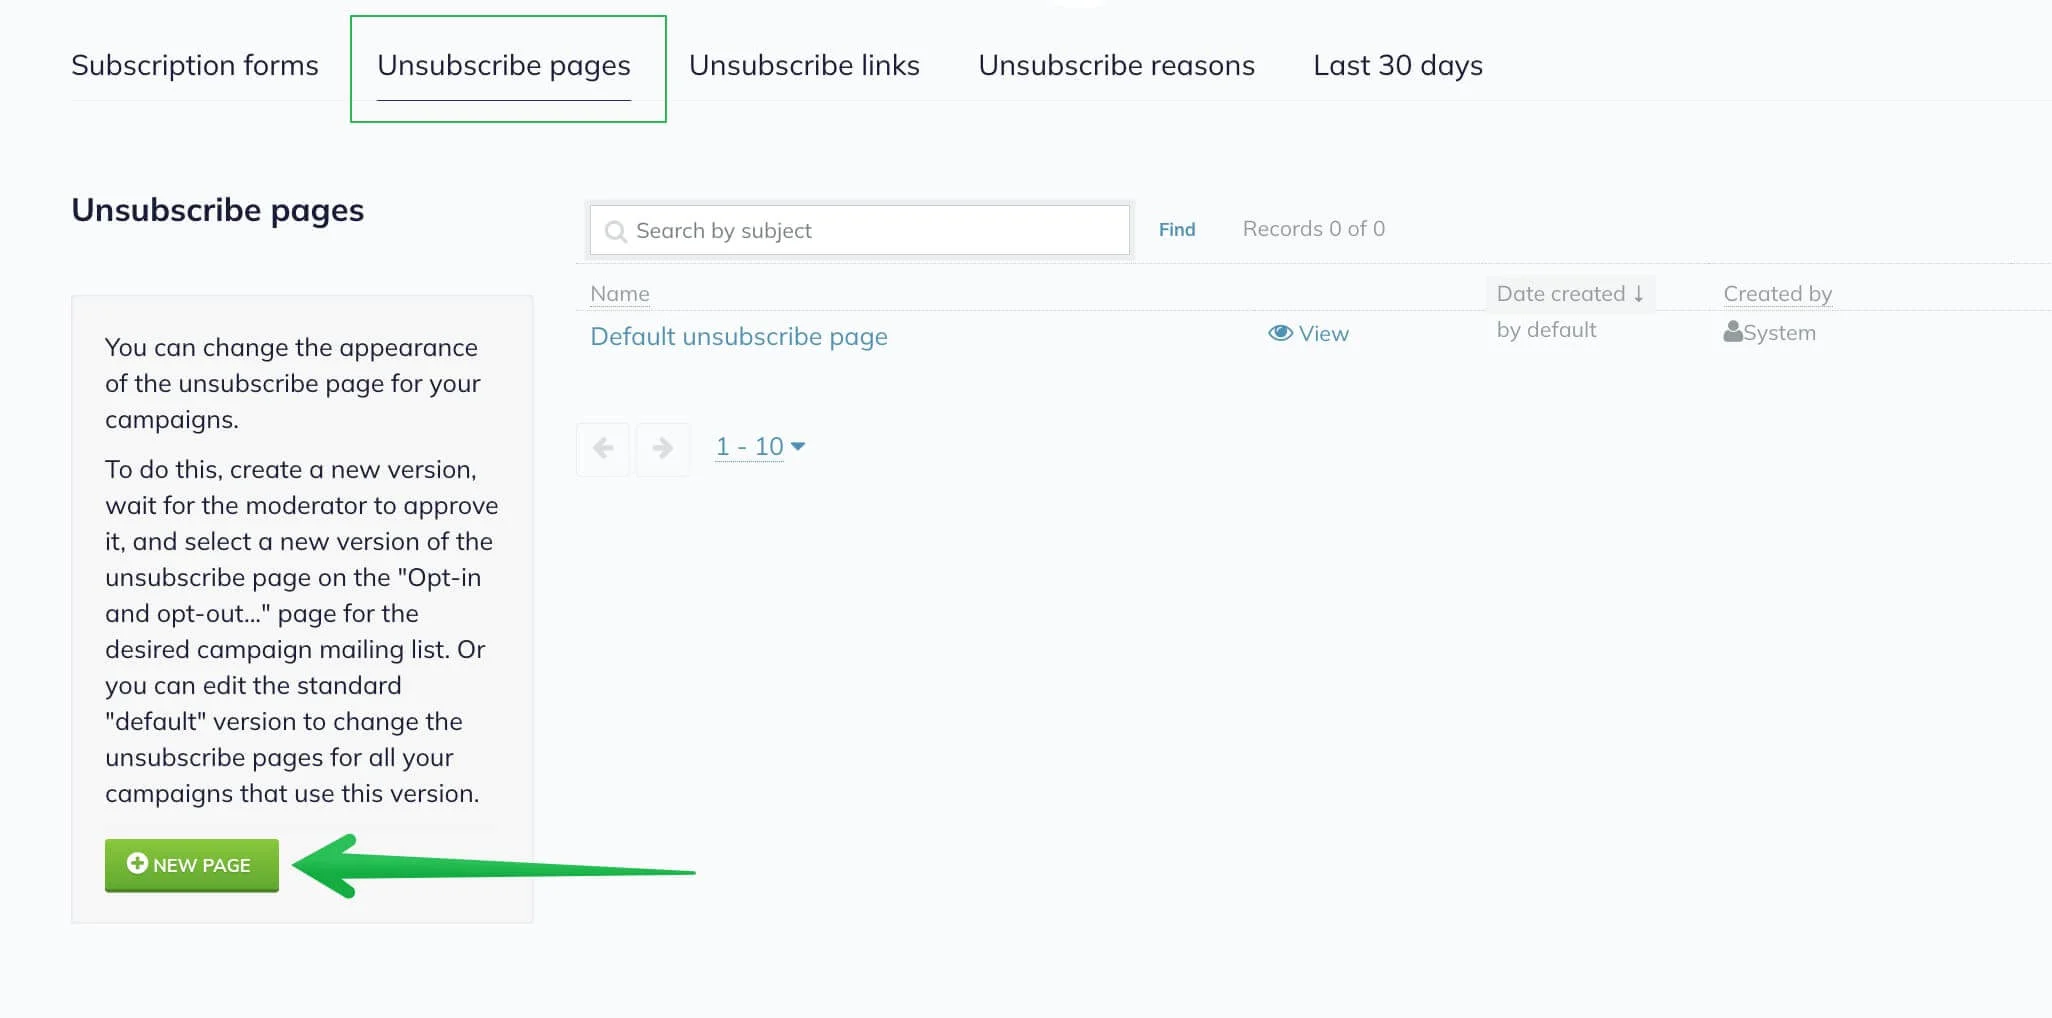
Configure settings for the new page. You can add up your own unsubscribe reasons, prevent contacts from resubscribing via the unsubscribe link, or configure unsubscribing from specific email lists.
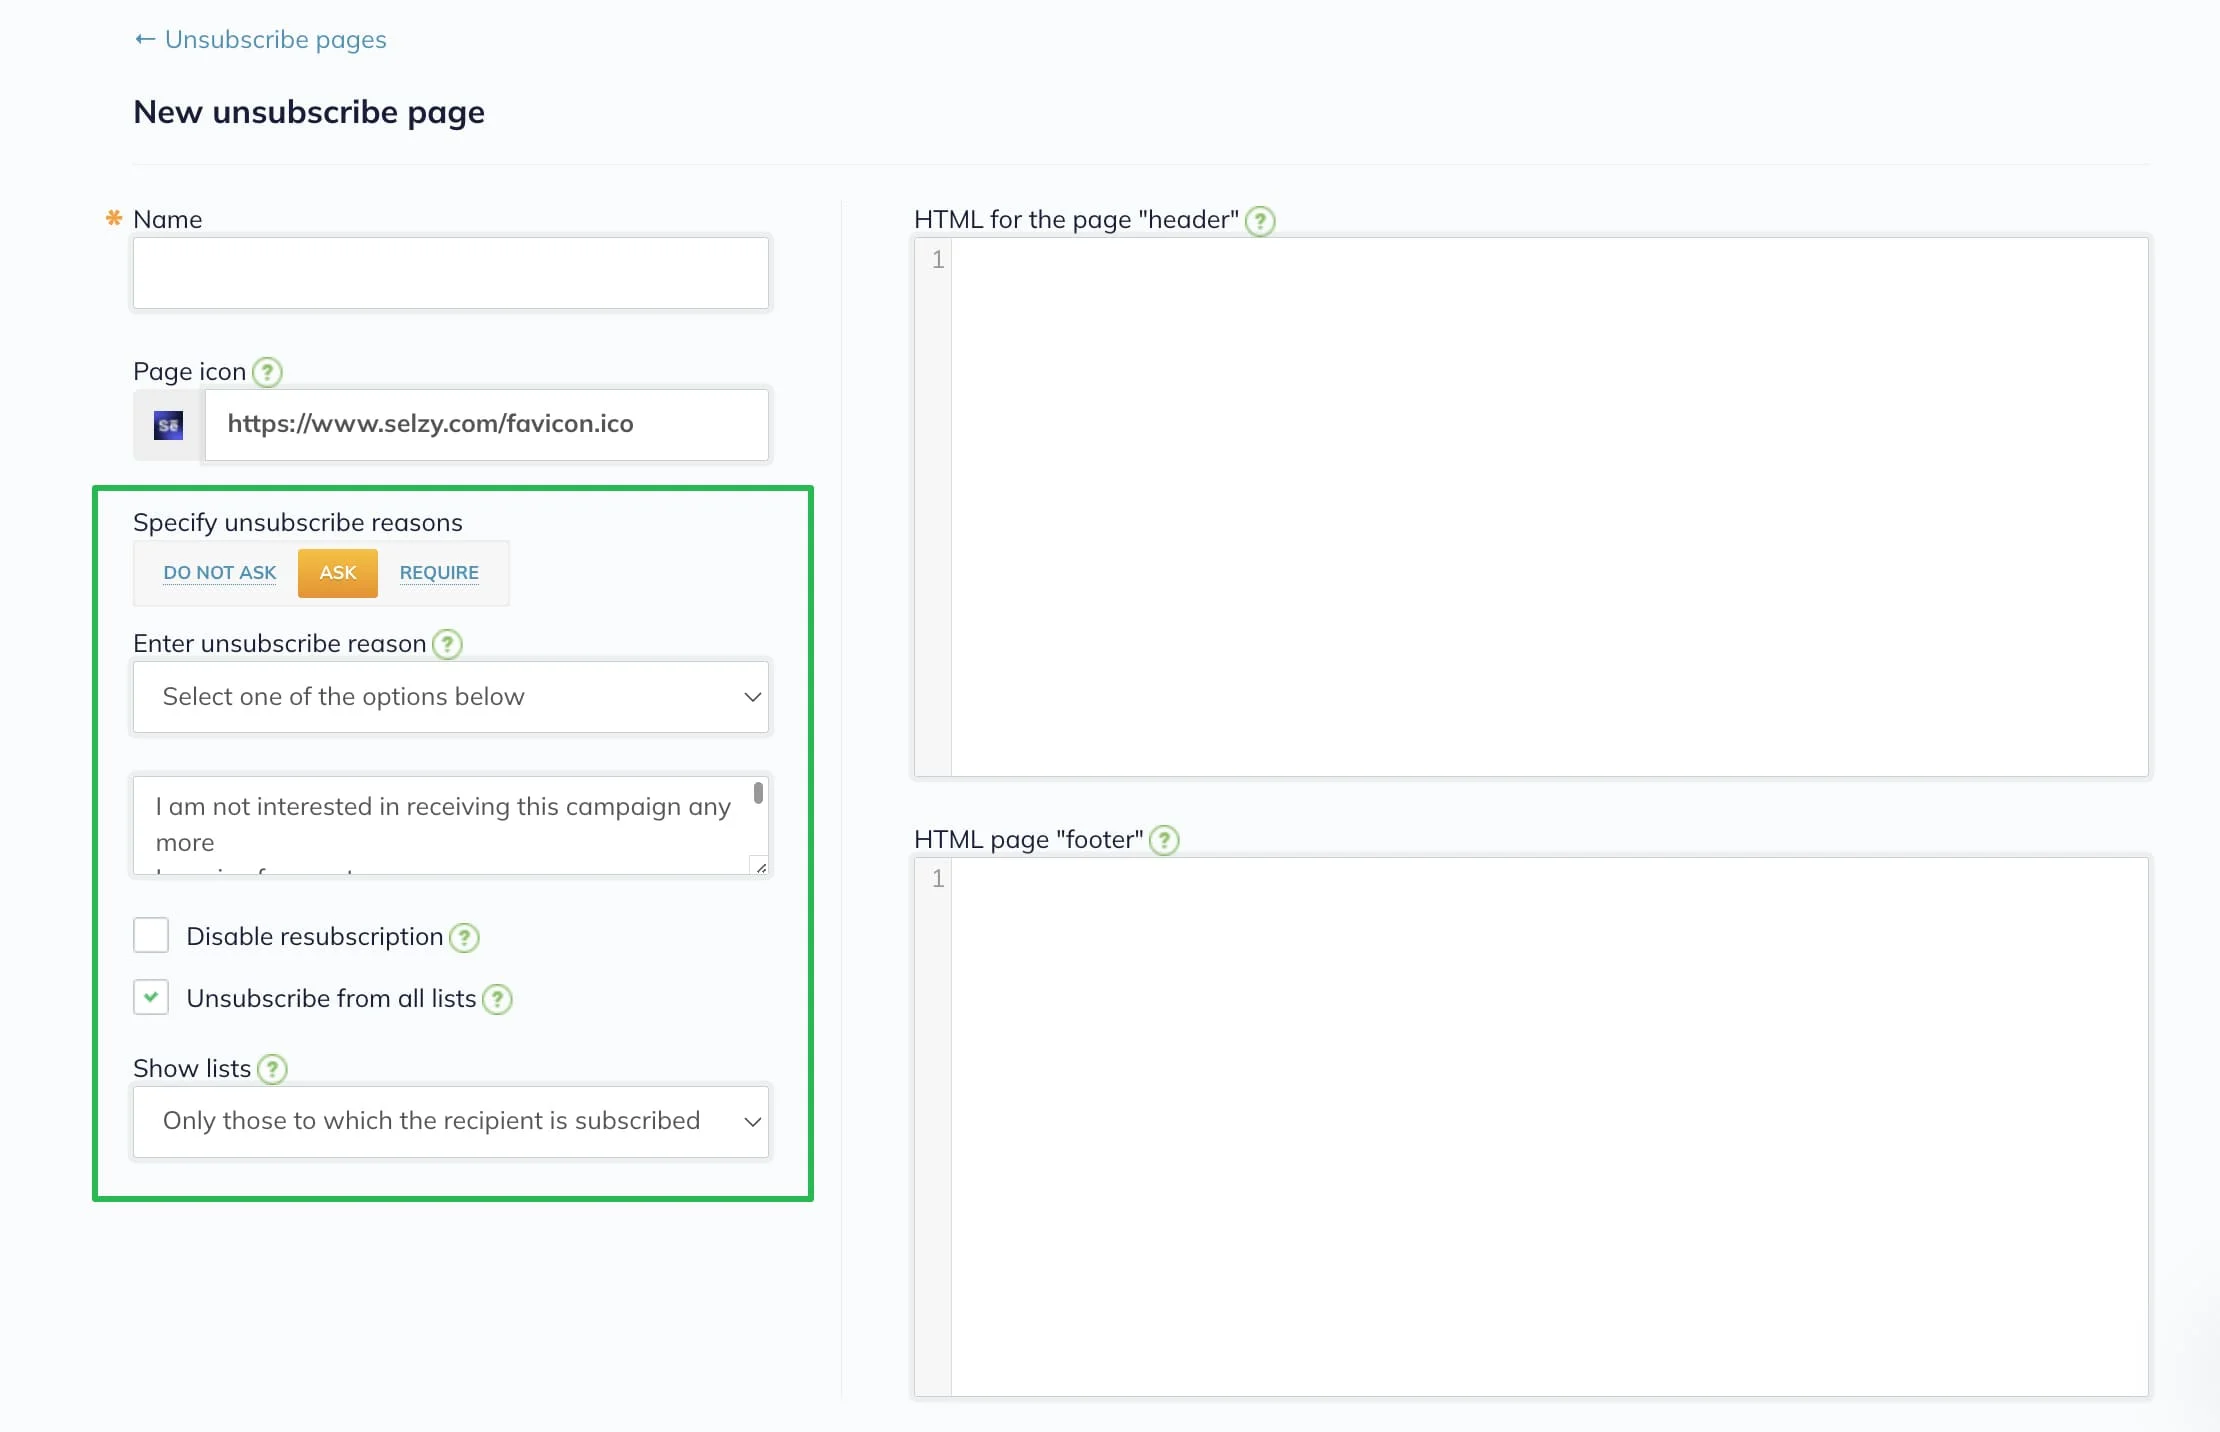
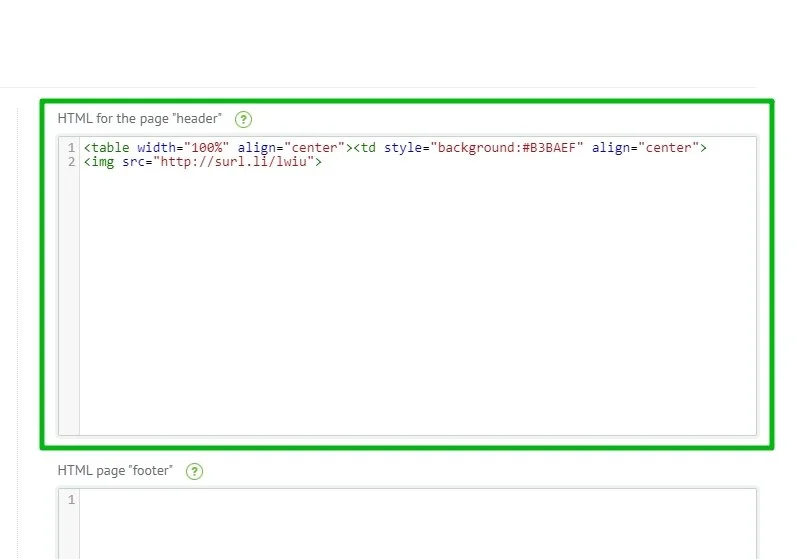
You can also design an unsubscribe page in your corporate style by adding a "header" and a "footer" — the top and the bottom margins of the page. To do this, insert the HTML code into the specified blocks.

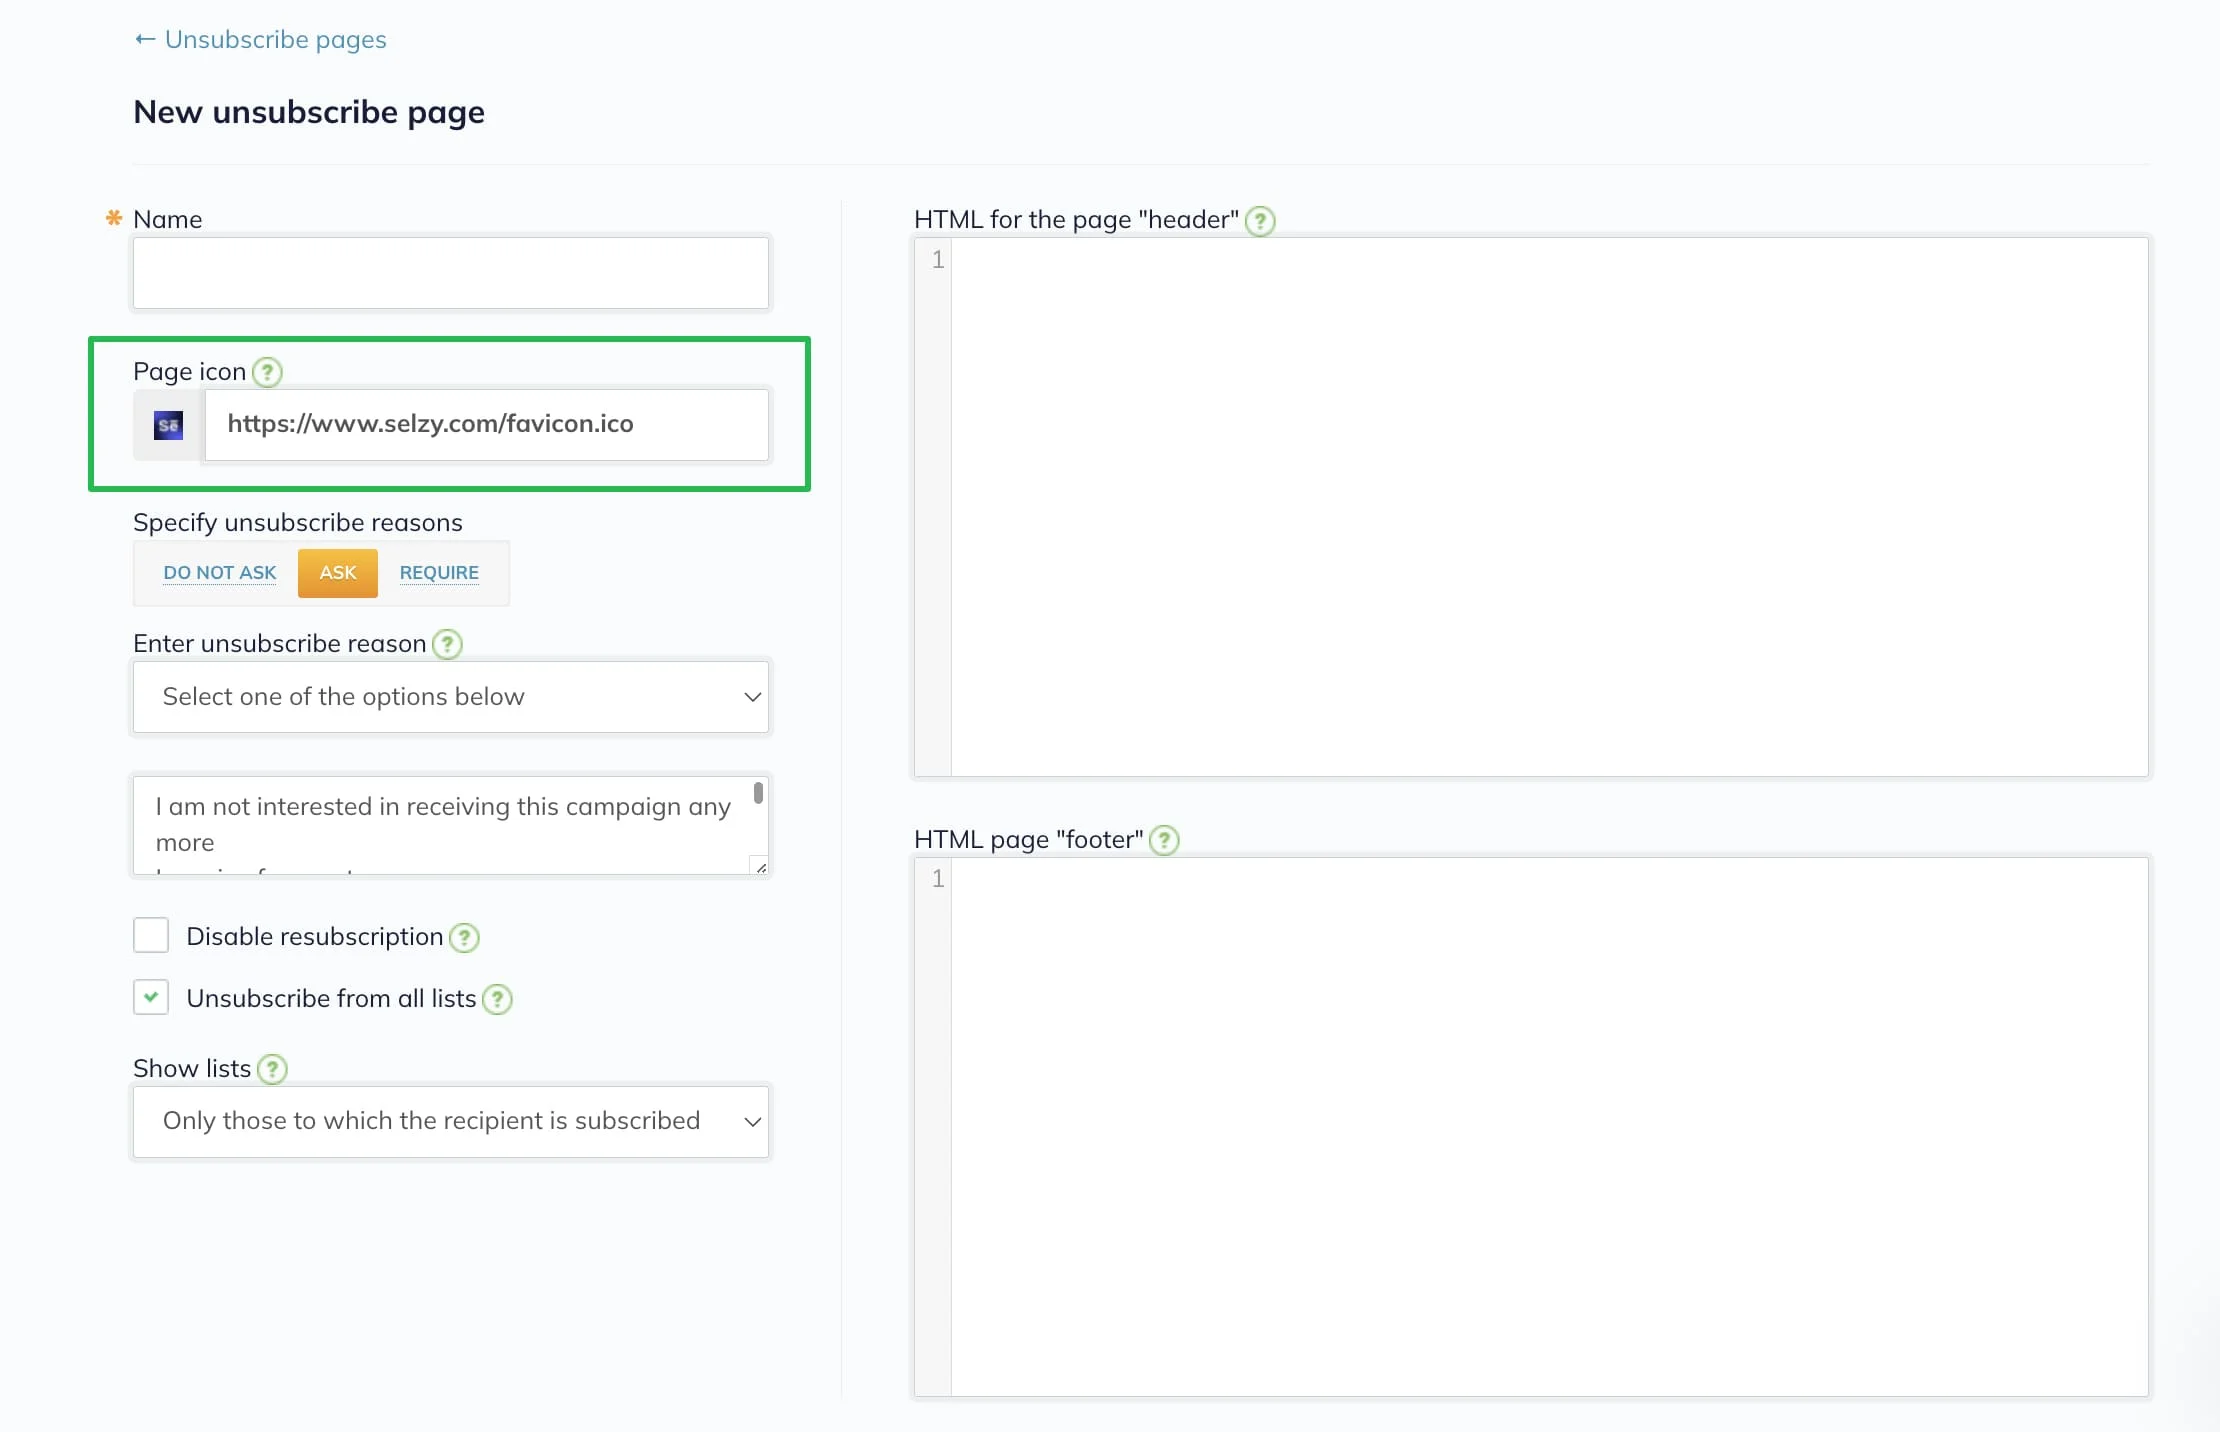
By default, the unsubscribe page tab icon shows the Selzy dog. You can replace it with your website icon by inserting the link in the Page Icon field.
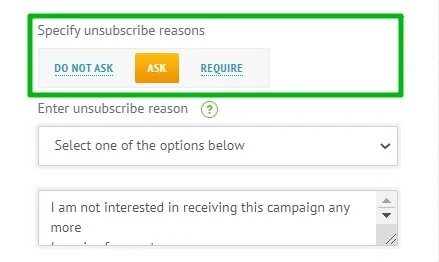
Setting up the unsubscribe reason block
For a unsubscribe new page, you can completely disable the unsubscribe reason feature, provide a chance to specify it optionally, or make this step required.
You can ask the subscriber to explain why they do not want to receive your emails (any text) or choose the reason to unsubscribe from the suggested list. You can leave both options enabled.
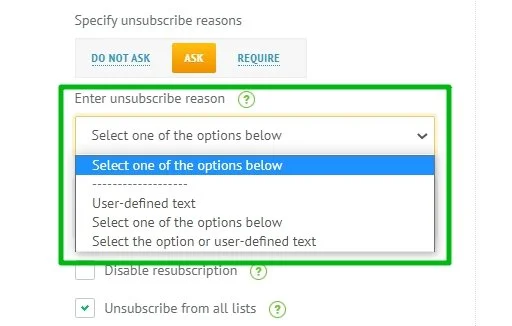
If you want, you can edit the list of reasons by adding your own options and removing options you don't need.
Statistics on unsubscribe reasons is available on the page "Tools" — "Unsubscribe reasons".
After reviewing the unsubscribe reasons , you can understand what exactly the recipients do not like in your mailings, and make them better.
How to disable resubscription via the unsubscribe link
Contacts can either unsubscribe from receiving emails by clicking on the unsubscribe link in the email, or resubscribe to the newsletter by clicking on it again.
If you do not want subscribers to have this option, select the Disable resubscription condition.

In this case, the recipients will be able to subscribe to your newsletter again only through the subscription form.
Adding the header and footer to the unsubscribe page
The default unsubscribe page has only a block with contact data and input/selection fields.
To add the top and bottom margins of the unsubscribe page, the so-called "header" and the "footer", insert the HTML code in special blocks. This way you can create an unsubscribe page in corporate style by adding a logo, a block with contacts, and links to social media websites.
Unsubscribing from specific lists
By default, contacts are unsubscribed from all newsletters of the account. If you want to set up unsubscription from specific lists, uncheck the "Unsubscribe from all lists".
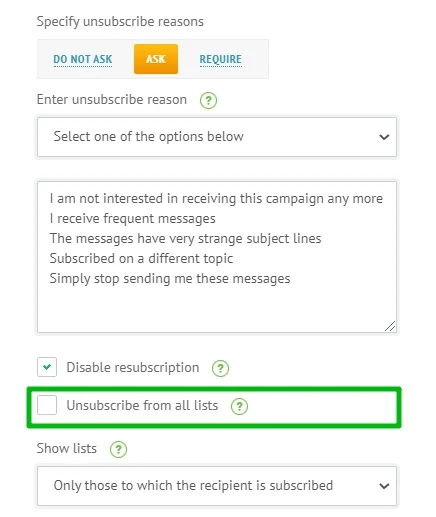
In this case, when opting out, the contact will have the Unsubscribed status only in the list to which the email was sent. In the other lists, the subscriber will still have the Activate status.
What is a status of email address and how it changes
You can allow subscribers to choose which newsletters to receive. To do this, specify the lists that will be displayed on the unsubscribe page. You check the box next to the list name — you subscribe; you uncheck the box — you unsubscribe.
Customizing unsubscription from a list

Starting using your unsubscribe page
After creating an unsubscribe page, give it a name and click "Publish".

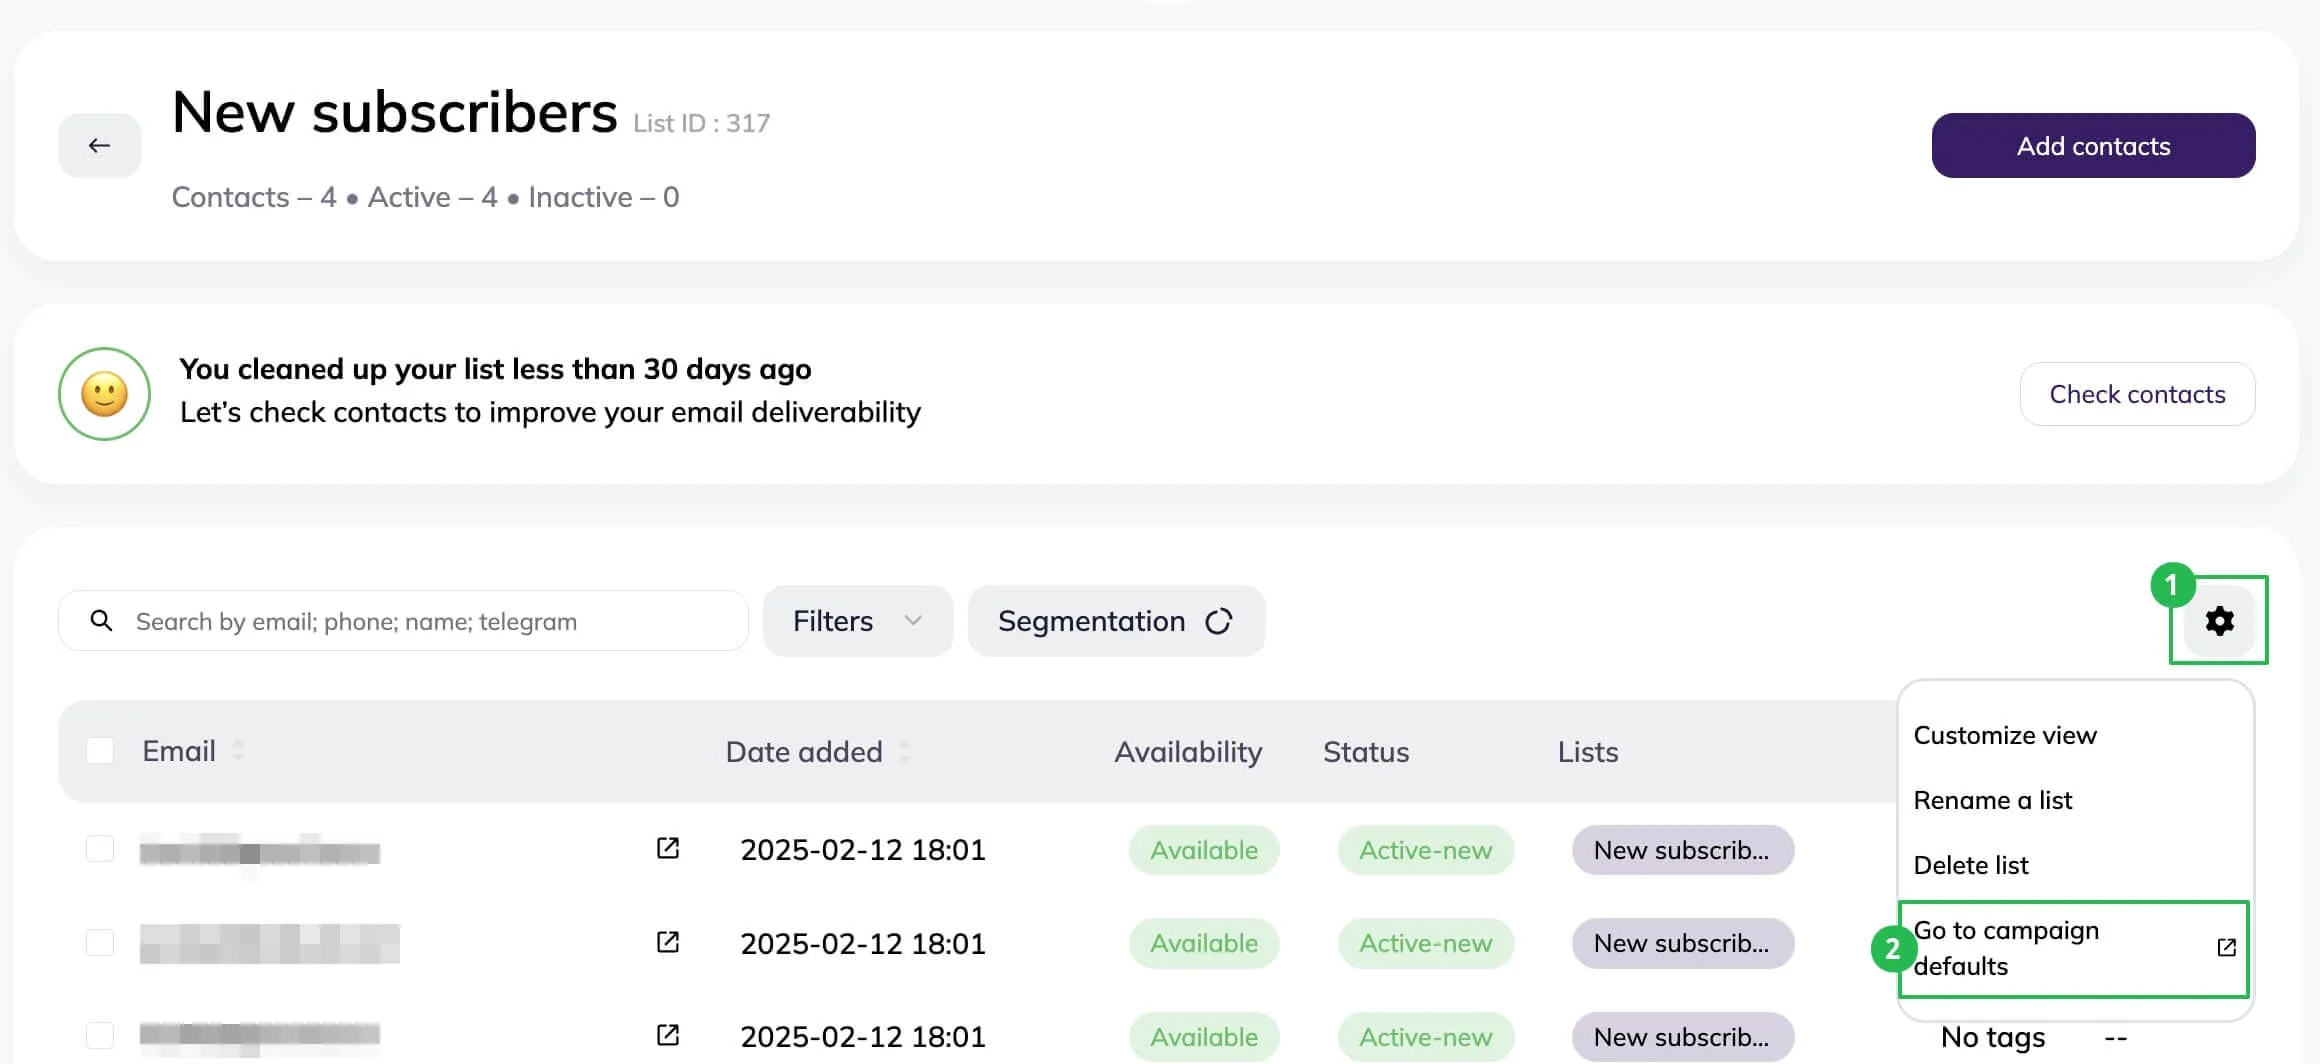
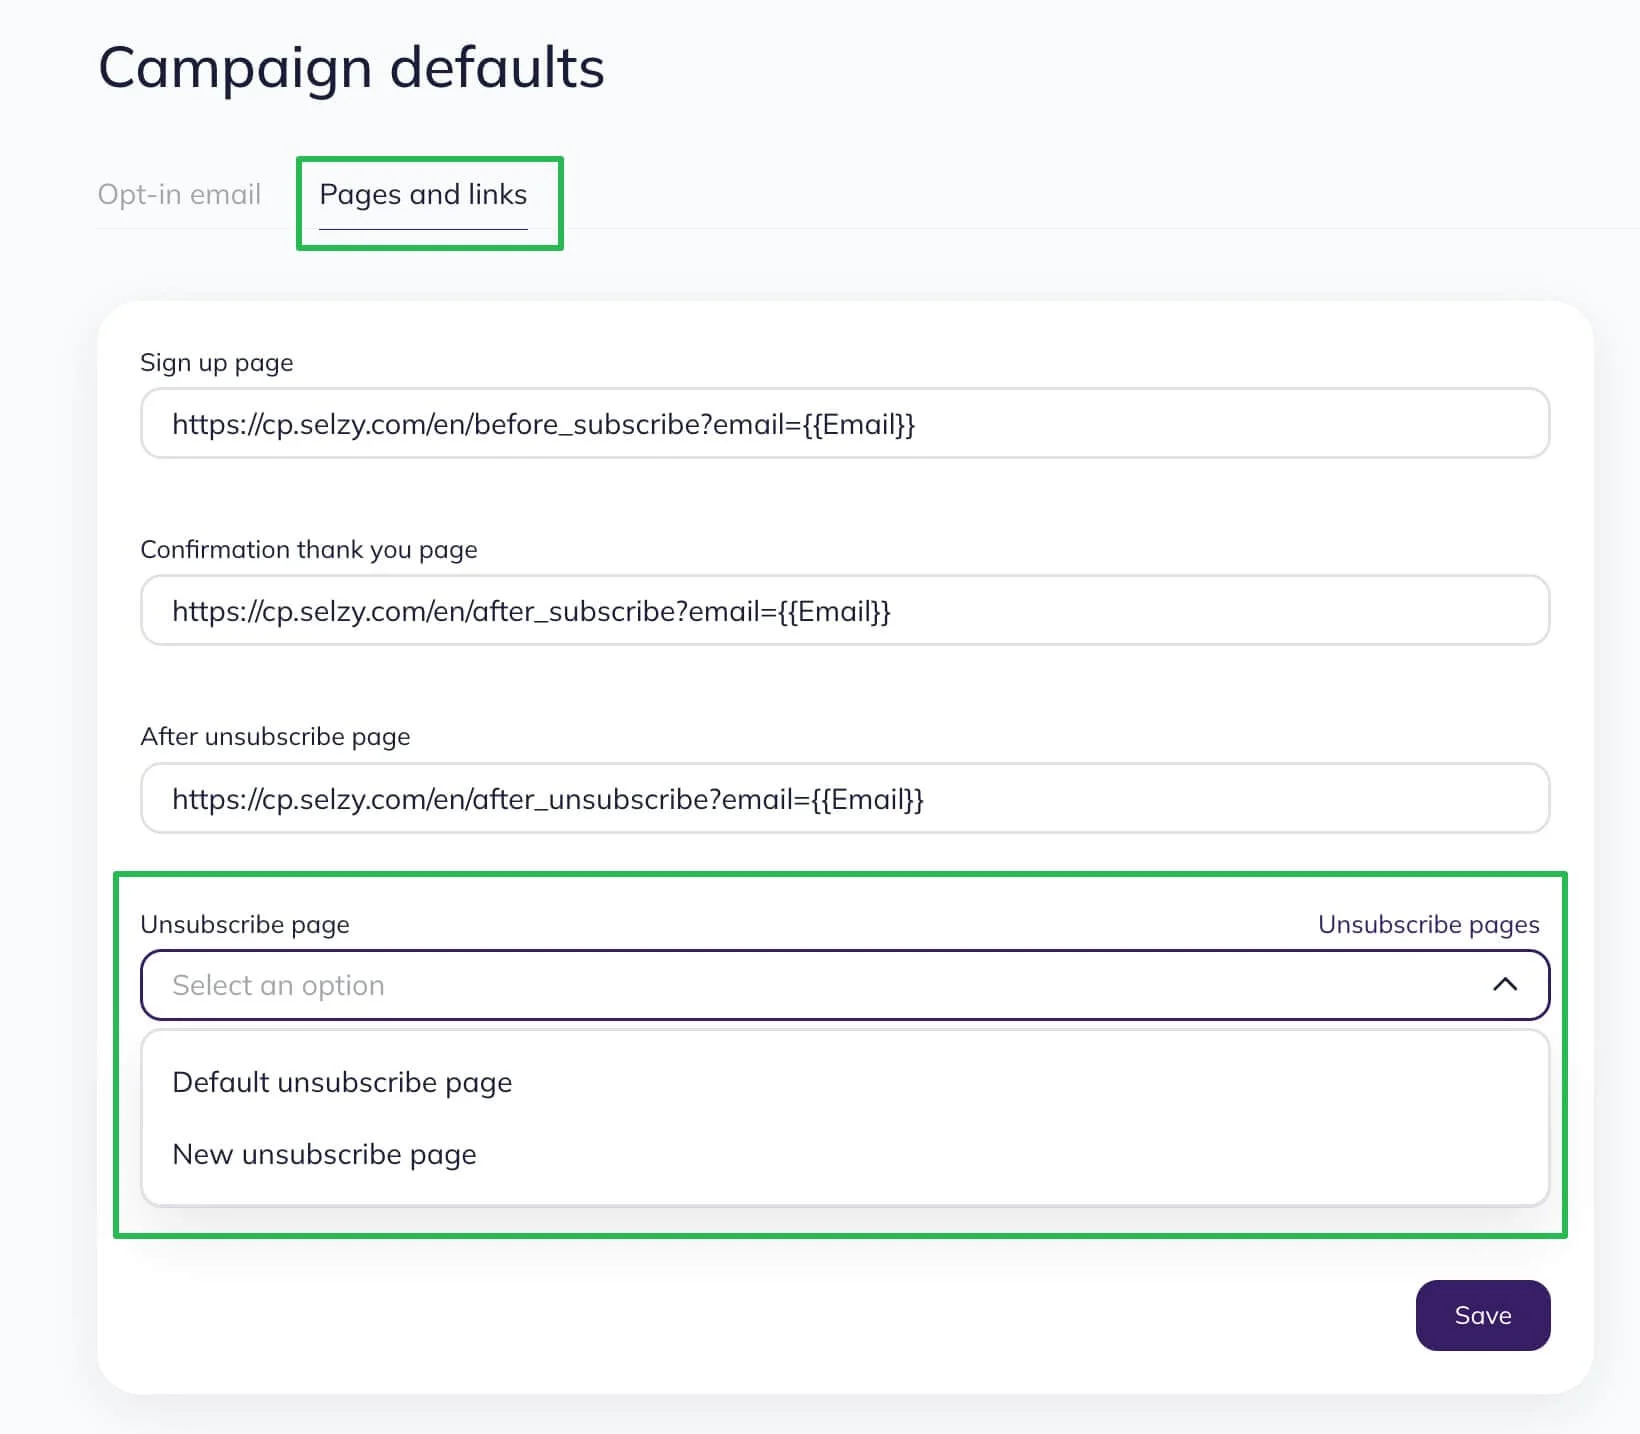
The unsubscribe page is specified separately for each contact list. To select the unsubscribe page you created, open the list, "Go to camaign defaults", and select your page on the Pages and links tab. Save your changes.