Tags are labels that you can use to segment your contact database into different categories. You can use tags to segment your subscribers by any custom criteria. For example, you can add a tag to all contacts that have been imported from your CRM system, or assign tags to different categories of products that your customers buy from you.
Tagging contacts
Tagging while importing contacts
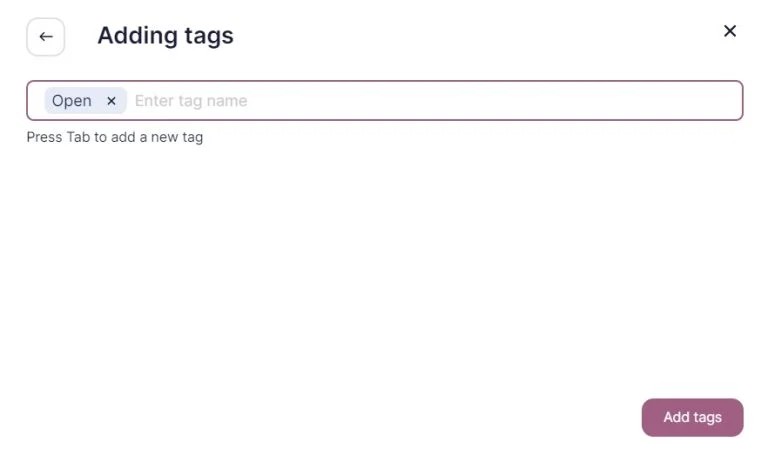
When uploading contacts from a file, click Add tags after selecting a contact list.
Enter a tag and press Enter. You can add multiple tags. To do so, press Enter or separate your tags with a comma.
Mass tagging from Contacts
To add tags to your contacts, you can go to Contacts — All Contacts, or to Contacts — Lists on the page of a particular list.
In the Contacts — All Contacts section, select the contacts you need. To do this, tick the contacts manually.
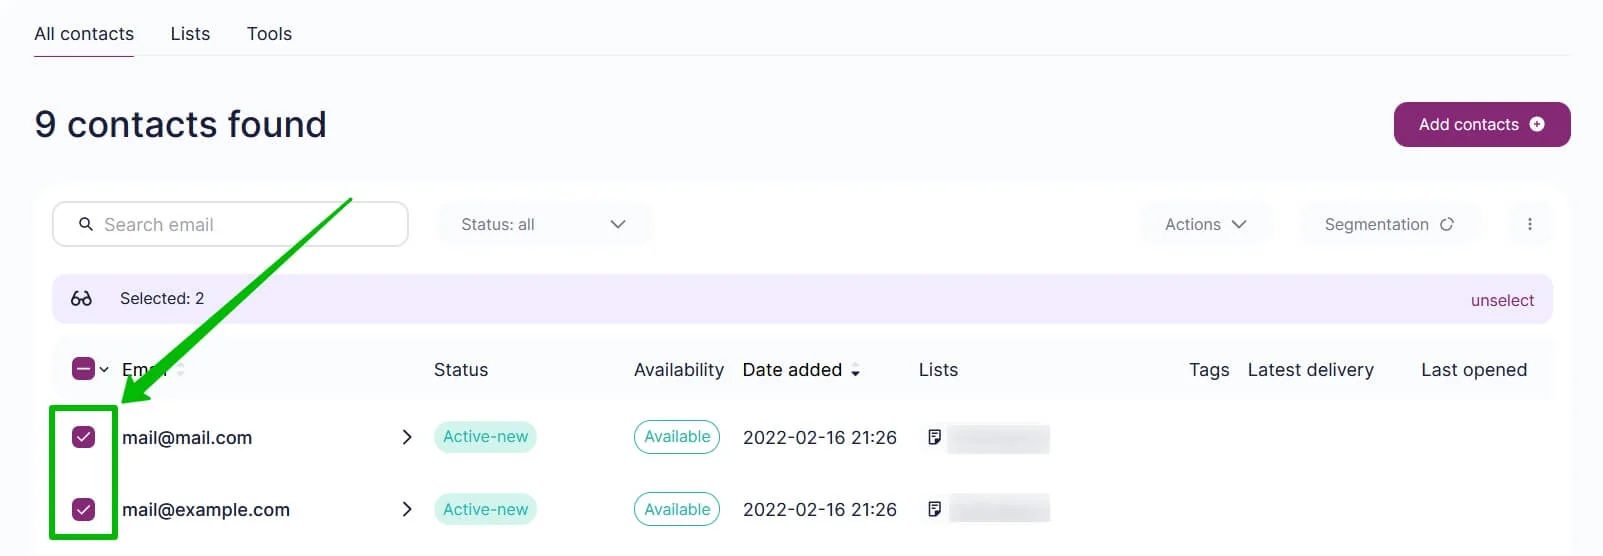
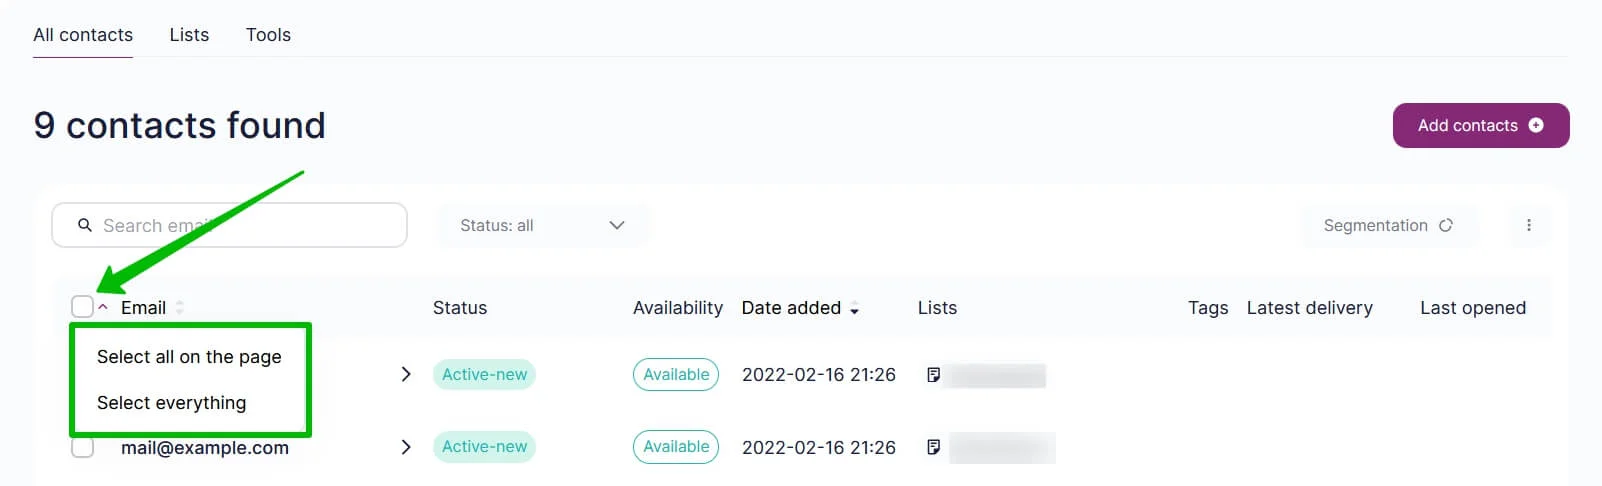
You can select all contacts on a newly-opened page or right in the list.
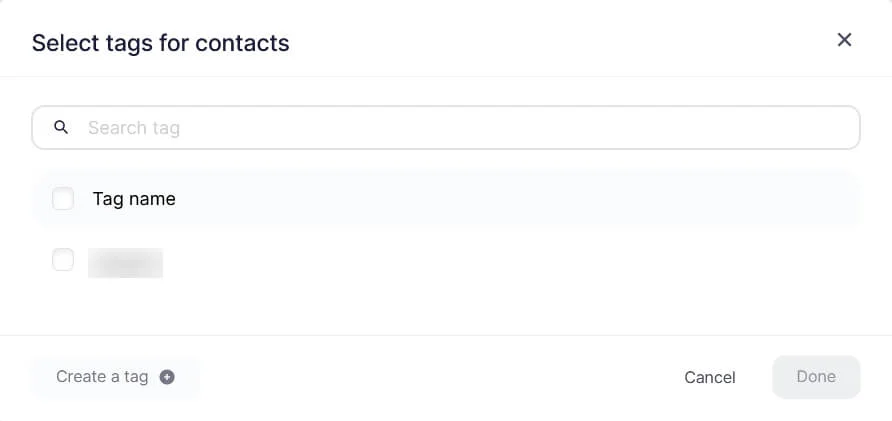
After you have selected all contacts, you will see the Actions button on top. Click this button and choose Update Tags from the drop-down menu.
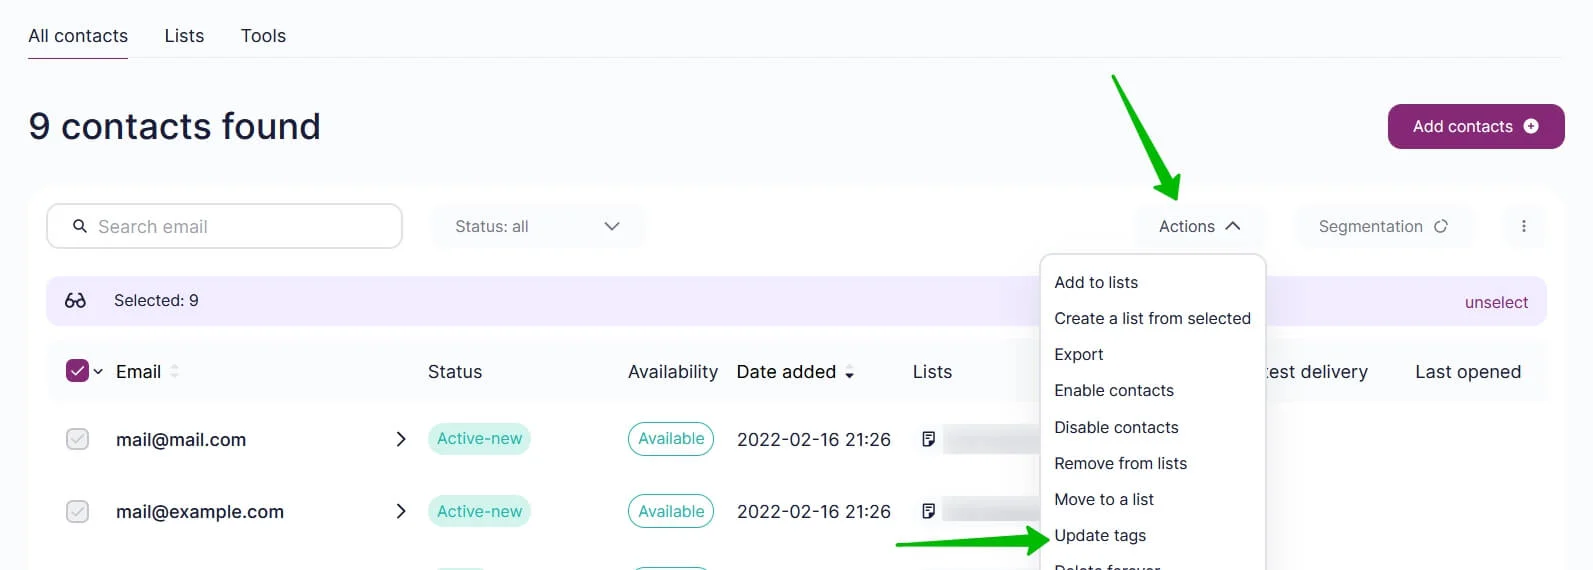
In the opened-up window, you can choose from the existing tags, or create the ones of your own. After you’ve done so, click on Done.
For one contact in the card
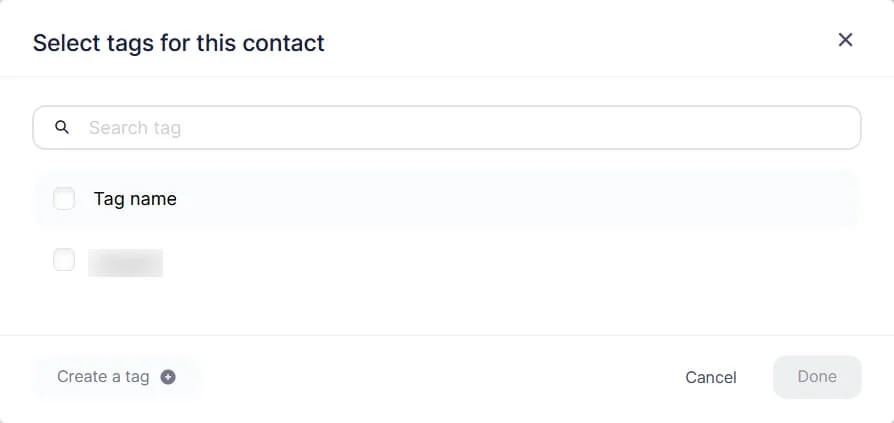
Go to a contact card. Click on Add or Create Tags.

In the opened-up window, choose tags from the list, or create your own tags. After you’ve done so, click on Done.
Using tags in campaign
To single out contacts based on a tag, use the segmentation option. There are two ways of segmenting contacts:
- within contact lists;
- while creating a campaign.
Segmentation within contact lists
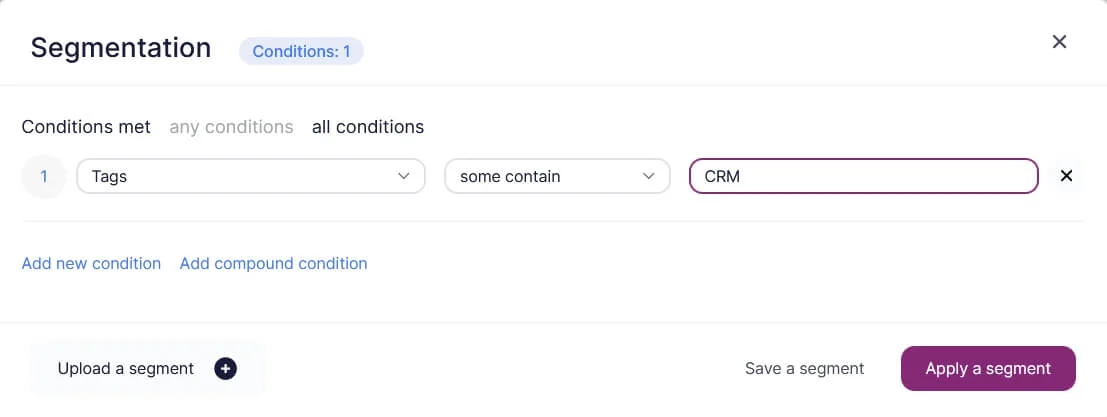
Go to segmentation in your list of contacts.
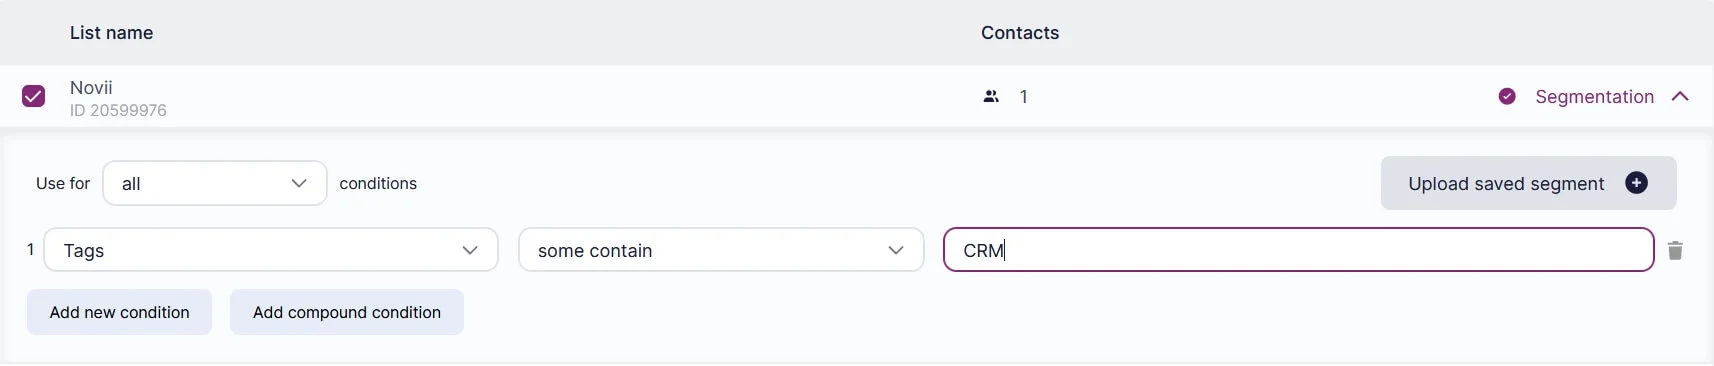
For the condition, choose Tags — “some contain” — the tag. Then, click on Apply the Segment.
Segmentation while creating a campaign
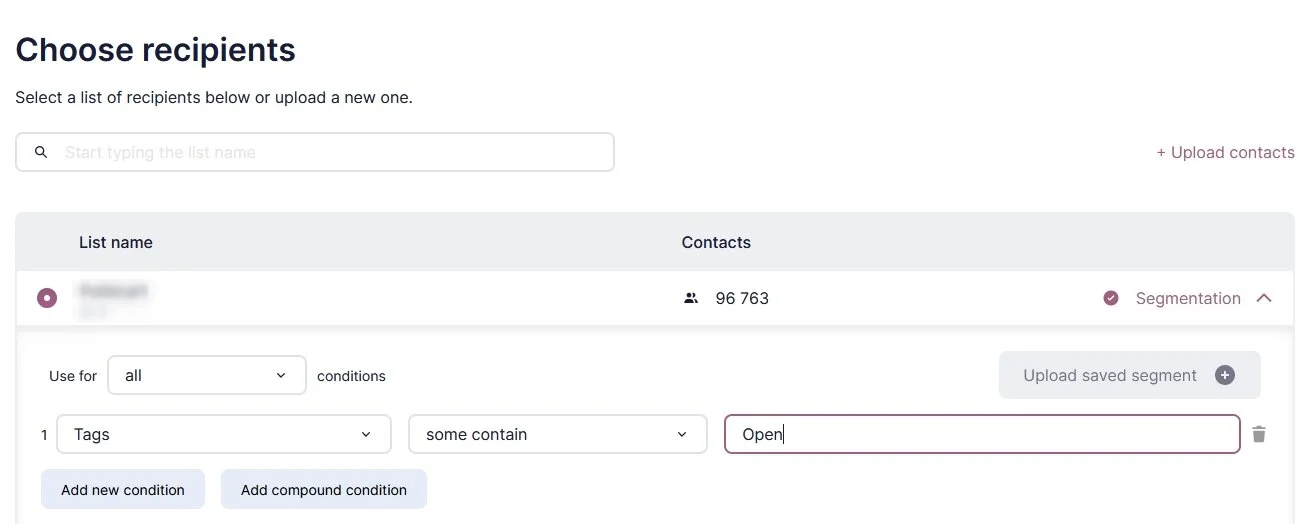
While on the 3rd step of Choosing Recipients, select the needed list and click on Segmentation next to its name.
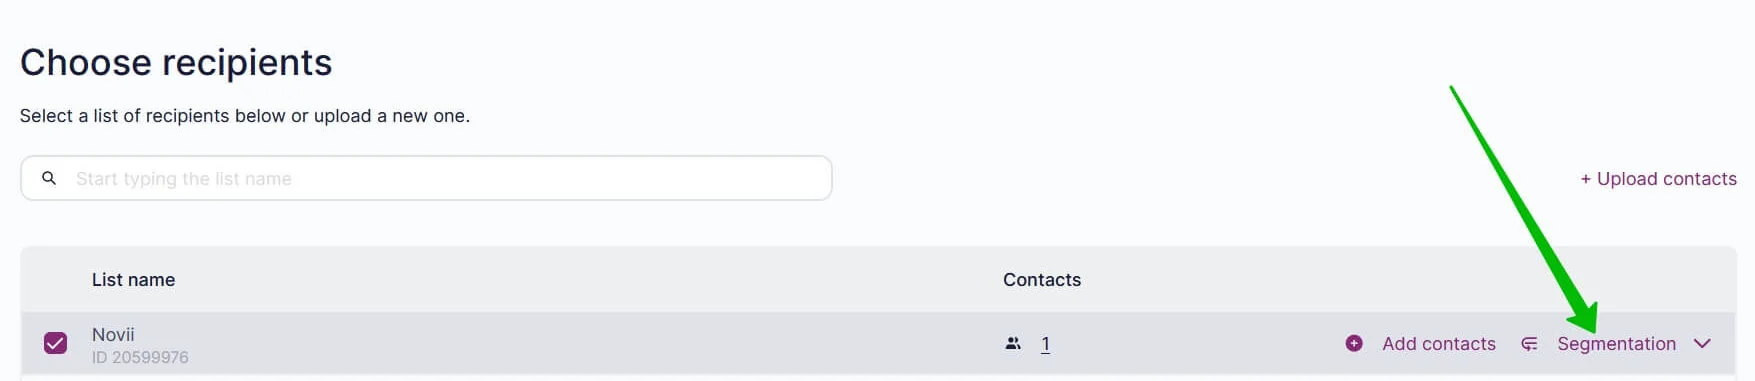
Choose “Tags” — “some contain” — the tag. Then, click on Done.
Both while creating a campaign and in a contact list, you can as well choose other conditions from the following six options:
- some contain;
- none contain;
- some are equal to;
- none are equal to;
- no tags;
- contain tags.
Examples of of tagging
Example 1. Send an email to subscribers who have read the previous email.
Navigate to Campaigns.
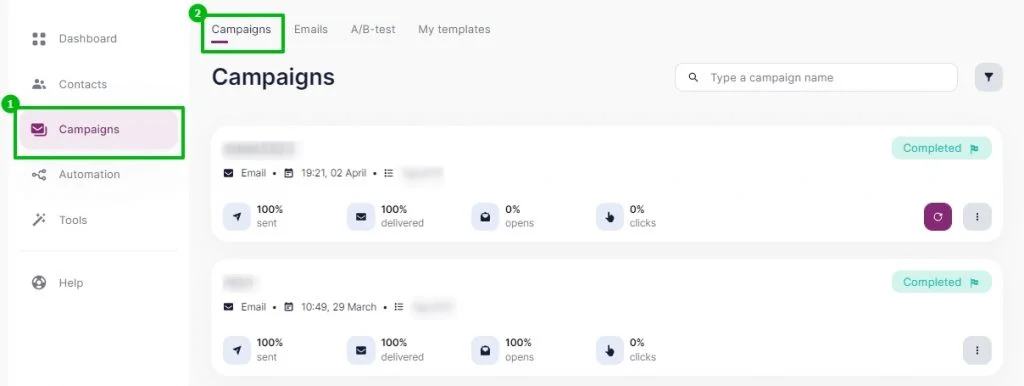
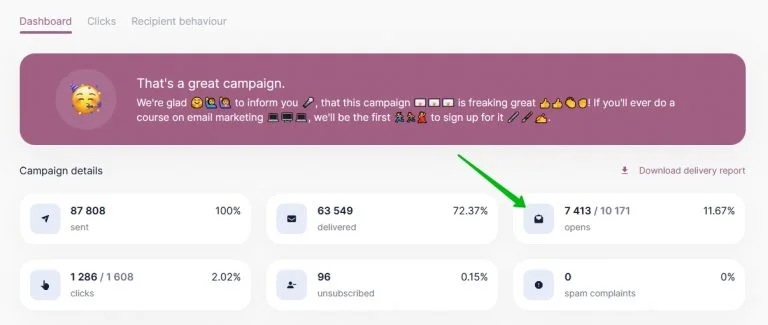
Choose the report you want to work with. On the report page click Openes.
After that click Add tags.
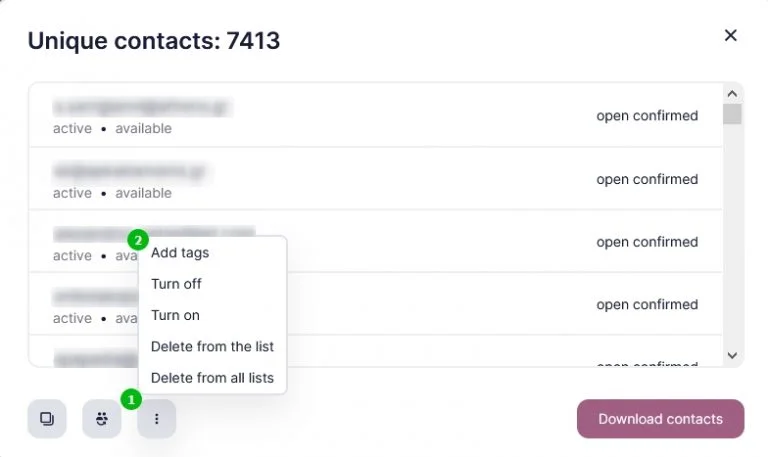
Enter a tag, such as "read", and press Enter. Next, click Apply.
Next, select Tags — some are equal to — read as a segmentation condition for contact list segmentation.
This approach is best for bulk emails. To automate sending campaigns to email openers, use campaign automation based on open tracking.
Example 2. Send an email to everyone who doesn’t have a particular tag
Let’s say, there is a list to which we add contacts through either of two ways:
- import of contacts;
- integration with Tilda.
Integration with Tilda works like this: each tagged contact gets tagged with “tilda”.
We would like to send a campaign to everyone added through integration. To do this, while creating a campaign we use segmentation with the condition “Tags” — “none are equal to” — “tilda”.

Useful links:
Create a Contact List
Delete a Contact List
Copy or Move Contacts Between Lists
See Contact Information & Campaign History
Rename a Contact List
How to Update Your Contact List
How to Segment Your Contacts


