How to create a connection with Selzy to the Zendesk service and set up the transfer of all contacts or leads from Zendesk is explained in these instructions.
Creation of a new integration
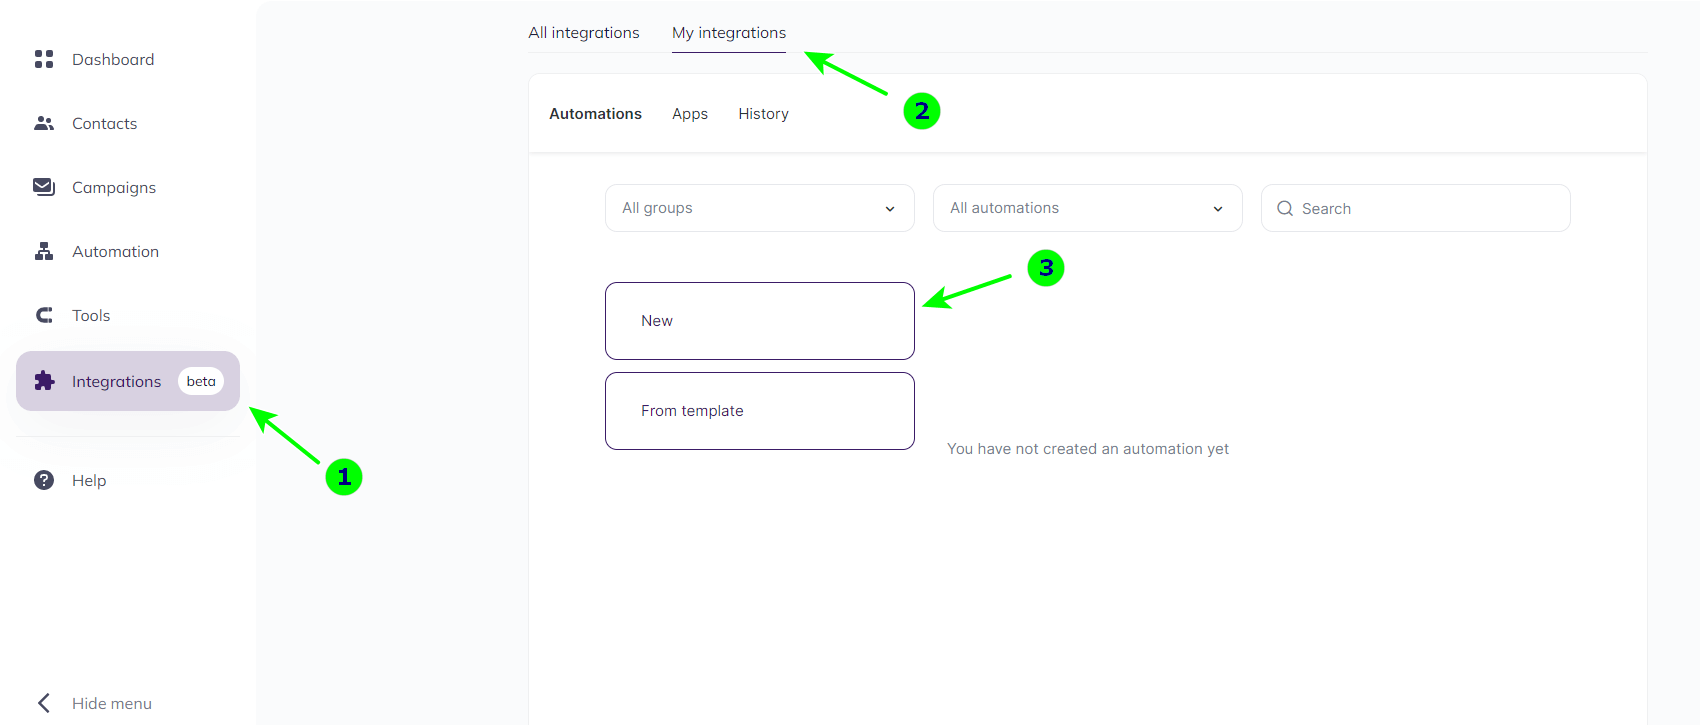
In section Integrations, go to My integrations and create a new connection (New):
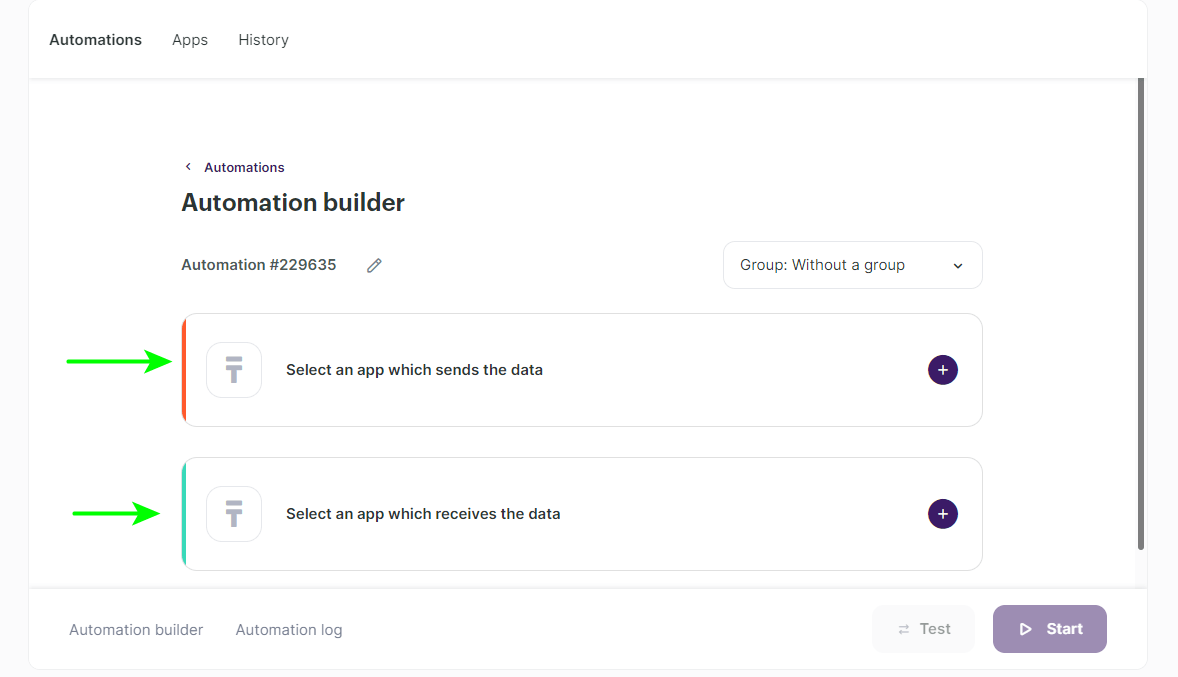
You are looking at the integration editor. Here you choose from which service you will receive data and to which service you will transfer it.
Select an app which sends the data — selecting the service from which the data is sent and setting a trigger for the transfer.
Select an app which receives the data — selecting the service that receives the data and configuring the action to be taken on the data.
Selecting the trigger for the data transfer
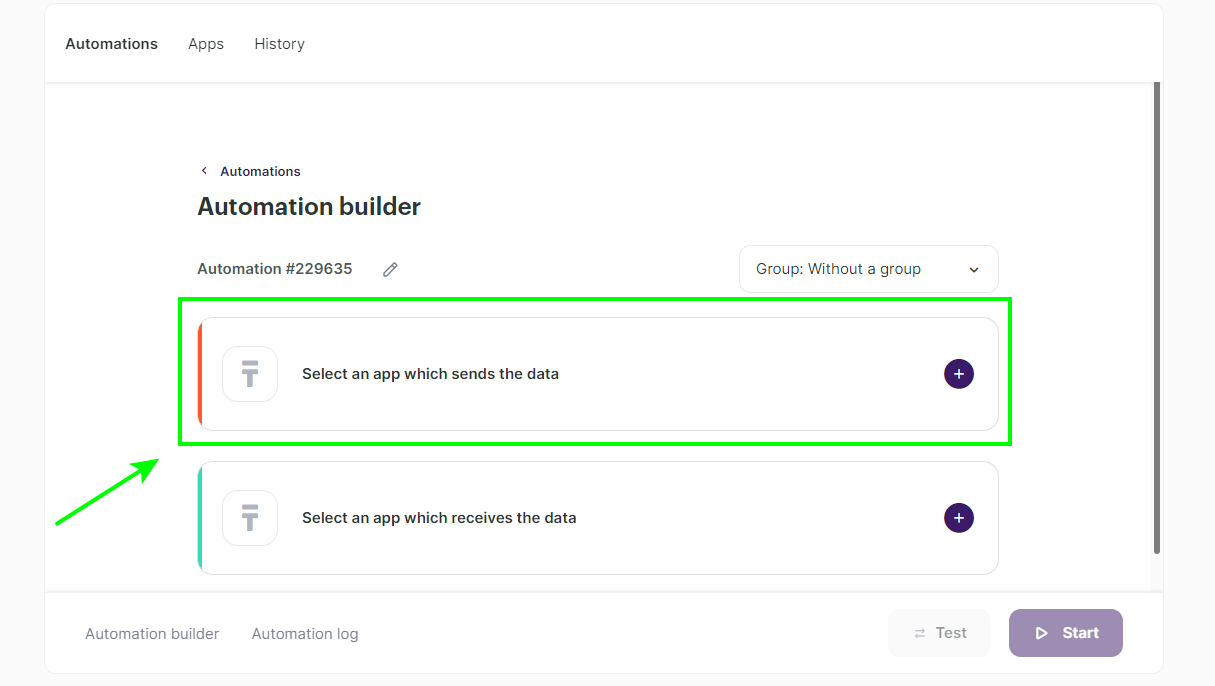
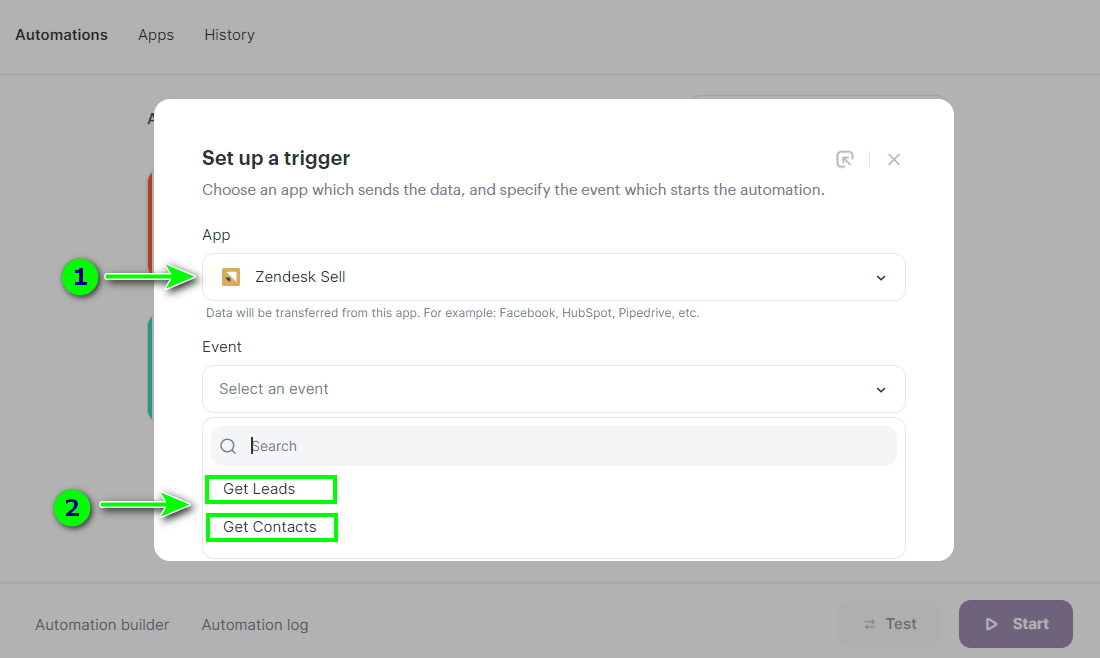
Click on Select an app which sends the data:
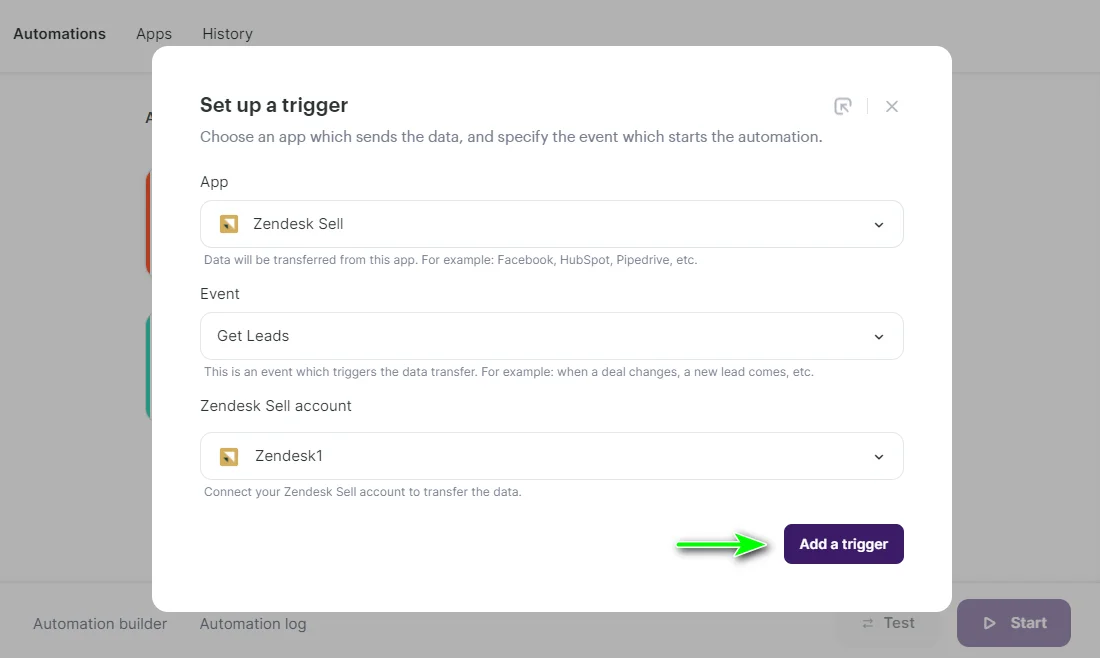
Select Zendesk Sell in the App field and Get Leads or Get Contacts in the Event field. To understand the difference between the "contact" and "lead" entities, we recommend looking at the Zendesk documentation, specifically the Adding contacts and Adding leads articles.
Set up a connection to Zendesk
To complete the configuration of the trigger, you need to create a connection to the Zendesk service.
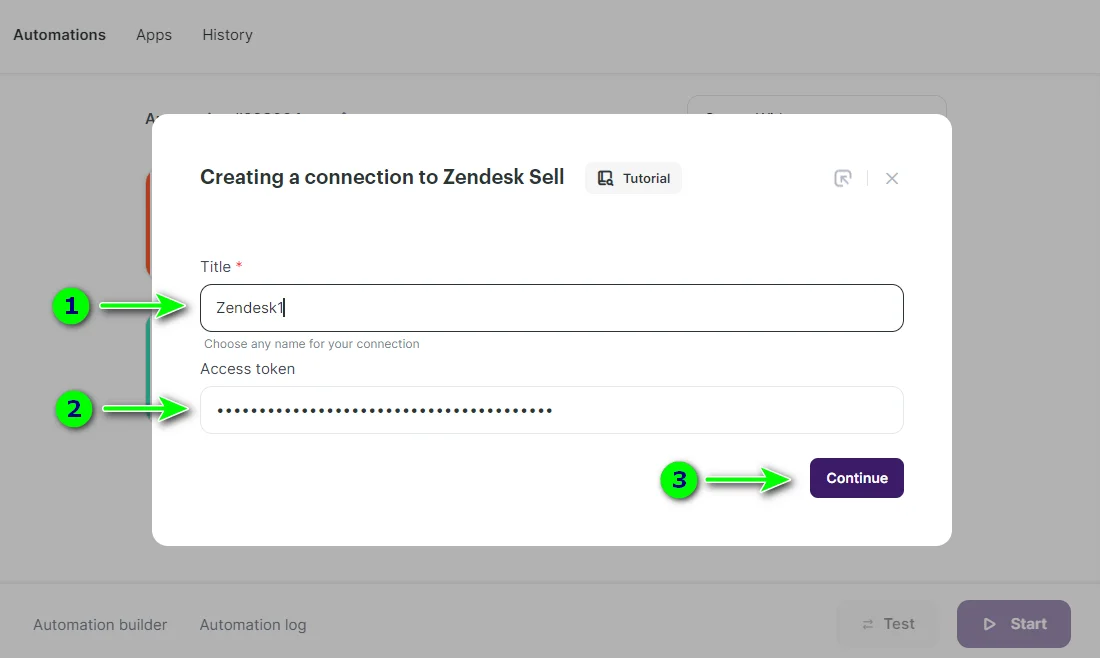
Click Add a connection to add a connection to your Zendesk account:

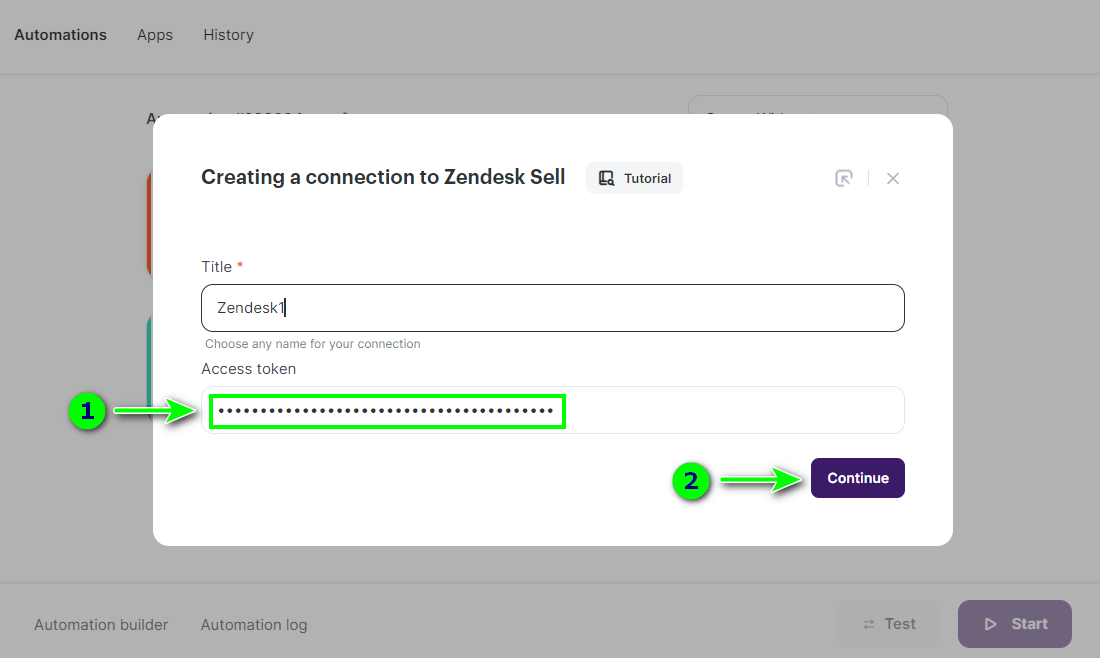
Specify a name for the connection, enter your token from the Zendesk service and click Continue:
How to get a Zendesk token
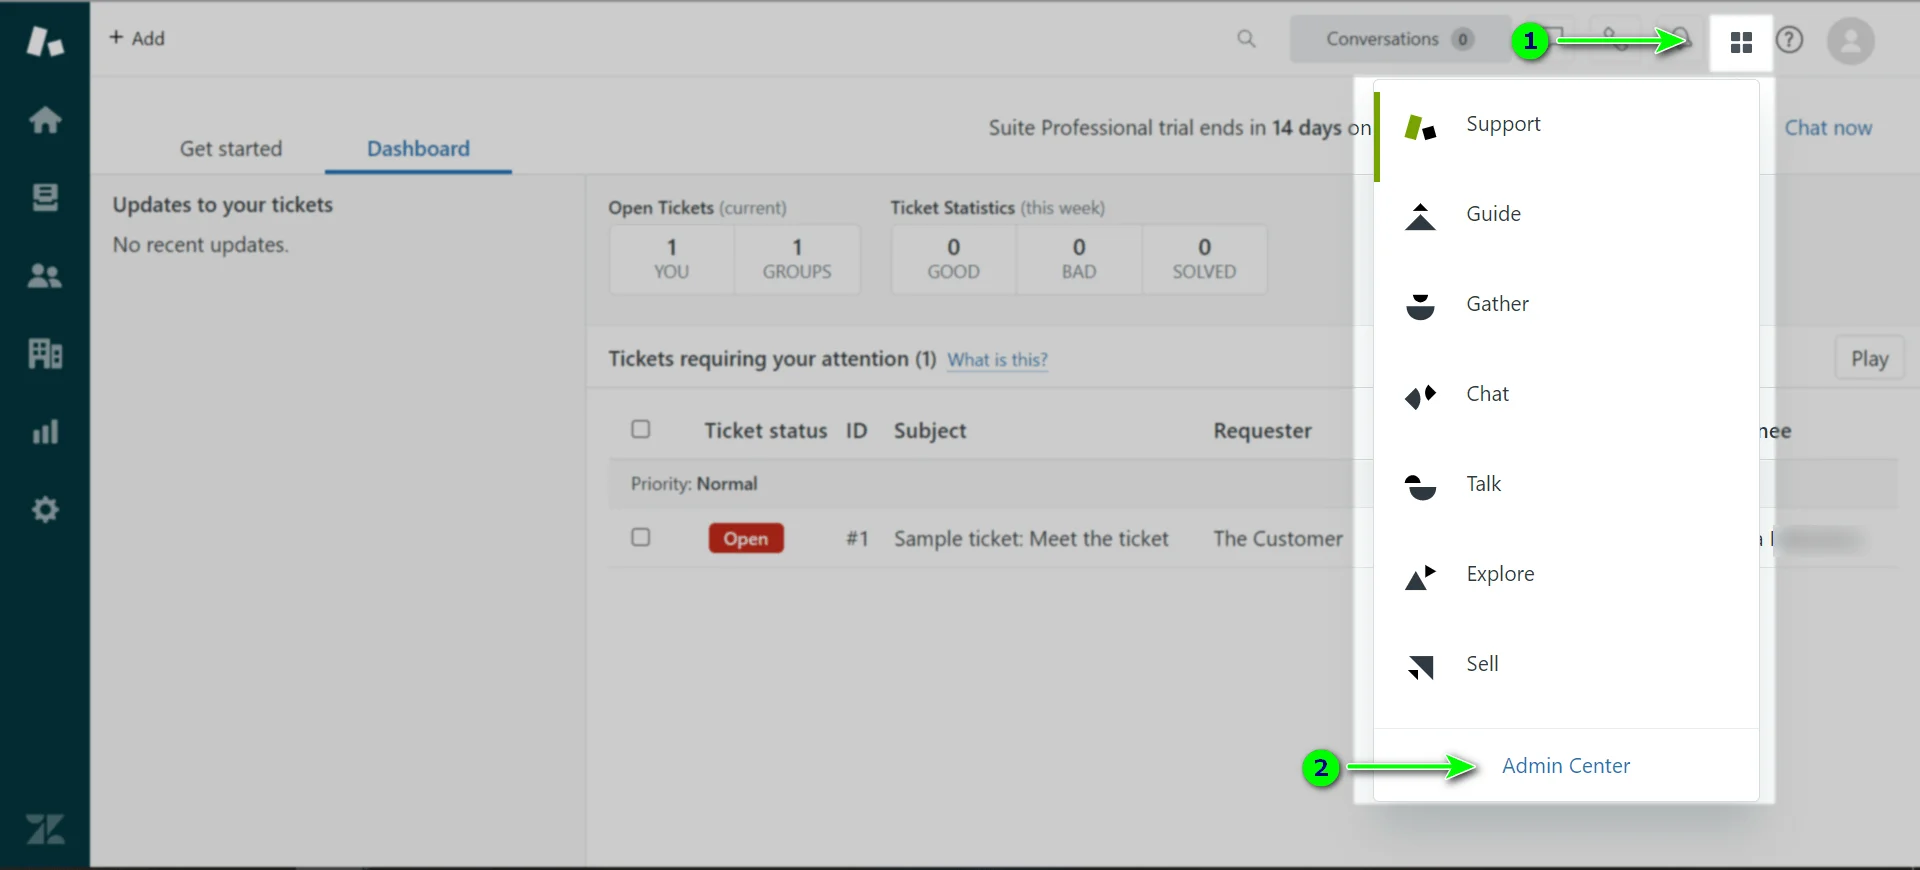
To get a token, in Zendesk click on the Zendesk product icon and go to Admin Center:
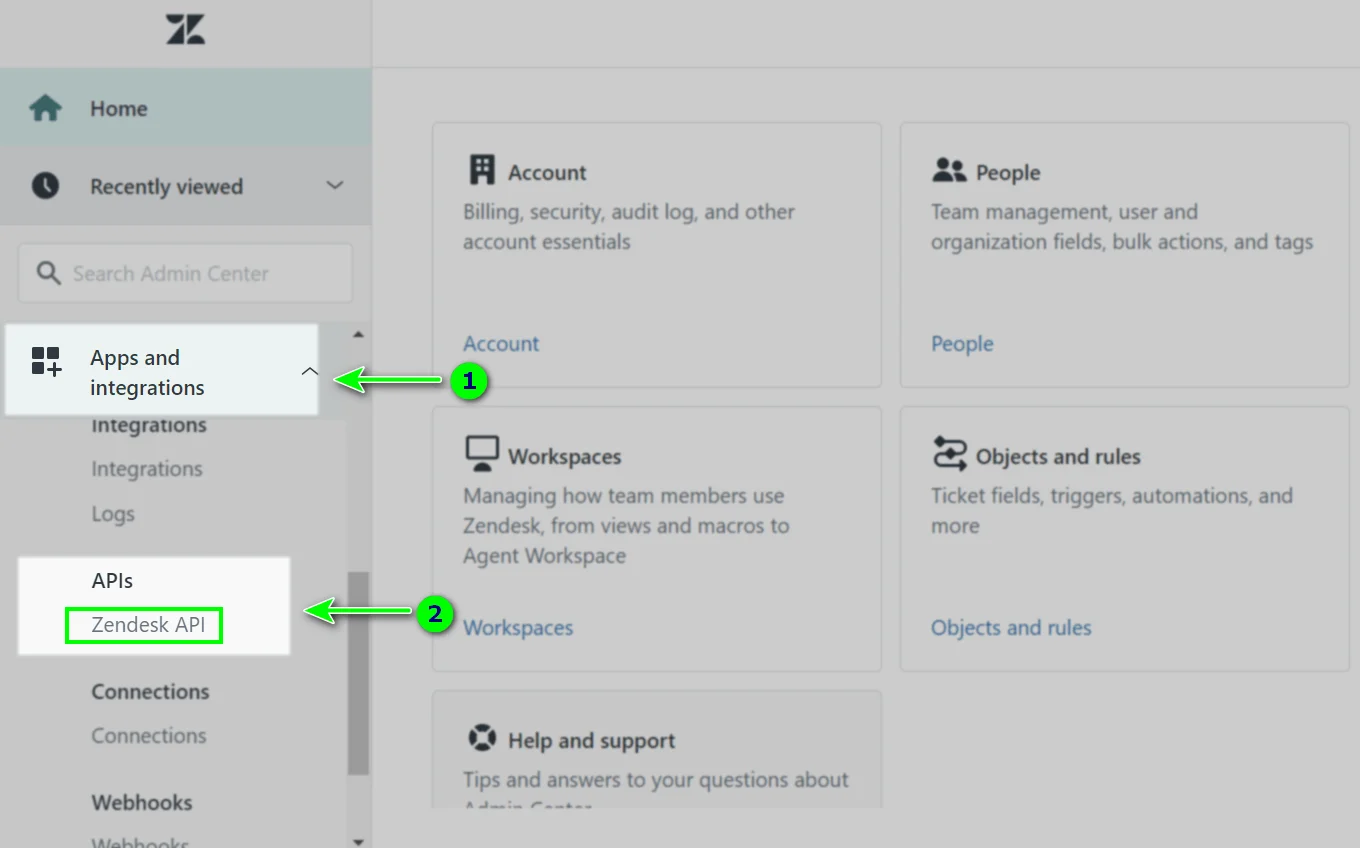
Then go to Apps and Integrations and select APIs → Zendesk API:
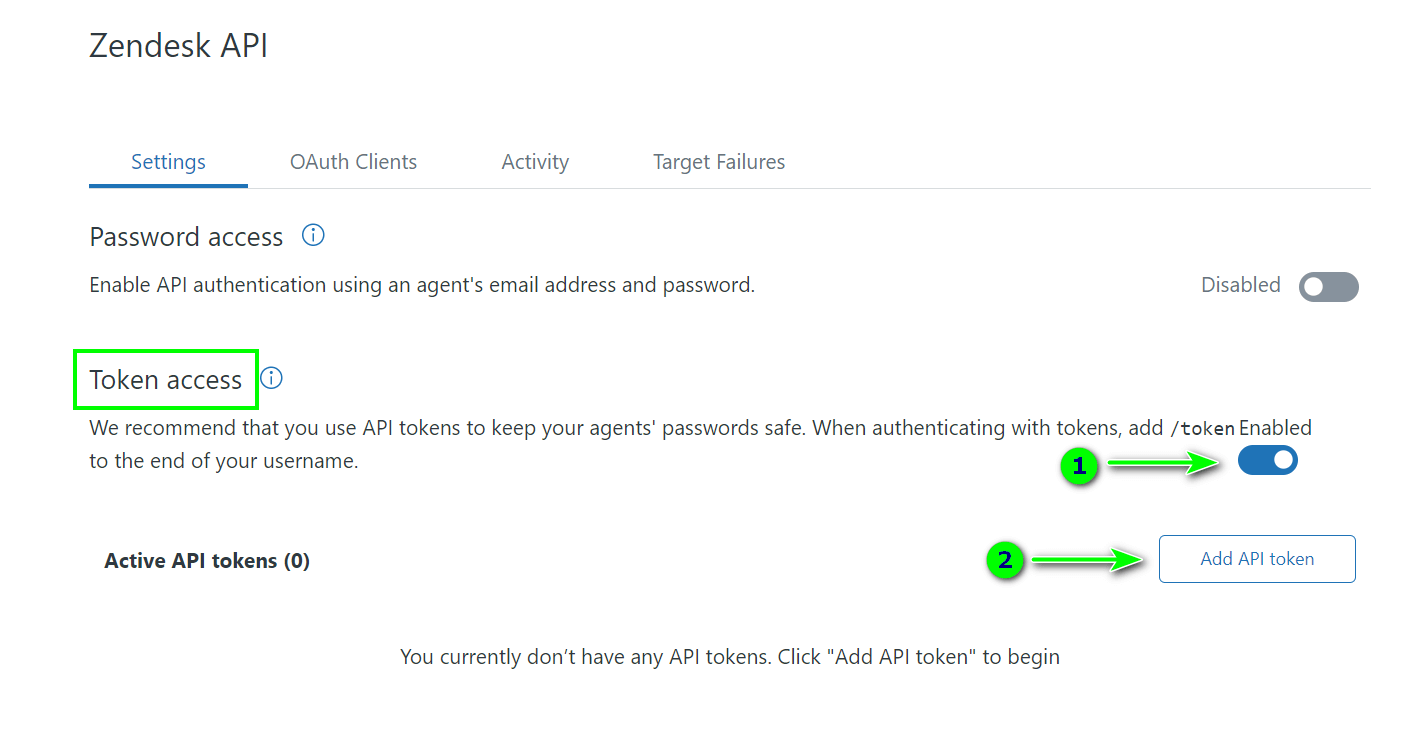
In the Settings tab enable Token access via the switch and after enabling (status Enabled) click Add API token to create a token:
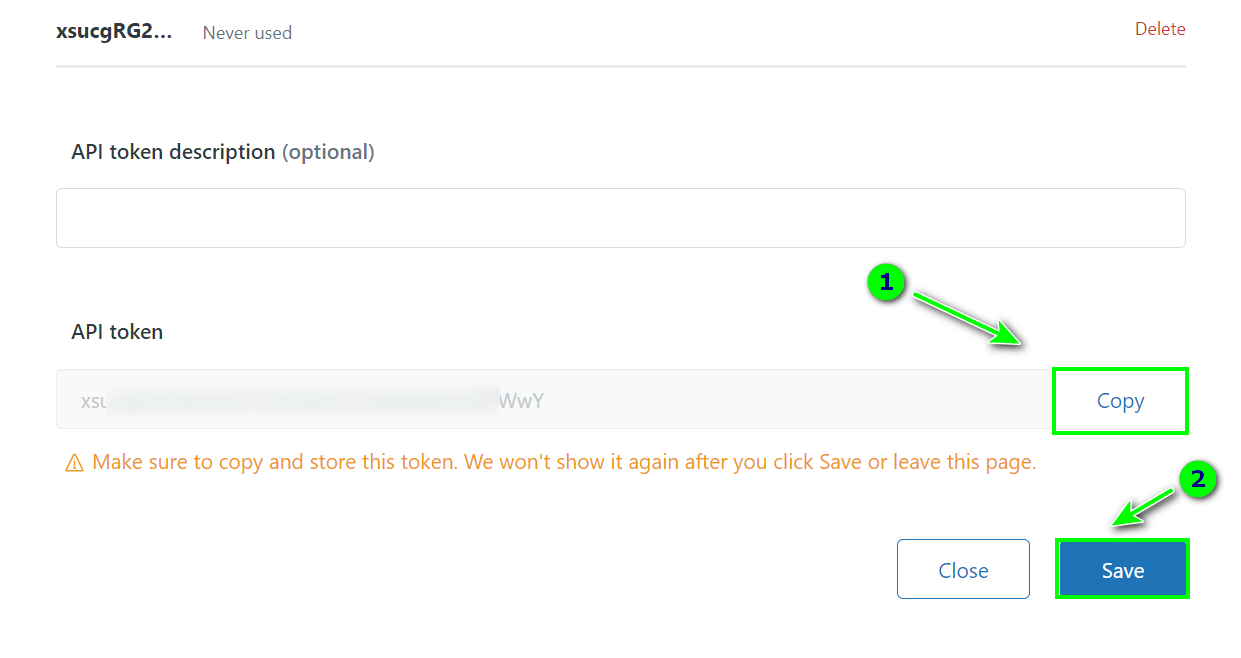
Be sure to copy the created token and save the changes:
Return to Selzy in the Zendesk connection window and insert the received token:
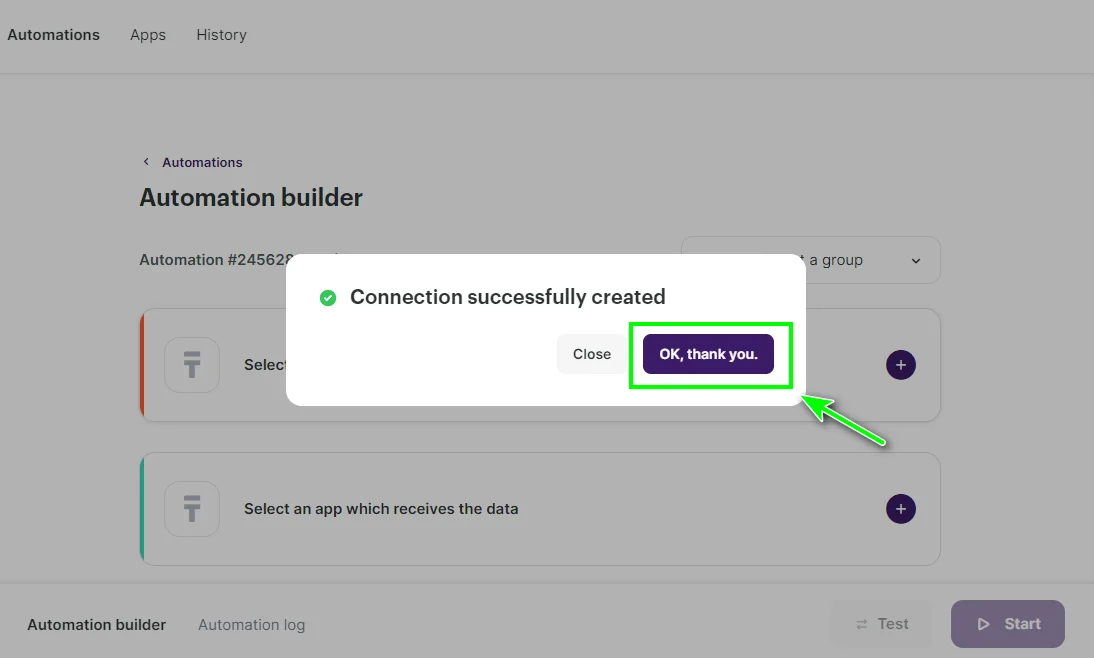
After successful connection, a notification window will appear:
Then click Add a trigger:
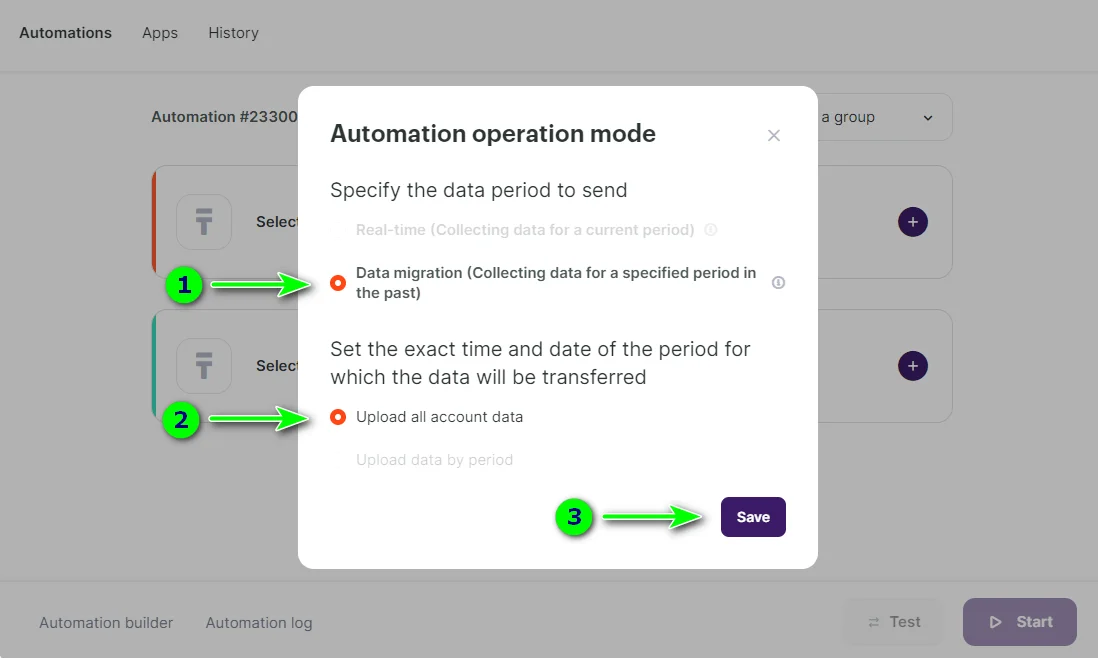
In this integration, only the transfer of all contacts or leads from Zendesk is possible, so in the Automation operation mode window select Data migration and Upload all account data and save the changes:
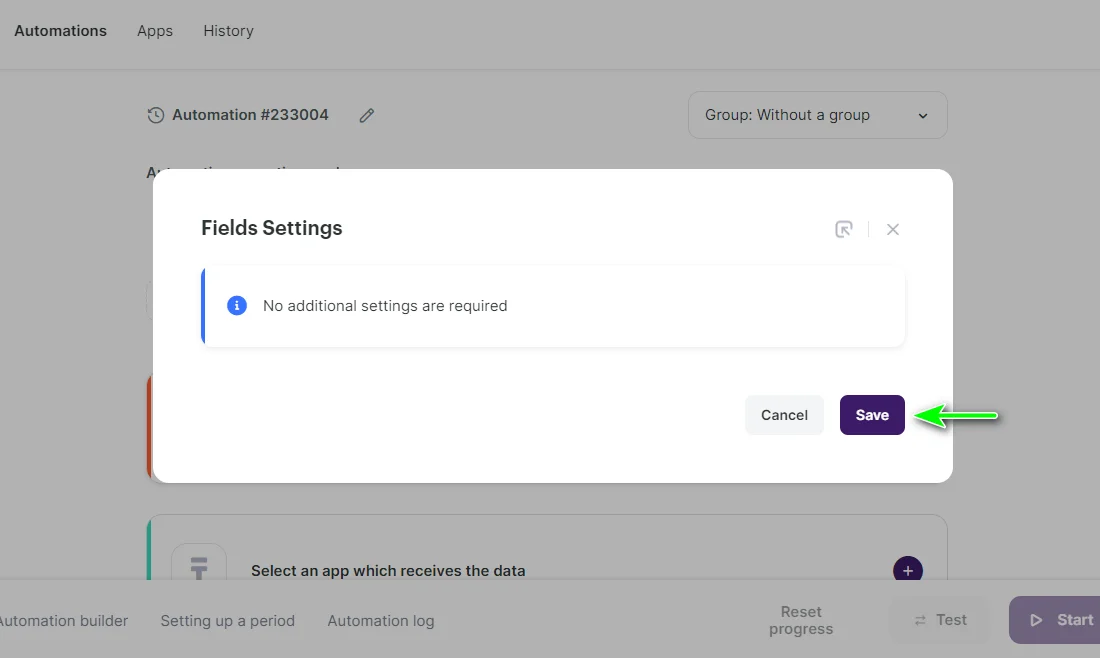
In the Fields Settings window, click Save:
Setting up the action
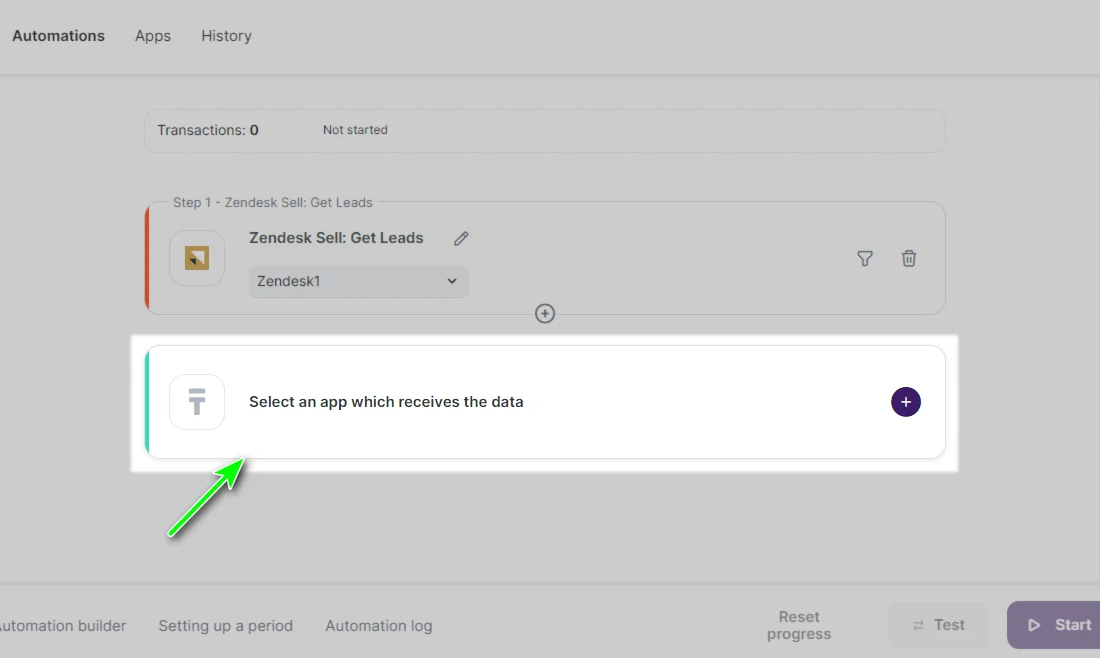
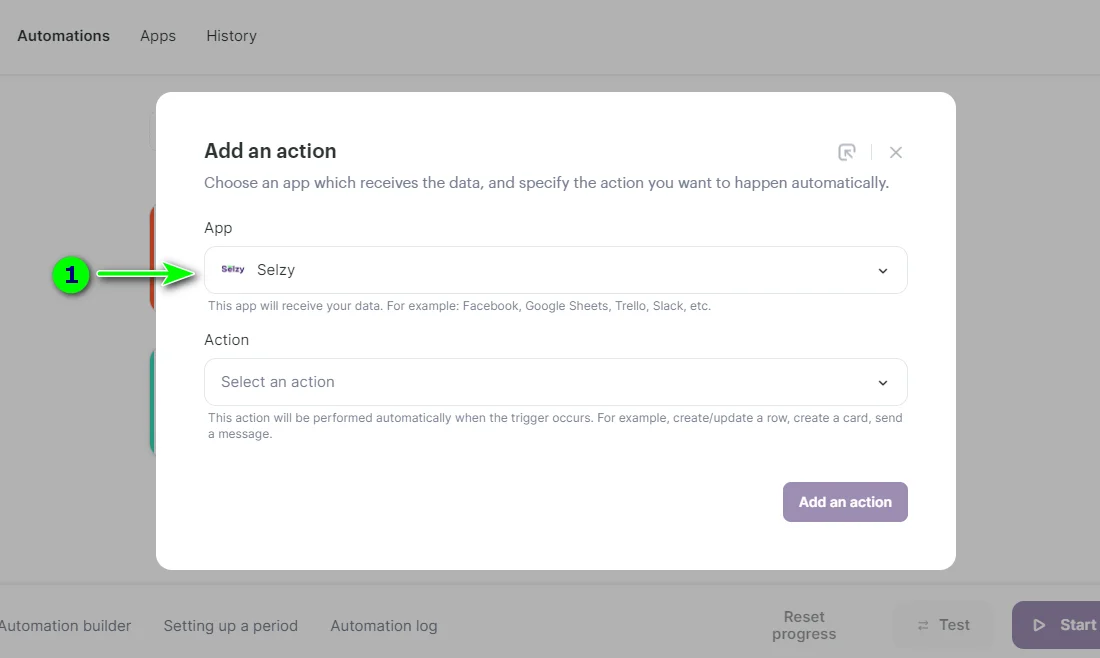
Click Select an app which receives the data and select Selzy in the App field:
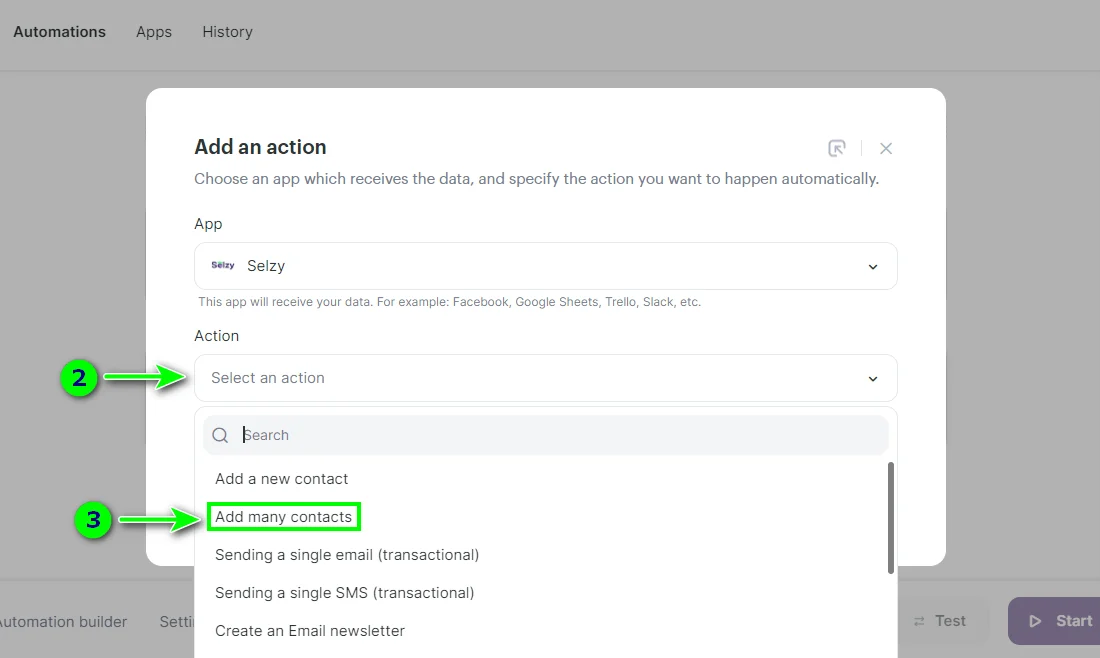
In the Action field select Add many contacts: as we are transferring an array of data, it is recommended to use the add many contacts action.
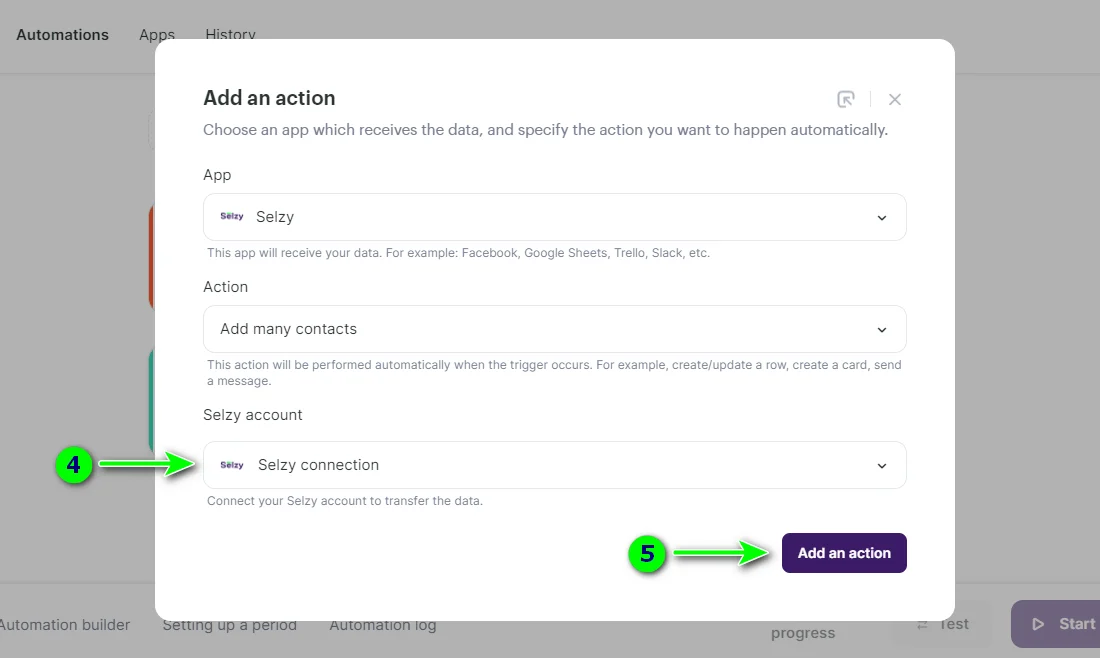
In the Selzy Account field, select your Selzy connection and then click Add an action:
Setting up the fields for transmission
In a new window, the rule for overwriting data, the fields to be transmitted, the tags and the list where the contacts will go will be configured.
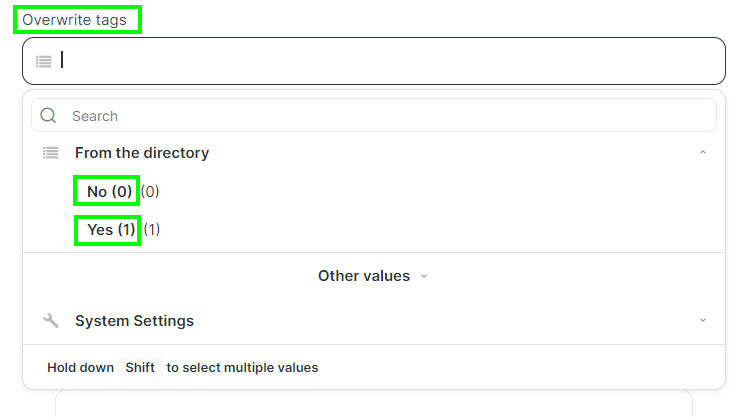
In the Overwrite tags field, select whether to overwrite the contact tags. The overwriting rule will apply to those contacts that are already in the list. If you select No (0), the old contacts tags will be saved and new ones will be added. If you select Yes (1), the old tags will be replaced with new ones.
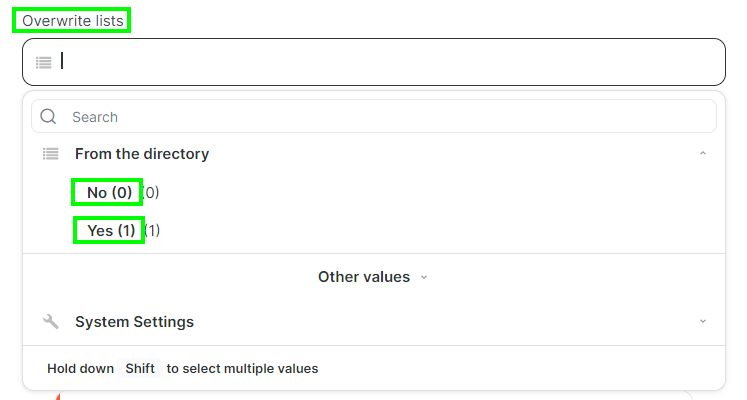
In the Overwrite lists field select whether to overwrite the lists that contain the contact. If you select No (0), the old contact lists will be saved and new contact lists will be added. If you select Yes (1), the old contact lists will be overwritten by the new ones.
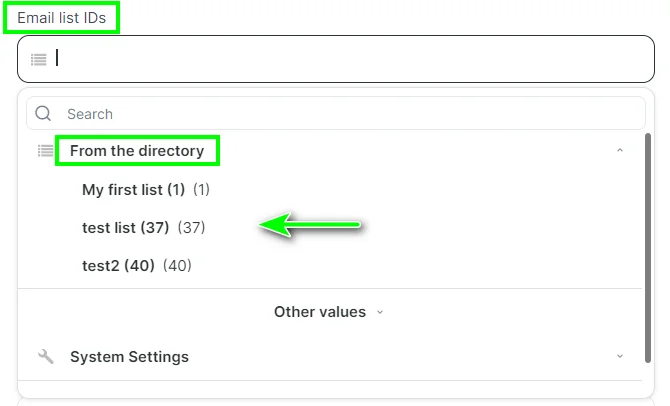
In the Email list IDs field, select the Selzy list where the contacts will go.
In the Tag field, enter the tags you would like to assign to the contacts:

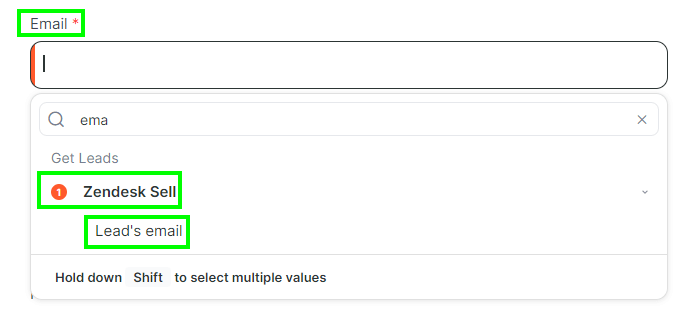
In the Email field, select the field from Zendesk for the email transfer. If the Get Leads trigger was selected in the first step, then the Lead's email field should be selected here:
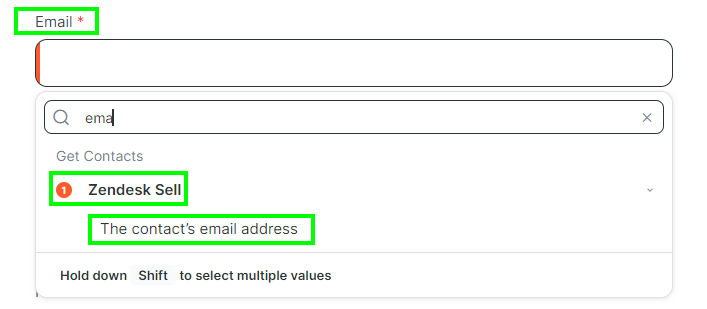
If you selected the Get Contacts trigger, select The contacts email address here:
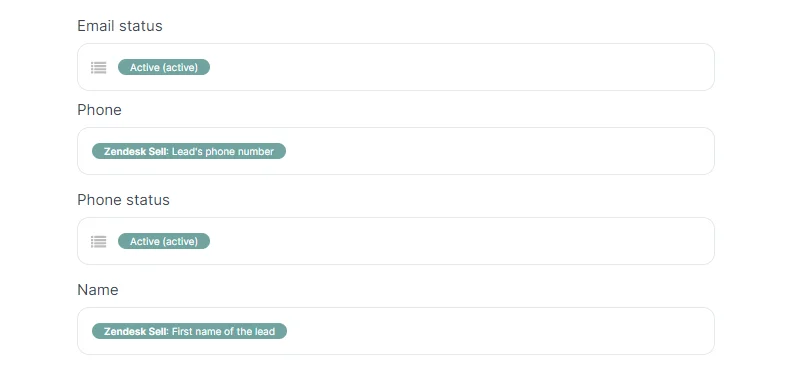
You can also select fields to transfer Name, phone number and other additional fields, assign a status to contacts (New, Active, Disabled, Unsubscribed):
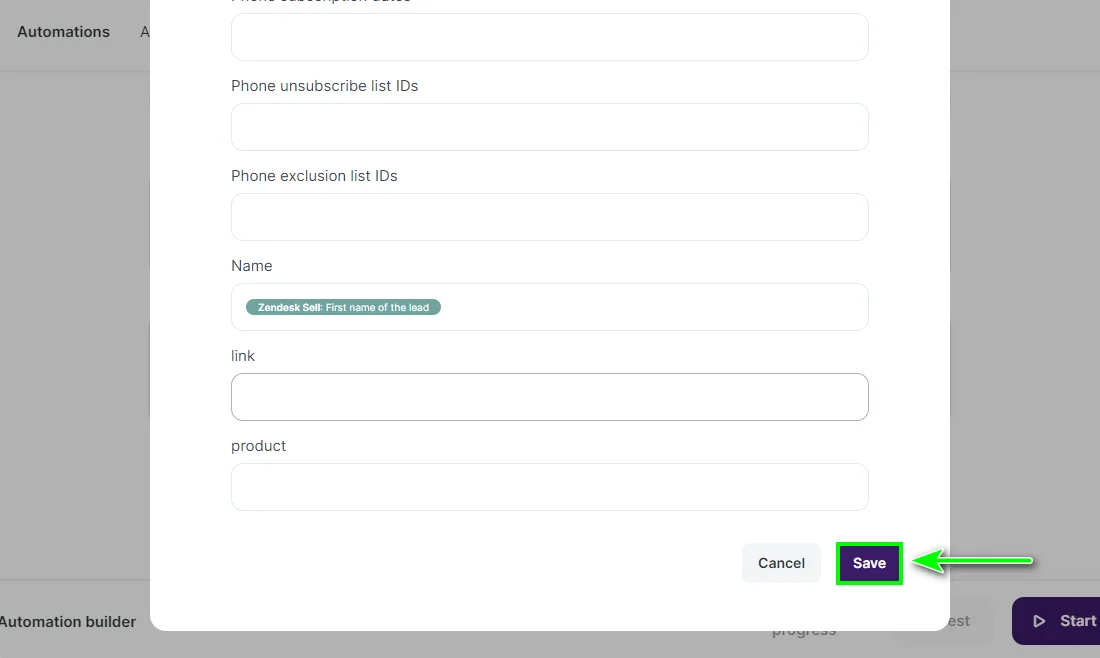
When the fields have been selected, click Save:
Click Start to start the integration:
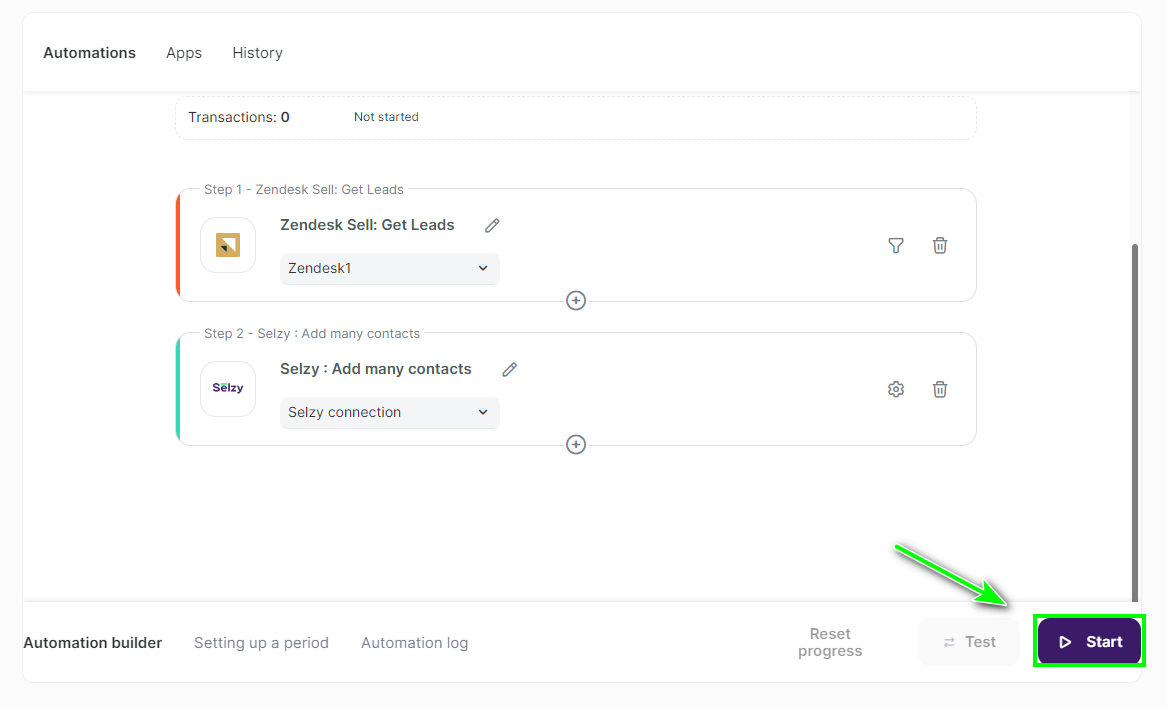
Done. After launching the integration, all leads/contacts will be transferred from Zendesk to Selzy.