This article describes the old Selzy email builder. You can find information about key features of the new email builder in the overview article available in English.
If you need help with the functionality described in this article but in the new builder and can’t find it in the overview article, please contact our Support Team.
Selzy Support Team is available for all users 24/7.
When you send out price lists or any other files in your email campaigns, it may seem convenient to attach these files to the email. However, email attachments have more disadvantages than advantages:
- Attachments increase the file size of an email, which has a negative impact on the campaign deliverability.
- Some email clients check files for malware and sometimes flag safe attachments as suspicious.
- It's impossible to track whether email recipients have opened the attachment or downloaded the file.
Therefore, we recommend that you upload the file somewhere on your website or in an external cloud storage such as Google Drive. You can then insert a link to the file instead of attaching it to your email.
Why links work better than attachments
There are several benefits of sending links instead of attaching files:
- You can track which recipients have downloaded the file.
- There are no limitations to the file size.
- You can edit the file or modify access settings after the campaign has been sent;
- Your emails have higher deliverability rates, as email services won't block your campaigns due to suspicious file attachments.
- The size of the online file does not affect delivery speed in any way. The file is stored in the cloud, and the size of its link in the email is just a few bytes.
Should you still need to use an email attachment, here's how to do it with Selzy.
Upload and share files using email attachments
Attachments can be added on the Confirmation page, just before you hit Send campaign.
First, create a campaign in the drag-and-drop editor or HTML editor.
At the final stage of the campaign creation process, scroll the Confirmation page down to the Attachments drop-down menu, open the menu and click Add file.
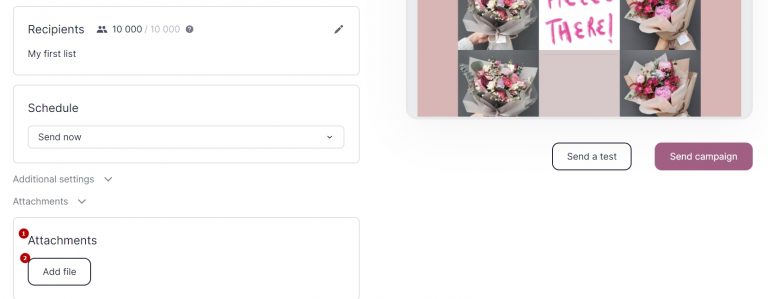
Choose a file on your computer and click Add file. If you need to add more files, click Add file again and attach another file. The menu will also display the size of the added file, and the maximum email size limit.
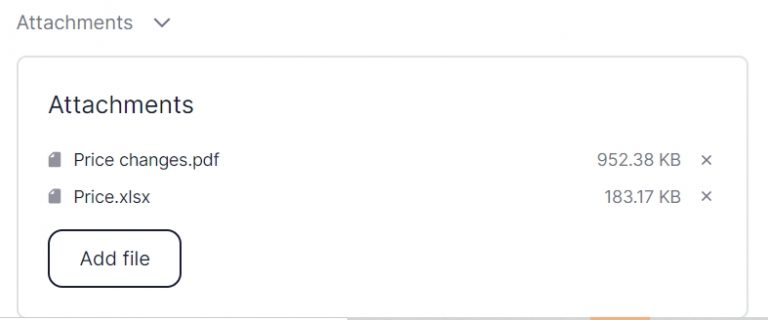
All done. The attachments will be added to the email.
Attachment size limit — 5MB. If you attach multiple files, the limit will be applied to the total file size of the attachments.
Share links to online files
We recommend that you upload the file on your website or in a cloud storage instead of traditional email attachments. The most popular cloud storage services include:
Upload a file to a cloud storage
Let’s see how you can share files using Google Drive.
In order to use Google Drive, you will need a Google account. If you don’t have an account yet, create one and log in.
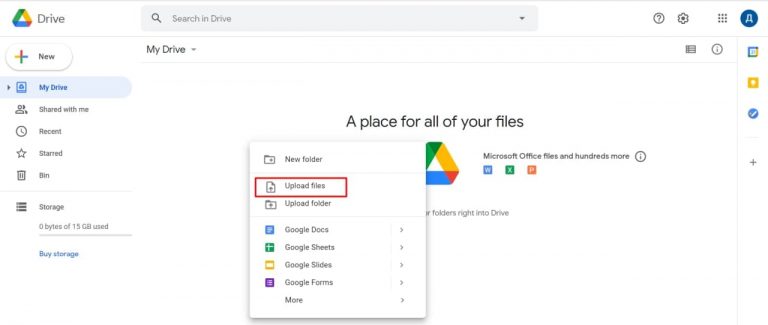
After logging in to Google Drive, right-click on a blank workspace or on the New button in the left pane. Choose Upload files.
Choose the file you want to upload from your device. The uploaded file will appear in the list.

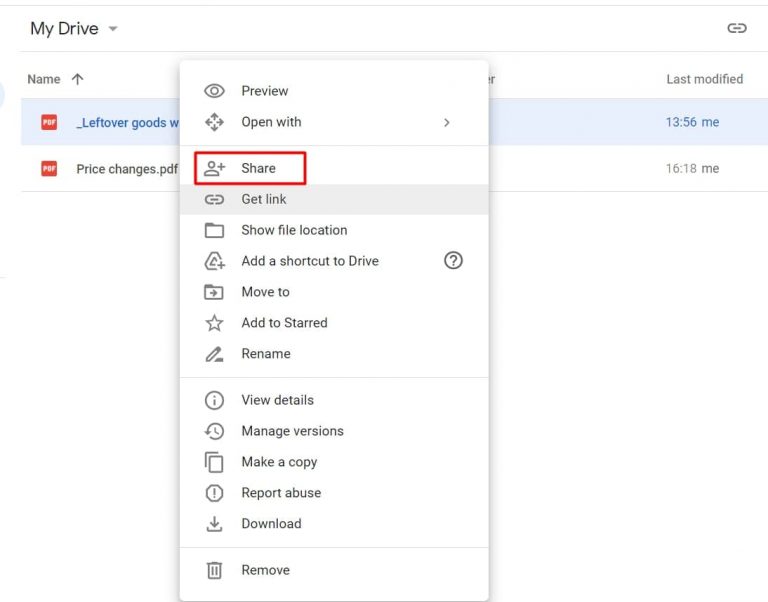
Right-click on the file and choose Share.
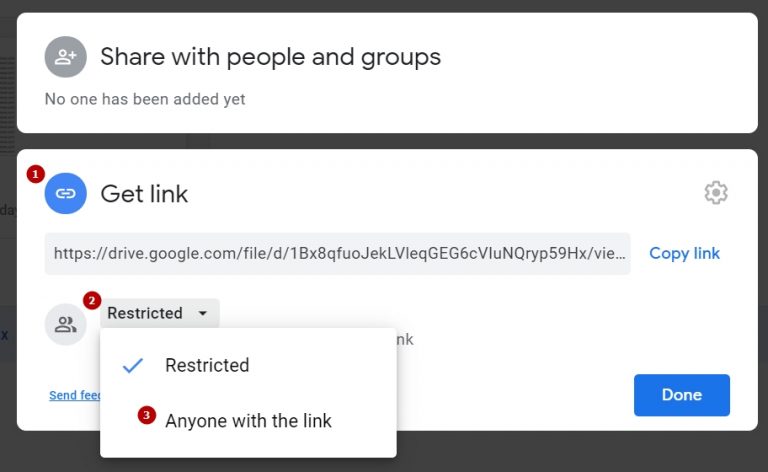
In the popup modal, click on the Get link menu and change Restricted to Anyone with the link. This way, users will be able to download the file you share via the link.
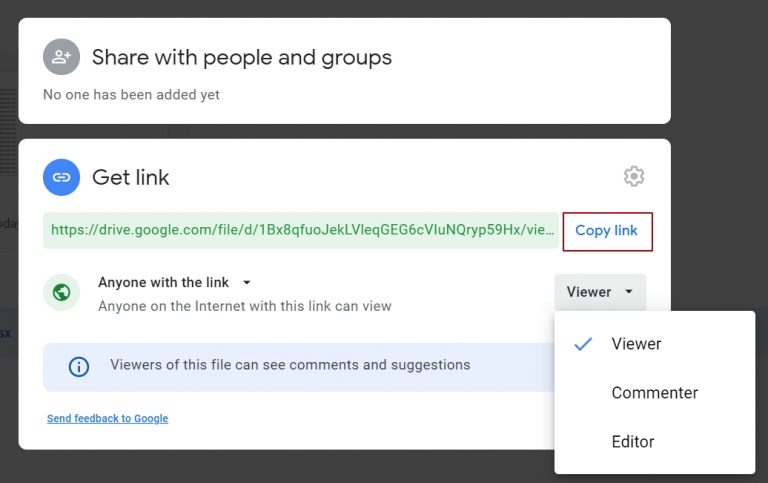
Google Drive also allows you to choose the level of access you want to grant to subscribers:
- Viewer — Users can view the file, but can’t change or share it.
- Commenter — Users can make comments and suggestions, but can’t change or share the file.
- Editor — People can edit the file and share it with others.
In our example, we’ll leave the default Viewer setting. This level of access will allow subscribers to download the file without making any undesirable changes to it.
Click Copy link to get the URL.
The URL will be copied to clipboard.
Please note!
By default, the links you share from Google Drive direct users to a file preview mode. Users will need to download the file manually. If you want to enable automatic file download via a direct link from the email, use this method
1. Get an URL you want to share. It should look somewhat like this:
https://drive.google.com/file/d/1dPCSQWeqgs00B7uniAq780zrY8idnXZ/view?usp=sharing
2. The part of the URL between ..d/ and /view… is the ID of the file. Select and copy this part.
https://drive.google.com/file/d/1dPCSQWeqgs00B7uniAq780zrY8idnXZ/view?usp=sharing
3. In our example, the ID is as follows:
1dPCSQWeqgs00B7uniAq780zrY8idnXZ
4. Add this ID to the end of the URL.
https://drive.google.com/uc?export=download&id=
5. Here's how the final URL should look like:
https://drive.google.com/uc?export=download&id=1dPCSQWeqgs00B7uniAq780zrY8idnXZ
Now, when a subscriber clicks on this link, the file download will start automatically, without a preview.
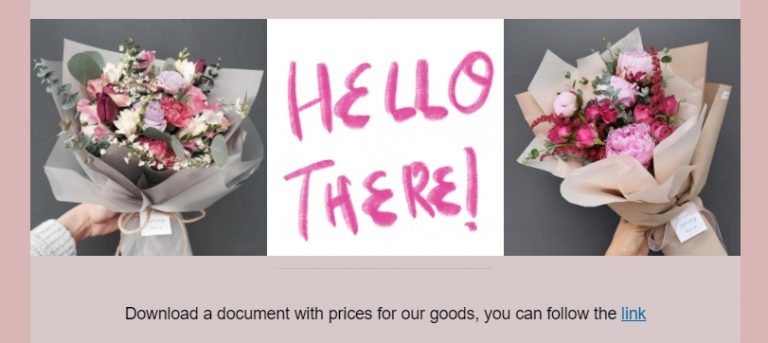
In the example below, we use a direct link with an instant download.
Add links to an email
In the drag-and-drop email editor, open the email you want to work with or create a new one.
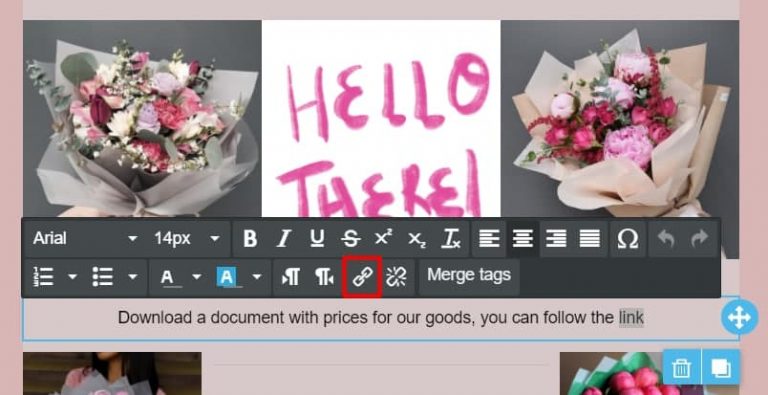
Select the text that you want to add a URL to. On the popup toolbar, click the Insert / edit link icon.
In the Link Type field, choose URL.
In the URL field, paste the link you've copied from Google Drive.
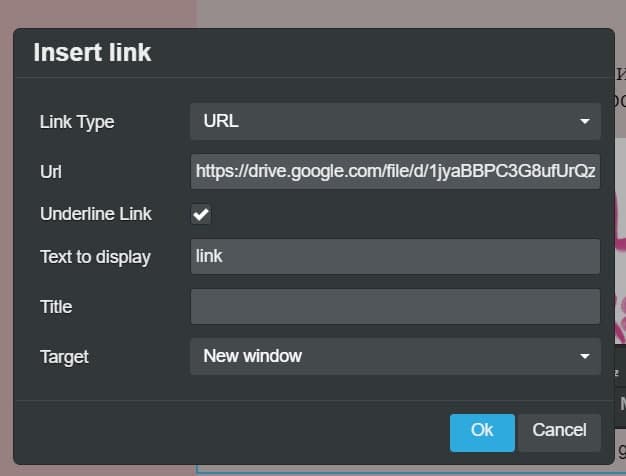
The link has now been added to the email.
Next, let's create a button to share the link.
In the email editor, add the Button content block to your email. Click the block and enter the link in the URL field under Actions in the left-pane Content tab.
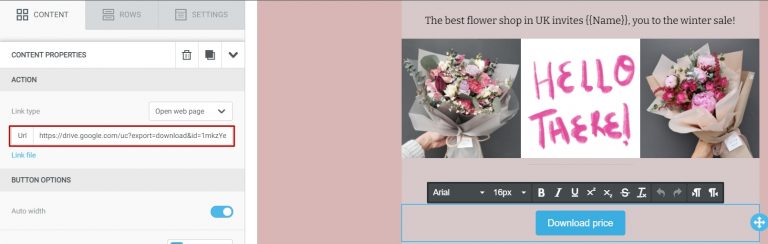
All done!
This is how file downloads will work like in an email.